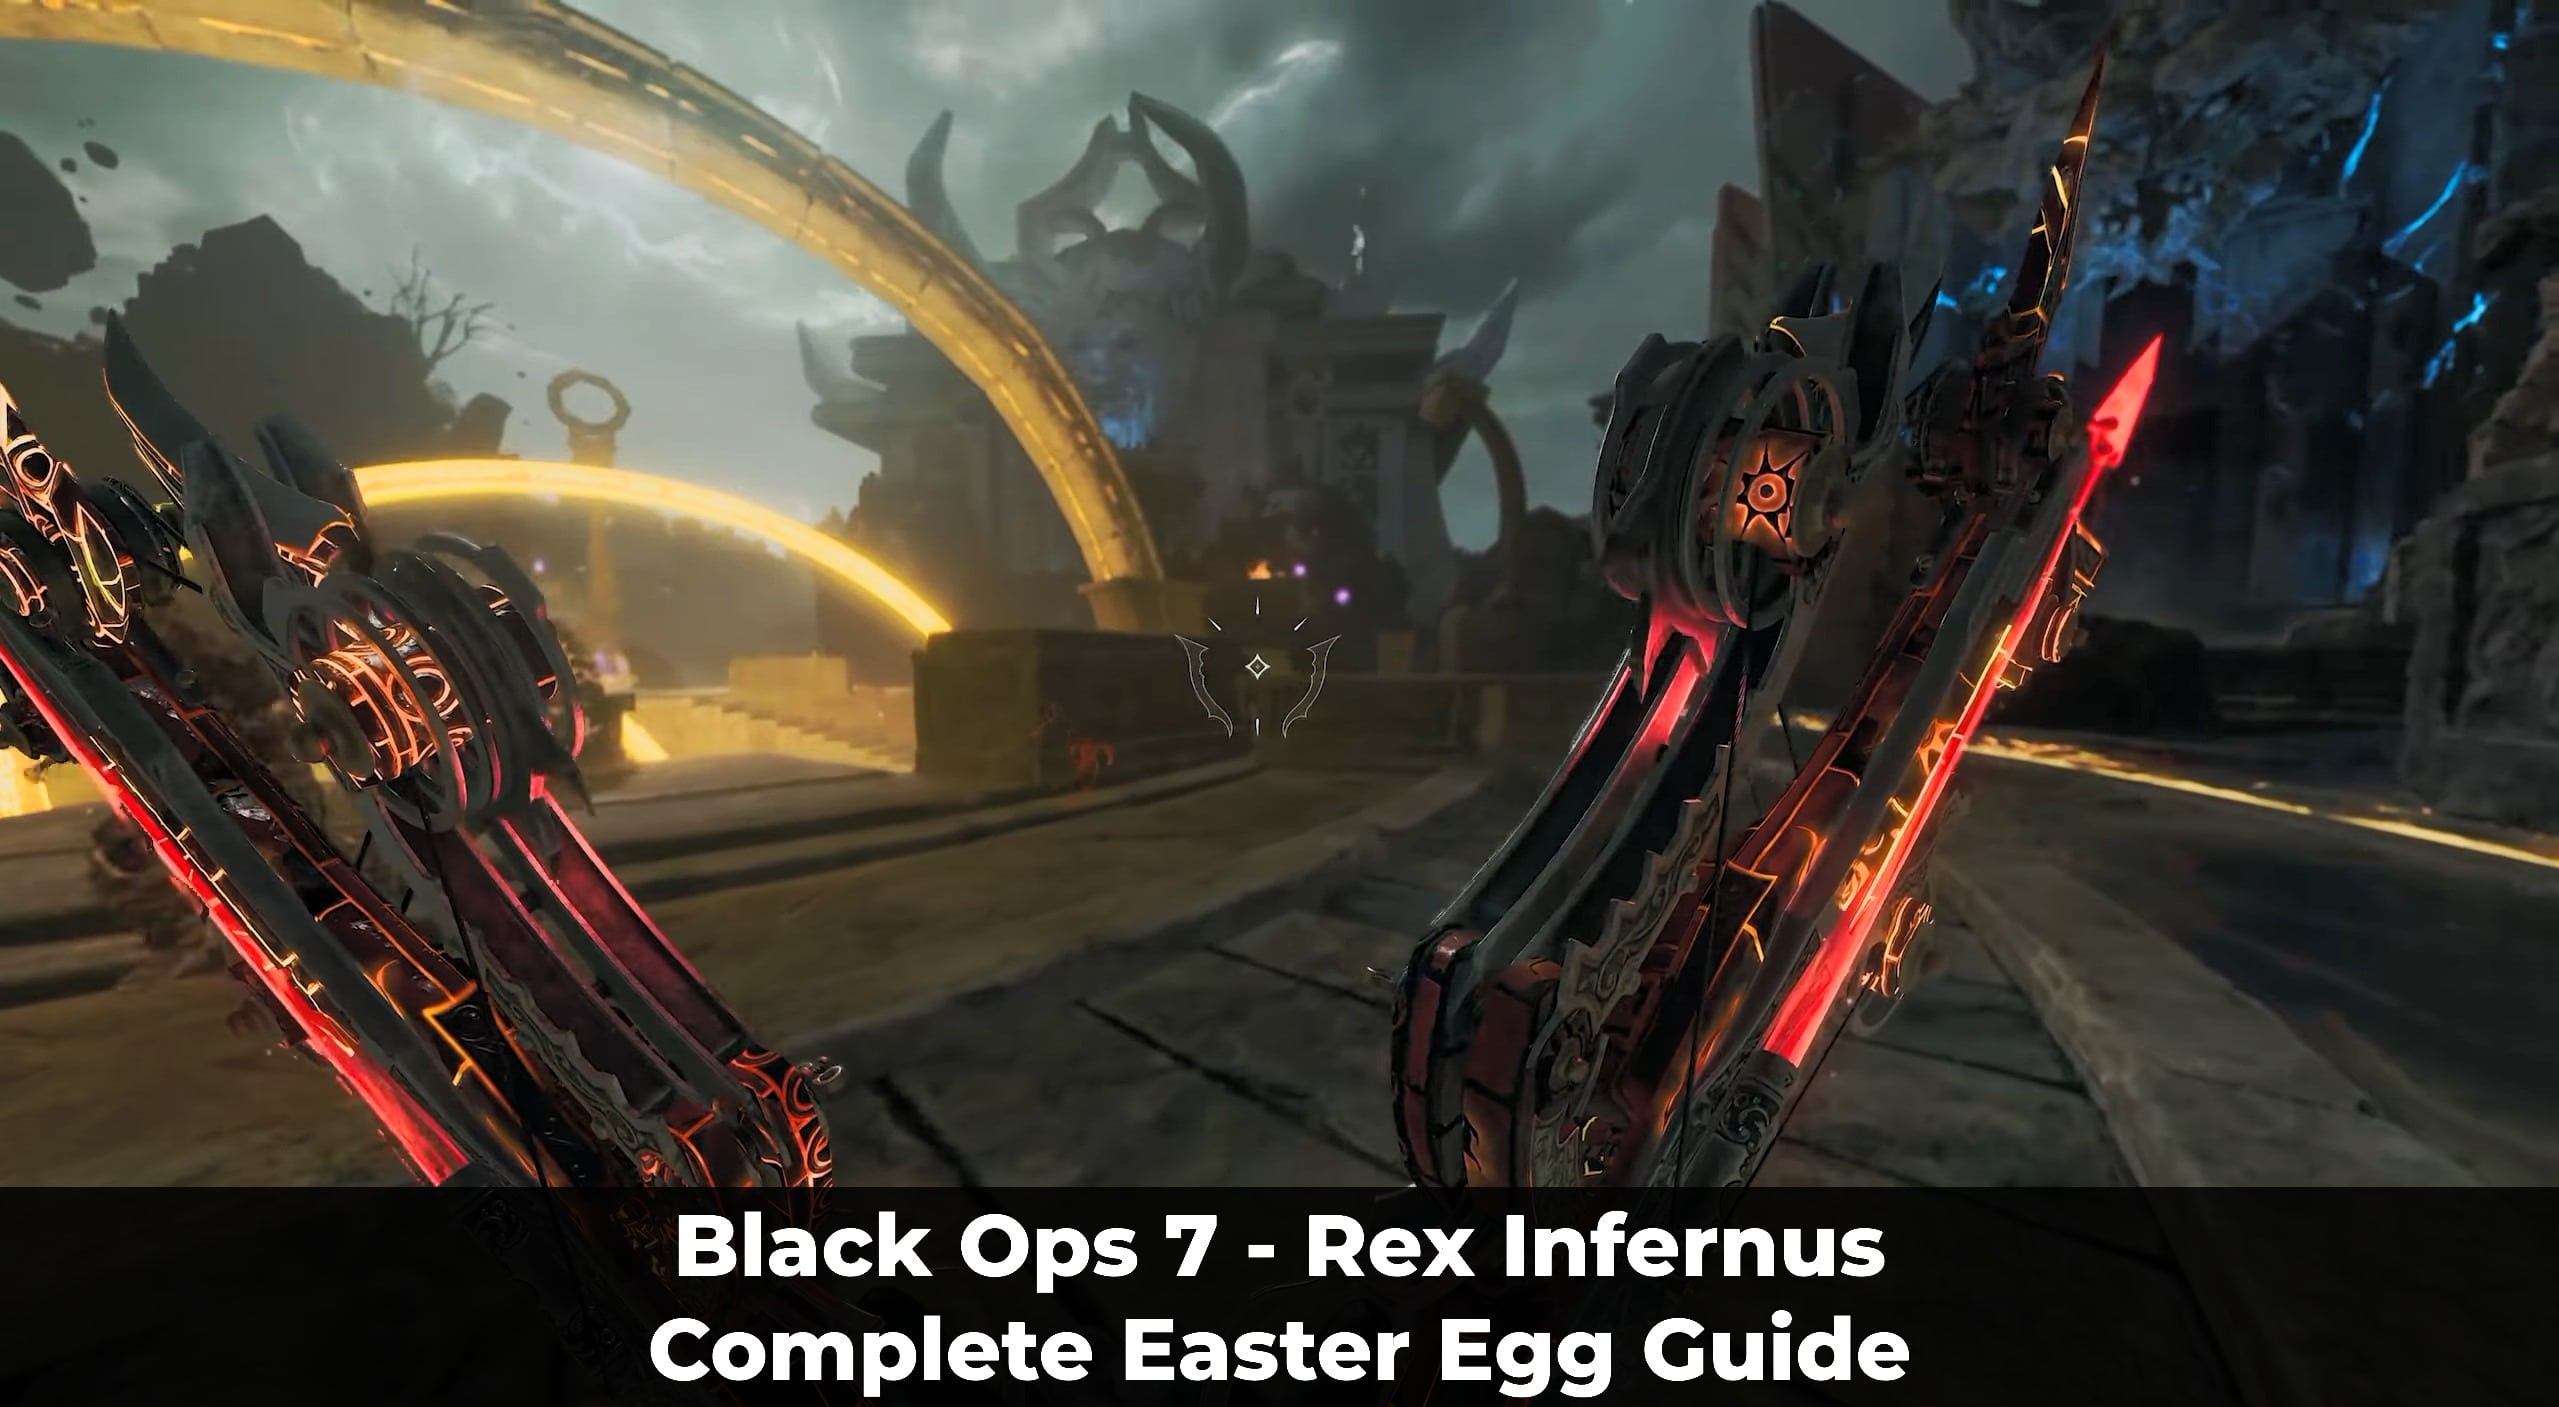
1. Rex Infernus Easter Egg Requirements
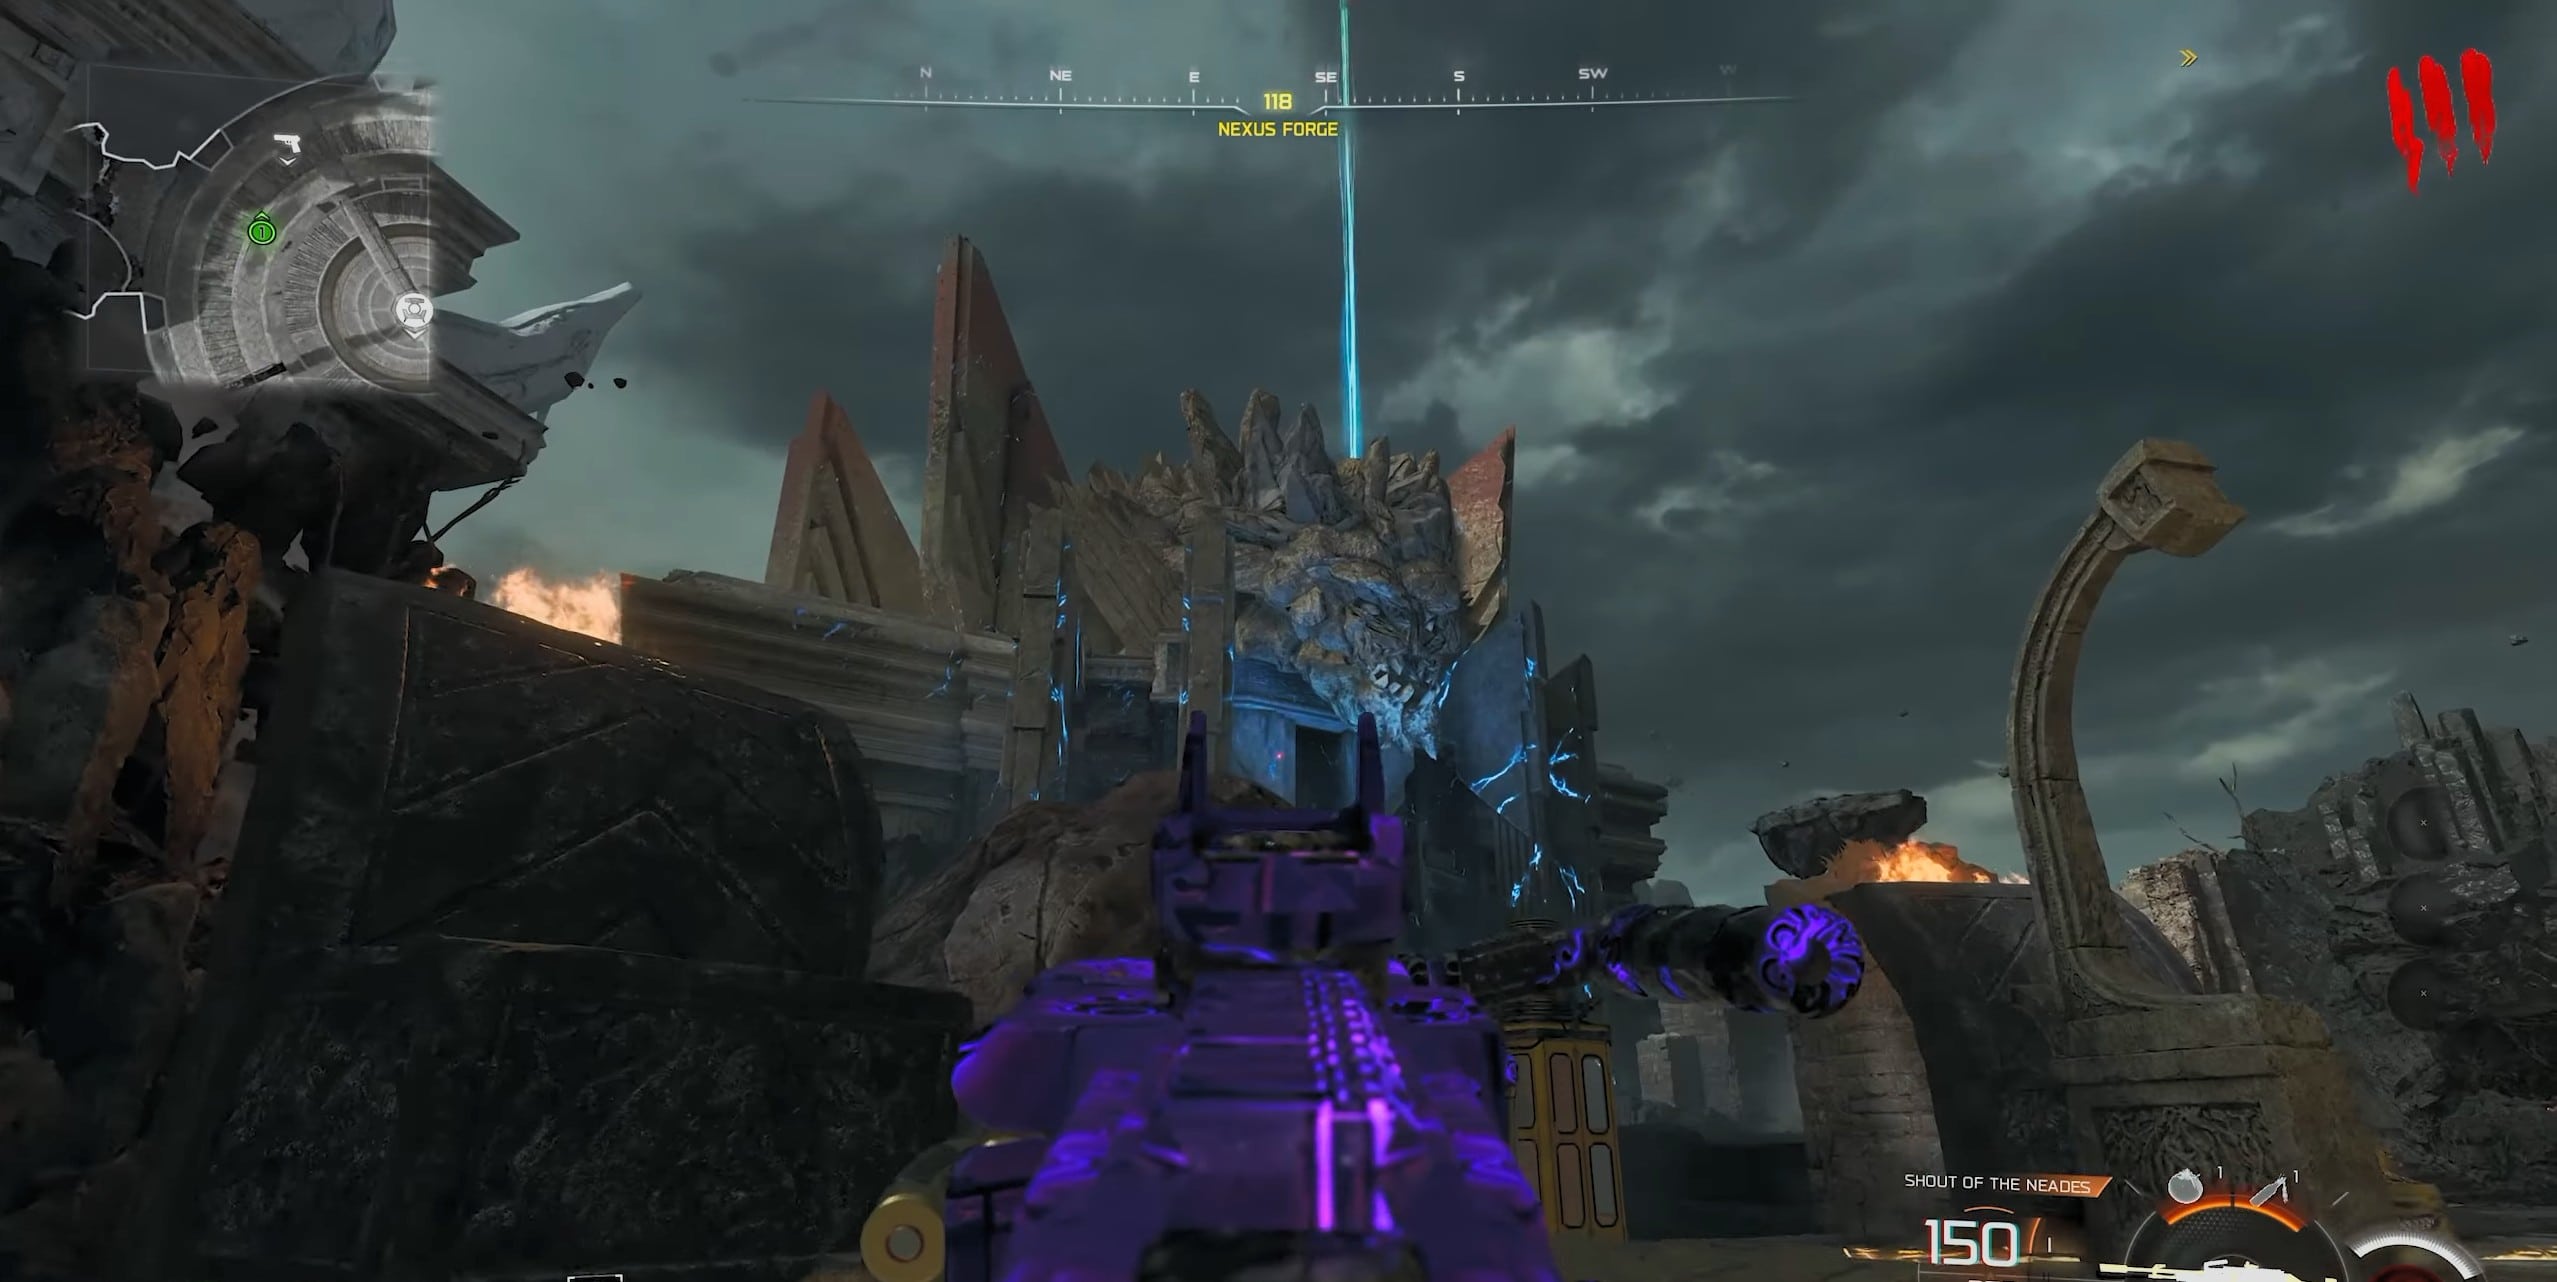
Nexus Forge
A few parts of the Easter Egg are locked behind specific rounds or equipment. Getting these ready early prevents you from wasting rounds later.
| Requirement | Level and Item Required |
|---|---|
| Quest Start | Reach Round 3 |
| Warden’s Blight Forest | Round 8 or higher |
| House/Exfil Step | Round 11, then every 5 rounds |
| Dravakar Offering | Shatter Blast |
| Nyxara Offering | Shadow Rift |
| Veytharion Puzzle | Death Perception |
| Warden’s Blight | Must be Pack-a-Punched |
| Recommended Field Upgrade | Aether Shroud |
2. Unlock Pack-a-Punch and the Void Claw
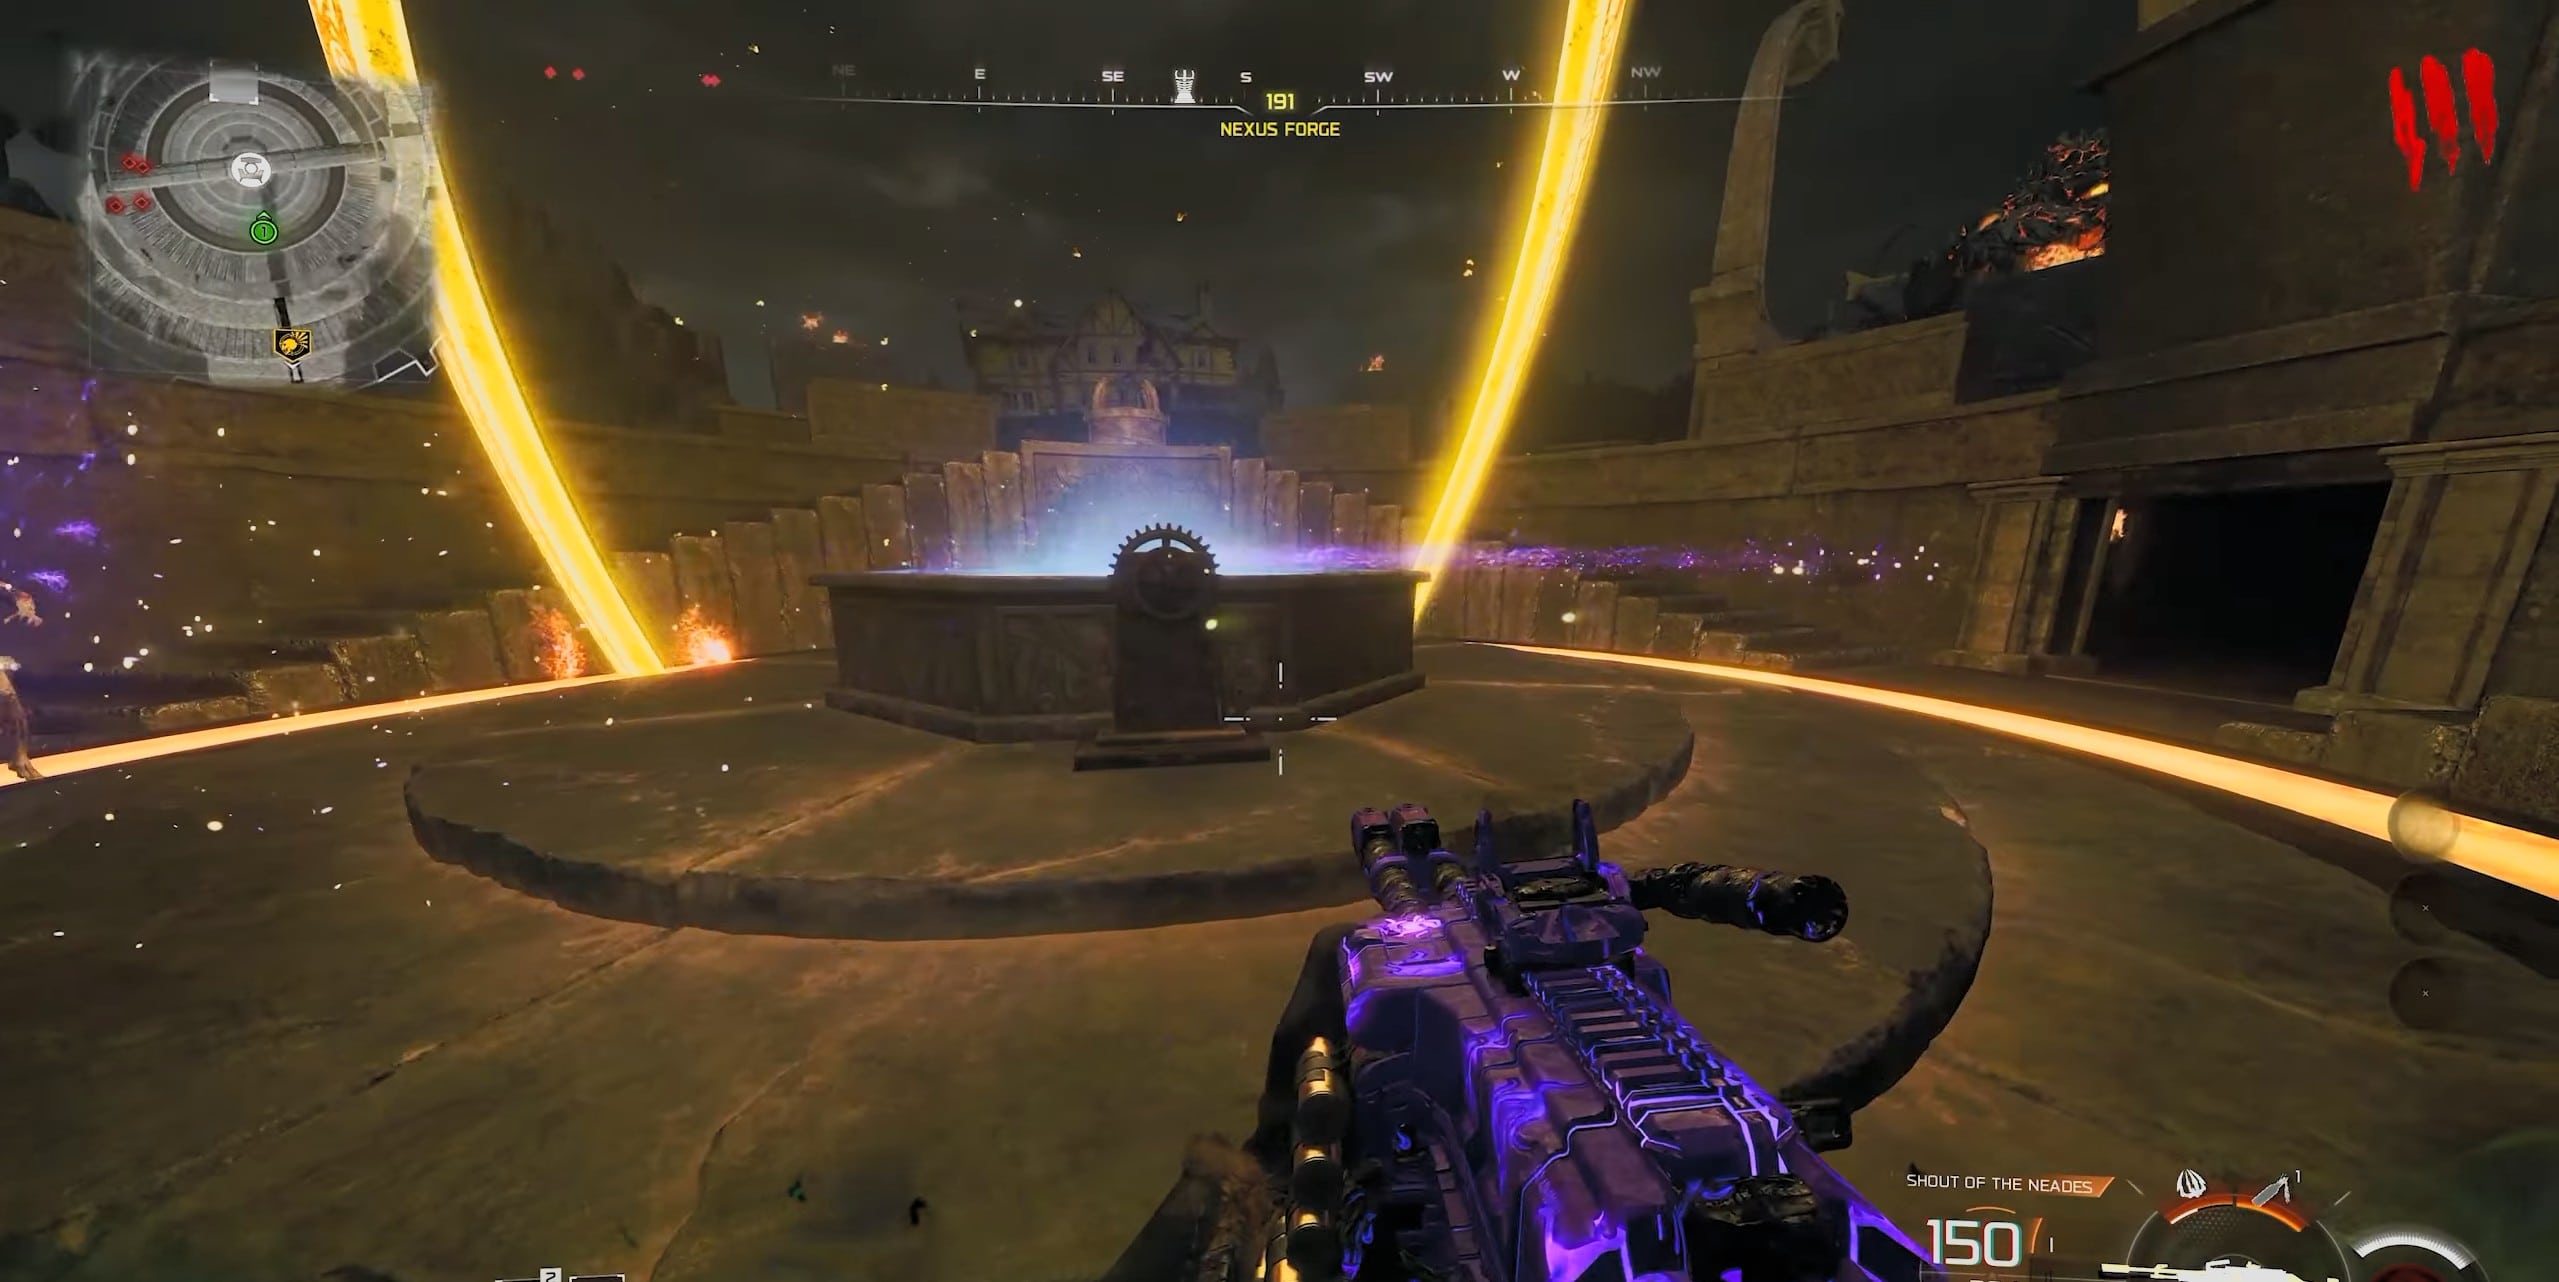
Pack-a-Punch unlock
The Easter Egg starts automatically inside Her House. Your first objective is simply to survive until the map allows you to reach the Nexus Forge.
- Survive inside Her House until Round 3 and answer the ringing phone downstairs.
- Leave through the opened front door and enter the portal to the Nexus Forge.
- Place the World Seed on the central pedestal to spawn two Dread Skulls.
- Shoot and follow the first Dread Skull into its temple, kill it, and collect the Usurped Flame it leaves behind.
- Return the flame to one of the two braziers at the Nexus Forge, then repeat the process with the second Dread Skull.
- Once both braziers are lit, interact with the Crank Wheels to lower the Forge and activate Pack-a-Punch.
- Go beneath the Nexus Forge and collect the Void Claw from its pedestal.
3. Build the Warden’s Blight Wonder Weapon
Warden’s Blight is mandatory because its charged shot is needed for several later Easter Egg puzzles. Building it requires the Astral Flame, the Fracture of Nyxara, three parts from the hidden forest, and Dravakar’s lever puzzle.
3.1. Create the Astral Flame
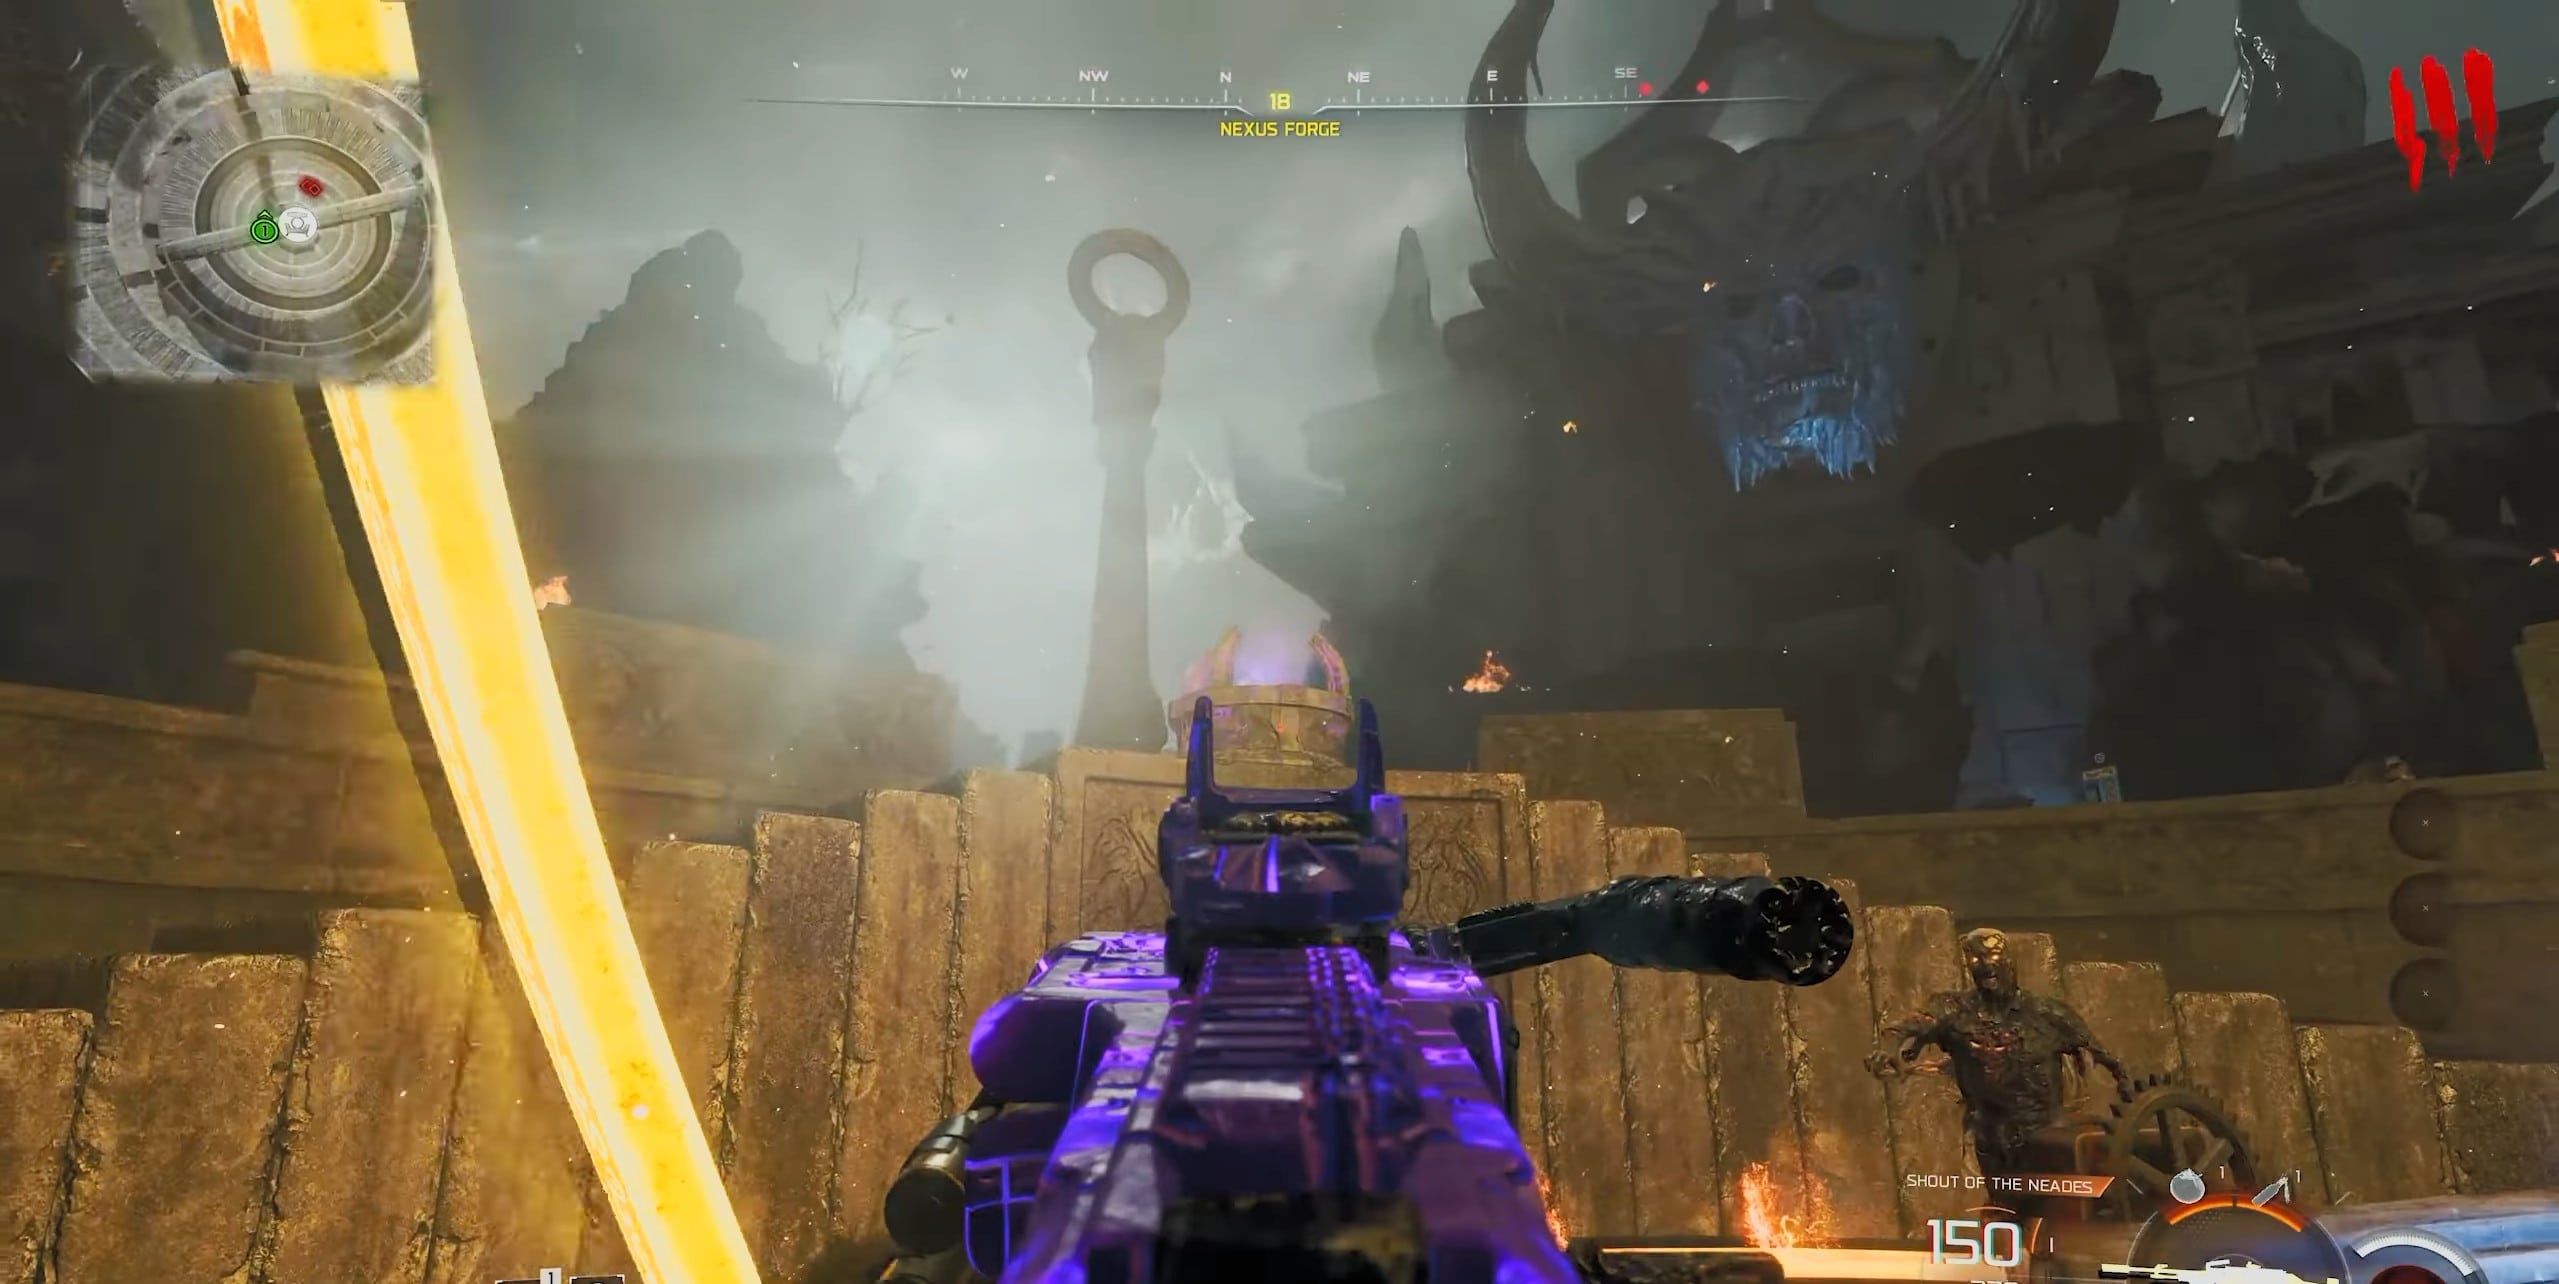
Activating Astral Flame
The Astral Flame becomes your main quest projectile and will be reused several times during the temple-cleansing steps.
- Pick up a Void Claw and look above the Nexus Forge for a floating purple orb.
- Grapple the orb and pull it into the center of Pack-a-Punch.
- Do not physically touch the orb, or it will disappear and turn into Salvage.
- Once the orb enters the Forge, immediately turn the Crank Wheel.
- Wait for the process to finish and two Astral Flames will appear beside Pack-a-Punch.
3.2. Get the Fracture of Nyxara
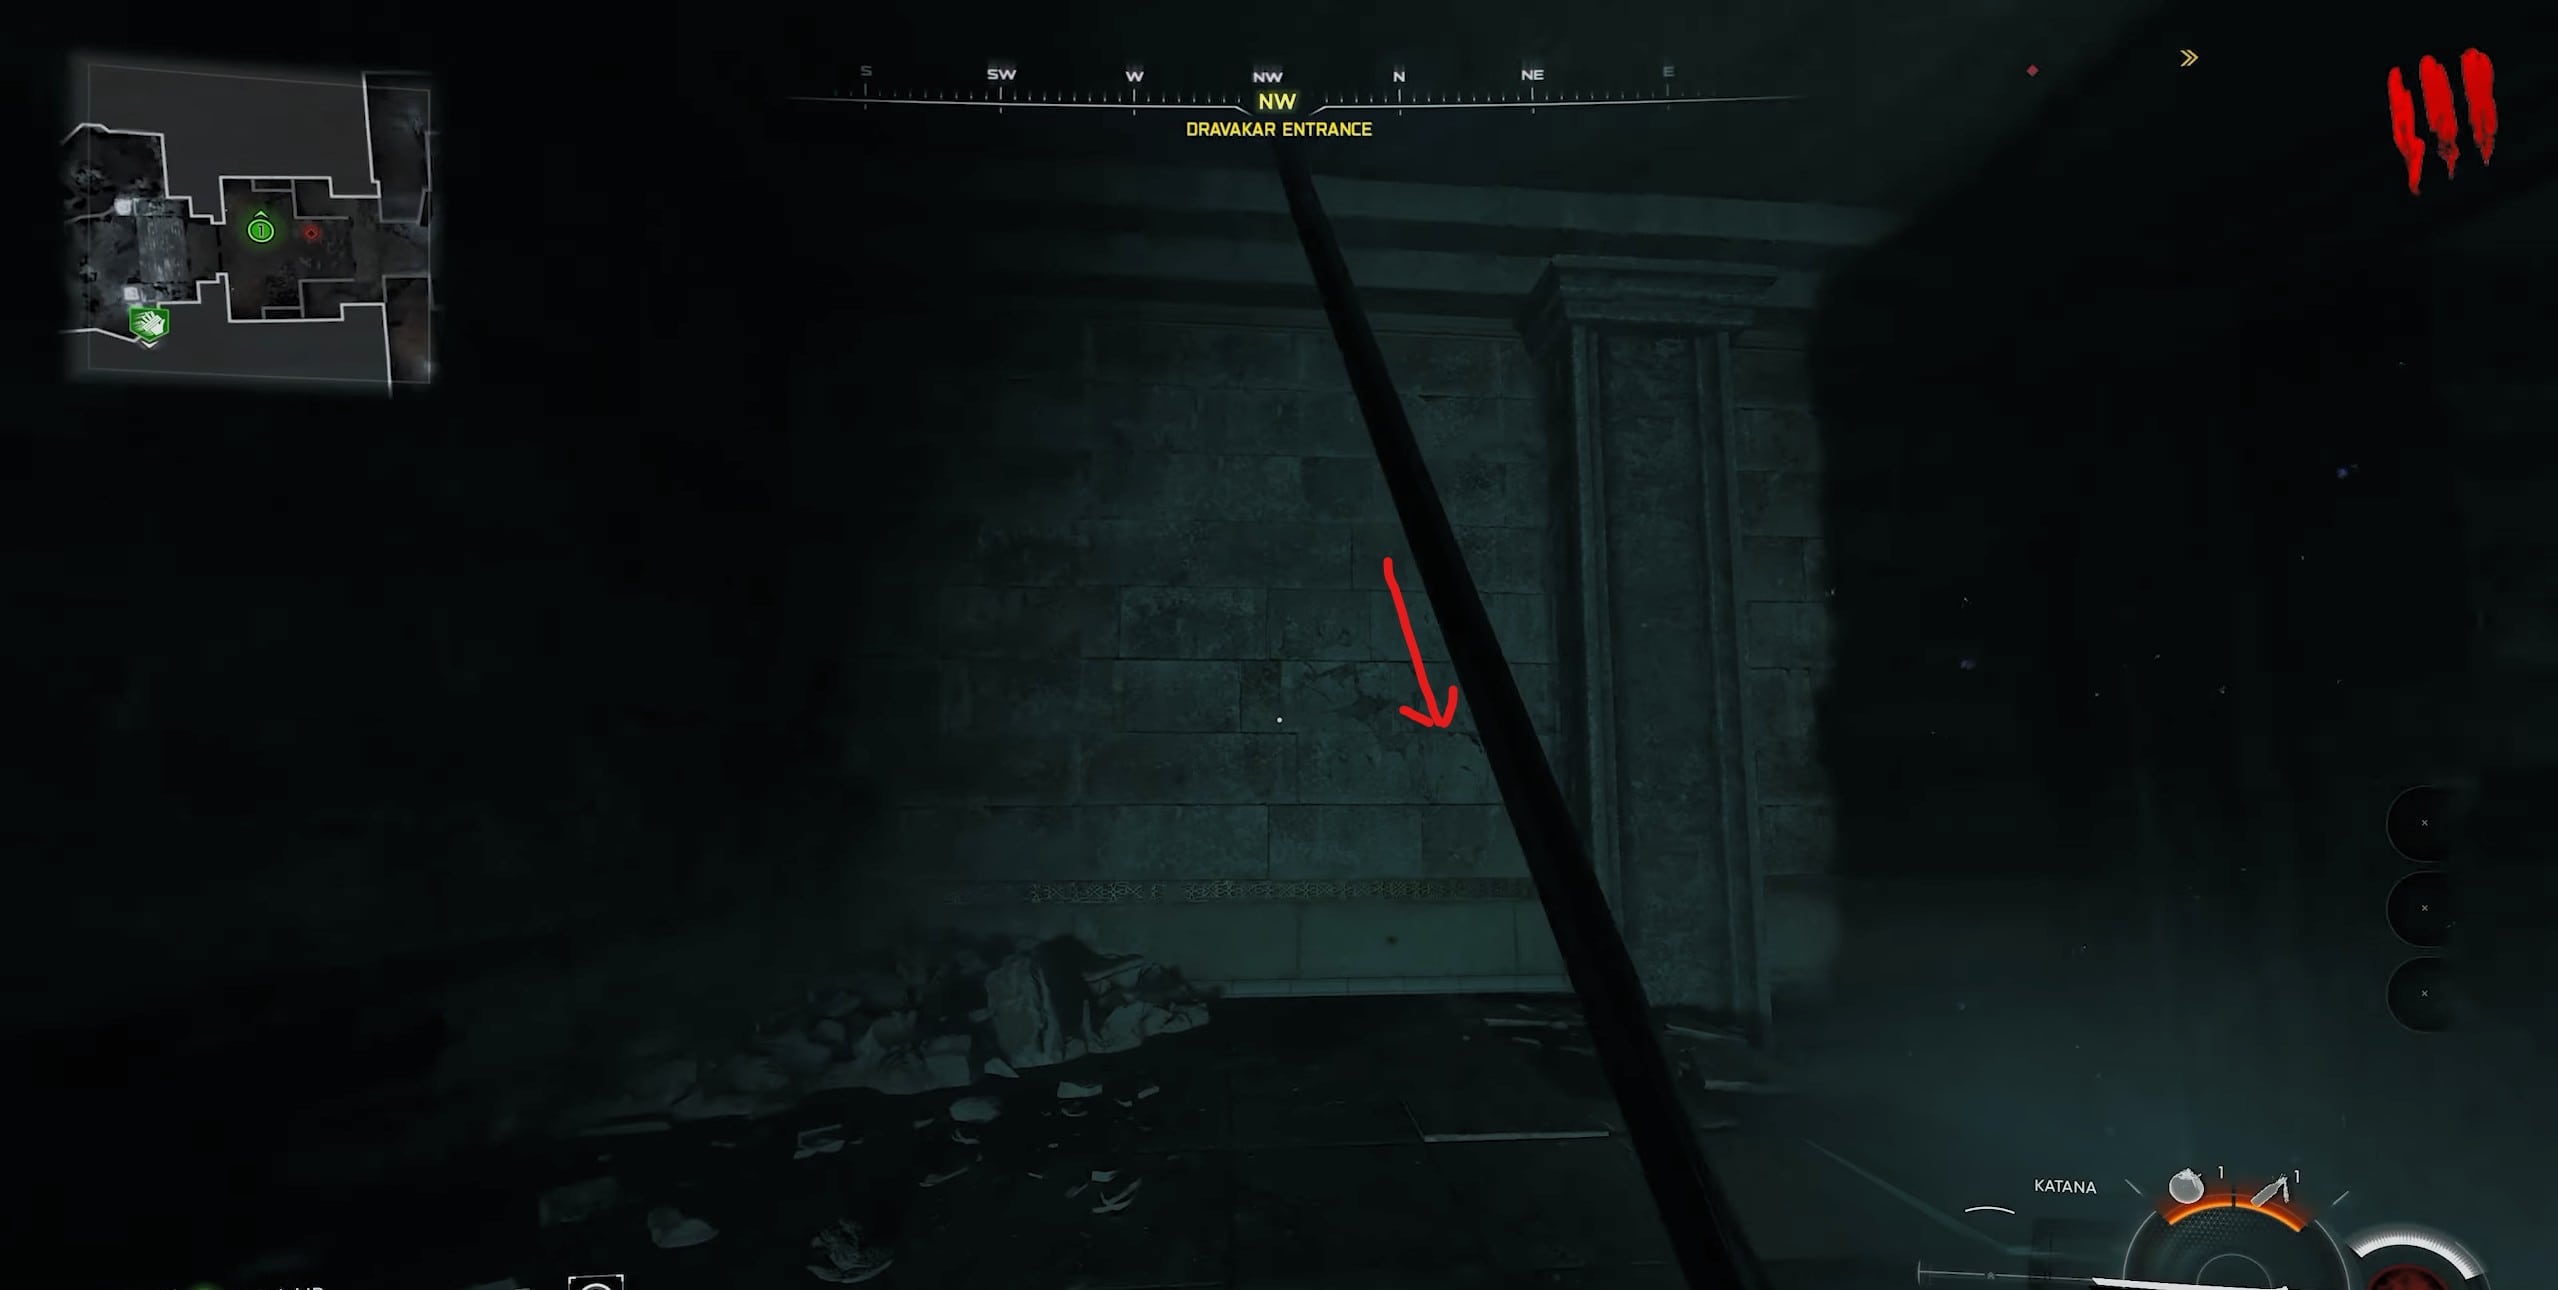
Fracture of Nyxara
The next objective opens the path into Nyxara’s Inner Sanctum, where you can reach the hidden forest containing the Wonder Weapon parts.
- Go to the Dravakar Main Chamber.
- Face southwest and use the Void Claw to reach the ledge above the entrance.
- Find the breakable section of the northwest wall.
- Destroy it with a grenade or another explosive.
- Pick up the Fracture of Nyxara behind the wall.
- Take it to Nyxara Main Chamber and place it into the empty pedestal on the north wall.
3.3. Open Nyxara’s Inner Sanctum
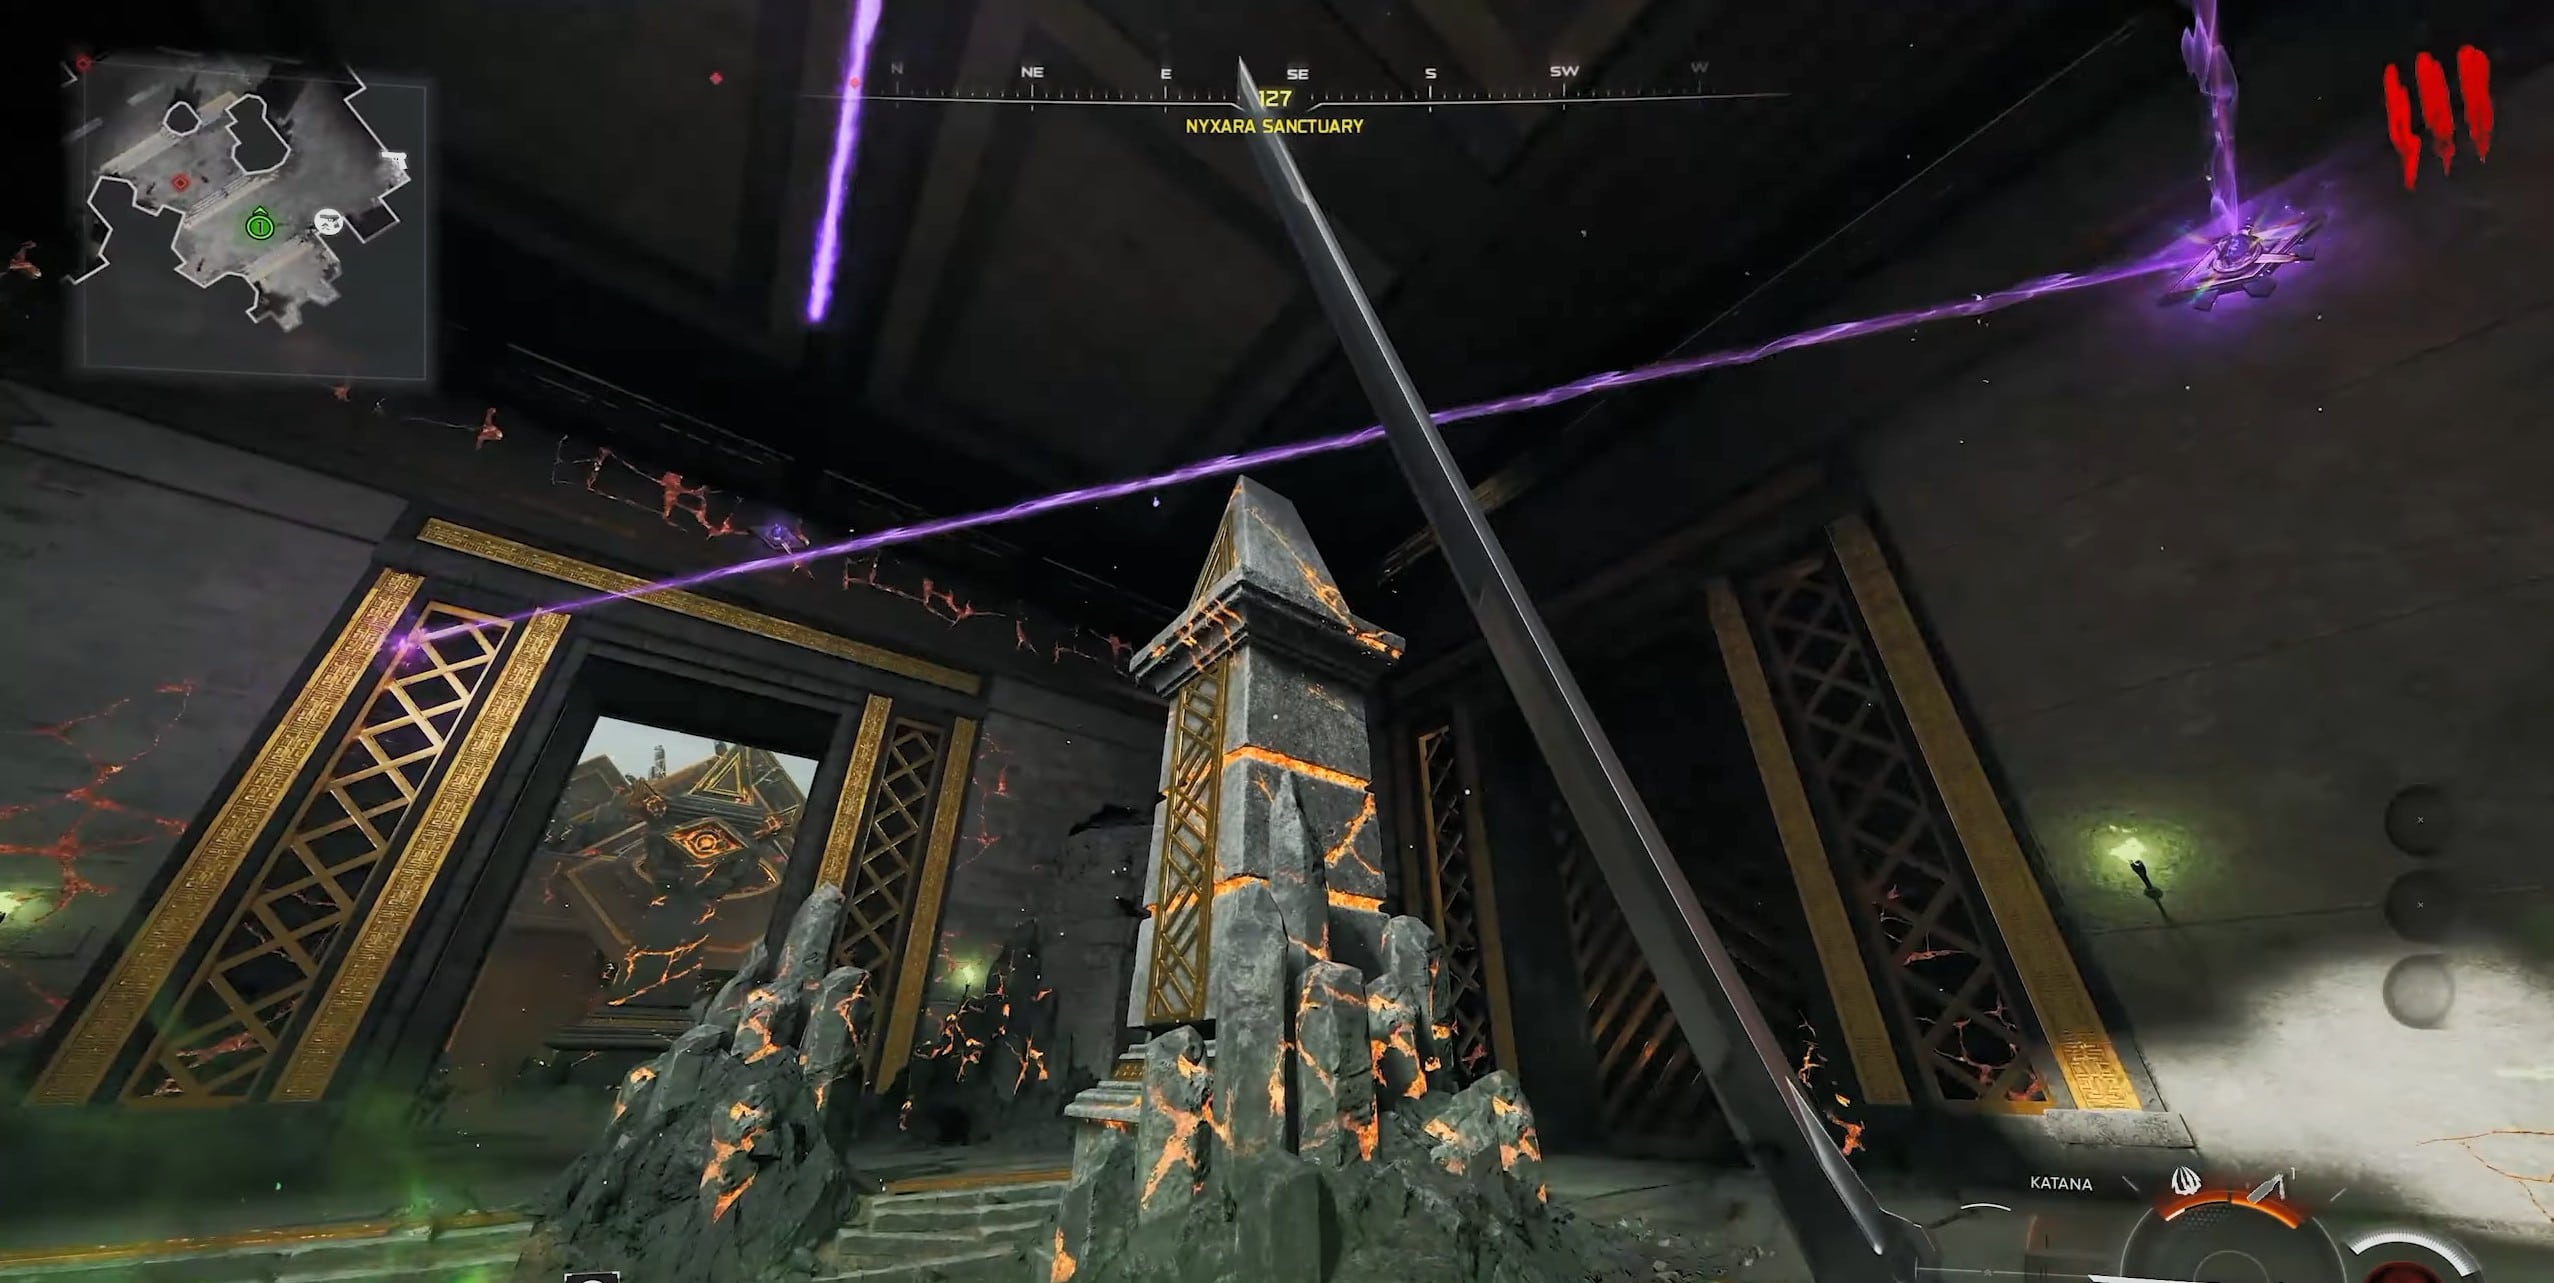
Using Grapple on Crystals
The Fracture completes the missing crystal required for Nyxara’s beam puzzle. You now need to redirect an Astral Flame through the temple.
- Return to the Nexus Forge and collect an Astral Flame.
- Travel to Nyxara Sanctuary.
- Face west and fire the Astral Flame into the large eye-shaped door.
- A purple projectile will begin bouncing between the crystals.
- Use the Void Claw on each crystal to rotate it and redirect the projectile.
- Continue guiding the beam into Nyxara Main Chamber.
- Redirect it into the locked door on the southern side to open the route to Nyxara Inner Sanctum.
The projectile is timed. If it disappears before reaching the final door, collect another Astral Flame and restart the sequence.
3.4. Get the Three Warden’s Blight Parts
Inside Nyxara Inner Sanctum is a strange tree that transports you into the hidden forest. This part cannot be completed before Round 8.
- Stand underneath the tree roots and allow them to drain your health.
- Once the tree is fed on Round 8 or later, interact with the fruit it produces.
- Eat the fruit to enter the hidden forest.
- Find the first corpse near a rock in the middle of the forest.
- Find the second beside the burned cabin and melee the wooden panel beside the corpse.
- Find the third corpse at the cave entrance in the back-left area.
- Interact with the corpses and collect all three Warden’s Blight parts.
If your time in the forest expires, feed the tree again on another round and return.
3.5. Solve the Dravakar Lever Puzzle
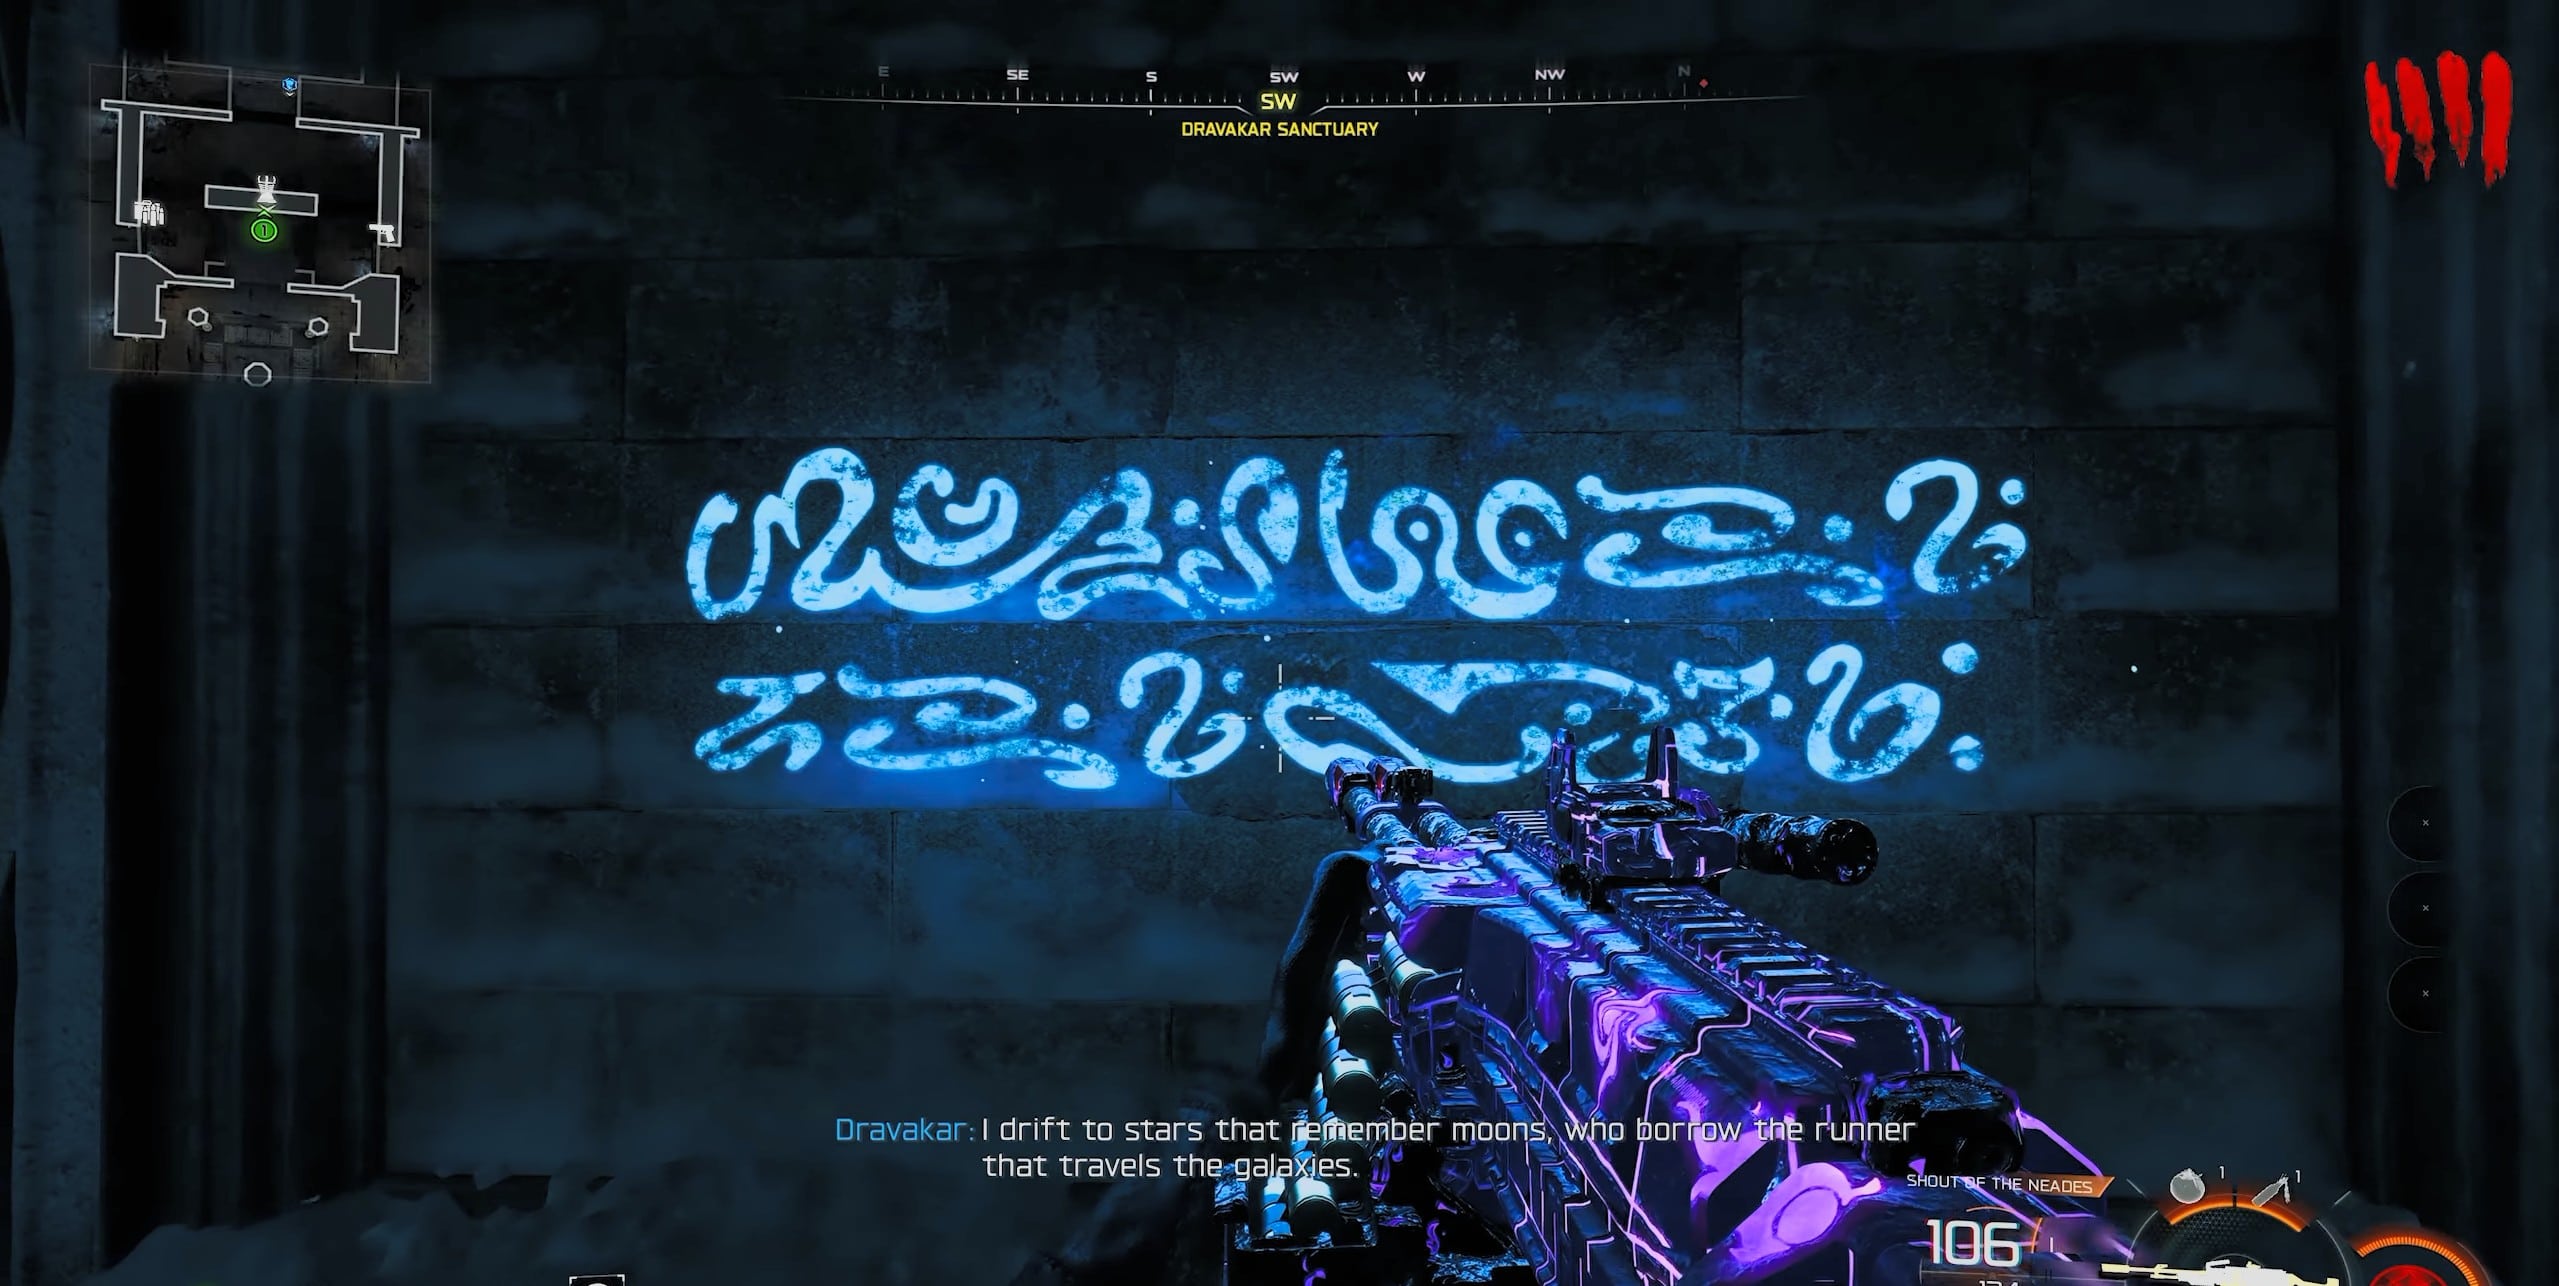
Dravakar Riddle Puzzle
After collecting all three pieces, travel to Dravakar Sanctuary and interact with the glowing blue writing on the southwest wall. Dravakar gives you one of four randomized riddles, and each has its own lever solution.
The three levers are:
- Lever 1: Northeast wall beside the Armor Wall-Buy.
- Lever 2: East wall near the Ammo Box.
- Lever 3: Southeast wall beside the GobbleGum Machine.
Use the dialogue you receive to find the correct solution.
| Dravakar Riddle | Lever Solution |
|---|---|
| “I remember the runner that travels to stars, while moons and galaxies stay true.” | Lever 2 ×2, Lever 3 ×3 |
| “I drift to the runner that travels moons, who borrows from galaxies when stars stay true.” | Lever 1 ×3, Lever 2 ×2, Lever 3 ×1 |
| “I drift to stars that remember moons, who borrow the runner that travels the galaxy.” | Lever 1 ×1, Lever 2 ×2, Lever 3 ×2 |
| “I remember galaxies that drift to moons, who borrow the runner that travels the stars.” | Lever 1 ×2, Lever 3 ×2 |
After entering the correct sequence:
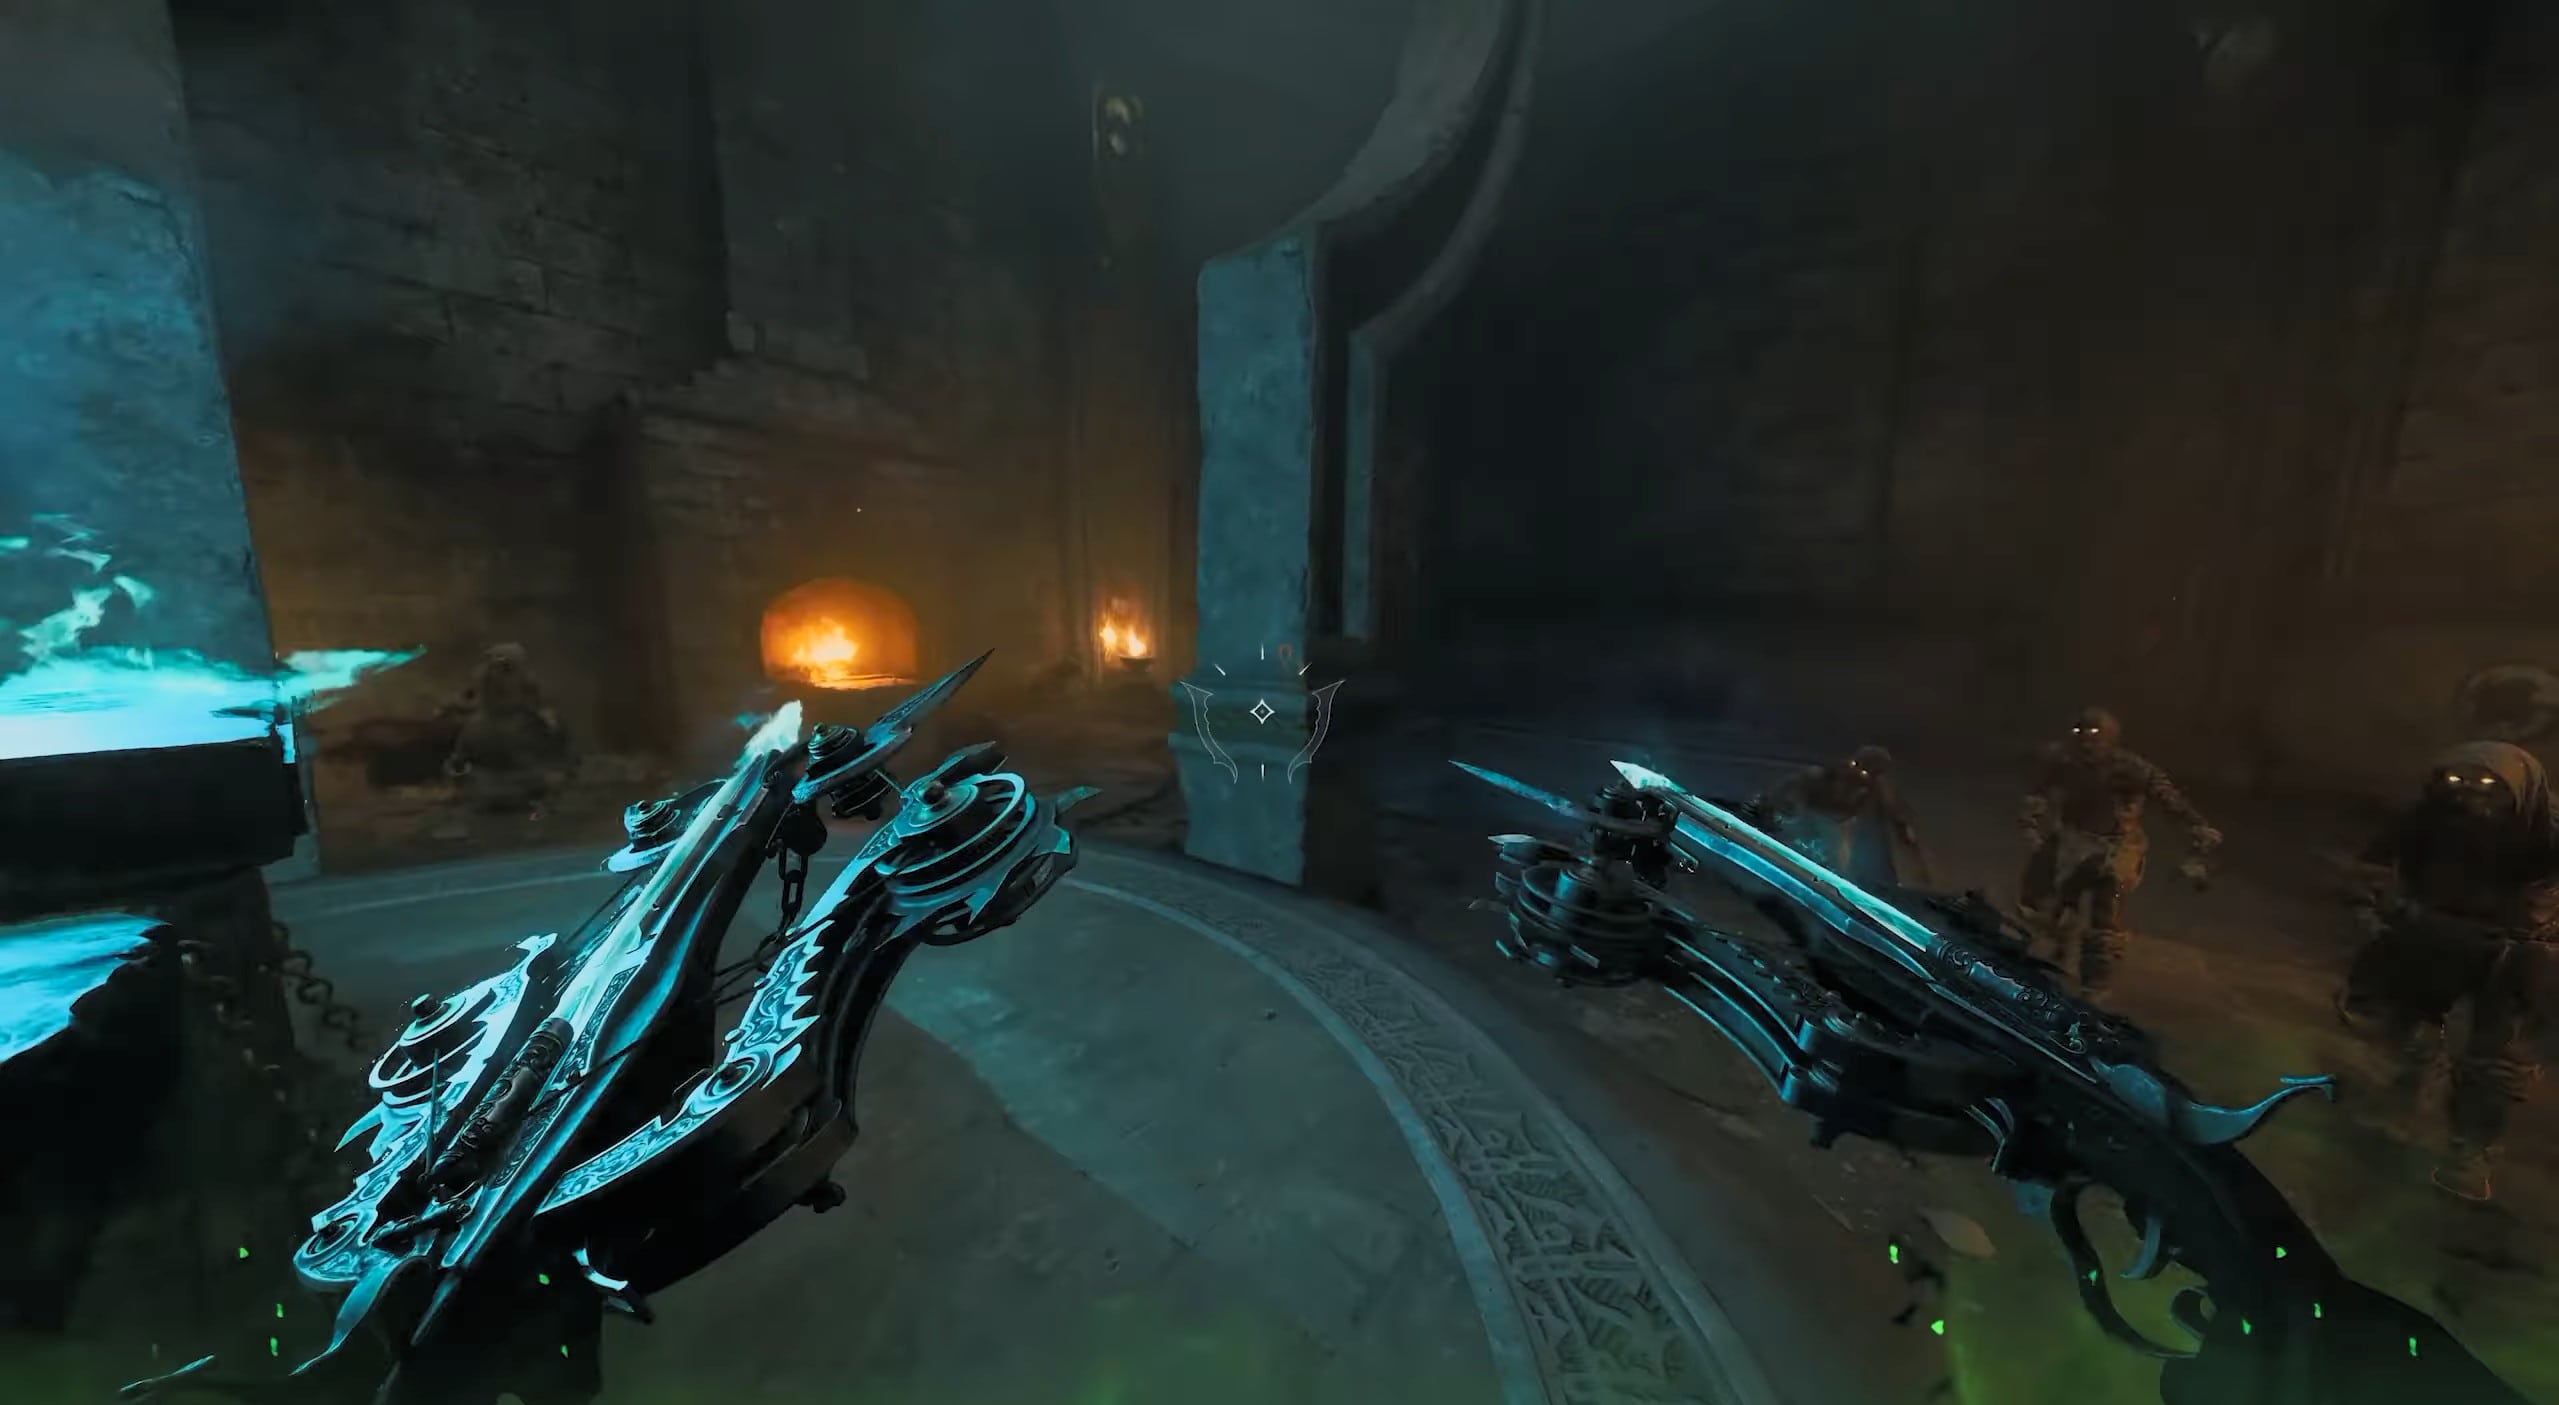
Warden’s Blight Weapon
- Interact with the central pillar.
- The pillar will lower if the solution is correct.
- Look toward the newly opened ceiling.
- Use the Void Claw to reach Dravakar Inner Sanctum.
- Interact with Dravakar’s Anvil.
- Collect Warden’s Blight.
- Immediately Pack-a-Punch Warden’s Blight, as its charged shot is required from this point onward.
4. Get the Eye of the Forge and Upgrade the Void Claw
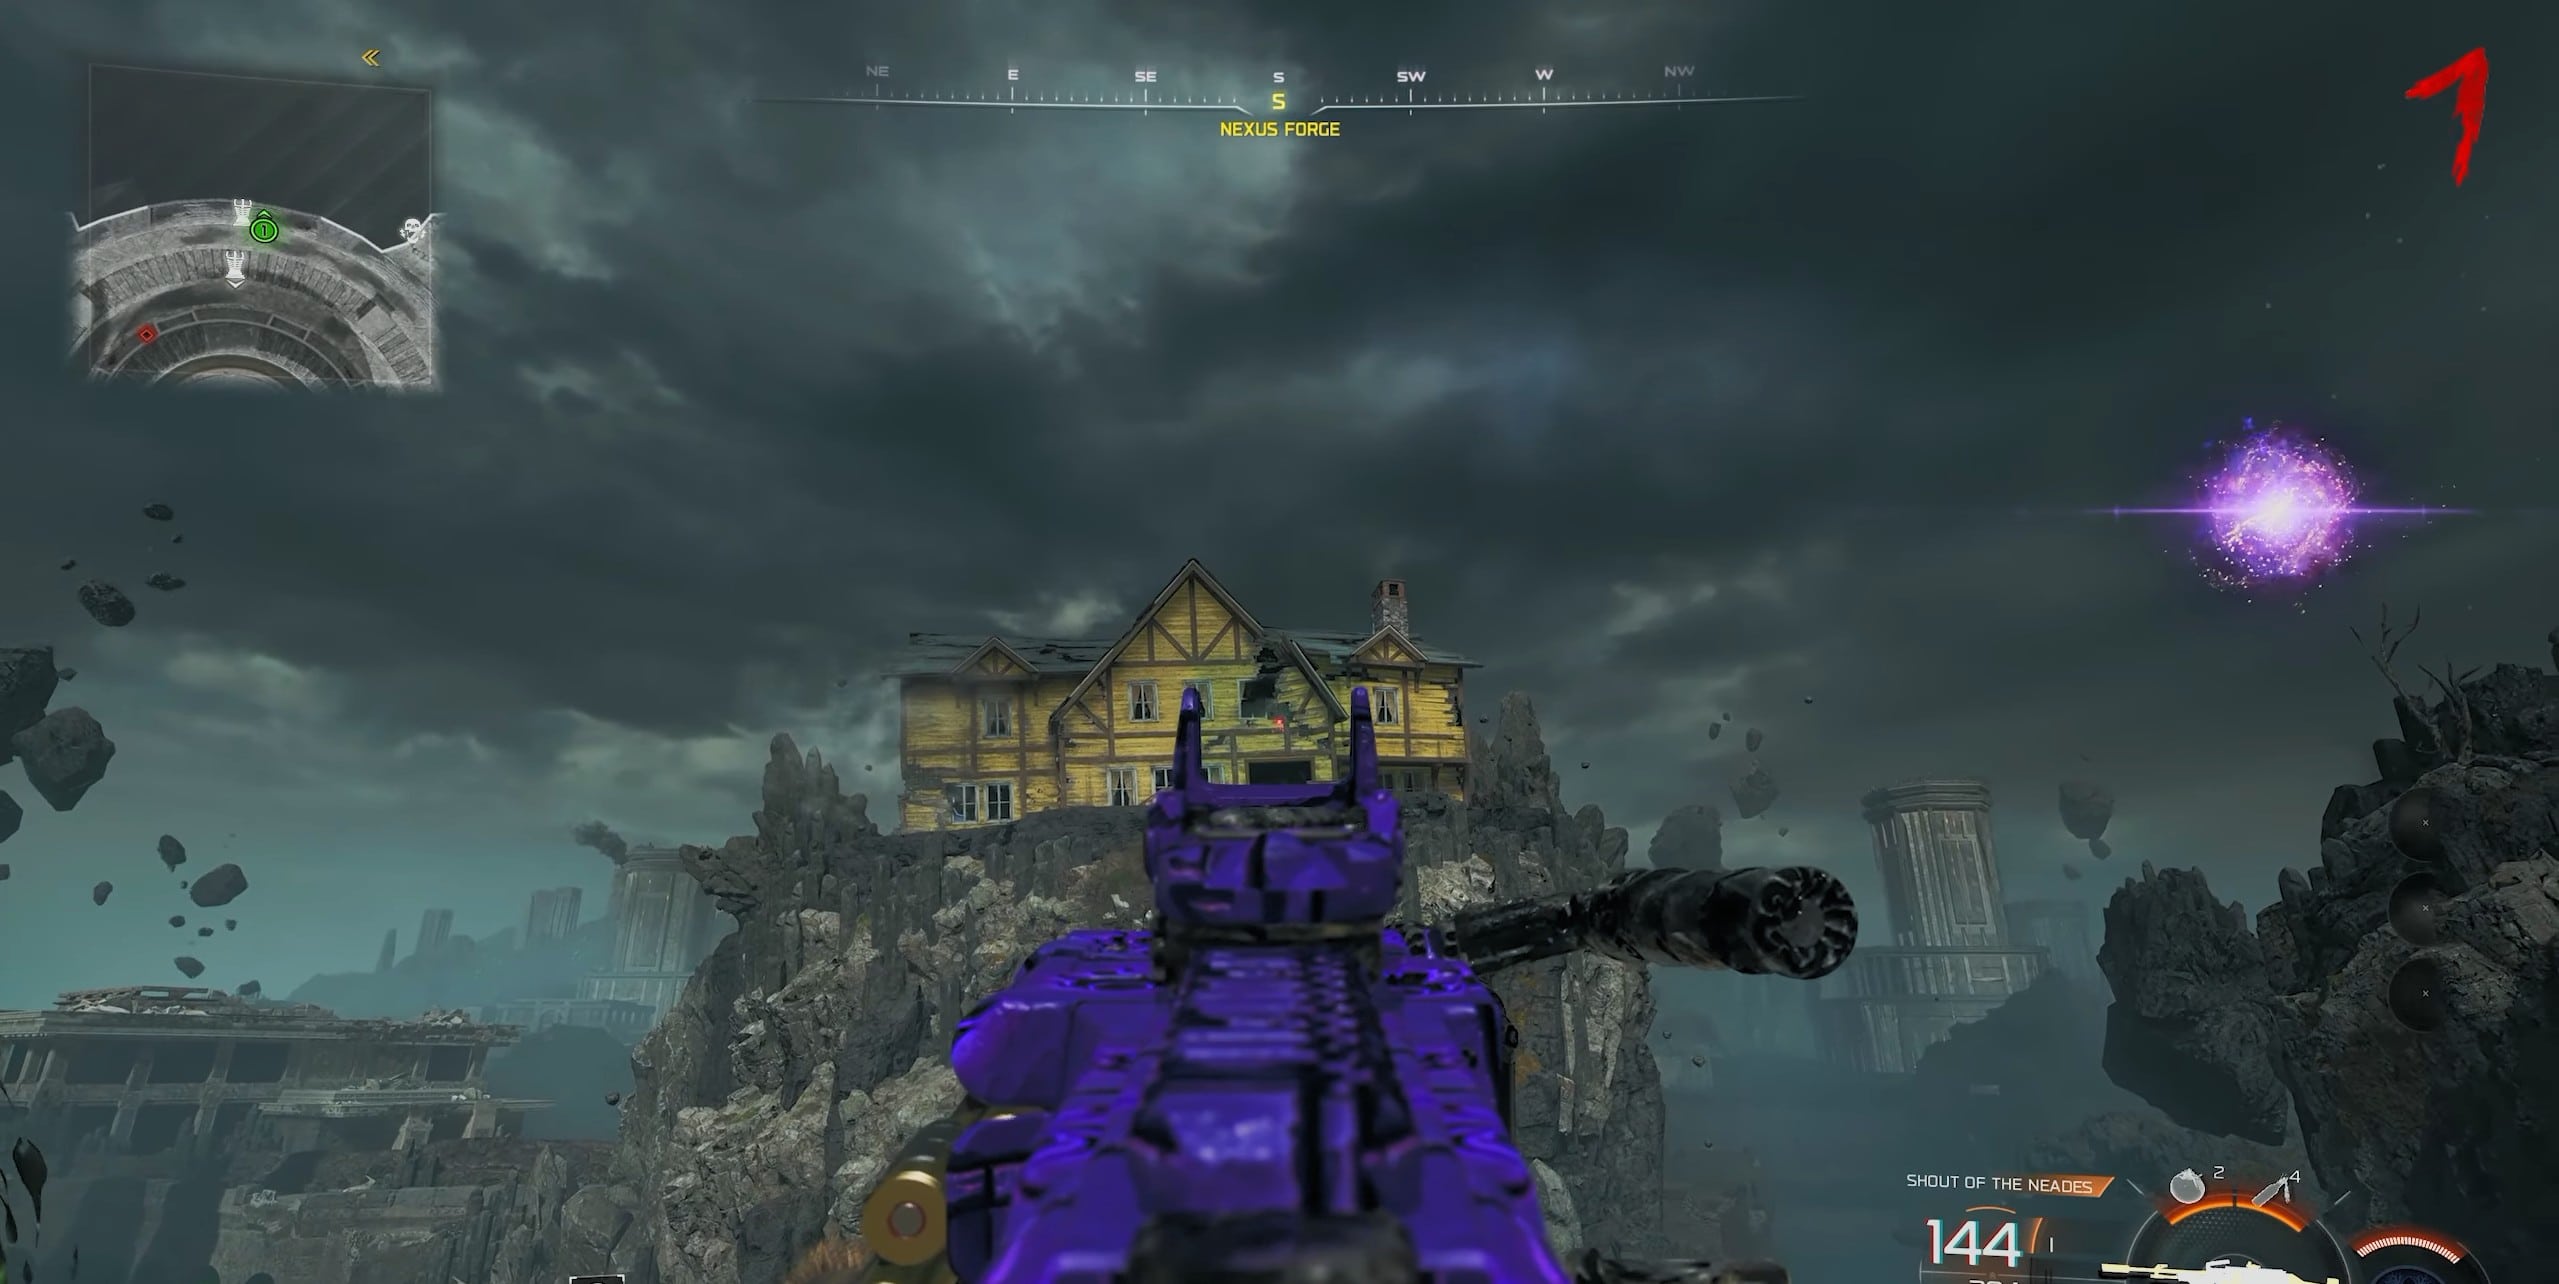
Nexus Forge Purple Orbs
The standard Void Claw is not powerful enough for the next Nexus Forge puzzle. You need the Eye of the Forge to permanently upgrade one Void Claw pedestal.
- Stand at the Nexus Forge and look toward Her House with a scoped weapon.
- Shoot the basketball in the collapsed roof to make the first symbol appear on the house.
- Advance rounds until you have seen four symbols, remembering the exact order in which they appeared.
- On the next Exfil Round, shoot those four symbols in the same order.
- Start the Exfil and kill the HVT to be teleported back inside Her House.
- Go upstairs and fire a charged Warden’s Blight shot into the bathroom to release the Eye of the Forge.
- Collect the Eye, survive the enemy attack, answer the phone, and return to the Nexus Forge.
- Place the Eye of the Forge into a Void Pedestal to permanently upgrade the Void Claw at that pedestal.
5. Repair the Nexus Forge
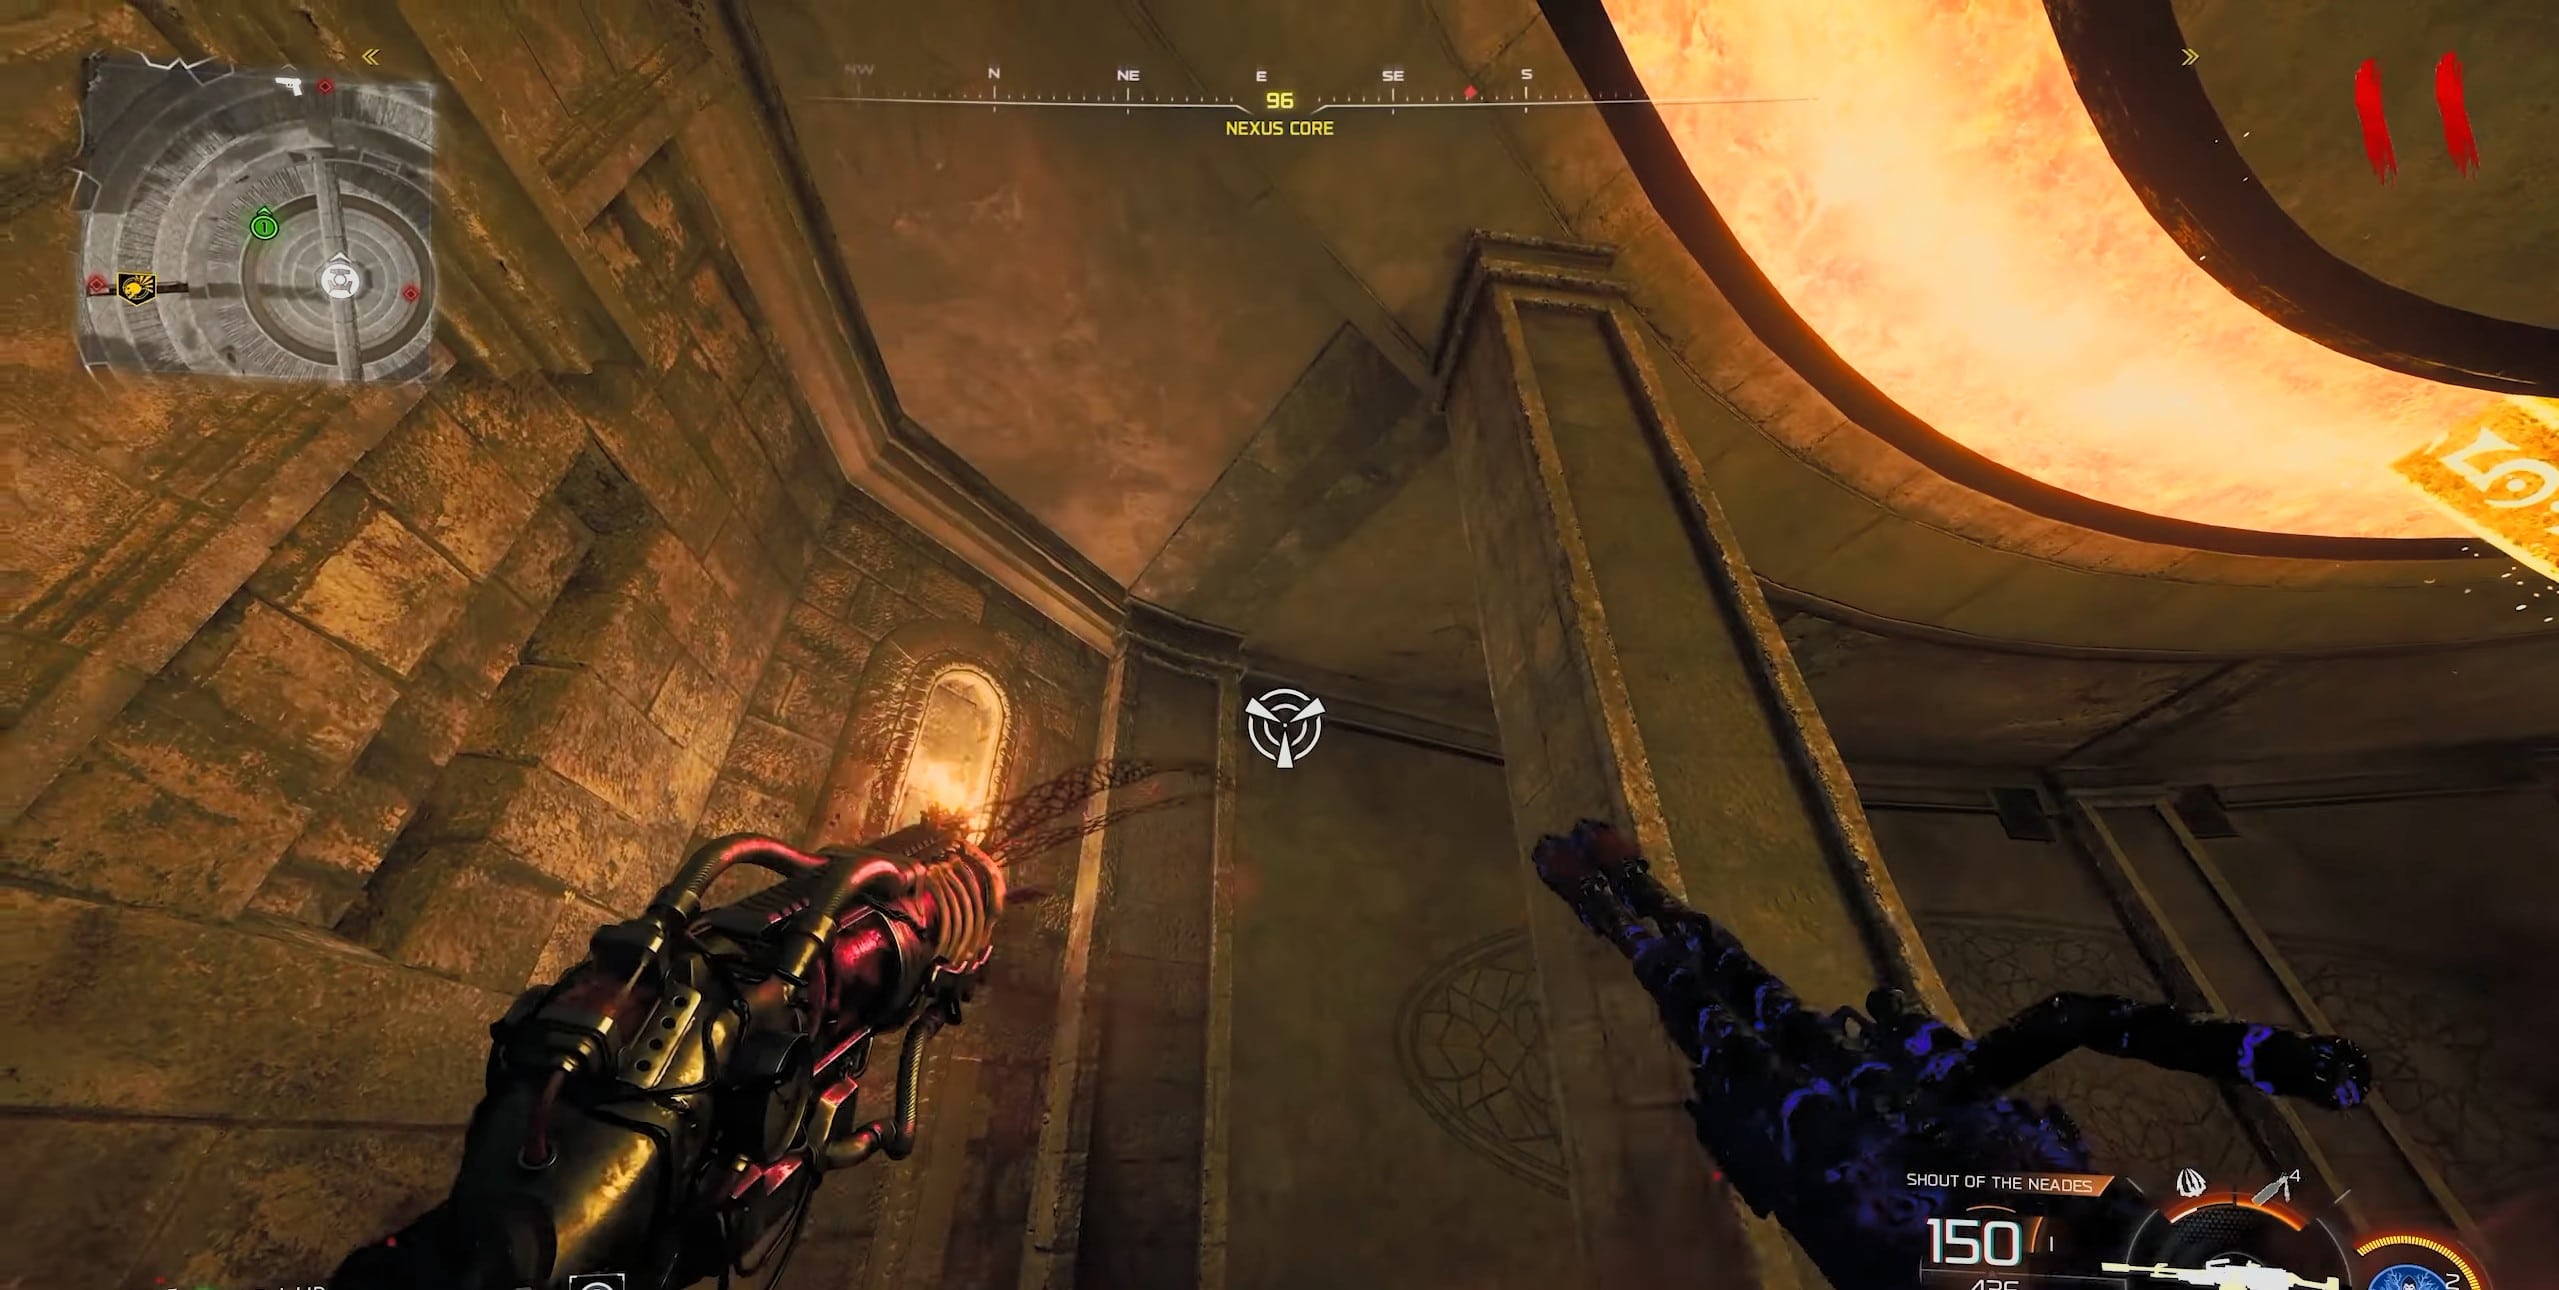
Repairing Nexus Core
Repairing the Nexus Forge allows you to redirect its beam toward each of the four Shadowsmith temples. You need the upgraded Void Claw from the previous step before these targets can be destroyed.
- Use the upgraded Void Claw to destroy the three marked squares on the pillars surrounding Pack-a-Punch.
- Destroy another six squares on the west wall underneath Pack-a-Punch.
- Destroy the six squares on the east wall as well.
- Blow apart the webs exposed behind the east and west walls using explosives or Warden’s Blight.
- Turn the Crank Wheels to Surge the Nexus.
- Pull the lever underneath Pack-a-Punch to lock the mechanism into position.
- Use the three new Forge controls to redirect the blue beam into the face of whichever Shadowsmith temple you want to cleanse.
6. Solve the Veytharion Stone Block Puzzle
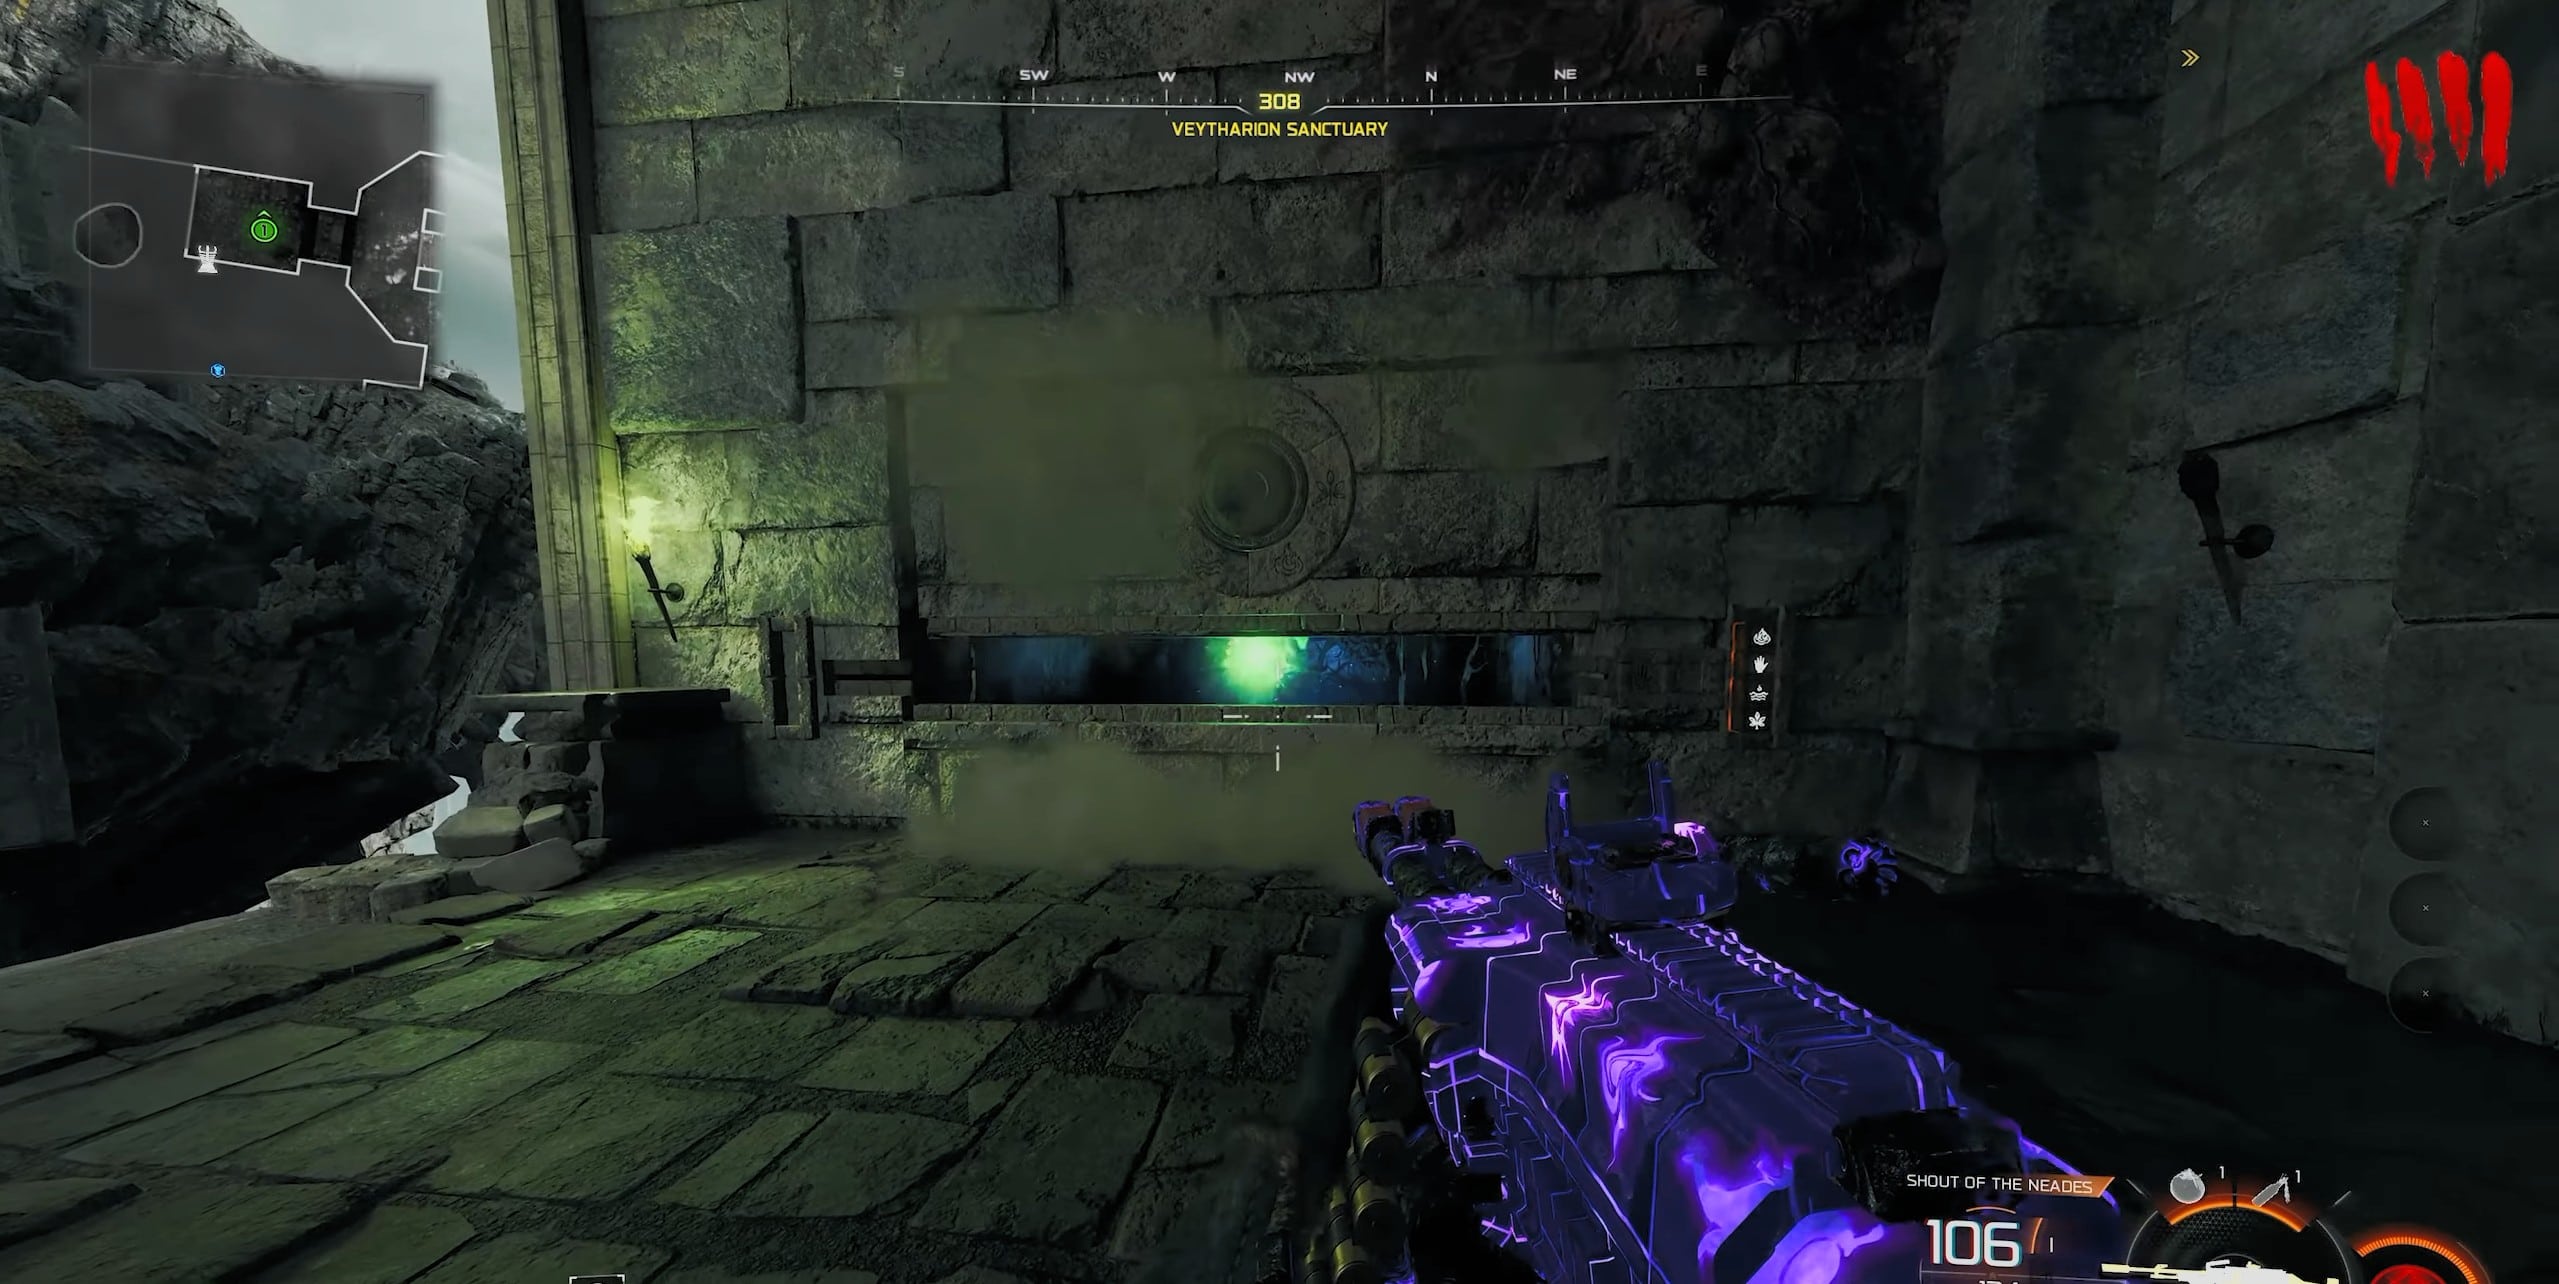
Veytharion Stone Block Puzzle
Before cleansing the temples, complete the Veytharion Sanctuary block puzzle. This unlocks the portal that creates rain, and rain is required to finish every temple cleanse. Equip Death Perception first so you can see the hidden blocks.
- Find the four blocks in Veytharion Sanctuary and drag them to the northwest puzzle wall.
- Stack the left column from bottom to top as Fire → Air/Hand → Earth/Leaf → Water/Waves.
- Move Fire and Air to the transfer slots and shoot the center dial to send them right.
- Keep Fire on the right, return Air left, then transfer Water and Air right.
- Stack the right side as Fire → Air → Water, then move Fire and Air back left.
- Transfer Earth and Air to the right and place Earth above Water.
- Send Air back left, add Fire, then transfer Fire and Air to the right again.
- Finish the right column from bottom to top as Water → Earth → Air → Fire.
- The wall opens, revealing the rain portal. Interact with it to complete the puzzle.
7. Cleanse All Four Shadowsmith Temples
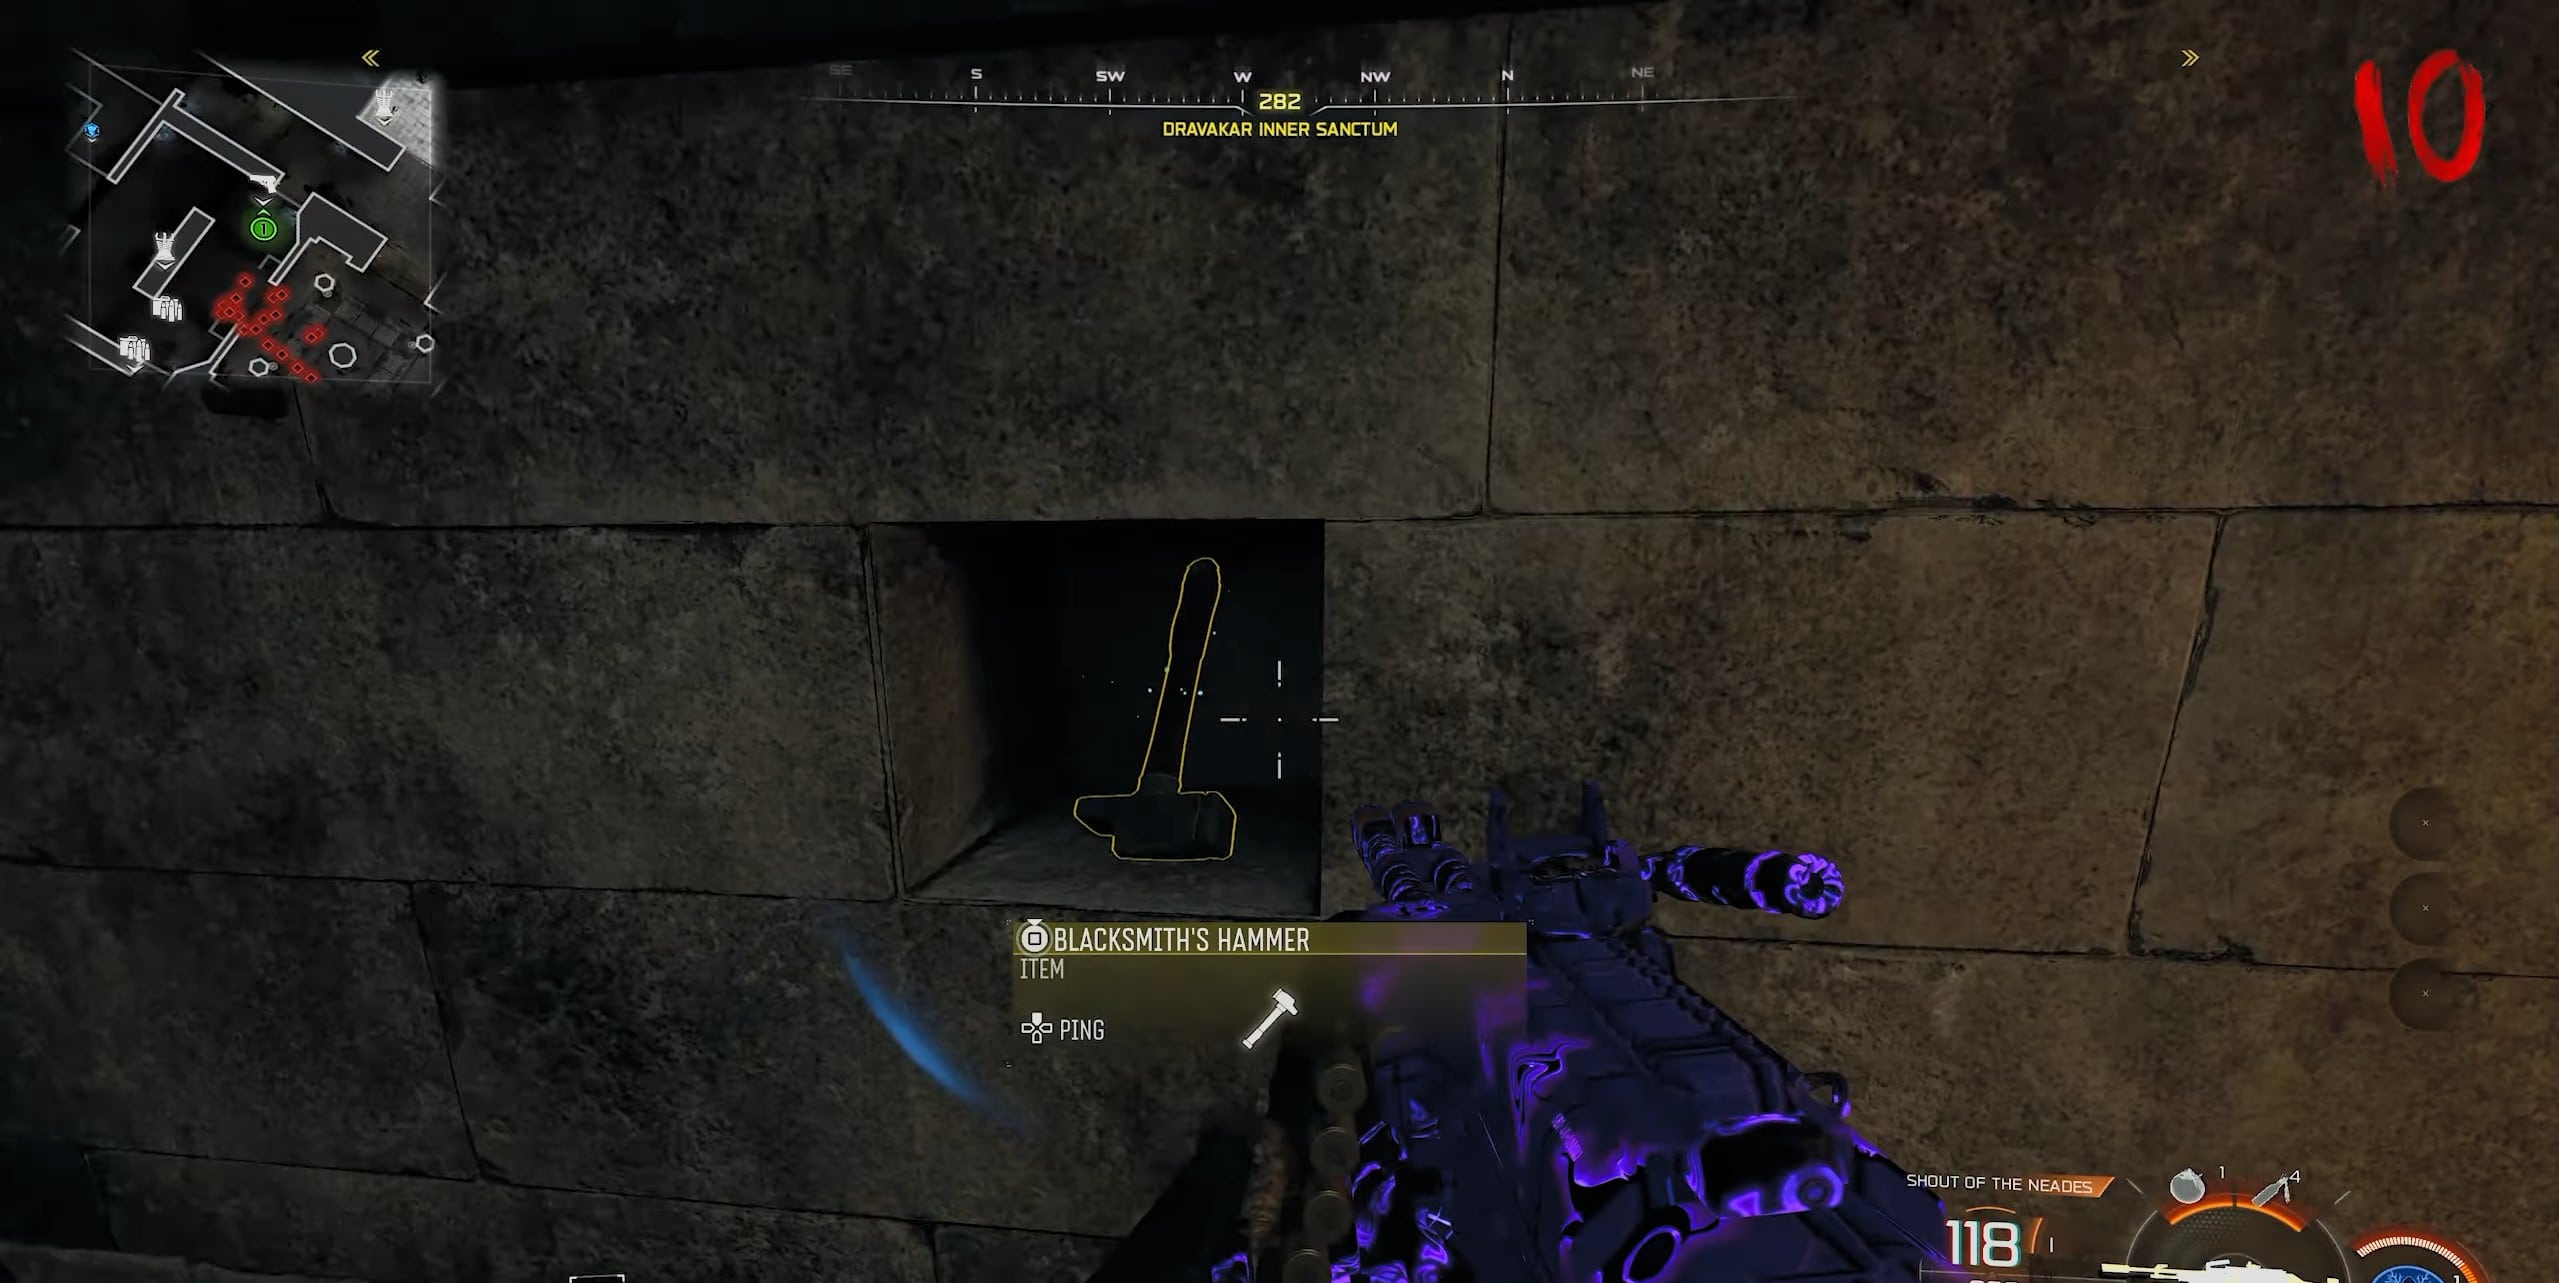
Blacksmith’s Hammer
Each temple follows almost the same pattern: align the Nexus beam, obtain that Shadowsmith’s offering, burn it with Astral Flame, sacrifice a marked zombie to the Titan, complete the stone plate puzzle, kill four Shadow Souls, and finally strike the Shadowsmith with lightning.
| Temple | Offering | Plate Requirement |
|---|---|---|
| Dravakar | Blacksmith’s Hammer | Let a zombie damage you |
| Nyxara | Ancient Scroll | Go prone |
| Caltheris | Shimmering Thread | Stay still while ADS |
| Veytharion | Woven Sash | Repeatedly jump |
8. How to Beat the Warden
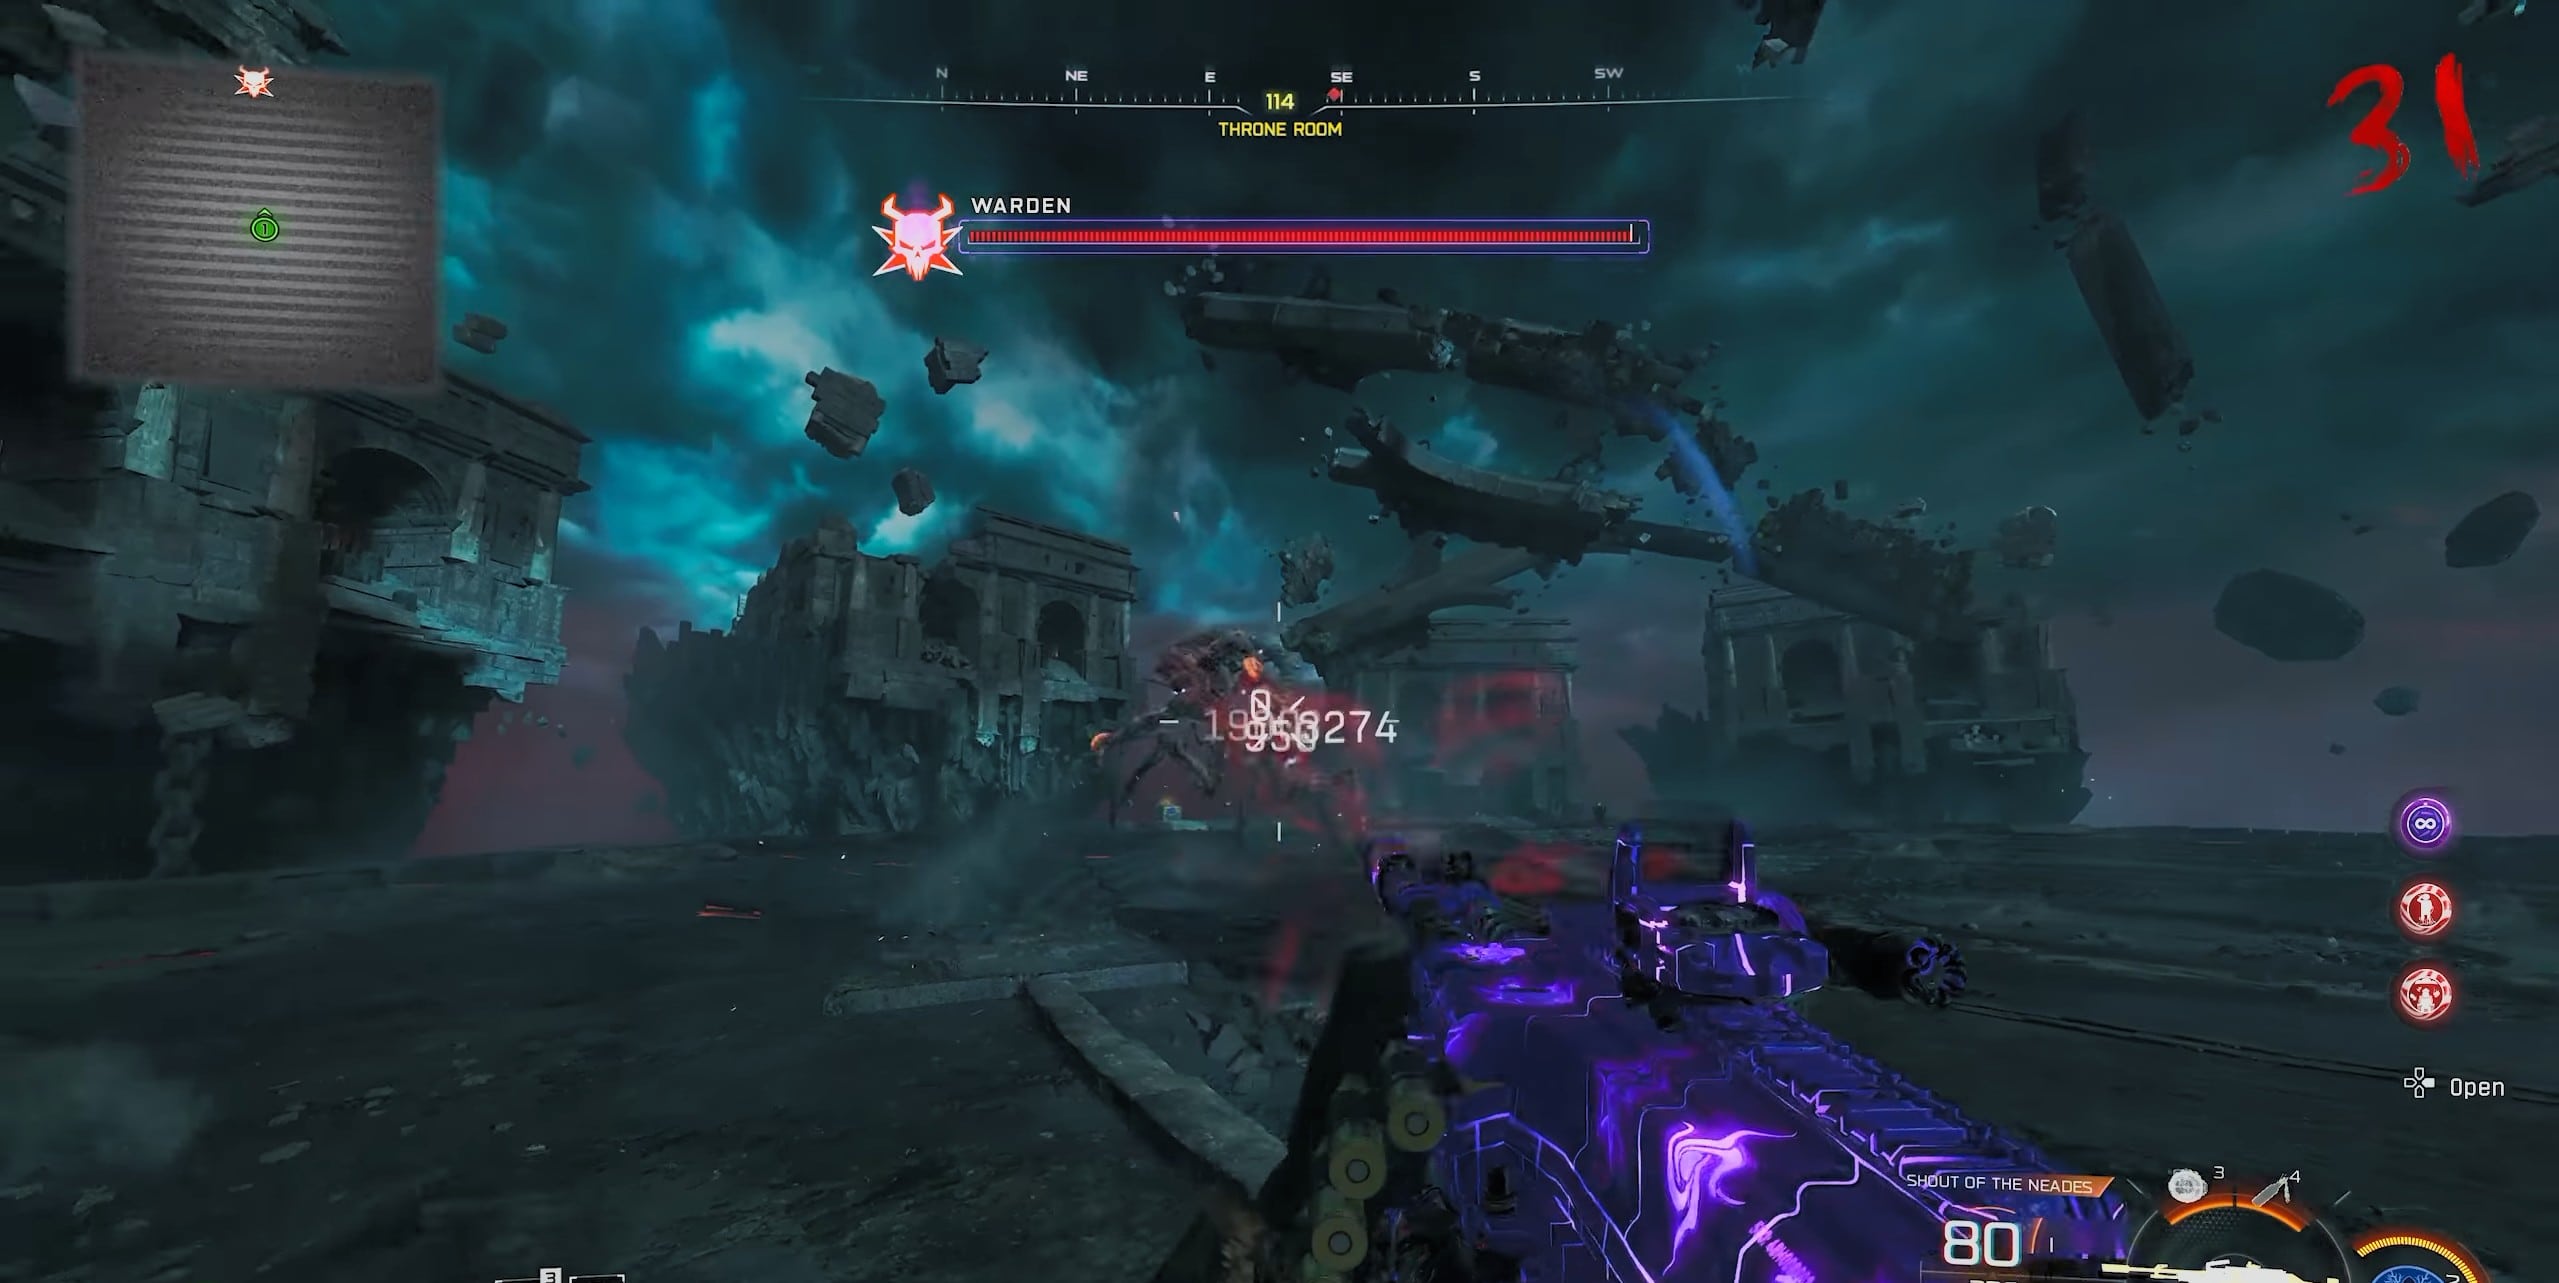
Defeating Warden Boss
The Warden is the final Rex Infernus boss. The fight is straightforward: destroy the Dread Skulls to stun him, damage the glowing weak point on his tail, and deal with Shadow Souls and Stingers whenever he becomes immune.
- Go beneath Pack-a-Punch and have every player stand in the blue circles to enter the boss arena.
- Keep moving and use the Void Claw to quickly escape the Warden when he gets close.
- Destroy the floating Dread Skulls around him to stun the boss.
- While he is stunned, shoot the glowing weak point on his tail with your strongest weapon.
- During immune phases, kill the Shadow Souls and collect any ammo or armor drops before attacking him again.
- Destroy Stingers as soon as they appear so they cannot trigger their powerful red-beam wipe attack.
- Keep repeating the Dread Skull and tail-damage cycle until the Warden is defeated.
8.1. Rex Infernus Easter Egg Rewards
Defeating the Warden completes the Rex Infernus Main Quest and the final Round-Based Zombies storyline for Black Ops 7. The standard completion rewards are officially confirmed.
- Bloodthorn Wonder Weapon Skin
- Rex Infernus Main Quest Calling Card
- 10,000 XP
Completing the Easter Egg before Directed Mode arrives also awards a unique variant of the Main Quest Calling Card. Collecting the required Rex Infernus Intel and completing its Mastery Challenge provide separate Calling Cards and additional XP.