

Map Fragments in Mortal Shell 2 remove the fog covering Ruk’s Map, making them one of the most useful collectibles to grab while exploring. There are 11 Map Fragments in total, split between five pieces of the Map of Fainweald and six pieces of the Map of Mammon.
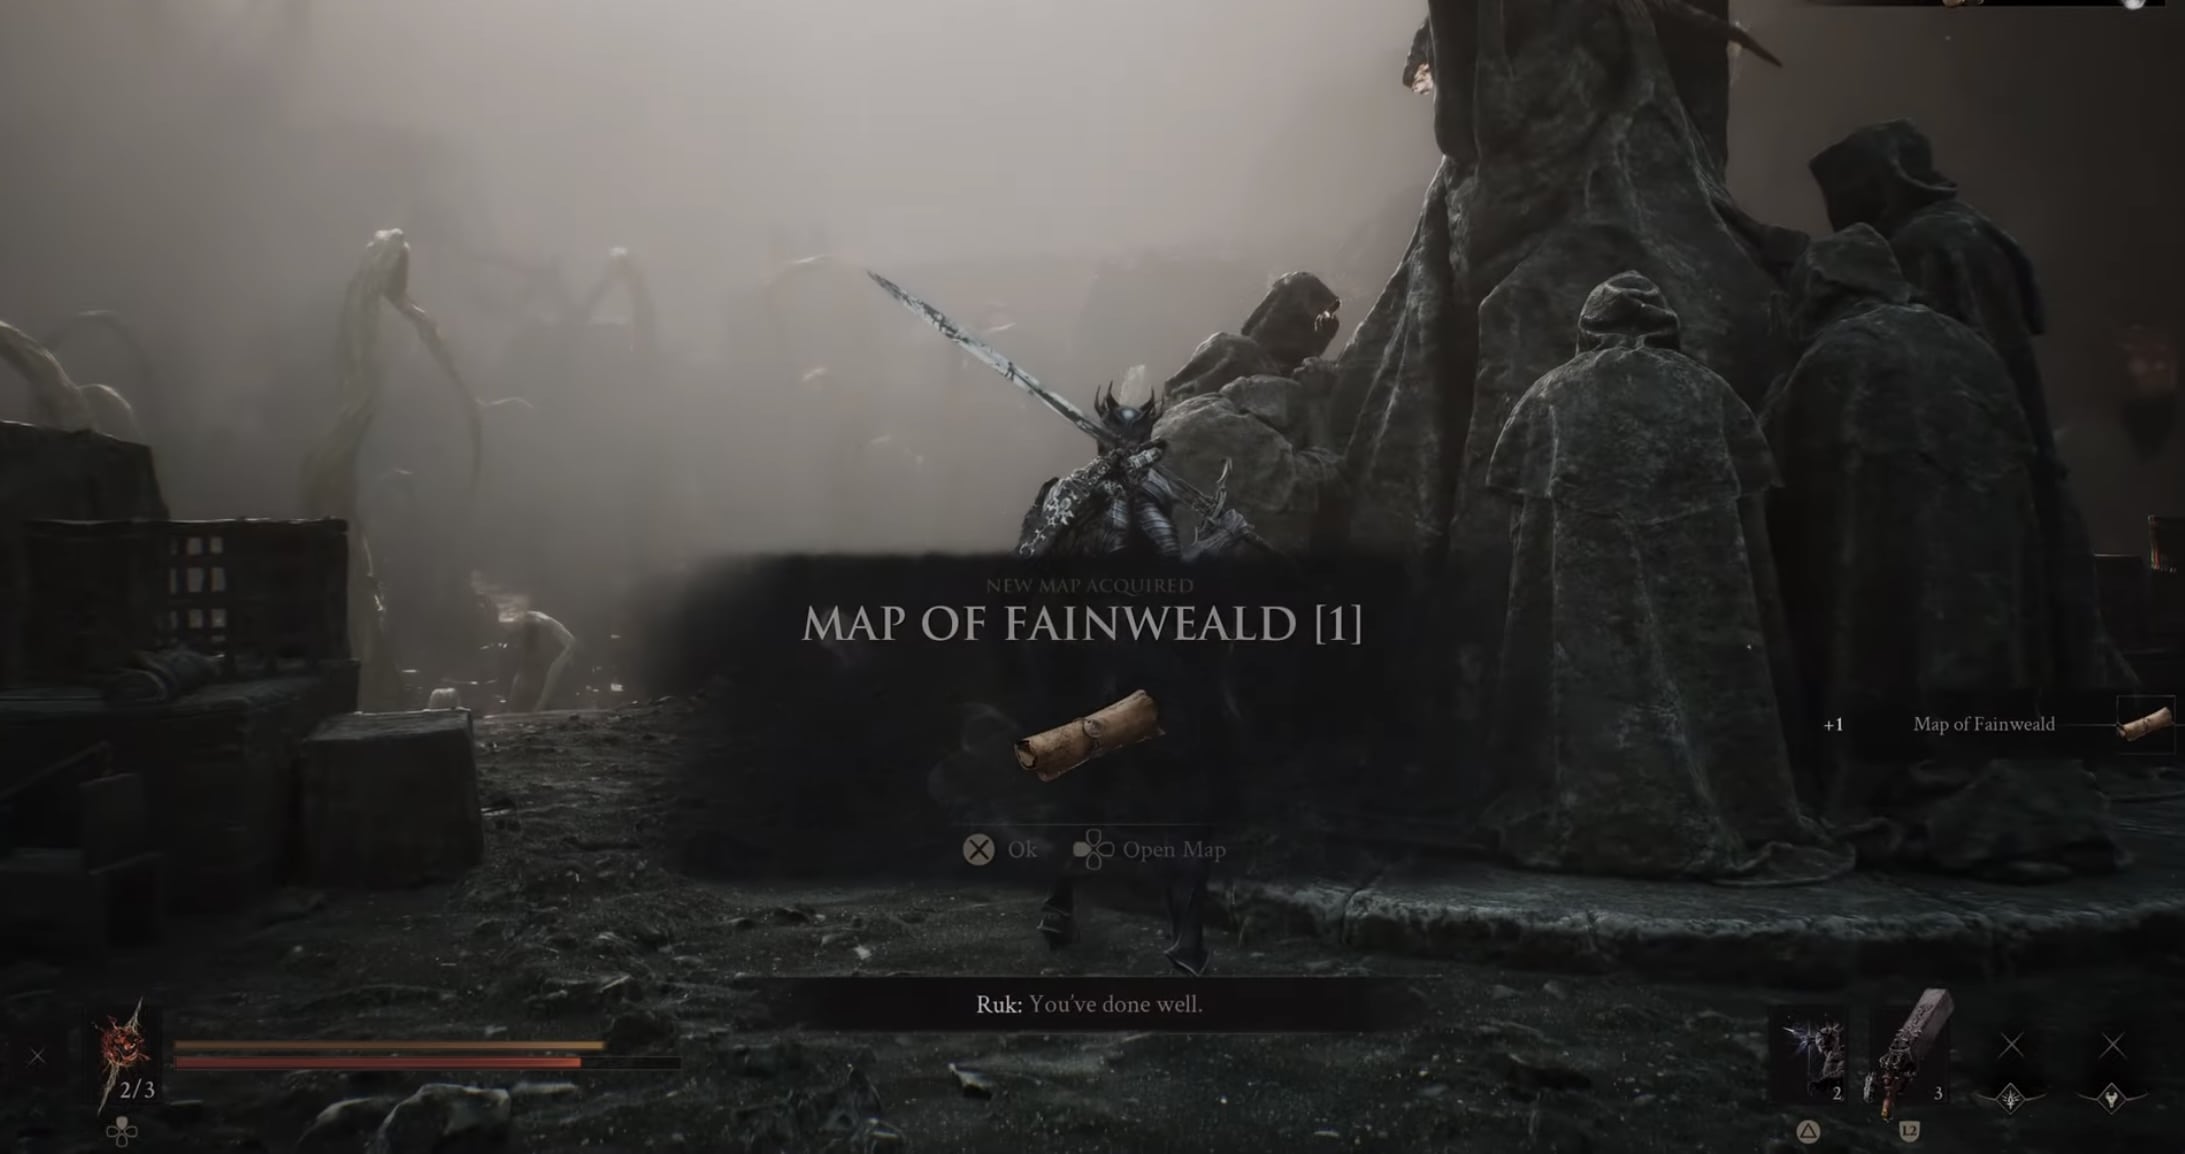
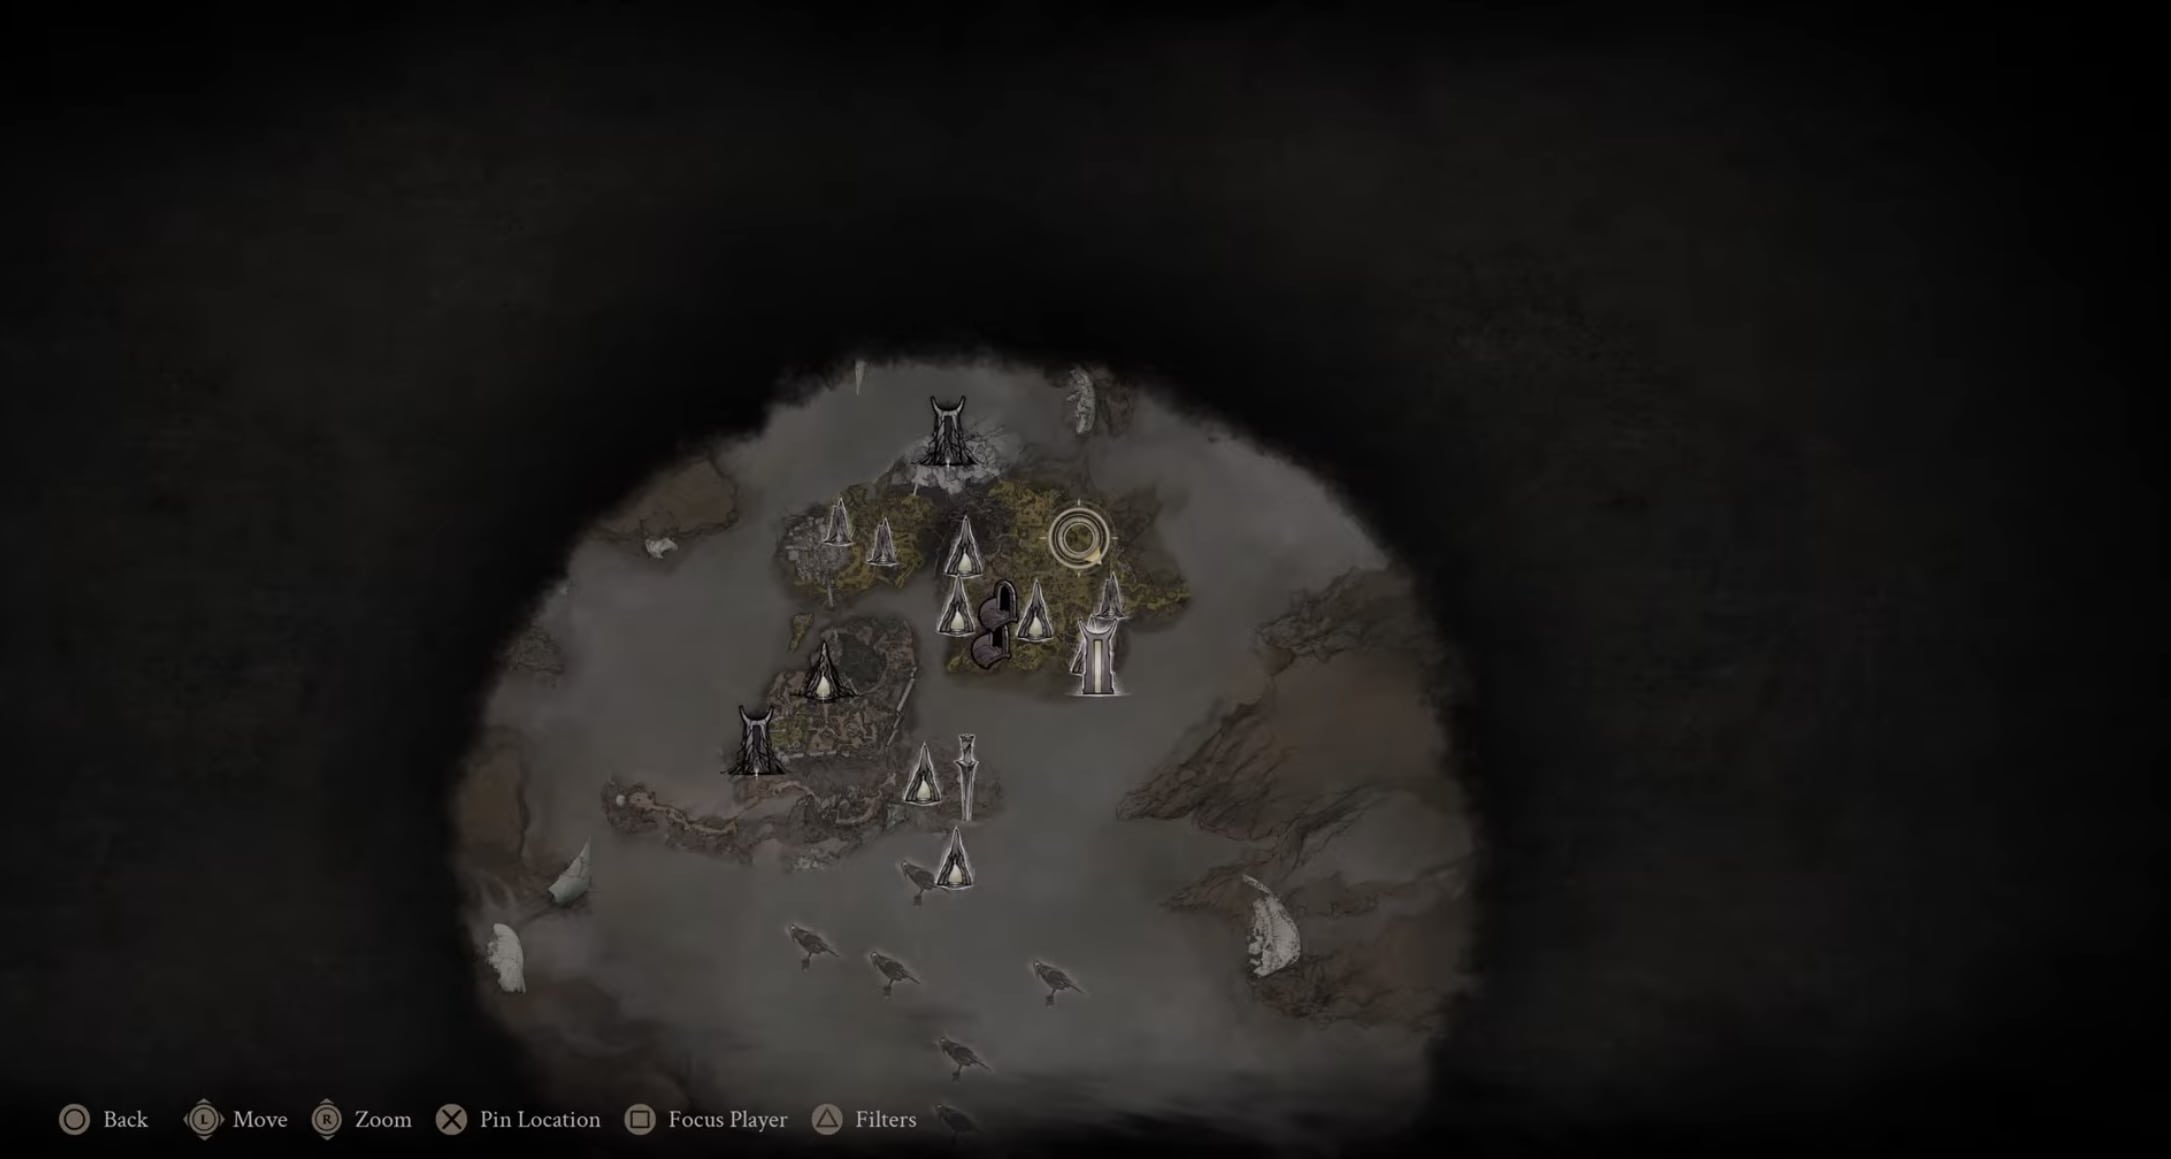
Each fragment is collected from one of Ruk’s statues, and the locations are represented by crow symbols on the map. Most are straightforward once you reach the correct Beacon, although a few require Jump Pads, Traversal Points, lifts, or other environmental routes.
1. How to Reveal the Full Map in Mortal Shell 2
Map Fragment Location
To reveal the full map in Mortal Shell 2, collect all 11 Map Fragments. Picking up a fragment immediately fills in another portion of Ruk’s Map, so there is no separate map upgrade or activation step after collecting it. Keep finding the statues until all five Fainweald pieces and all six Mammon pieces have been collected.
Ruk is normally perched on the large statues holding these fragments, making the statues easy to recognize once you know what to look for. Collecting all 11 fragments not only reveals the complete overworld map but also completes the requirement for the Sat Nav trophy/achievement.
| Map Fragment | Nearest Landmark | Requirement |
|---|---|---|
| Fainweald 1 | Outskirts of Nochte Beacon | None |
| Fainweald 2 | One-Legged Wolf Tavern / Citadel | Jump Pad route |
| Fainweald 3 | Widow’s Overlook Beacon | None |
| Fainweald 4 | Widow’s Overlook Beacon | Jump Pad |
| Fainweald 5 | One Legged Wolf Beacon | Mether’s Breath |
| Mammon 1 | Bell traversal route | Sidearm and Traversal Gate |
| Mammon 2 | Gate of Infinity Beacon | Traversal Point |
| Mammon 3 | Gate of Infinity Beacon | Traversal Gate and lift |
| Mammon 4 | Abandoned Outpost Beacon | Traversal Point |
| Mammon 5 | Outskirts of Mammon Beacon | None |
| Mammon 6 | High Lord’s Courtyard Beacon | None |
2. All Fainweald Map Fragment Locations
Fainweald contains five Map Fragments, numbered Map of Fainweald 1 through 5. They are spread between the Outskirts of Nochte, Widow’s Overlook, the One Legged Wolf area, and the upper sections of the citadel.
Several of these fragments can be collected as soon as you reach their respective areas. The main exception is Map of Fainweald 5, where a Corruption Gate blocks the route until you have Mether’s Breath.
2.1. Map of Fainweald 1 Location
Map of Fainweald 1 Location
Map of Fainweald 1 is in The Hag’s Path, just north of the Outskirts of Nochte Beacon. The route takes you through the swamp and toward an archway near the cliff edge.
- Start from the Outskirts of Nochte Beacon and move toward the enemies in the swamp.
- Turn left and continue until you reach the cliff edge.
- Turn left again and keep moving forward.
- Look for an archway along the route.
- Pass through the archway to reach Ruk’s statue and collect Map of Fainweald 1.
2.2. Map of Fainweald 2 Location
Map of Fainweald 2 Location
Map of Fainweald 2 is on the upper ramparts of the citadel. The easiest route begins at a bridge northeast of the One-Legged Wolf Tavern and uses a teleporting bag followed by a Jump Pad to reach the upper section.
- Find the bridge northeast of the One-Legged Wolf Tavern.
- Interact with the bag on the bridge. It transports you into a nearby cell.
- Strike the cell to break out. Laterite can also be found nearby and serves as a useful landmark for confirming you are in the correct area.
- Move around the surrounding area until you locate a Jump Pad.
- Use the Jump Pad to reach the upper section of the citadel.
- Circle around the upper level until you reach Ruk’s statue on the top floor, then collect Map of Fainweald 2.
2.3. Map of Fainweald 3 Location
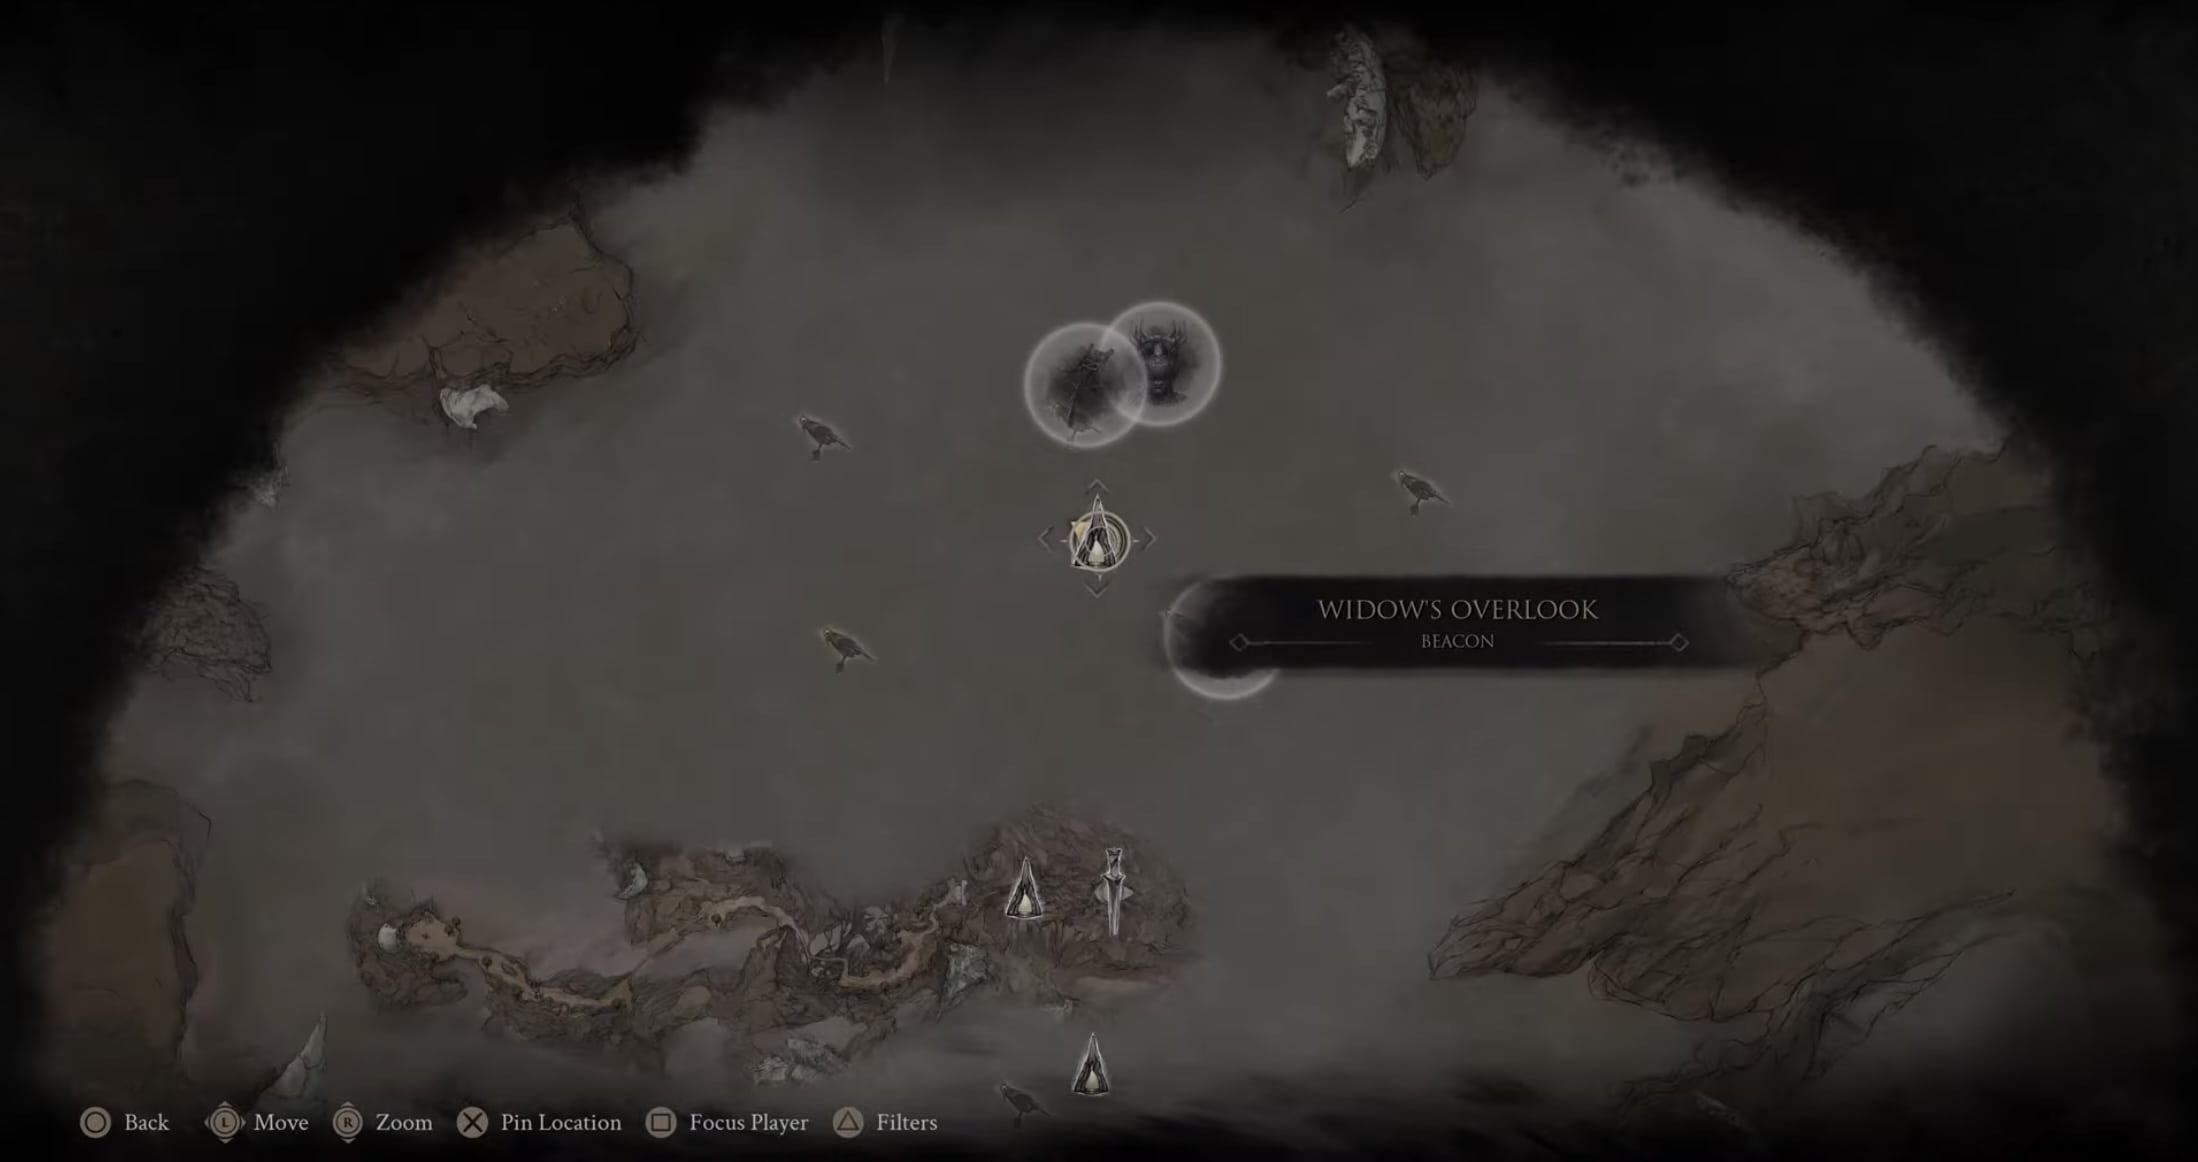
Map of Fainweald 3 Location
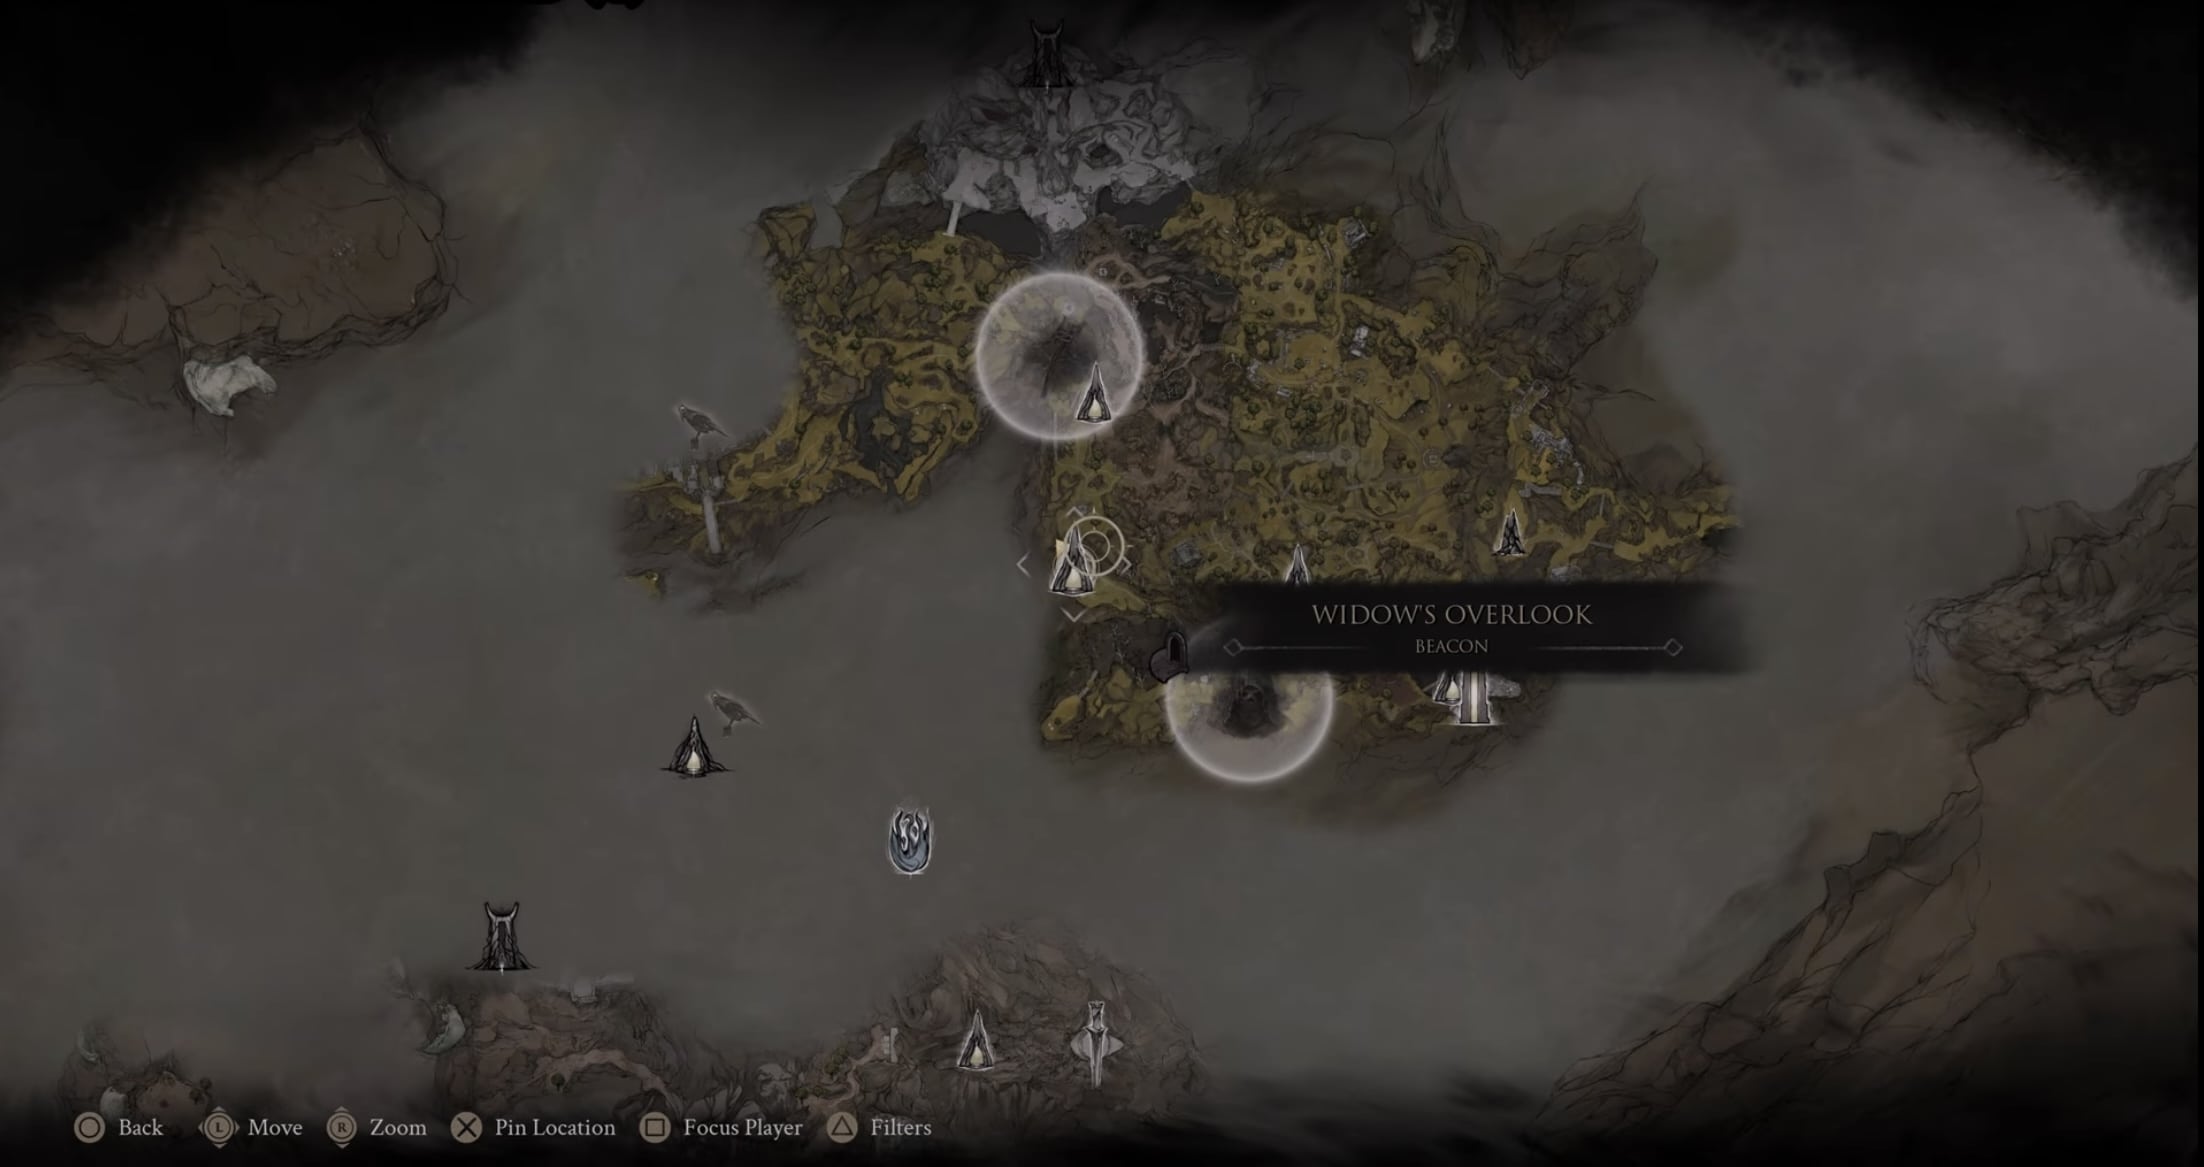
Map of Fainweald 3 is north of the Widow’s Overlook Beacon, near a cliff. The path runs past a Combat Trial before eventually reaching a bridge leading directly to Ruk.
- Start at the Widow’s Overlook Beacon and head north.
- Continue beyond the Combat Trial and remain on the main path.
- When the route branches, stay on the left-hand path.
- Continue until you reach a bridge.
- Cross the bridge to find Ruk perched on the statue with Map of Fainweald 3.
2.4. Map of Fainweald 4 Location
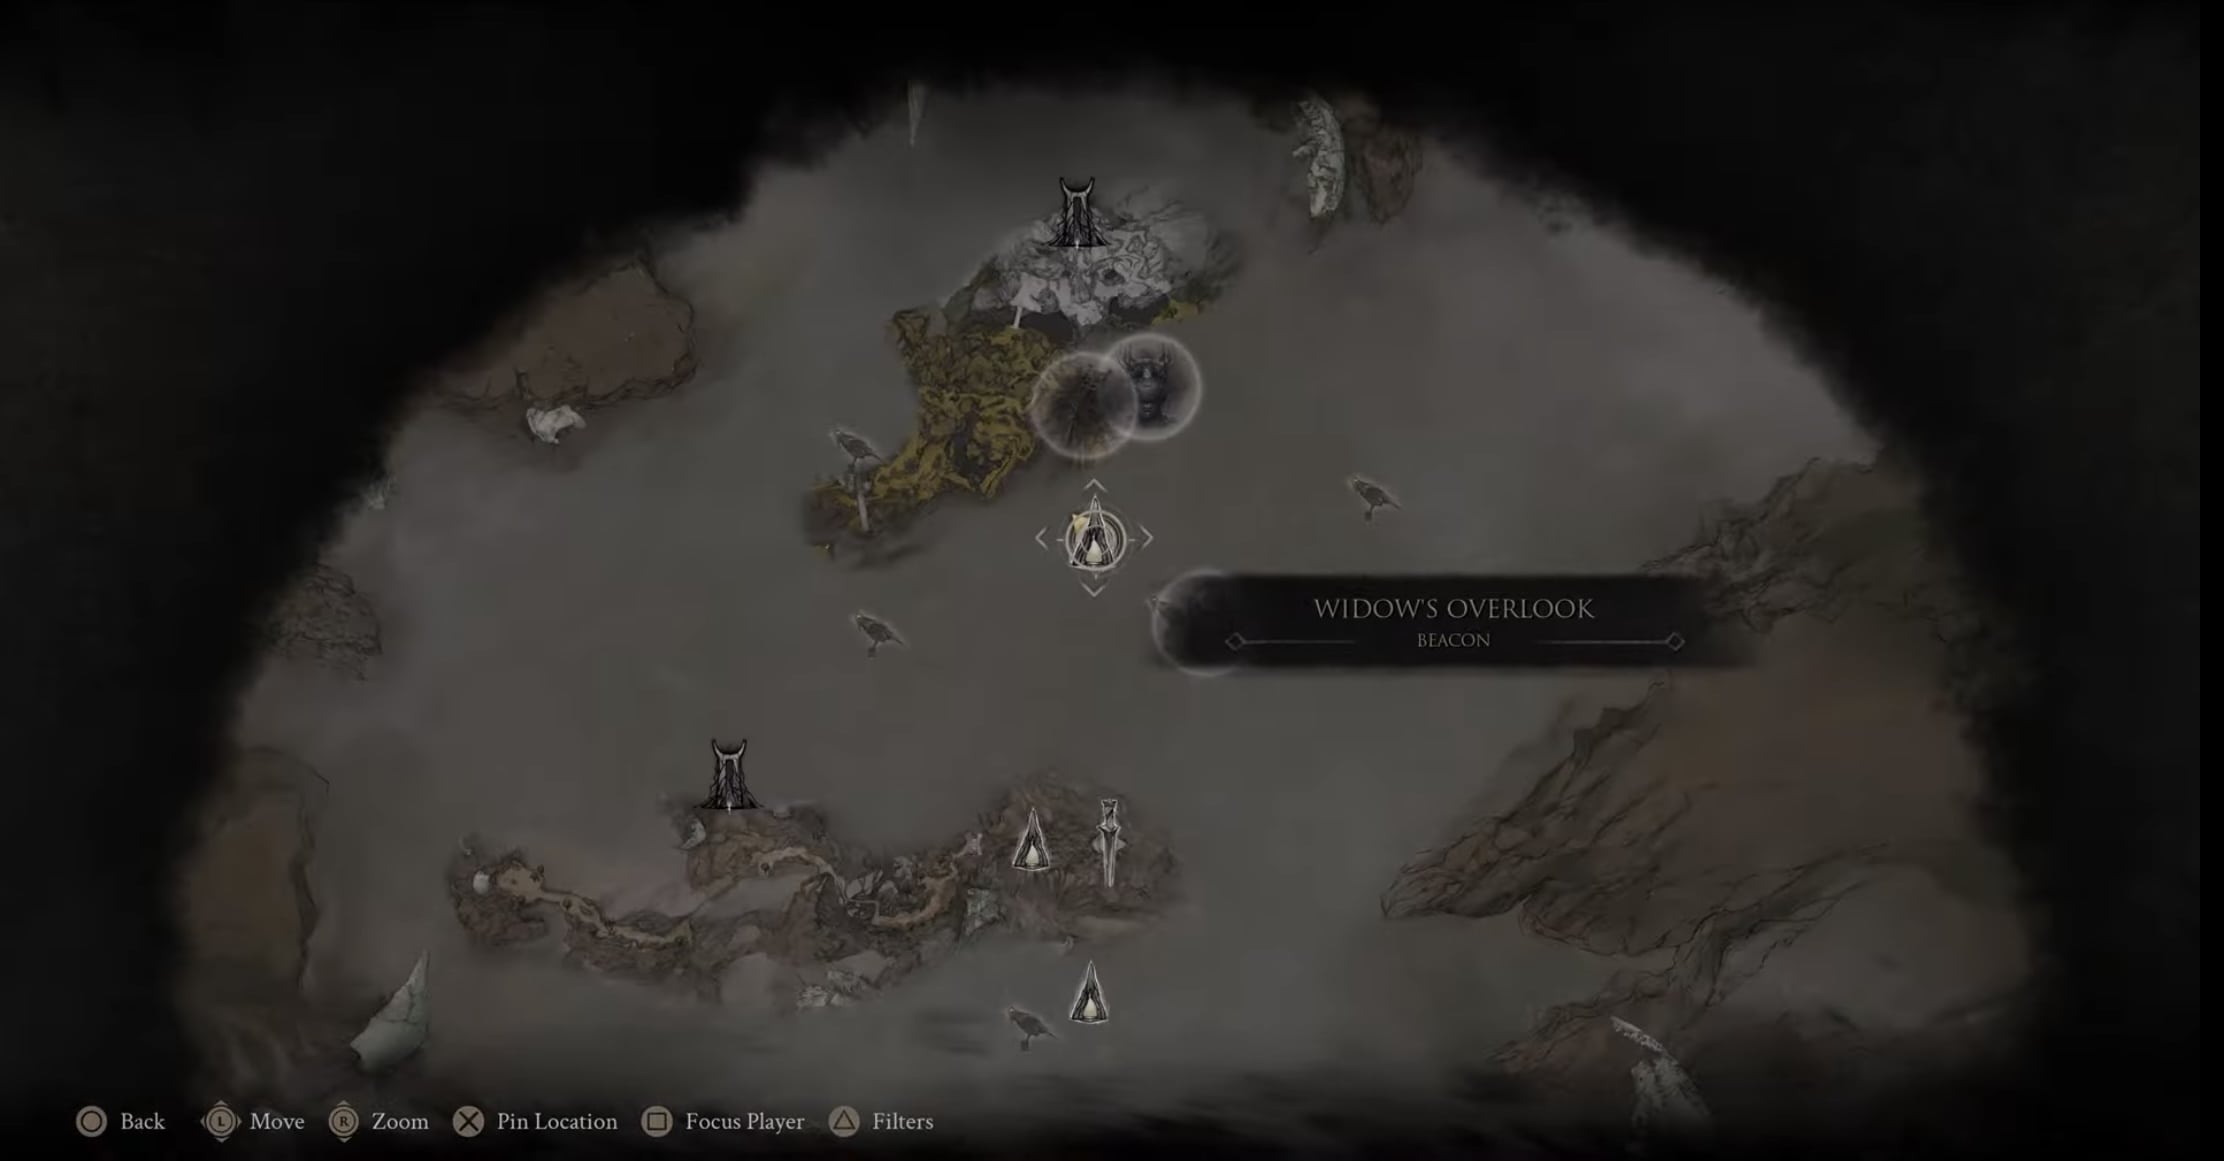
Map of Fainweald 4 Location
Map of Fainweald 4 sits on a raised island or elevated platform south of the Widow’s Overlook Beacon and west of Tiel, the Acolyte’s location. You cannot simply walk onto the platform from ground level, so use the nearby Jump Pad.
- Travel to the area south of Widow’s Overlook Beacon.
- Look for the elevated island or platform west of Tiel, the Acolyte.
- Find the Jump Pad near the lower section of the island.
- Use it to launch yourself onto the raised area.
- Approach Ruk’s statue and collect Map of Fainweald 4.
2.5. Map of Fainweald 5 Location
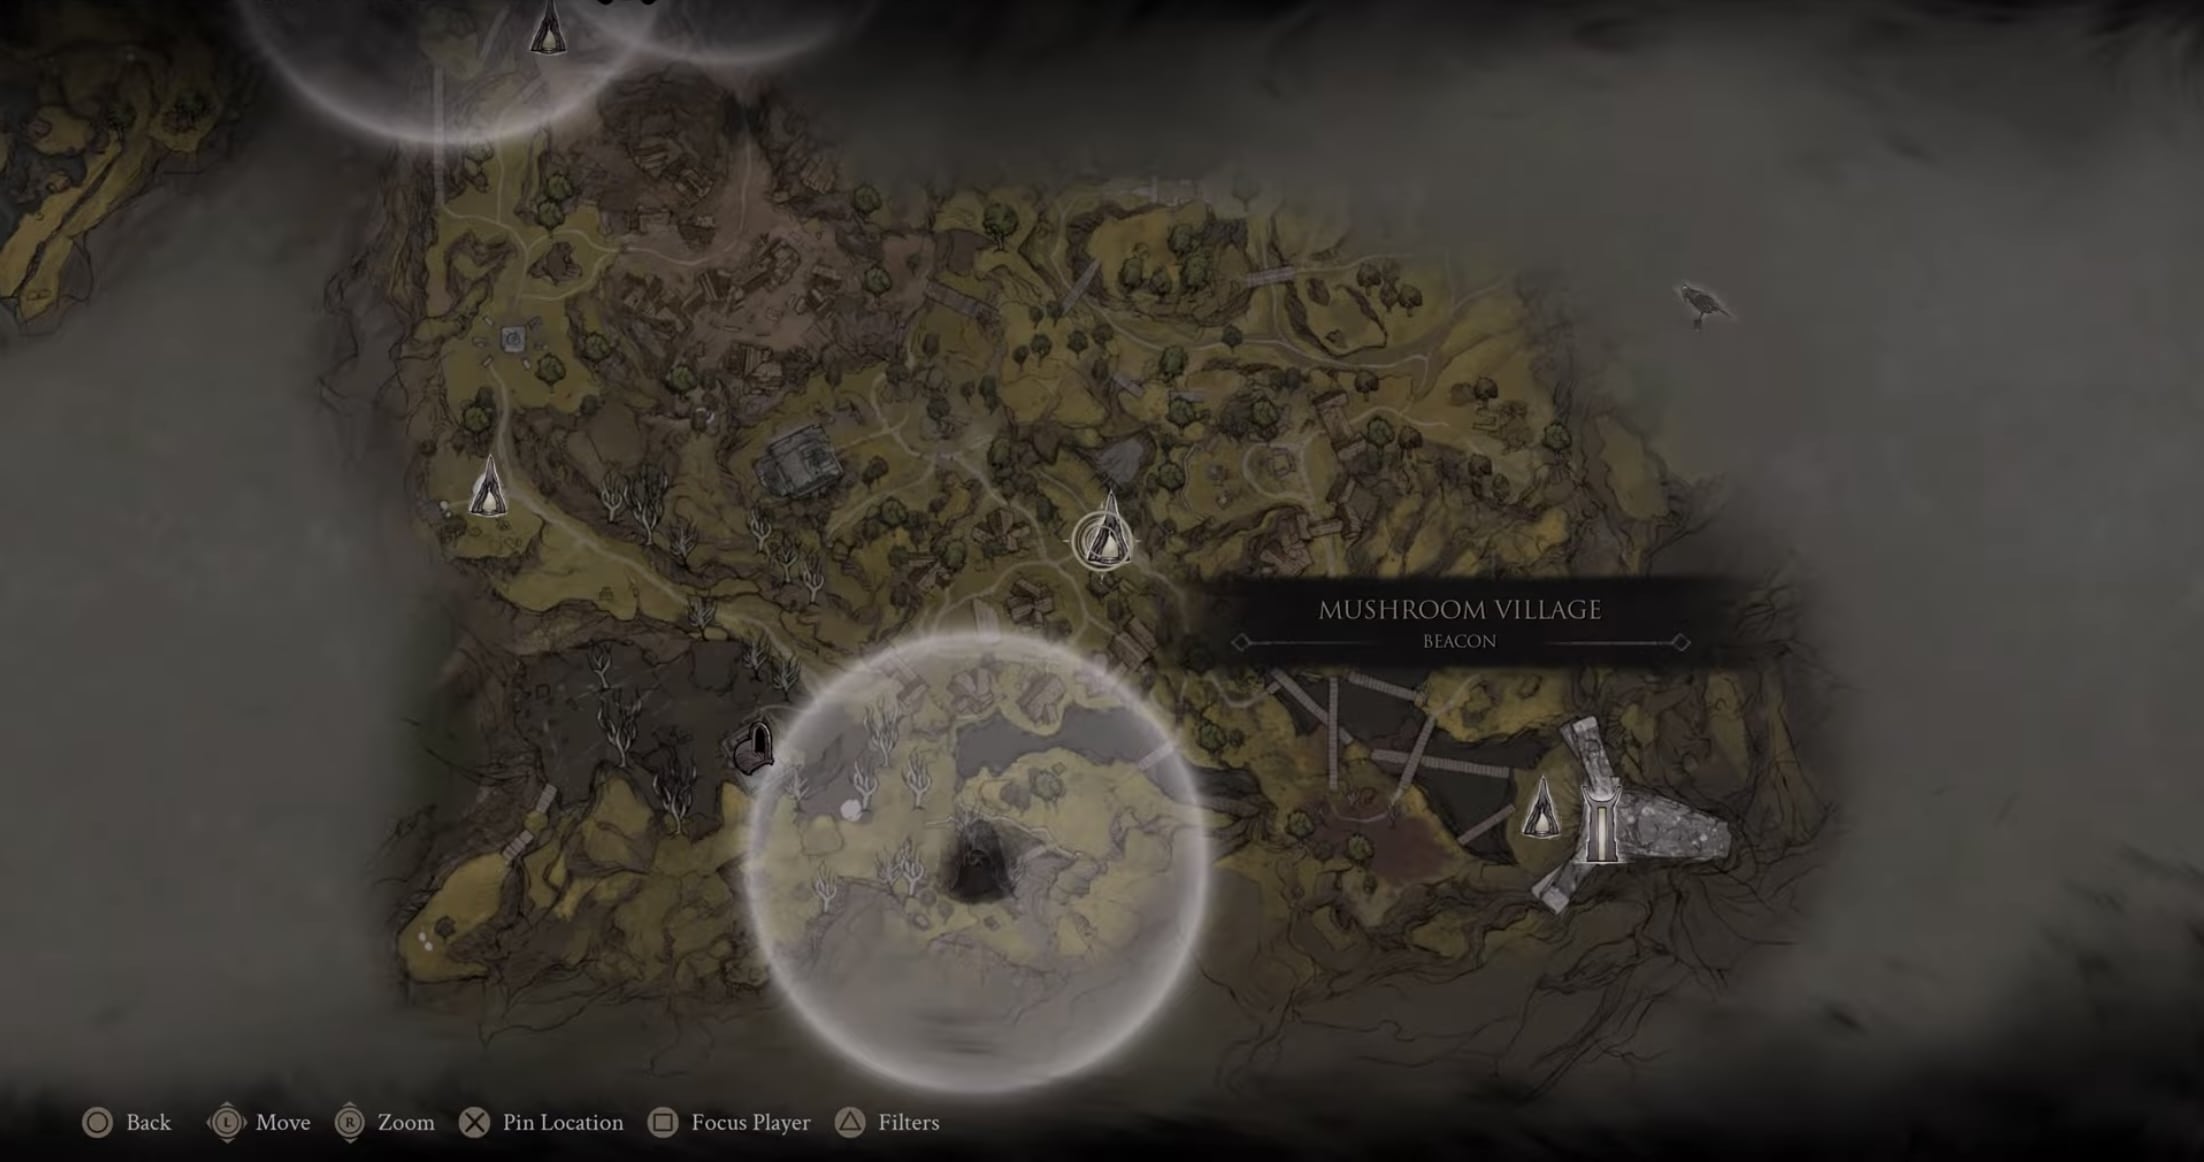
Map of Fainweald 5 Location
Map of Fainweald 5 is near a rock wall north of the One Legged Wolf Beacon. A Corruption Gate blocks the route, making this the Fainweald fragment with a specific progression requirement.
- Make sure you have Mether’s Breath.
- Travel to the One Legged Wolf Beacon and head north.
- Continue toward the route blocked by the Corruption Gate.
- Use Mether’s Breath to get past the corruption blocking the way.
- Continue north toward the rock wall to find Ruk and collect Map of Fainweald 5.
3. All Mammon Map Fragment Locations
Mammon has six Map Fragments, giving it one more piece than Fainweald. These locations stretch from the Outskirts of Mammon through the Abandoned Outpost and Gate of Infinity routes to the High Lord’s Courtyard.
Mammon’s fragments involve more traversal mechanics than most of the Fainweald pieces. Traversal Points, Traversal Gates, a bell-activated platform, stairs, bridges, and a lift are all used on the routes to the six statues.
3.1. Map of Mammon 1 Location
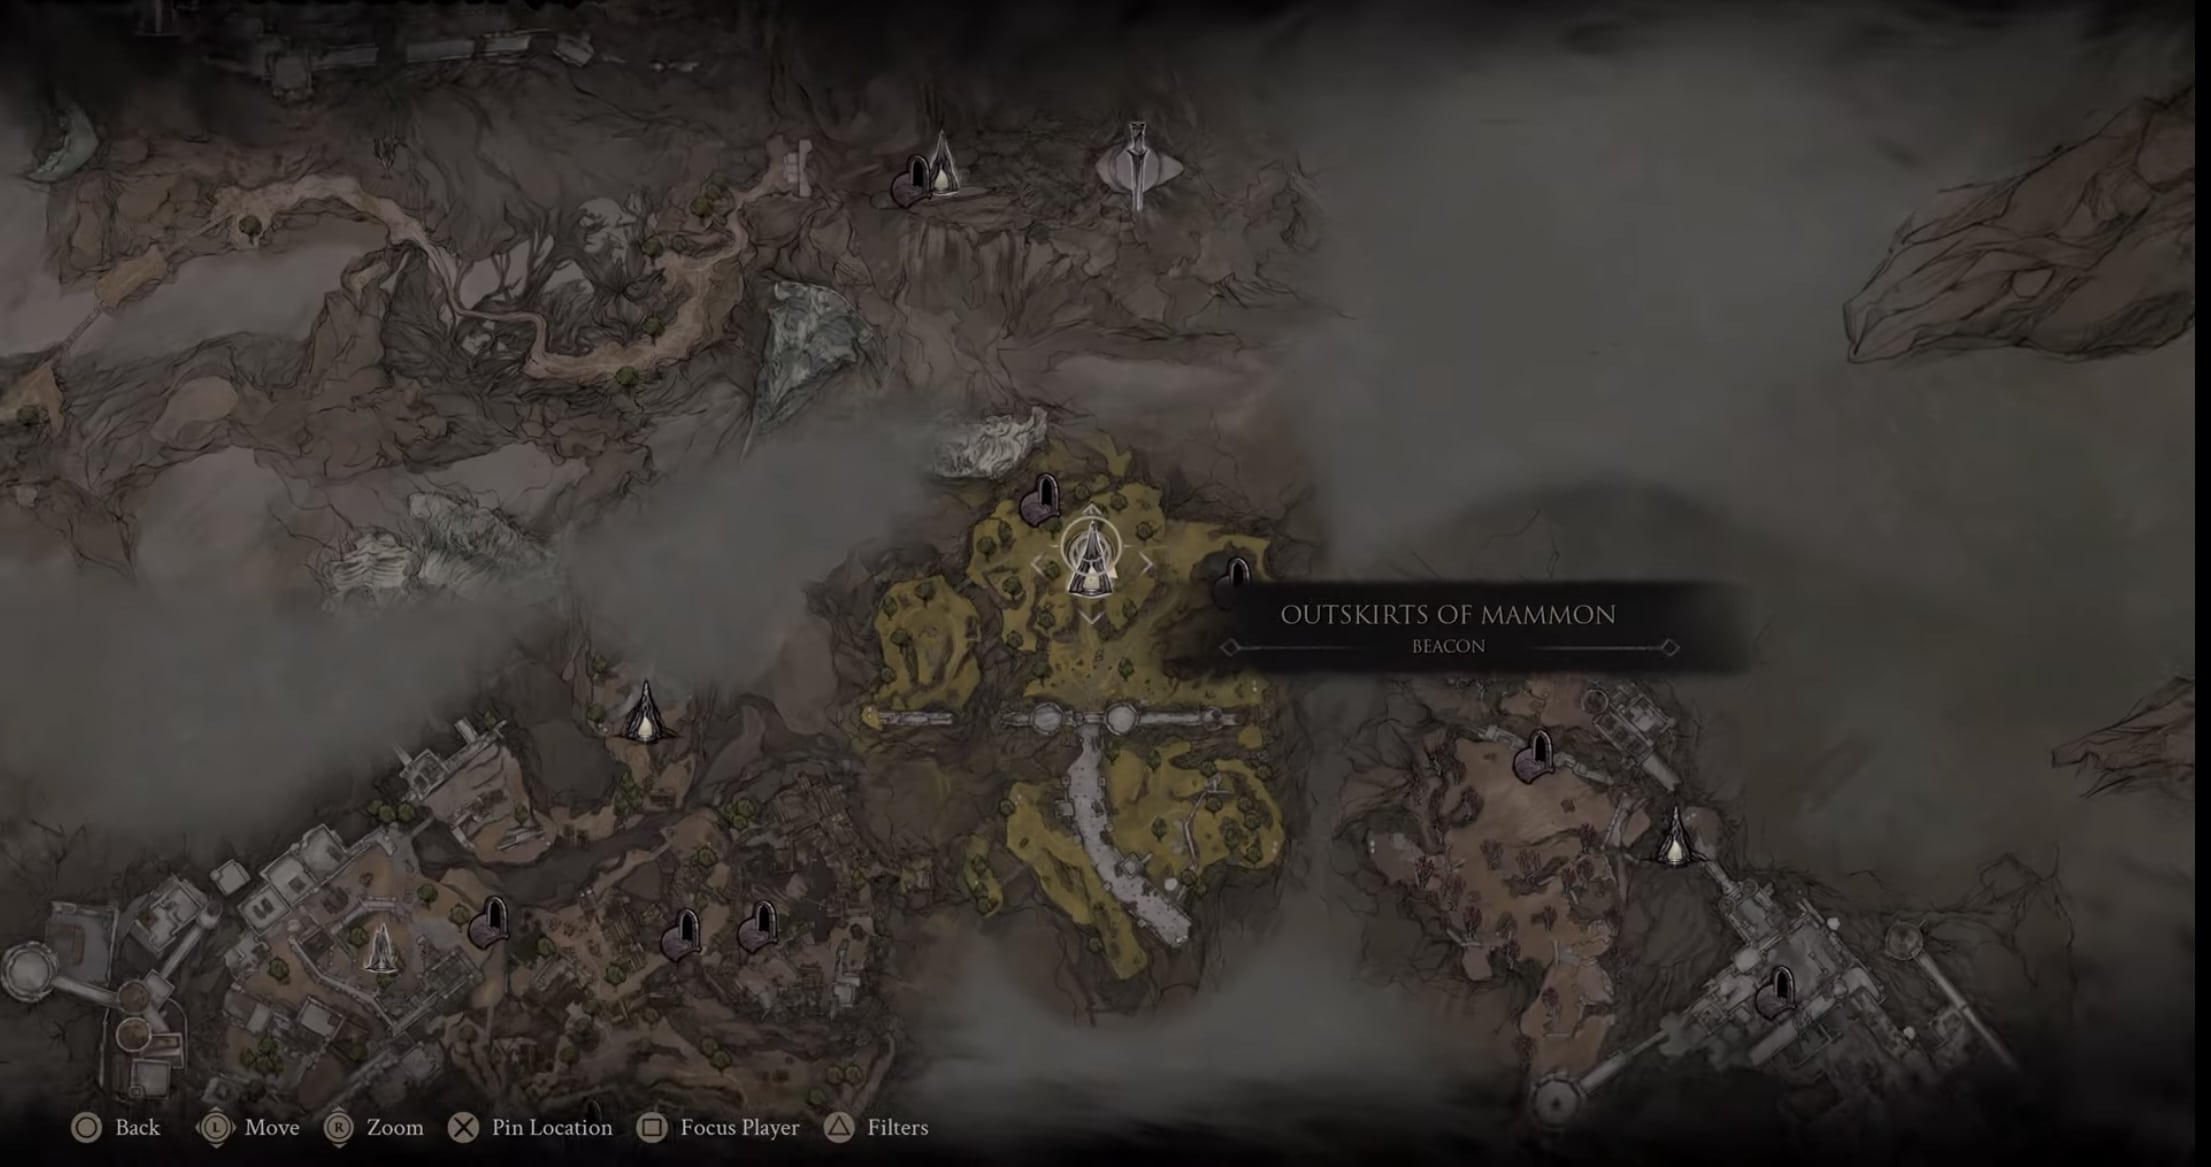
Map of Mammon 1 Location
Map of Mammon 1 is reached through a Traversal Gate route that places you on a cliff with a large bell. Shooting the bell creates the platform needed to continue toward Ruk’s statue.
- Use the Traversal Gate to reach the cliff edge with the prominent bell.
- Shoot the bell with your sidearm.
- Wait a few seconds for a new platform to appear across the gap.
- Use the platform to cross, then activate the lever to open the gate.
- Continue down the steps and move past the bridge.
- Follow the route to Ruk’s statue and collect Map of Mammon 1.
3.2. Map of Mammon 2 Location
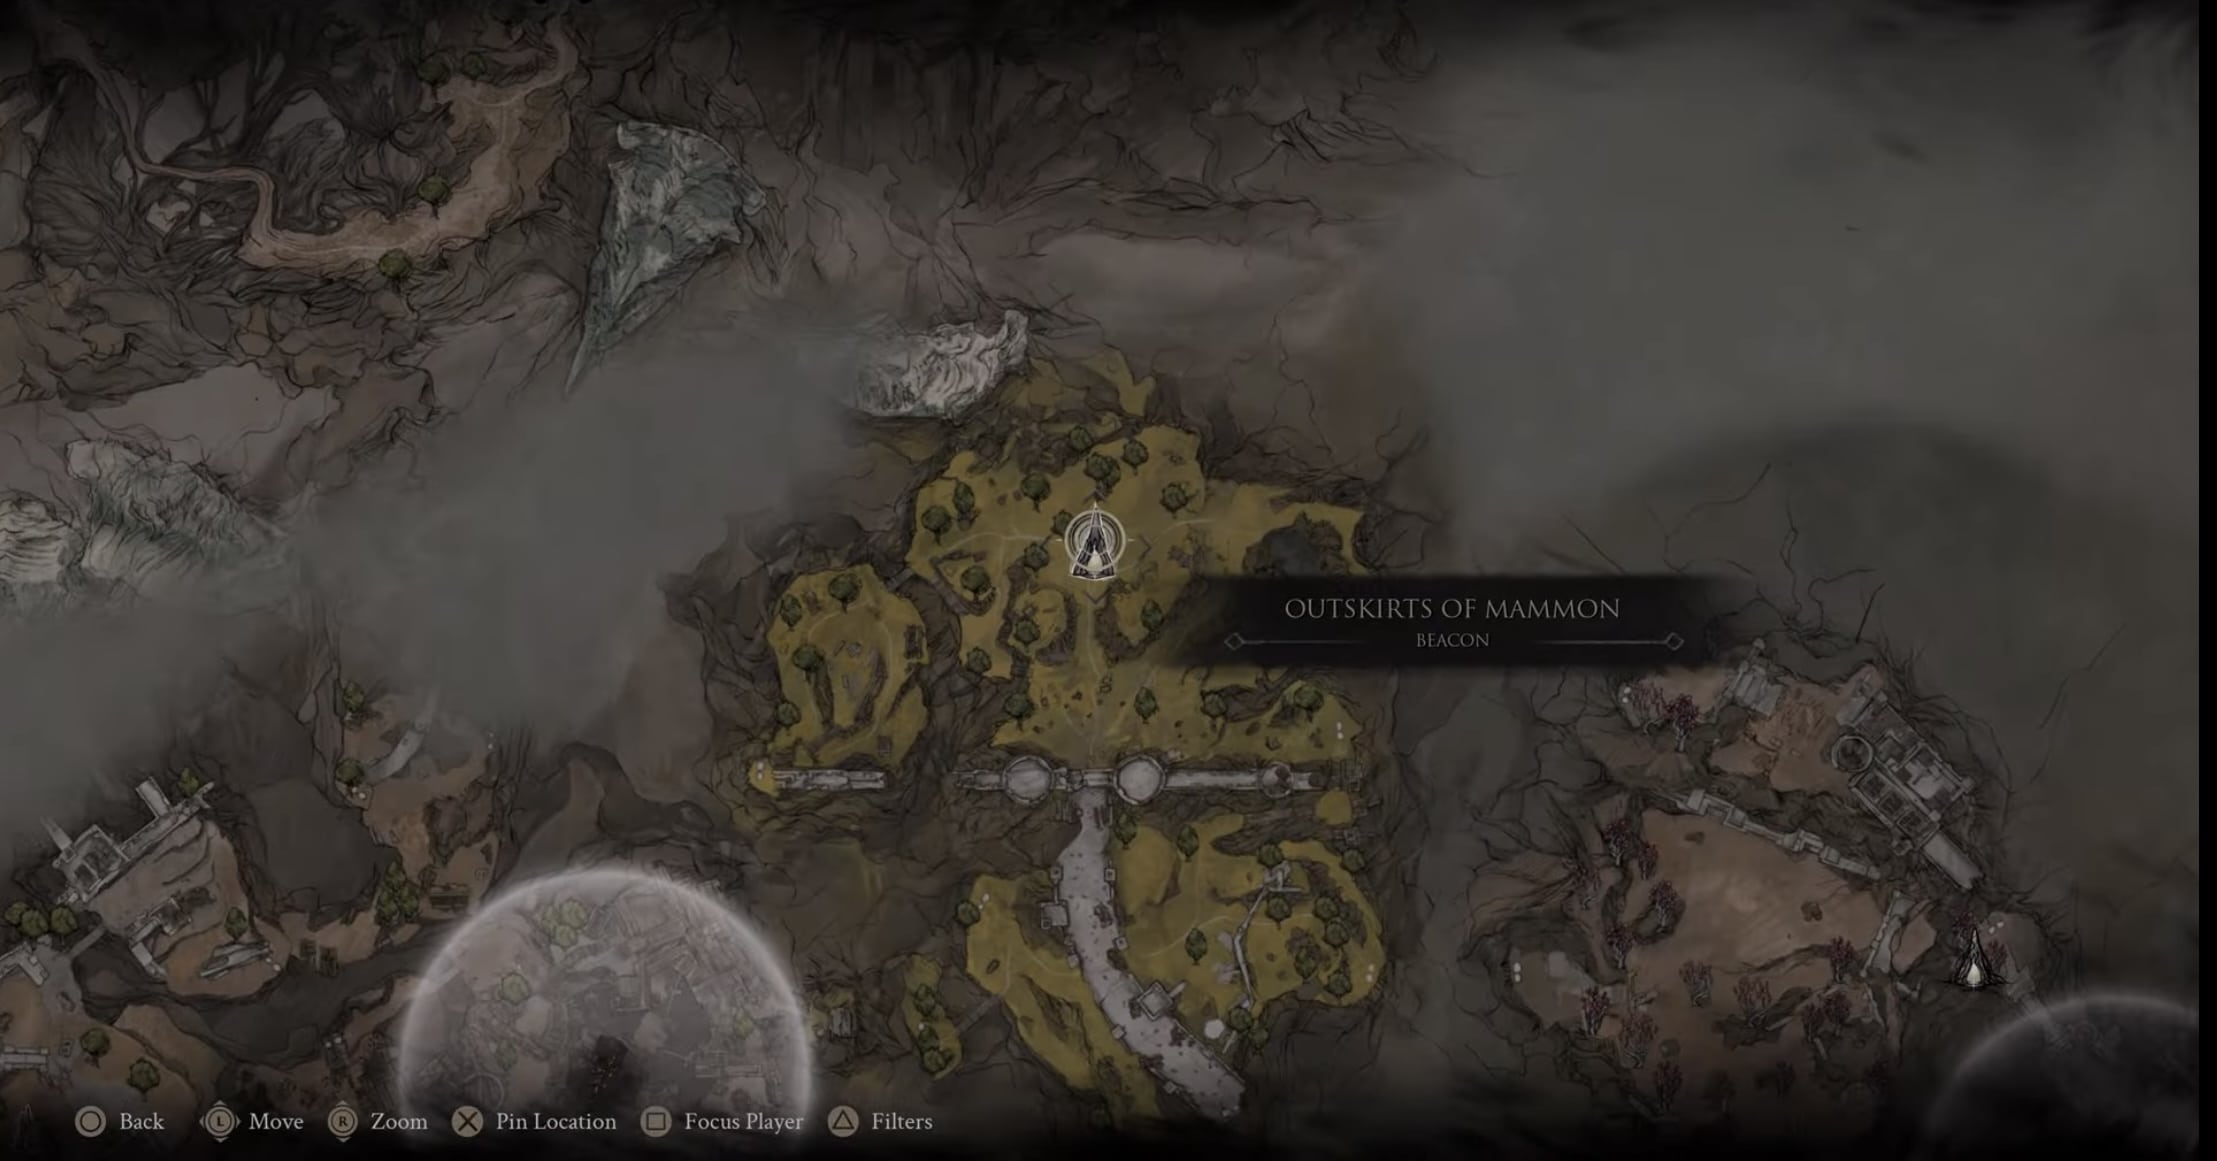
Map of Mammon 2 Location
Map of Mammon 2 is accessible from the Gate of Infinity Beacon. This is the shorter of the two Map Fragment routes beginning around the Gate of Infinity, requiring a Traversal Point followed by a short trip up the stairs.
- Start at the Gate of Infinity Beacon and move toward the bridge.
- Use the nearby Traversal Point to cross to the stairs.
- Go up the stairs.
- Turn left after reaching the upper section.
- Continue to Ruk’s statue and collect Map of Mammon 2.
3.3. Map of Mammon 3 Location
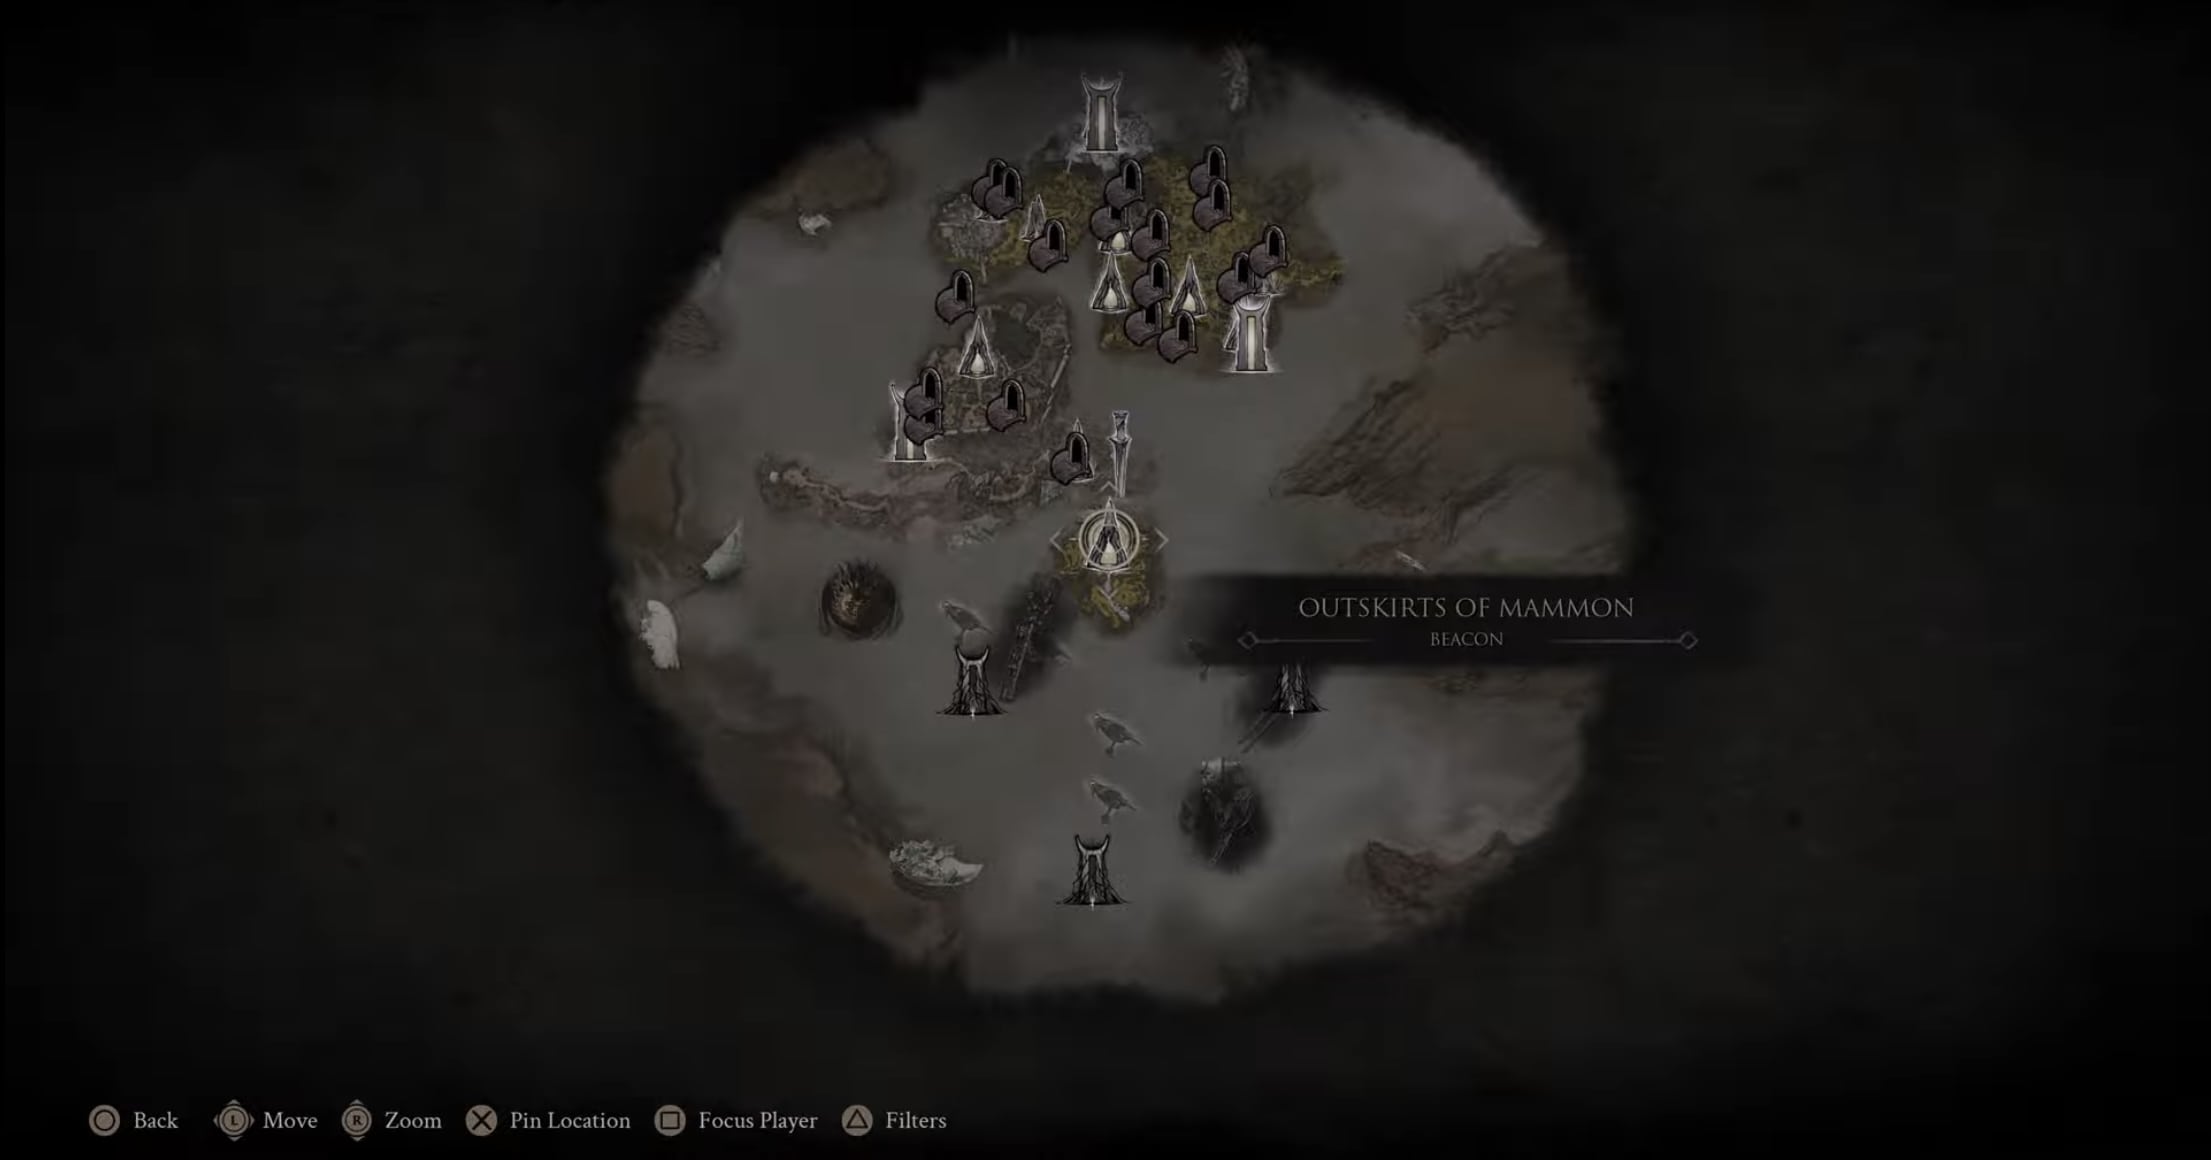
Map of Mammon 3 Location
Map of Mammon 3 also begins from the Gate of Infinity area, but this route pushes farther into the castle. You need to use the Traversal Gate, pass through the stairway route, and take a lift before reaching the statue.
- From the Gate of Infinity Beacon, head toward the bridge.
- Use the Traversal Gate to reach the stairs.
- Take the stairs and continue through the gap ahead.
- Use the lift to reach the castle.
- Move forward and head outside until you find two sets of stairs.
- Go down the stairs, turn right, and continue to Ruk’s statue to collect Map of Mammon 3.
3.4. Map of Mammon 4 Location
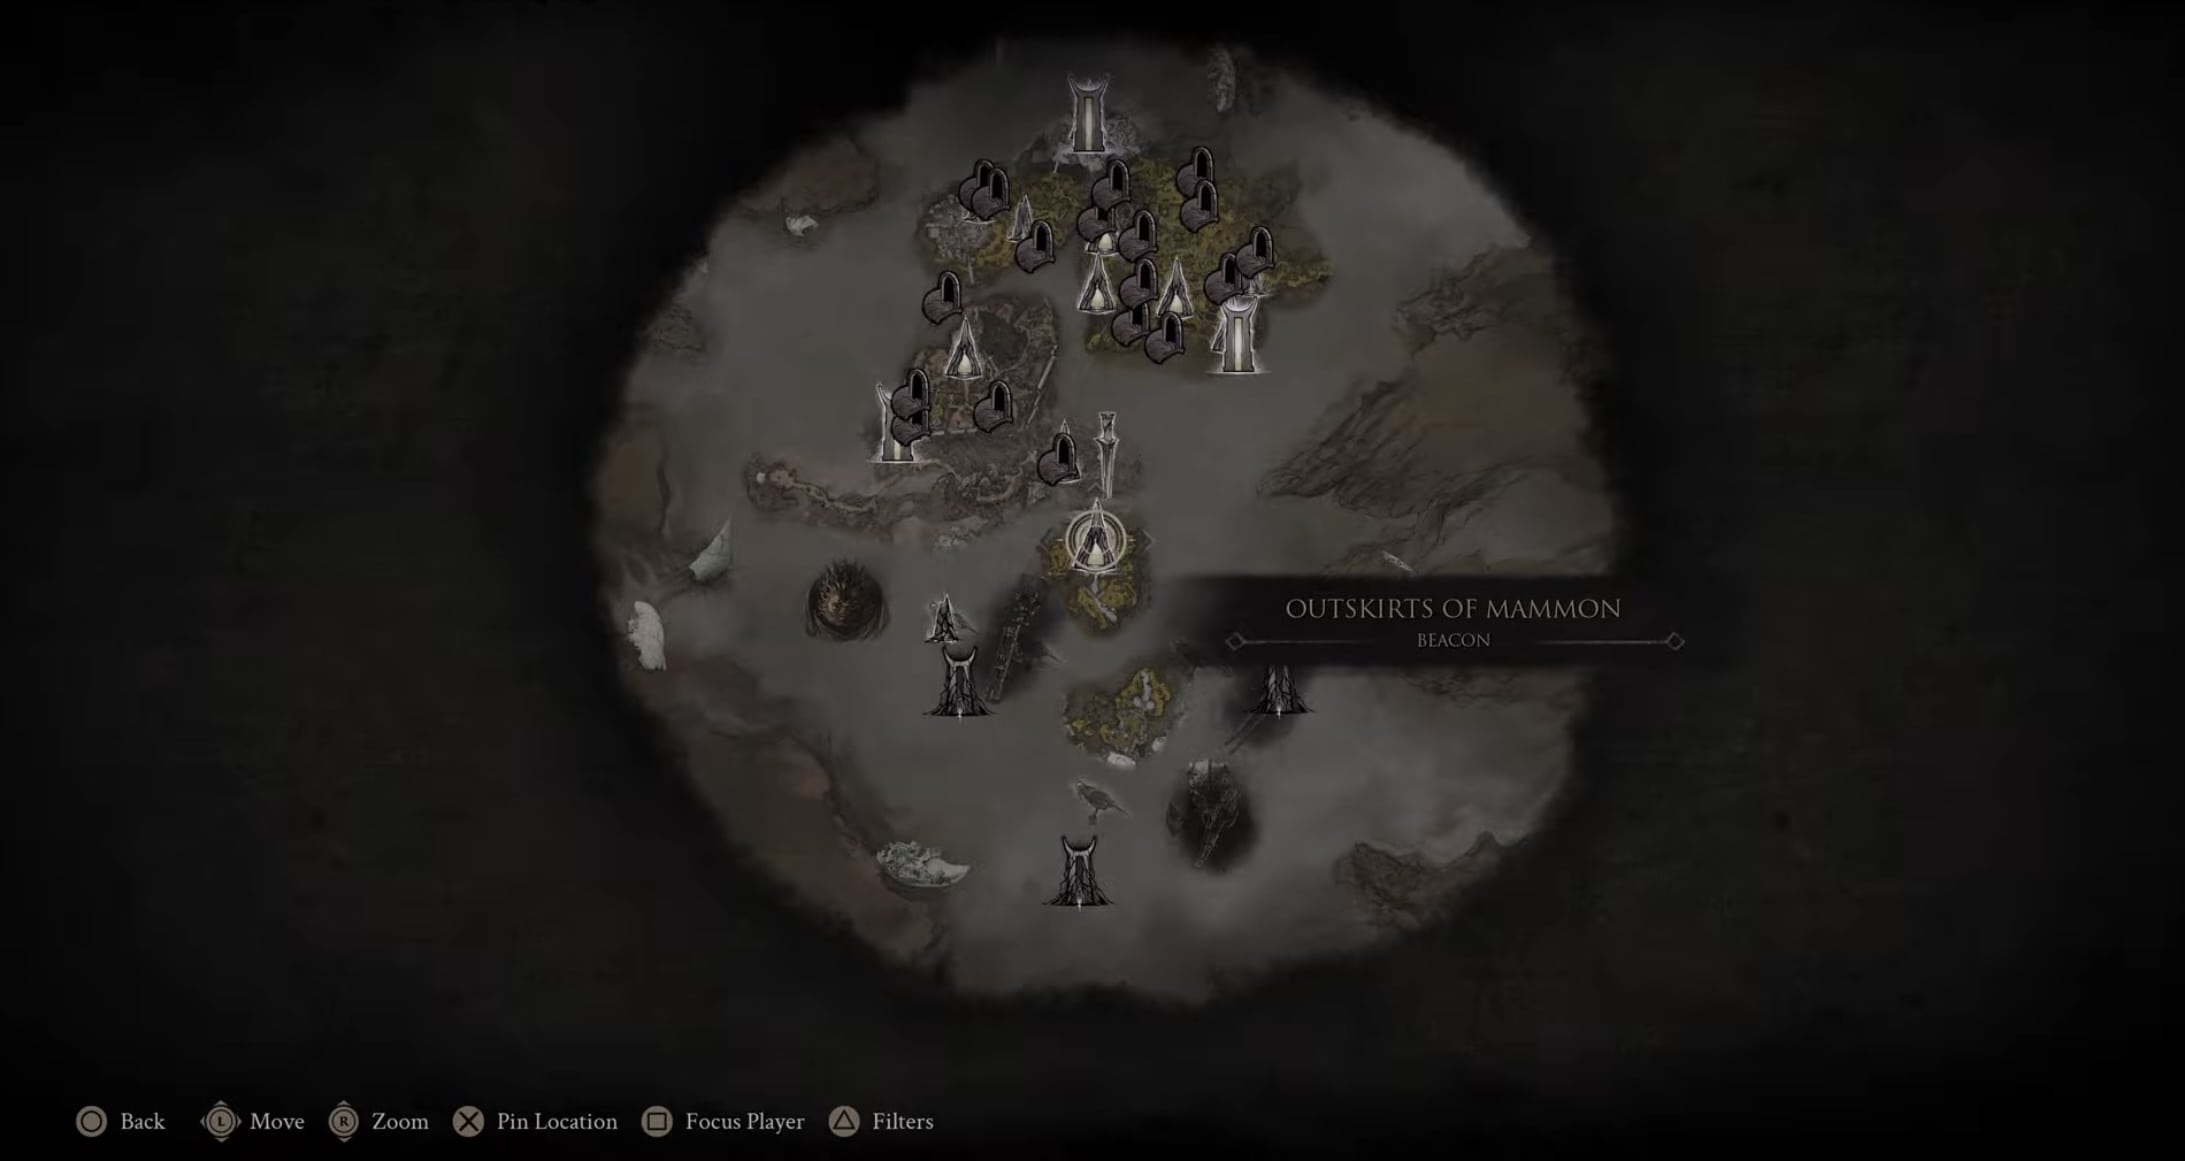
Map of Mammon 4 Location
Map of Mammon 4 begins from the Abandoned Outpost Beacon. The main landmarks on this route are the Traversal Point and a tree with several coffins positioned in front of it.
- Start at the Abandoned Outpost Beacon.
- Head toward the nearby Traversal Point and use it to cross the gap.
- Continue until you find the tree with several coffins in front of it.
- From the tree, walk up the hill.
- Ruk’s statue is at the top. Interact with it to collect Map of Mammon 4.
3.5. Map of Mammon 5 Location
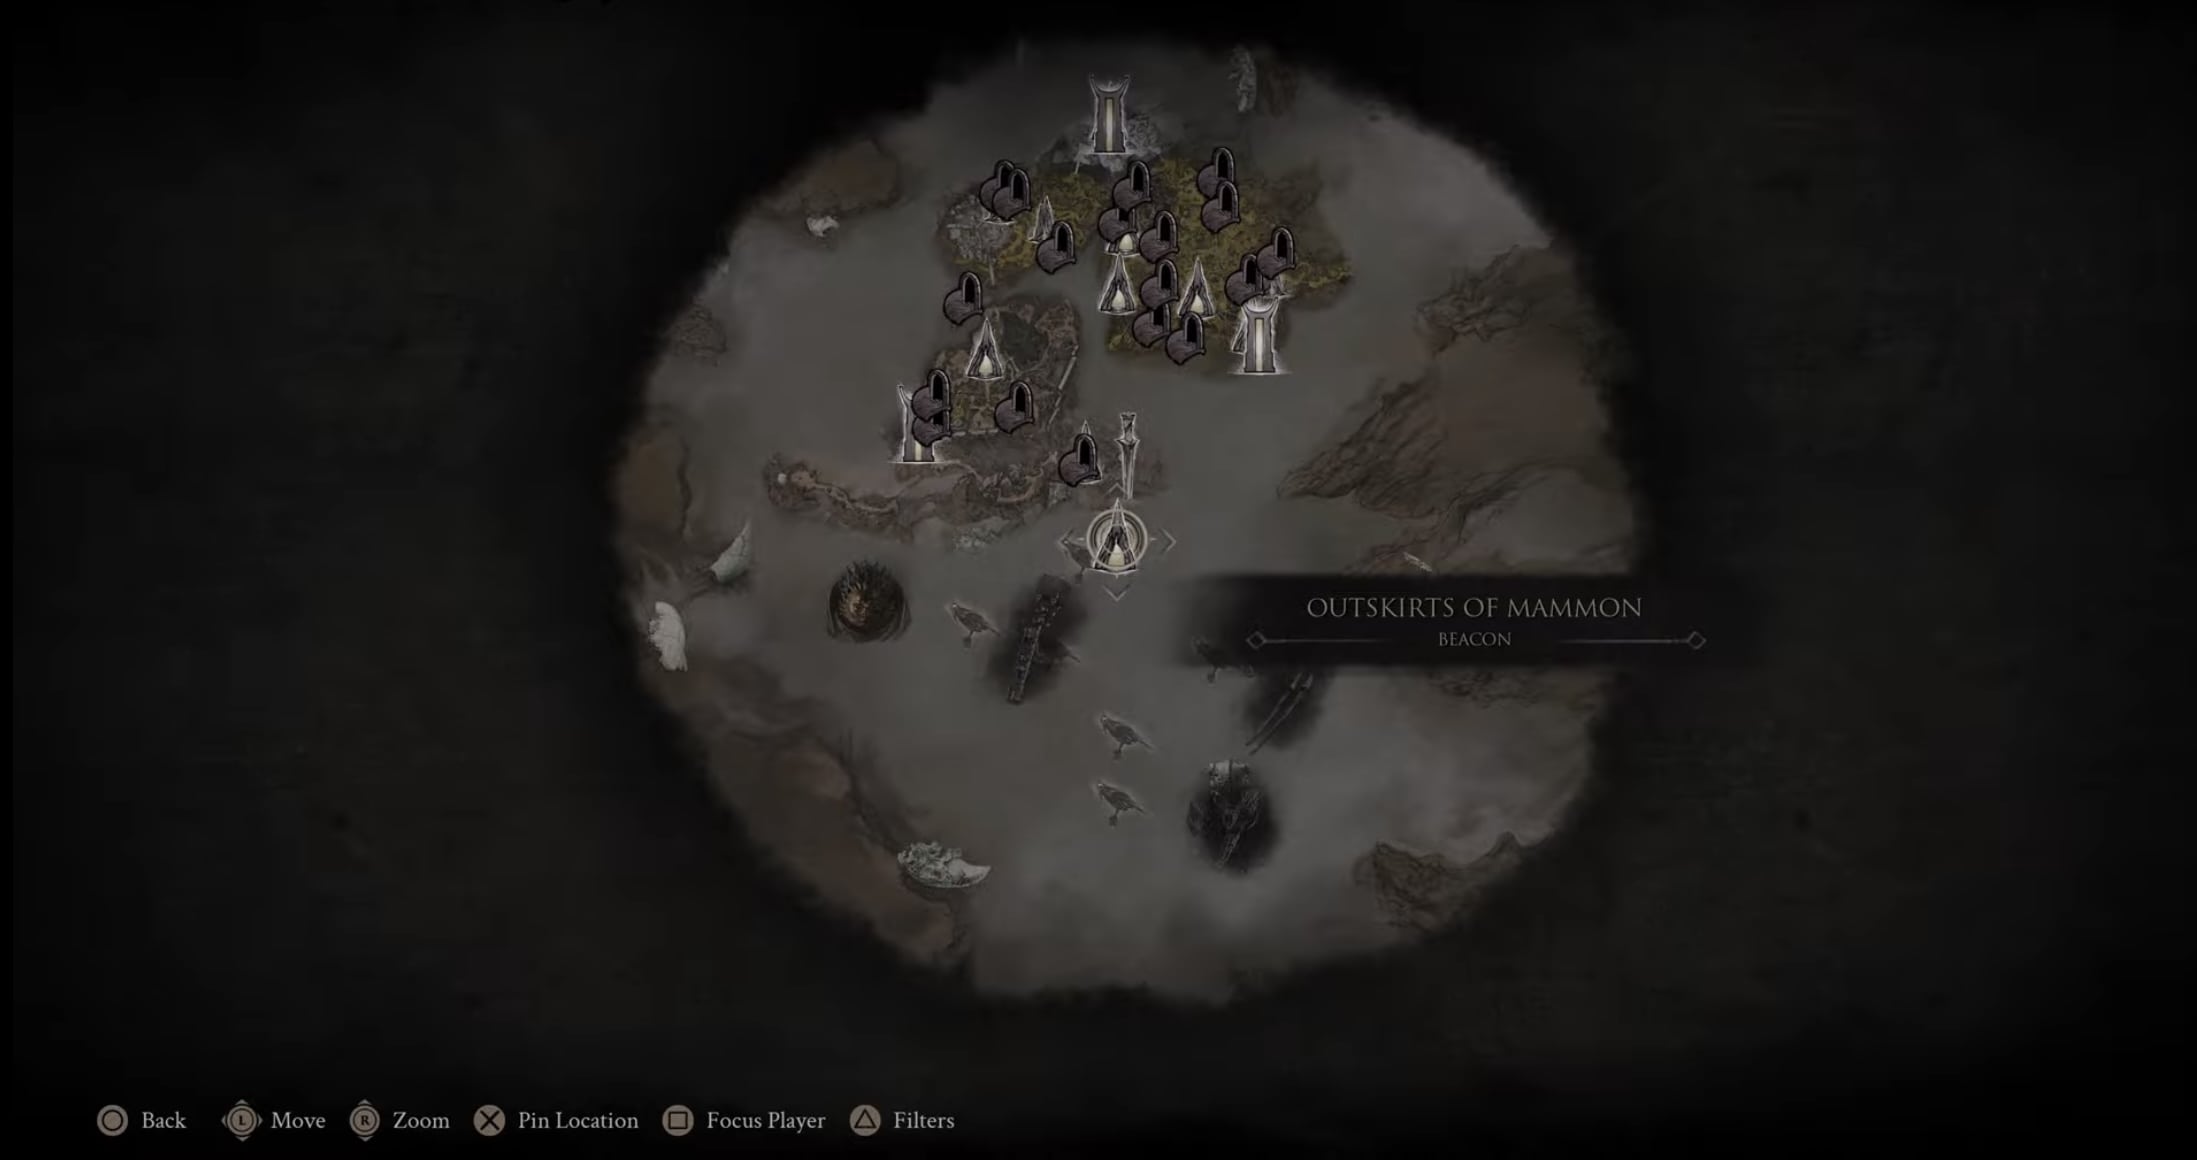
Map of Mammon 5 Location
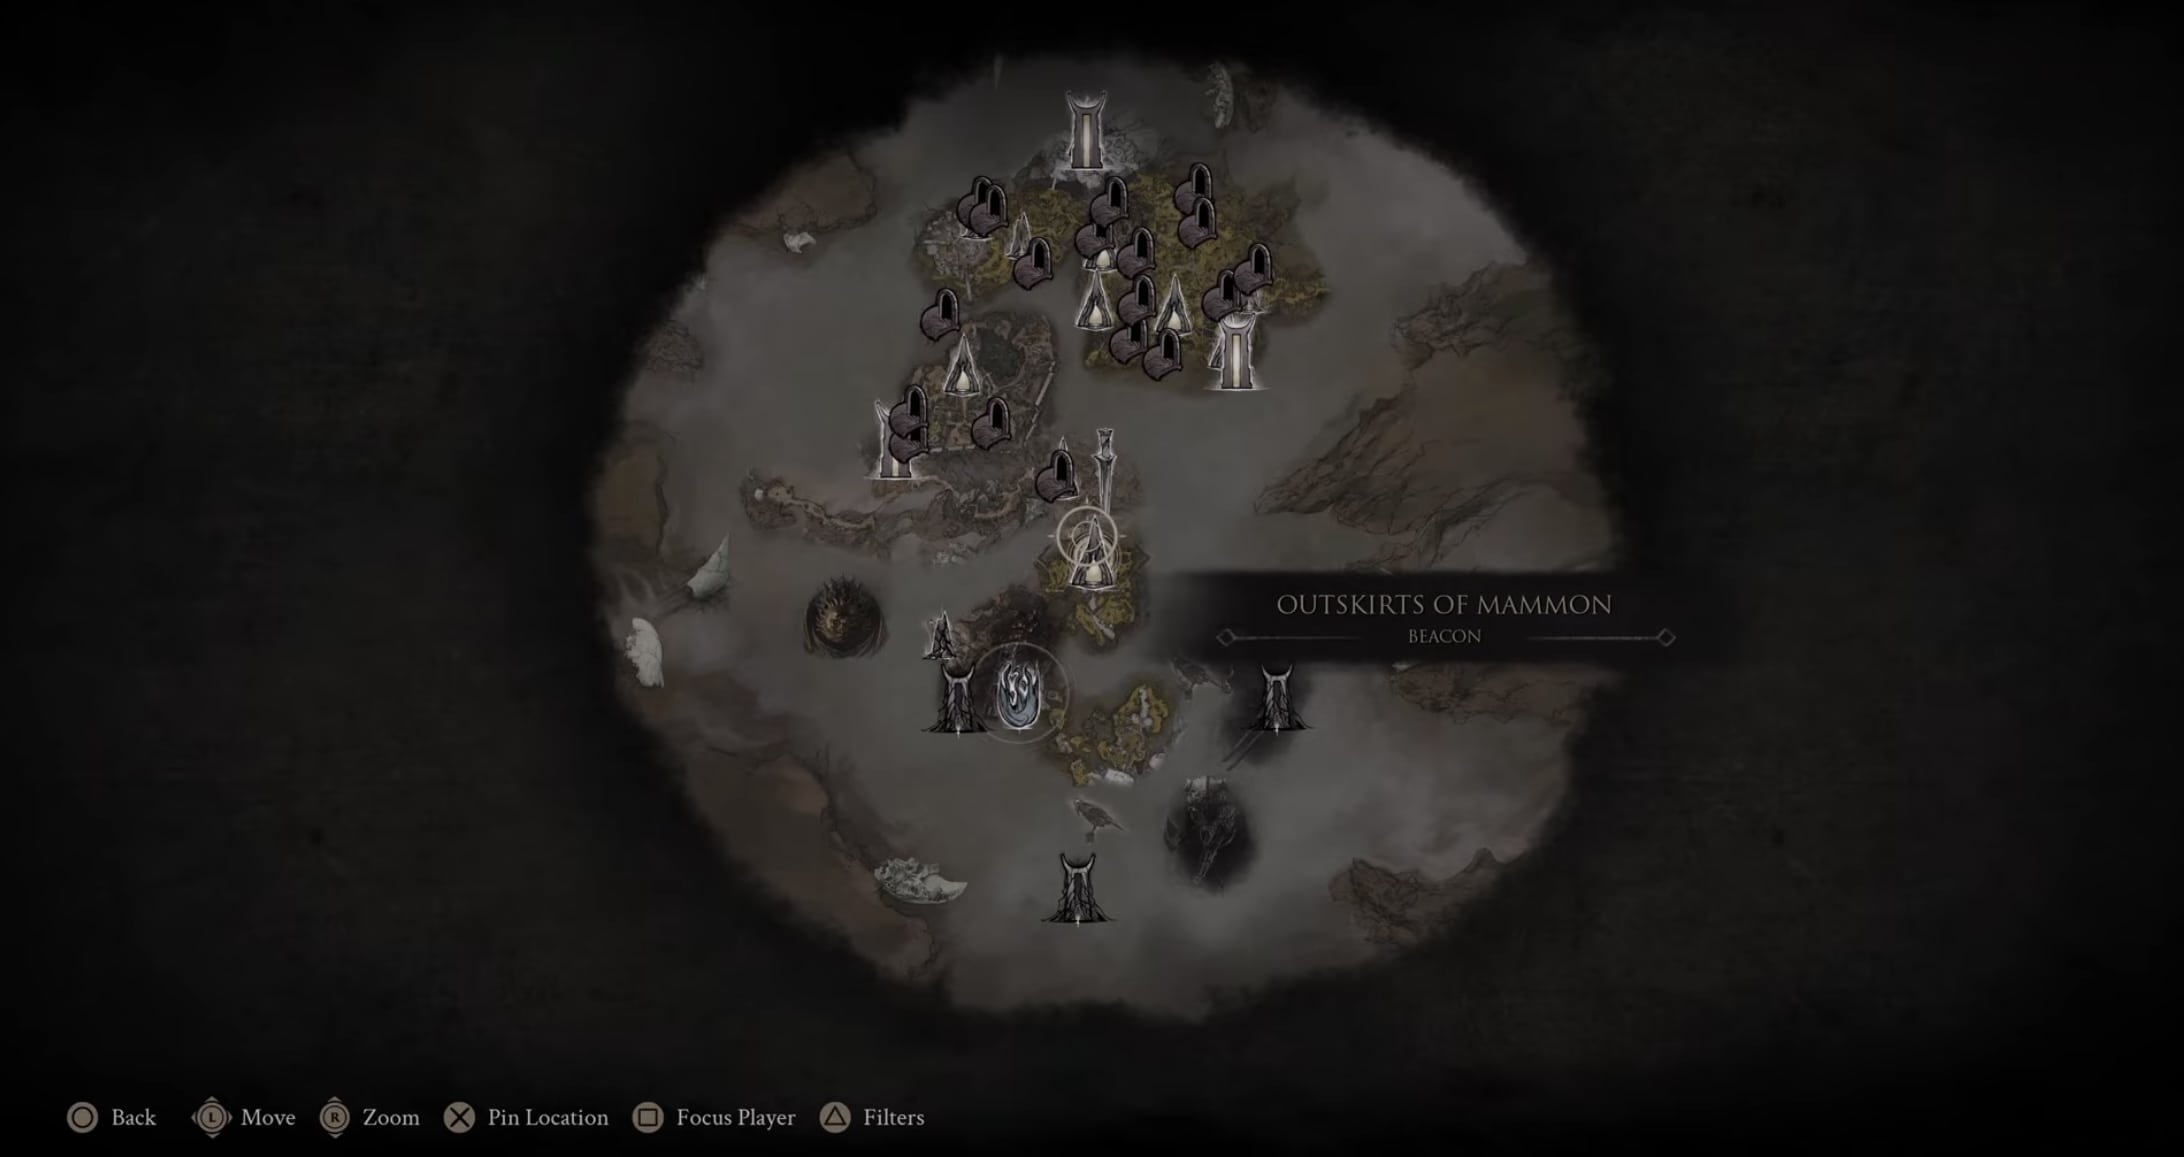
Map of Mammon 5 is just southwest of the Outskirts of Mammon Beacon. This is one of the simpler Mammon fragments because there are no special traversal requirements between the Beacon and the statue.
- Begin at the Outskirts of Mammon Beacon.
- Follow the path heading west.
- Continue until you can cross the bridge leading toward the southwest.
- Enter the area on the other side of the bridge.
- Look toward the center of the area for Ruk’s statue and collect Map of Mammon 5.
3.6. Map of Mammon 6 Location
Map of Mammon 6 Location
Map of Mammon 6 is the easiest Mammon fragment to identify once you have reached the High Lord’s Courtyard Beacon. The statue is near a broken castle wall and sits extremely close to the Beacon.
- Travel to the High Lord’s Courtyard Beacon.
- Check the area directly around and across from the Beacon.
- Look for the broken castle wall.
- Ruk’s statue is positioned nearby.
- Collect Map of Mammon 6 to reveal its section of Ruk’s Map.
4. How to Complete the Full Mortal Shell 2 Map
Once you have collected all five Fainweald fragments and all six Mammon fragments, Ruk’s Map is complete and the Sat Nav trophy/achievement unlocks. If fog remains on the map, compare your collection against the regional lists above: Fainweald needs five pieces, Mammon needs six, and Fainweald 5 is the most likely one to miss before obtaining Mether’s Breath.
Related posts:


