

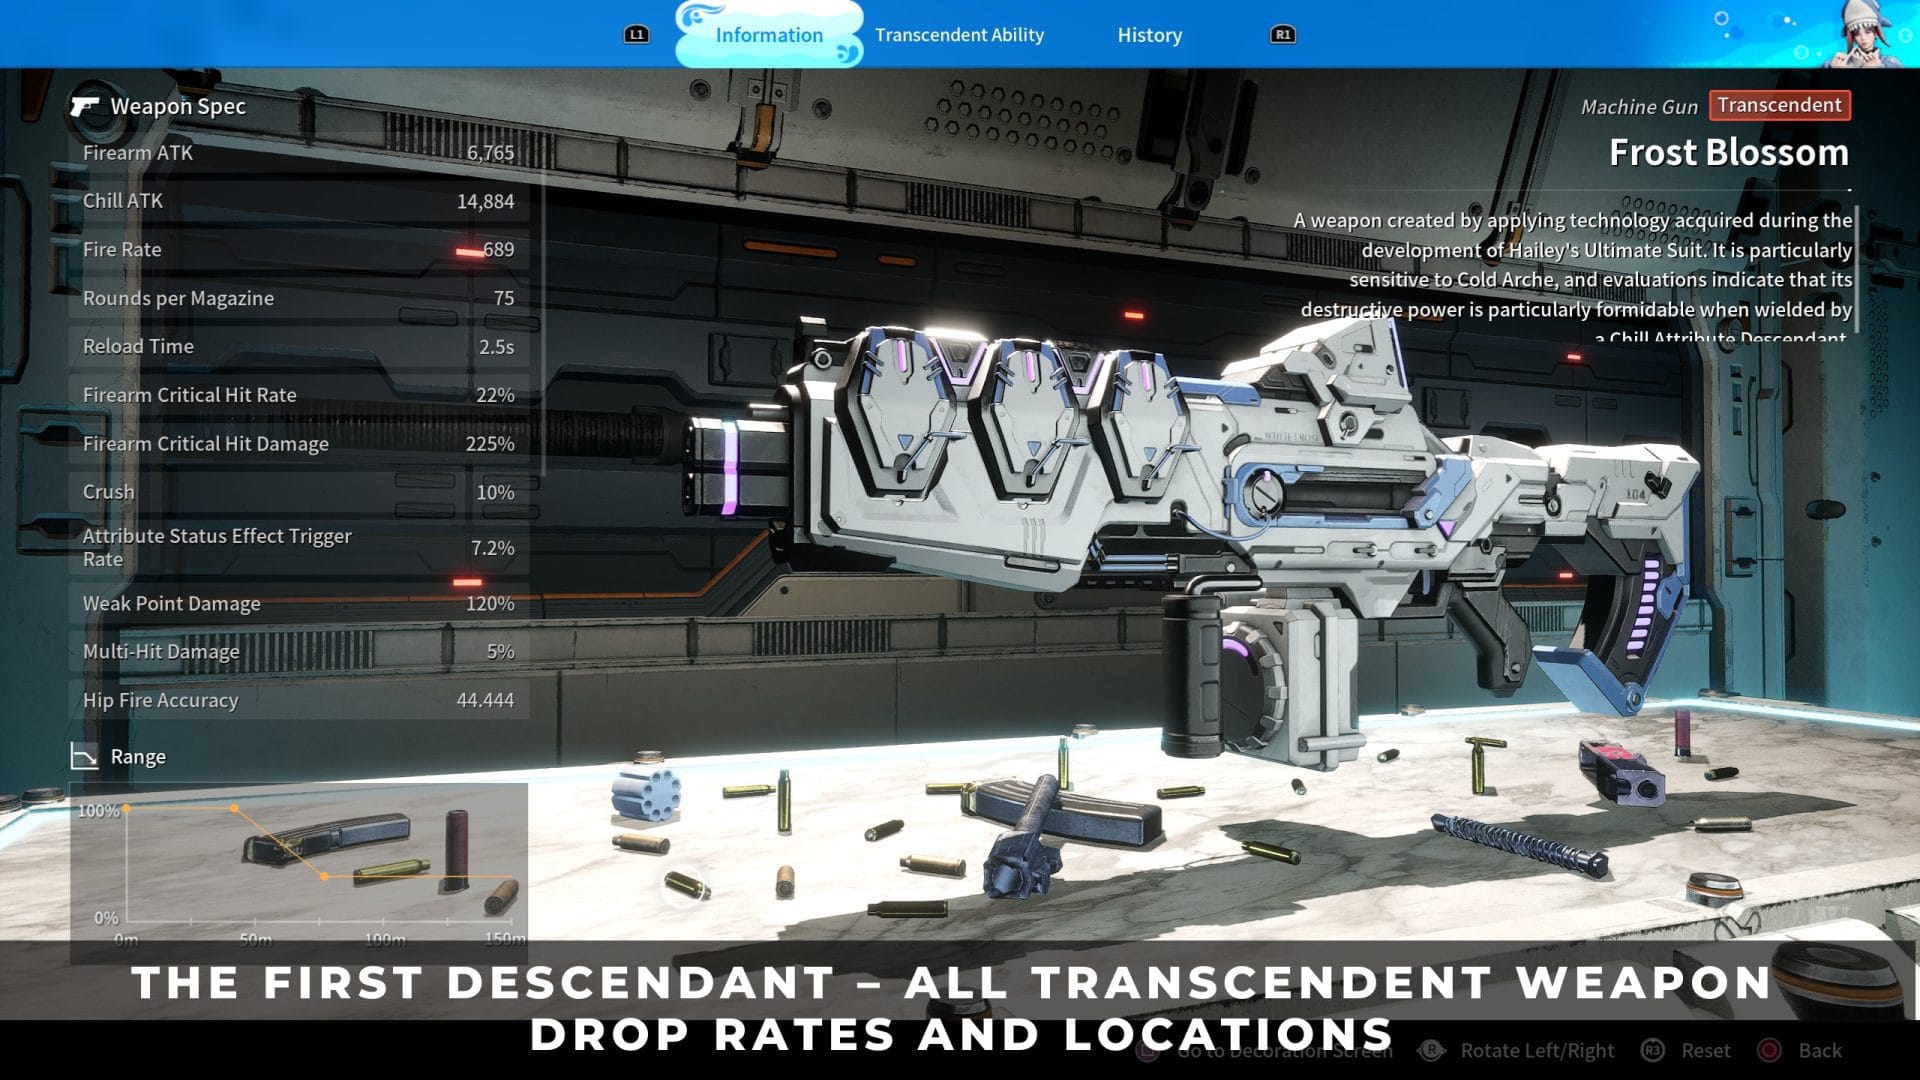
Transcendent Weapons arrived with Update 1.4.0 as the highest weapon tier in The First Descendant, and every one of them rolls a Quality value between 1 and 400 on drop. The content you run decides which Quality band the roll can land in, and each mission carries its own completion chance.
Karel’s Mothership has the highest single-completion chance in the game, at 14.5%. Onslaught Stage 4 is the only farm that guarantees Quality 376 or higher on every drop it gives you.
1. All Transcendent Weapon Drop Rates and Locations
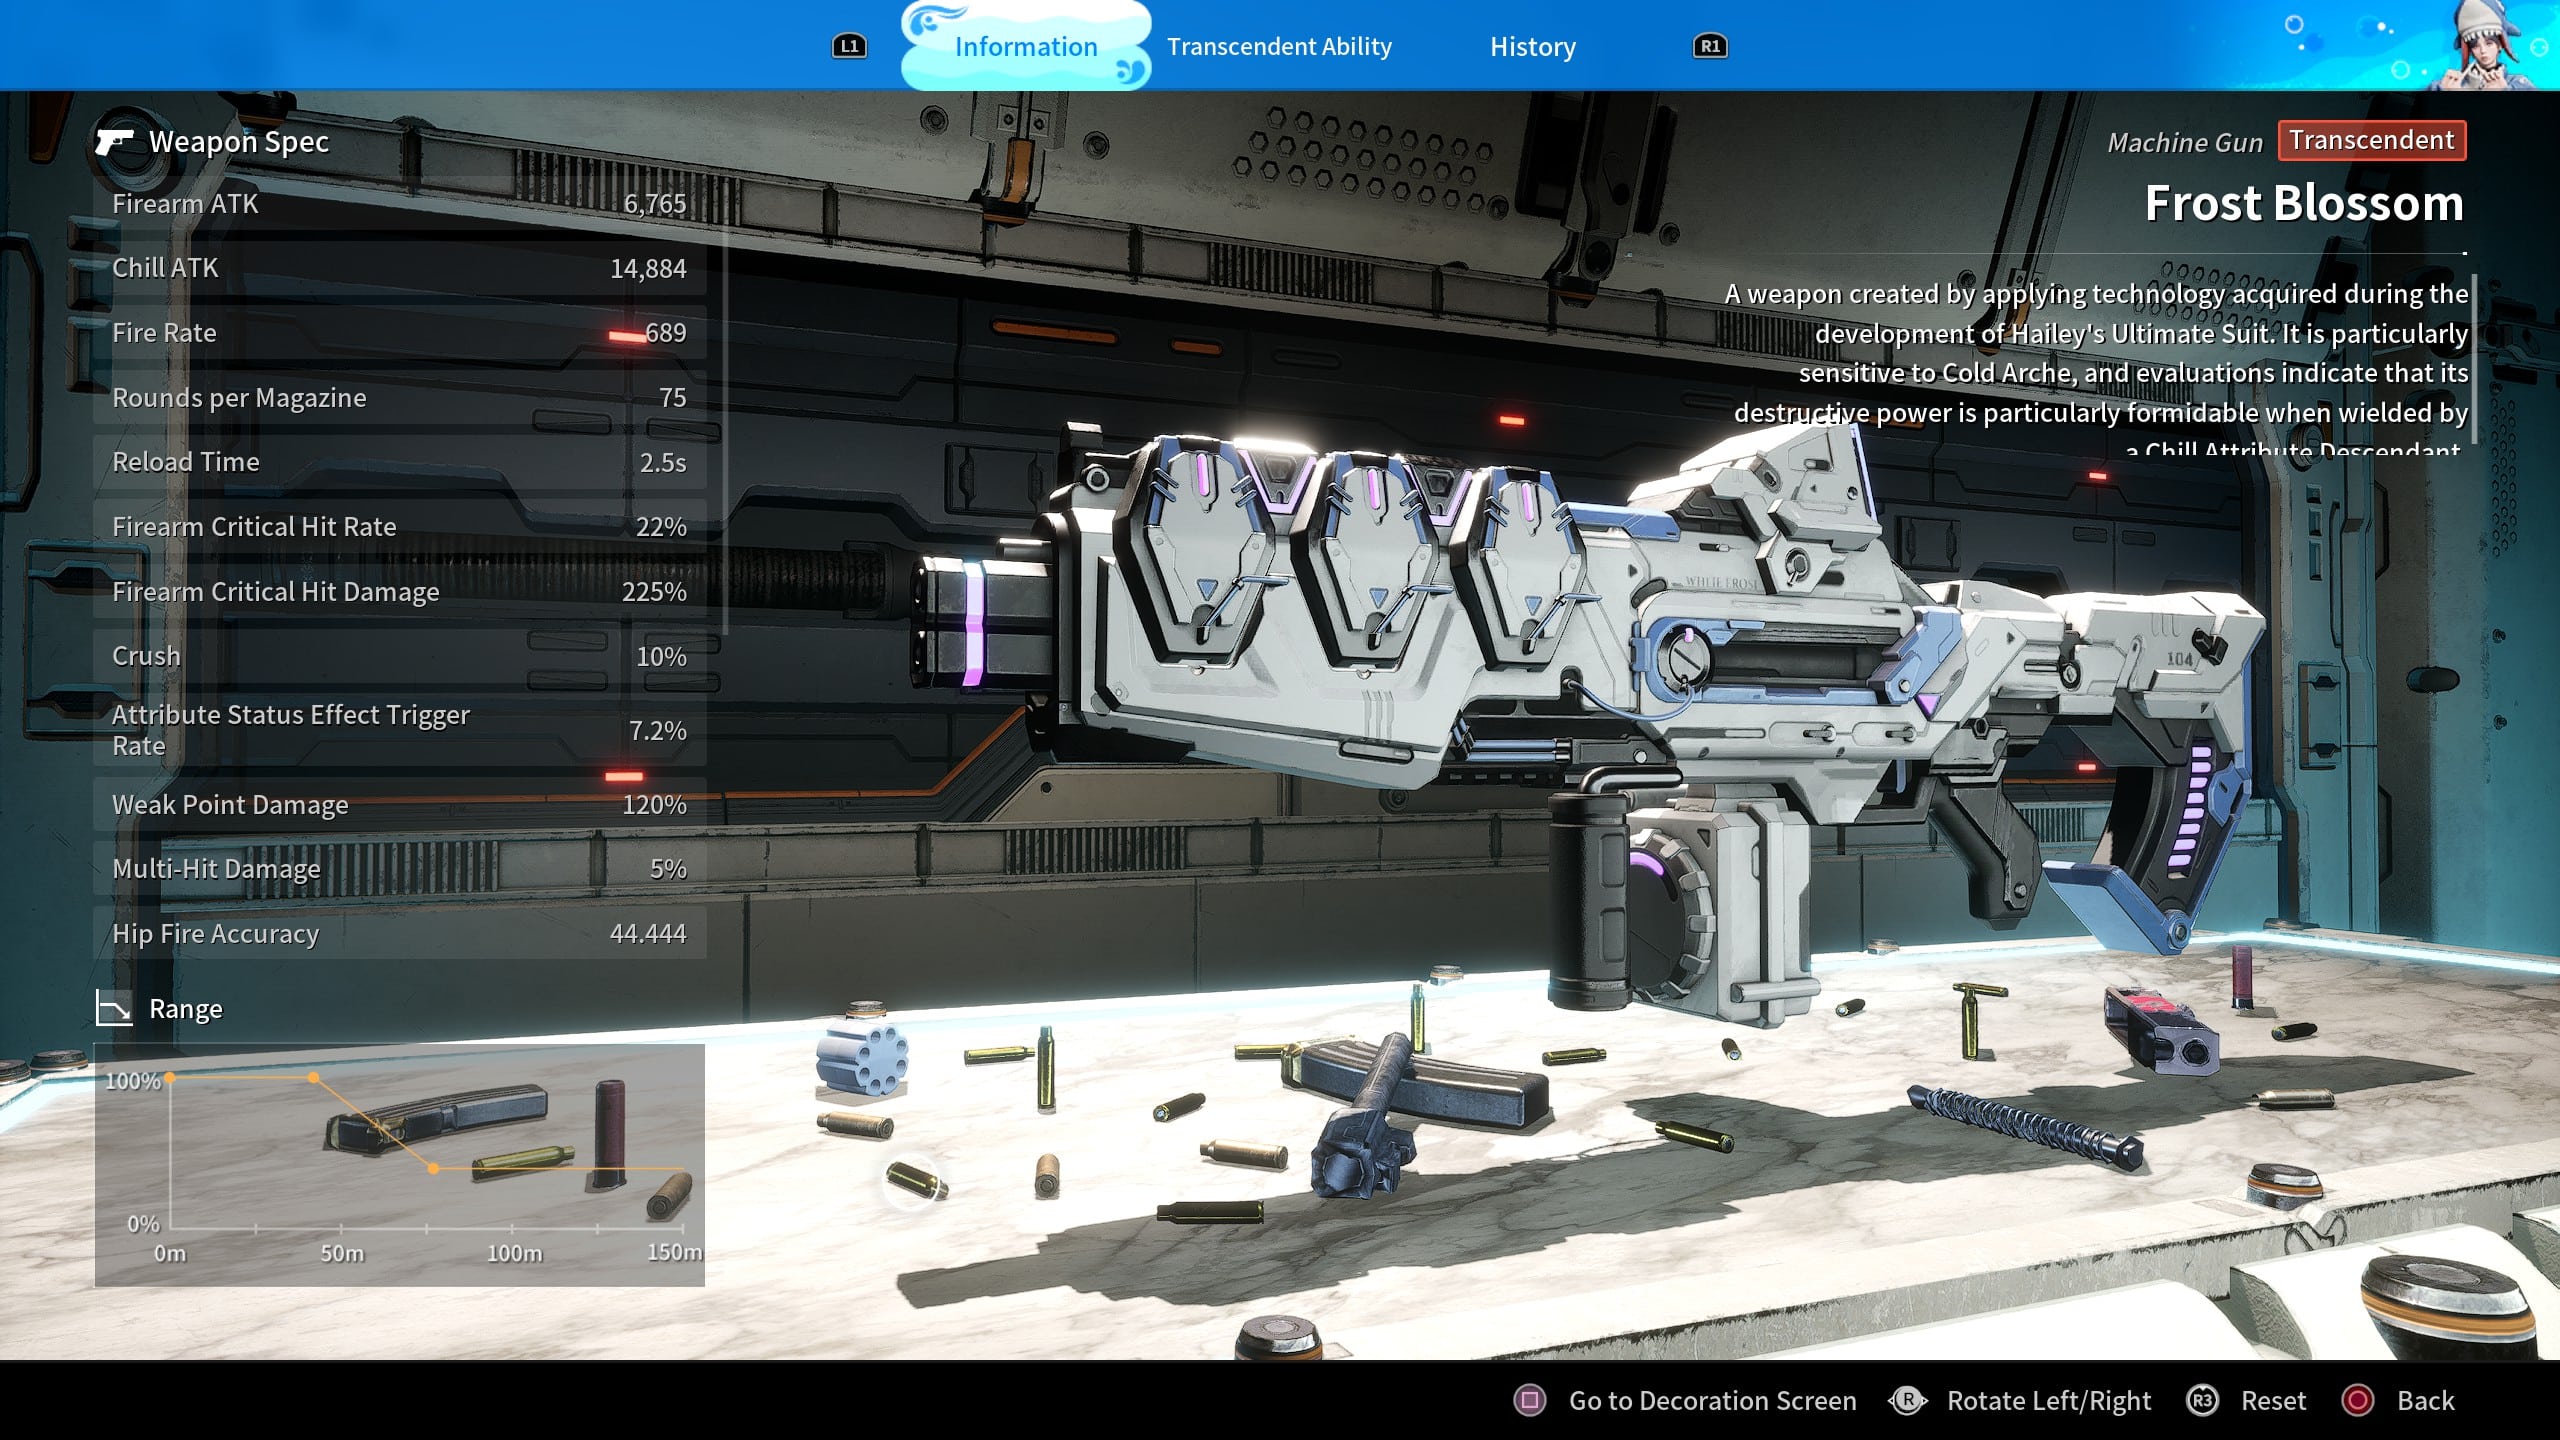
Frost Blossom
Update 1.4.0 added Transcendent Weapons to 81 separate reward sources, spanning Normal missions through Onslaught, Karel’s Mothership, and Trials. The percentages below are mission completion reward chances, and monsters inside those same missions can drop weapons on top of that.
Use the tabs to jump to the difficulty bracket you can currently clear, then sort by chance to find the fastest run in that bracket.
| Bracket | Content | Quality Range | Completion Chance |
|---|---|---|---|
| Normal (1-150) | Assumed Bridge Zone - Normal | 1 - 150 | 6.92% |
| Normal (1-150) | Old Mystery - Normal | 1 - 150 | 5.17% |
| Normal (1-150) | Mystery's End - Normal | 1 - 150 | 4.89% |
| Normal (1-150) | Heart of the Fortress - Normal | 1 - 150 | 4.39% |
| Normal (1-150) | Slumber Valley - Normal | 1 - 150 | 4.31% |
| Normal (1-150) | Bio-Lab - Normal | 1 - 150 | 3.75% |
| Normal (1-150) | Unknown Laboratory - Normal | 1 - 150 | 3.72% |
| Normal (1-150) | Seed Vault - Normal | 1 - 150 | 3.61% |
| Normal (1-150) | The Forgottense - Normal | 1 - 150 | 3.39% |
| Normal (1-150) | The Chapel - Normal | 1 - 150 | 3.33% |
| Normal (1-150) | Caligo Ossuary - Normal | 1 - 150 | 3.06% |
| Normal (1-150) | Asylum - Normal | 1 - 150 | 2.92% |
| Normal (1-150) | The Haven - Normal | 1 - 150 | 2.67% |
| Normal (1-150) | Quarantine Zone - Normal | 1 - 150 | 2.64% |
| Normal (1-150) | The Shelter - Normal | 1 - 150 | 2.17% |
| Normal (1-150) | Sepulcher - Normal | 1 - 150 | 2.11% |
| Normal (1-150) | The Magister Lab - Normal | 1 - 150 | 2.03% |
| Bracket | Content | Quality Range | Completion Chance |
|---|---|---|---|
| Hard 100% (51-200) | Old Mystery - Hard 100% | 51 - 200 | 5.17% |
| Hard 100% (51-200) | Mystery's End - Hard 100% | 51 - 200 | 4.89% |
| Hard 100% (51-200) | Heart of the Fortress - Hard 100% | 51 - 200 | 4.39% |
| Hard 100% (51-200) | Slumber Valley - Hard 100% | 51 - 200 | 4.31% |
| Hard 100% (51-200) | Bio-Lab - Hard 100% | 51 - 200 | 3.75% |
| Hard 100% (51-200) | Unknown Laboratory - Hard 100% | 51 - 200 | 3.72% |
| Hard 100% (51-200) | Seed Vault - Hard 100% | 51 - 200 | 3.61% |
| Hard 100% (51-200) | Sigma Sector: Broken Boundary (Normal) | 51 - 200 | 3.47% |
| Hard 100% (51-200) | The Forgottense - Hard 100% | 51 - 200 | 3.39% |
| Hard 100% (51-200) | The Chapel - Hard 100% | 51 - 200 | 3.33% |
| Hard 100% (51-200) | Caligo Ossuary - Hard 100% | 51 - 200 | 3.06% |
| Hard 100% (51-200) | Asylum - Hard 100% | 51 - 200 | 2.92% |
| Hard 100% (51-200) | Sigma Sector: Isolated Desert (Normal) | 51 - 200 | 2.69% |
| Hard 100% (51-200) | The Haven - Hard 100% | 51 - 200 | 2.67% |
| Hard 100% (51-200) | Quarantine Zone - Hard 100% | 51 - 200 | 2.64% |
| Hard 100% (51-200) | The Shelter - Hard 100% | 51 - 200 | 2.17% |
| Hard 100% (51-200) | Sepulcher - Hard 100% | 51 - 200 | 2.11% |
| Hard 100% (51-200) | The Magister Lab - Hard 100% | 51 - 200 | 2.03% |
| Bracket | Content | Quality Range | Completion Chance |
|---|---|---|---|
| Hard 400% (101-250) | Assumed Bridge Zone - Hard | 101 - 250 | 6.92% |
| Hard 400% (101-250) | Mystery's End - Hard 400% | 101 - 250 | 4.89% |
| Hard 400% (101-250) | Heart of the Fortress - Hard 400% | 101 - 250 | 4.39% |
| Hard 400% (101-250) | Slumber Valley - Hard 400% | 101 - 250 | 4.31% |
| Hard 400% (101-250) | Unknown Laboratory - Hard 400% | 101 - 250 | 3.72% |
| Hard 400% (101-250) | Seed Vault - Hard 400% | 101 - 250 | 3.61% |
| Hard 400% (101-250) | The Forgottense - Hard 400% | 101 - 250 | 3.39% |
| Hard 400% (101-250) | The Chapel - Hard 400% | 101 - 250 | 3.33% |
| Hard 400% (101-250) | Caligo Ossuary - Hard 400% | 101 - 250 | 3.06% |
| Hard 400% (101-250) | Asylum - Hard 400% | 101 - 250 | 2.92% |
| Hard 400% (101-250) | The Haven - Hard 400% | 101 - 250 | 2.67% |
| Hard 400% (101-250) | Quarantine Zone - Hard 400% | 101 - 250 | 2.64% |
| Hard 400% (101-250) | The Shelter - Hard 400% | 101 - 250 | 2.17% |
| Hard 400% (101-250) | The Magister Lab - Hard 400% | 101 - 250 | 2.03% |
| Bracket | Content | Quality Range | Completion Chance |
|---|---|---|---|
| High-Risk (176-325) | Medium-Sized Facility Zone - Normal | 176 - 325 | 4.92% |
| High-Risk (176-325) | Sigma Sector: Broken Boundary (High-risk) | 176 - 325 | 3.47% |
| High-Risk (176-325) | Sigma Sector: Isolated Desert (High-risk) | 176 - 325 | 2.69% |
| Bracket | Content | Quality Range | Completion Chance |
|---|---|---|---|
| Axion Plains (201-350) | Sealed Residential District | 201 - 350 | 6.69% |
| Axion Plains (201-350) | Emergency Deployment Zone | 201 - 350 | 5.22% |
| Axion Plains (201-350) | Liquefied AX Vault | 201 - 350 | 3.86% |
| Axion Plains (201-350) | First Crater | 201 - 350 | 3.78% |
| Axion Plains (201-350) | Technical Research Institute | 201 - 350 | 3.69% |
| Axion Plains (201-350) | AX Refinery | 201 - 350 | 2.97% |
| Axion Plains (201-350) | Axium Mining Area | 201 - 350 | 2.5% |
| Axion Plains (201-350) | AX Power Converter Station | 201 - 350 | 1.97% |
| Axion Plains (201-350) | Axium Drop Zone | 201 - 350 | 0.47% |
| Bracket | Content | Quality Range | Completion Chance |
|---|---|---|---|
| Endgame Ops (251-400) | Forbidden Sanctuary | 251 - 400 | 5.64% |
| Endgame Ops (251-400) | Bastion of Immortality | 251 - 400 | 5.06% |
| Endgame Ops (251-400) | Medium-Sized Facility Zone - Hard | 251 - 400 | 4.92% |
| Endgame Ops (251-400) | Legion Laboratory | 251 - 400 | 4.78% |
| Endgame Ops (251-400) | Exposed Underwater Base | 251 - 400 | 4.69% |
| Endgame Ops (251-400) | Supermassive Receptor | 251 - 400 | 4.64% |
| Bracket | Content | Quality Range | Completion Chance |
|---|---|---|---|
| Onslaught (276-400) | Onslaught - Stage 1 | 276 - 400 | 7.11% |
| Onslaught (276-400) | Onslaught - Stage 2 | 301 - 400 | 7.11% |
| Onslaught (276-400) | Onslaught - Stage 3 | 351 - 400 | 7.11% |
| Onslaught (276-400) | Onslaught - Stage 4 | 376 - 400 | 7.11% |
| Bracket | Content | Quality Range | Completion Chance |
|---|---|---|---|
| Karel's Mothership | Karel's Mothership - Normal | 251 - 400 | 14.5% |
| Karel's Mothership | Karel's Mothership - Hard | 271 - 400 | 14.5% |
| Bracket | Content | Quality Range | Completion Chance |
|---|---|---|---|
| Trials | Trials - Round 1 | 271 - 400 | 10% |
| Trials | Trials - Round 2 | 271 - 400 | 10% |
| Trials | Trials - Round 3 | 281 - 400 | 10% |
| Trials | Trials - Round 4 | 281 - 400 | 10% |
| Trials | Trials Rotational Build - Round 1 | 51 - 350 | 10% |
| Trials | Trials Rotational Build - Round 2 | 51 - 350 | 10% |
| Trials | Trials Rotational Build - Round 3 | 101 - 350 | 10% |
| Trials | Trials Rotational Build - Round 4 | 101 - 350 | 10% |
Best Farm in Each Difficulty Bracket
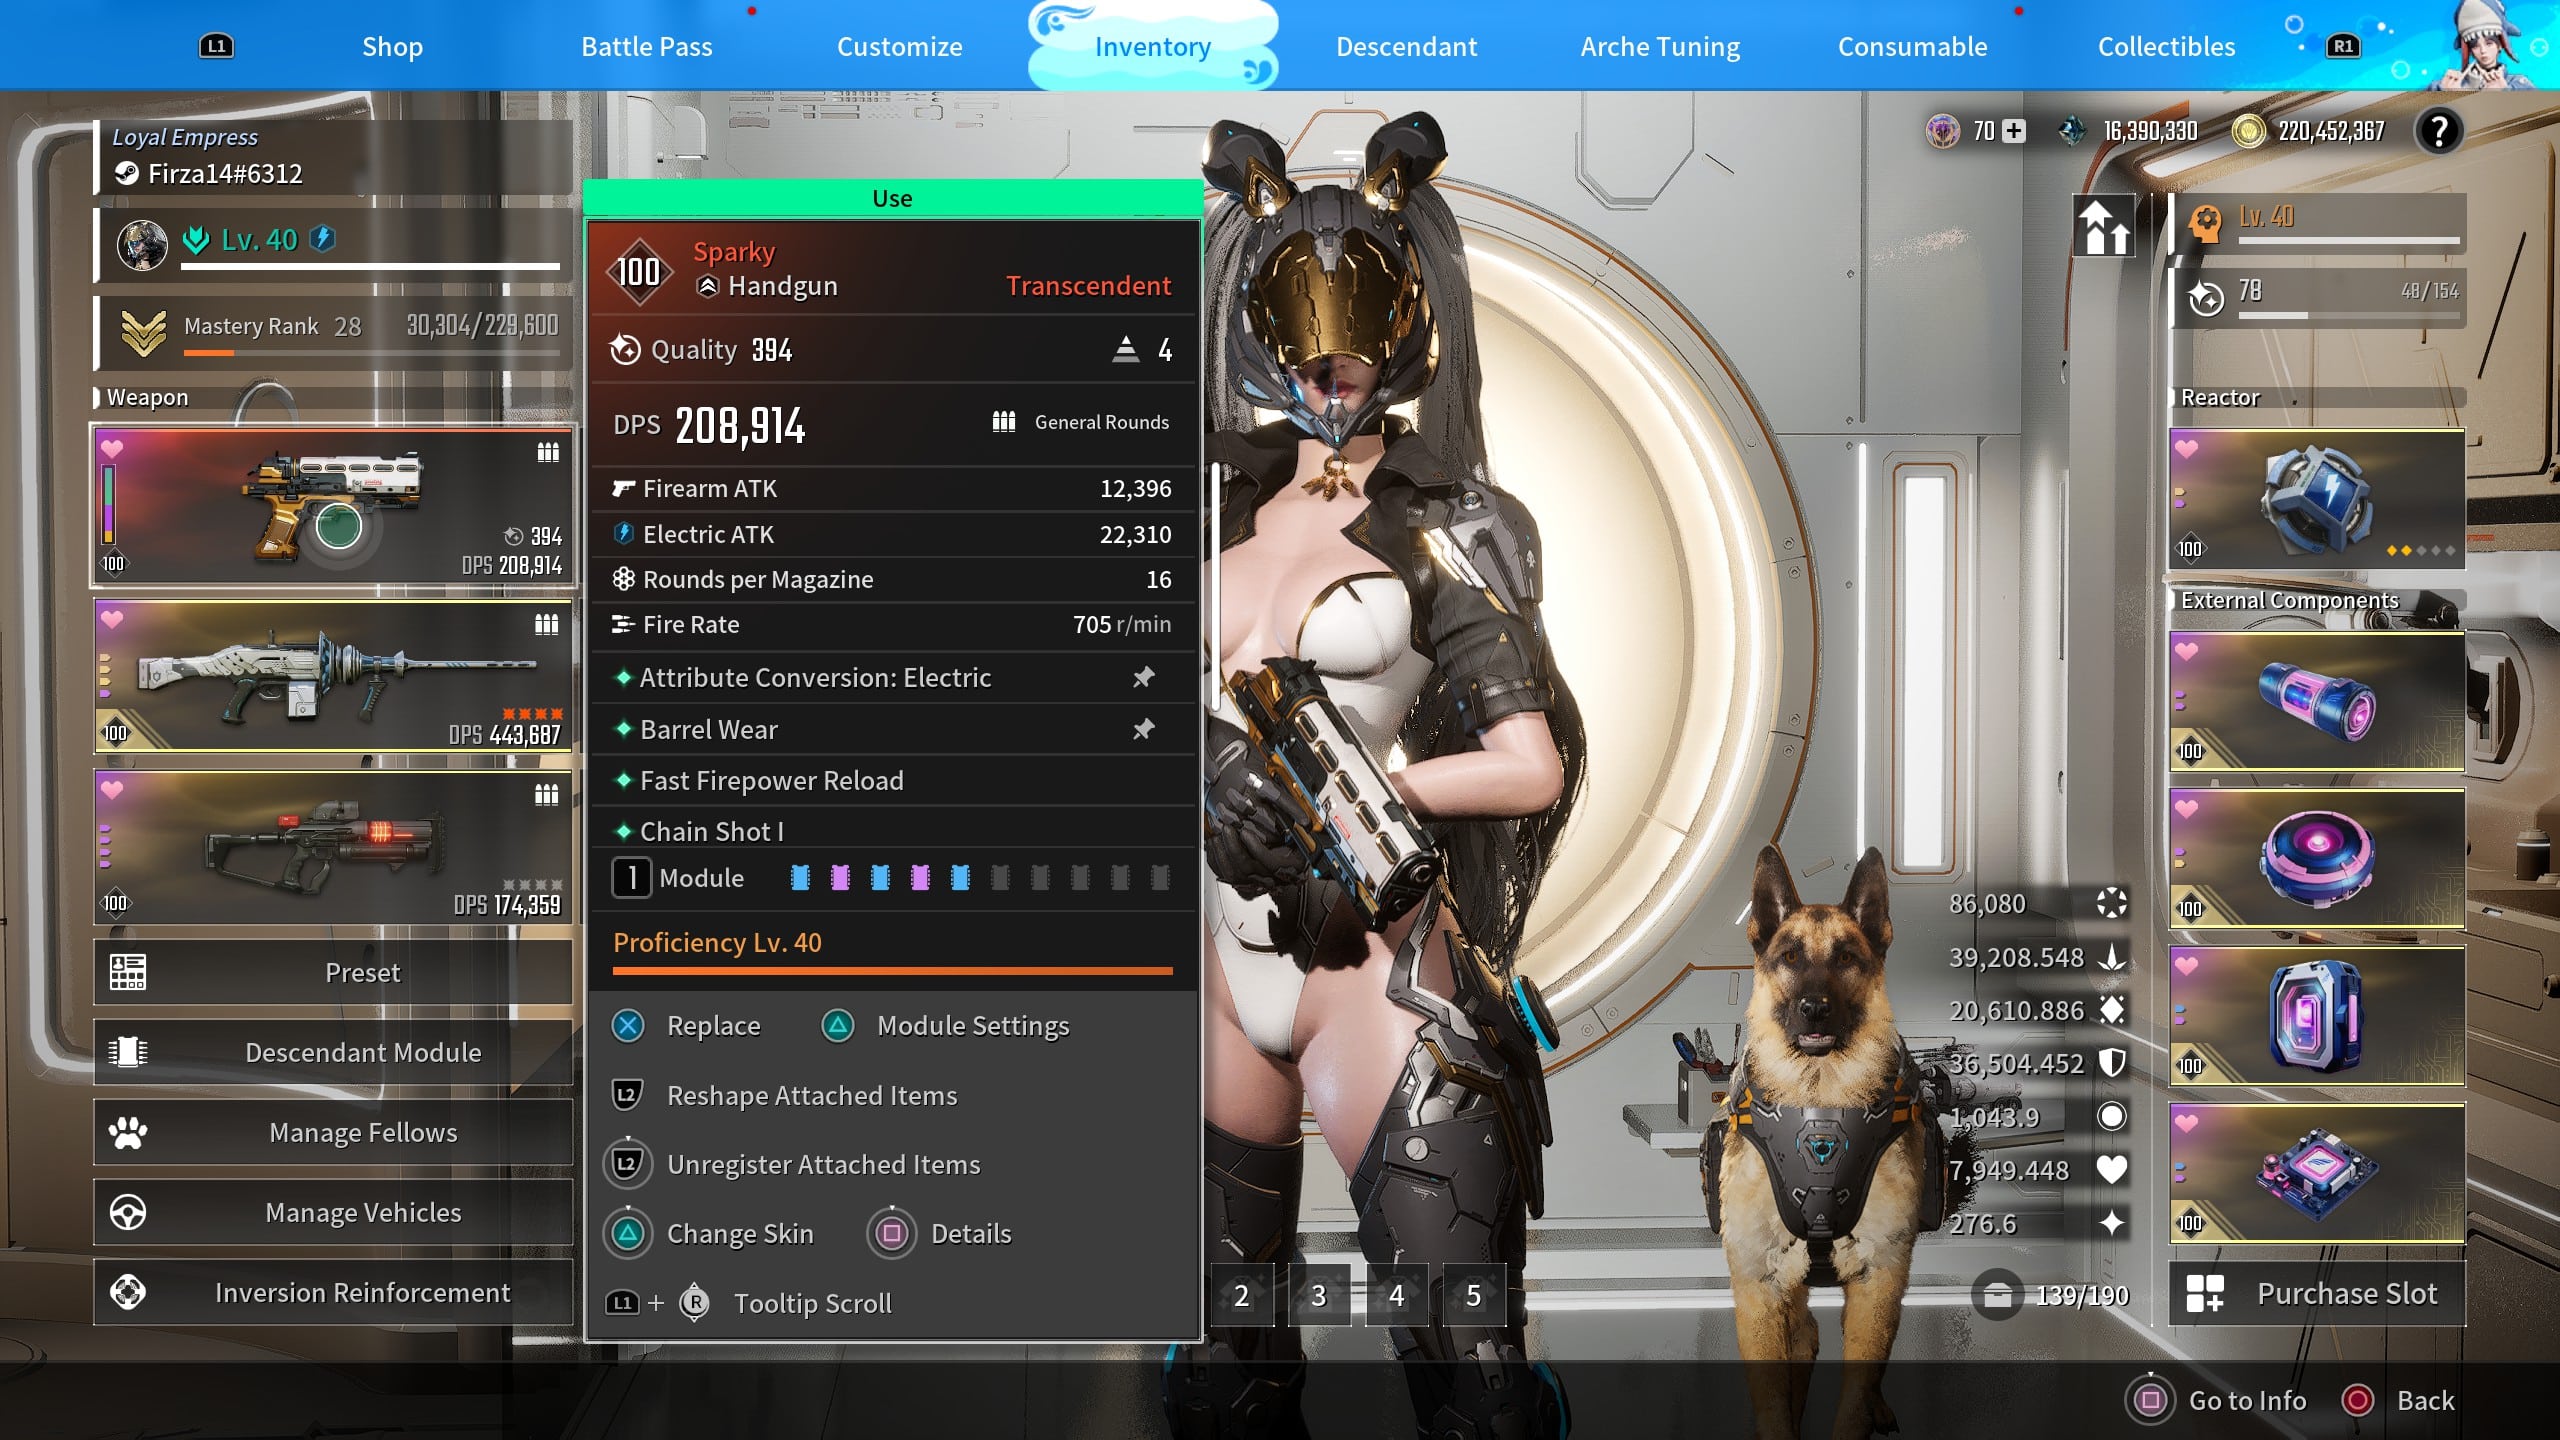
Ultimate Bunny with Sparky
Each bracket has one mission that clearly outpaces the rest, and picking it saves a large amount of time over the course of a season. Match the bracket to what you can clear comfortably, since a fast clear at 5% beats a slow clear at 7%:
| Bracket | Best Mission | Chance |
|---|---|---|
| Normal (1-150) | Assumed Bridge Zone | 6.92% |
| Hard 100% (51-200) | Old Mystery | 5.17% |
| Hard 400% (101-250) | Assumed Bridge Zone | 6.92% |
| High-Risk (176-325) | Medium-Sized Facility Zone | 4.92% |
| Axion Plains (201-350) | Sealed Residential District | 6.69% |
| Endgame Ops (251-400) | Forbidden Sanctuary | 5.64% |
| Onslaught (376-400) | Stage 4 | 7.11% |
| Karel’s Mothership (271-400) | Hard Difficulty | 14.5% |
| Trials (281-400) | Round 3 | 10% |
2. Best Endgame Farms
Three pieces of content sit above everything else once you have cleared the S04 EP01 main quest. Each one solves a different problem, and running all three is stronger than committing to a single farm.
Karel’s Mothership Drop Rate and Requirements
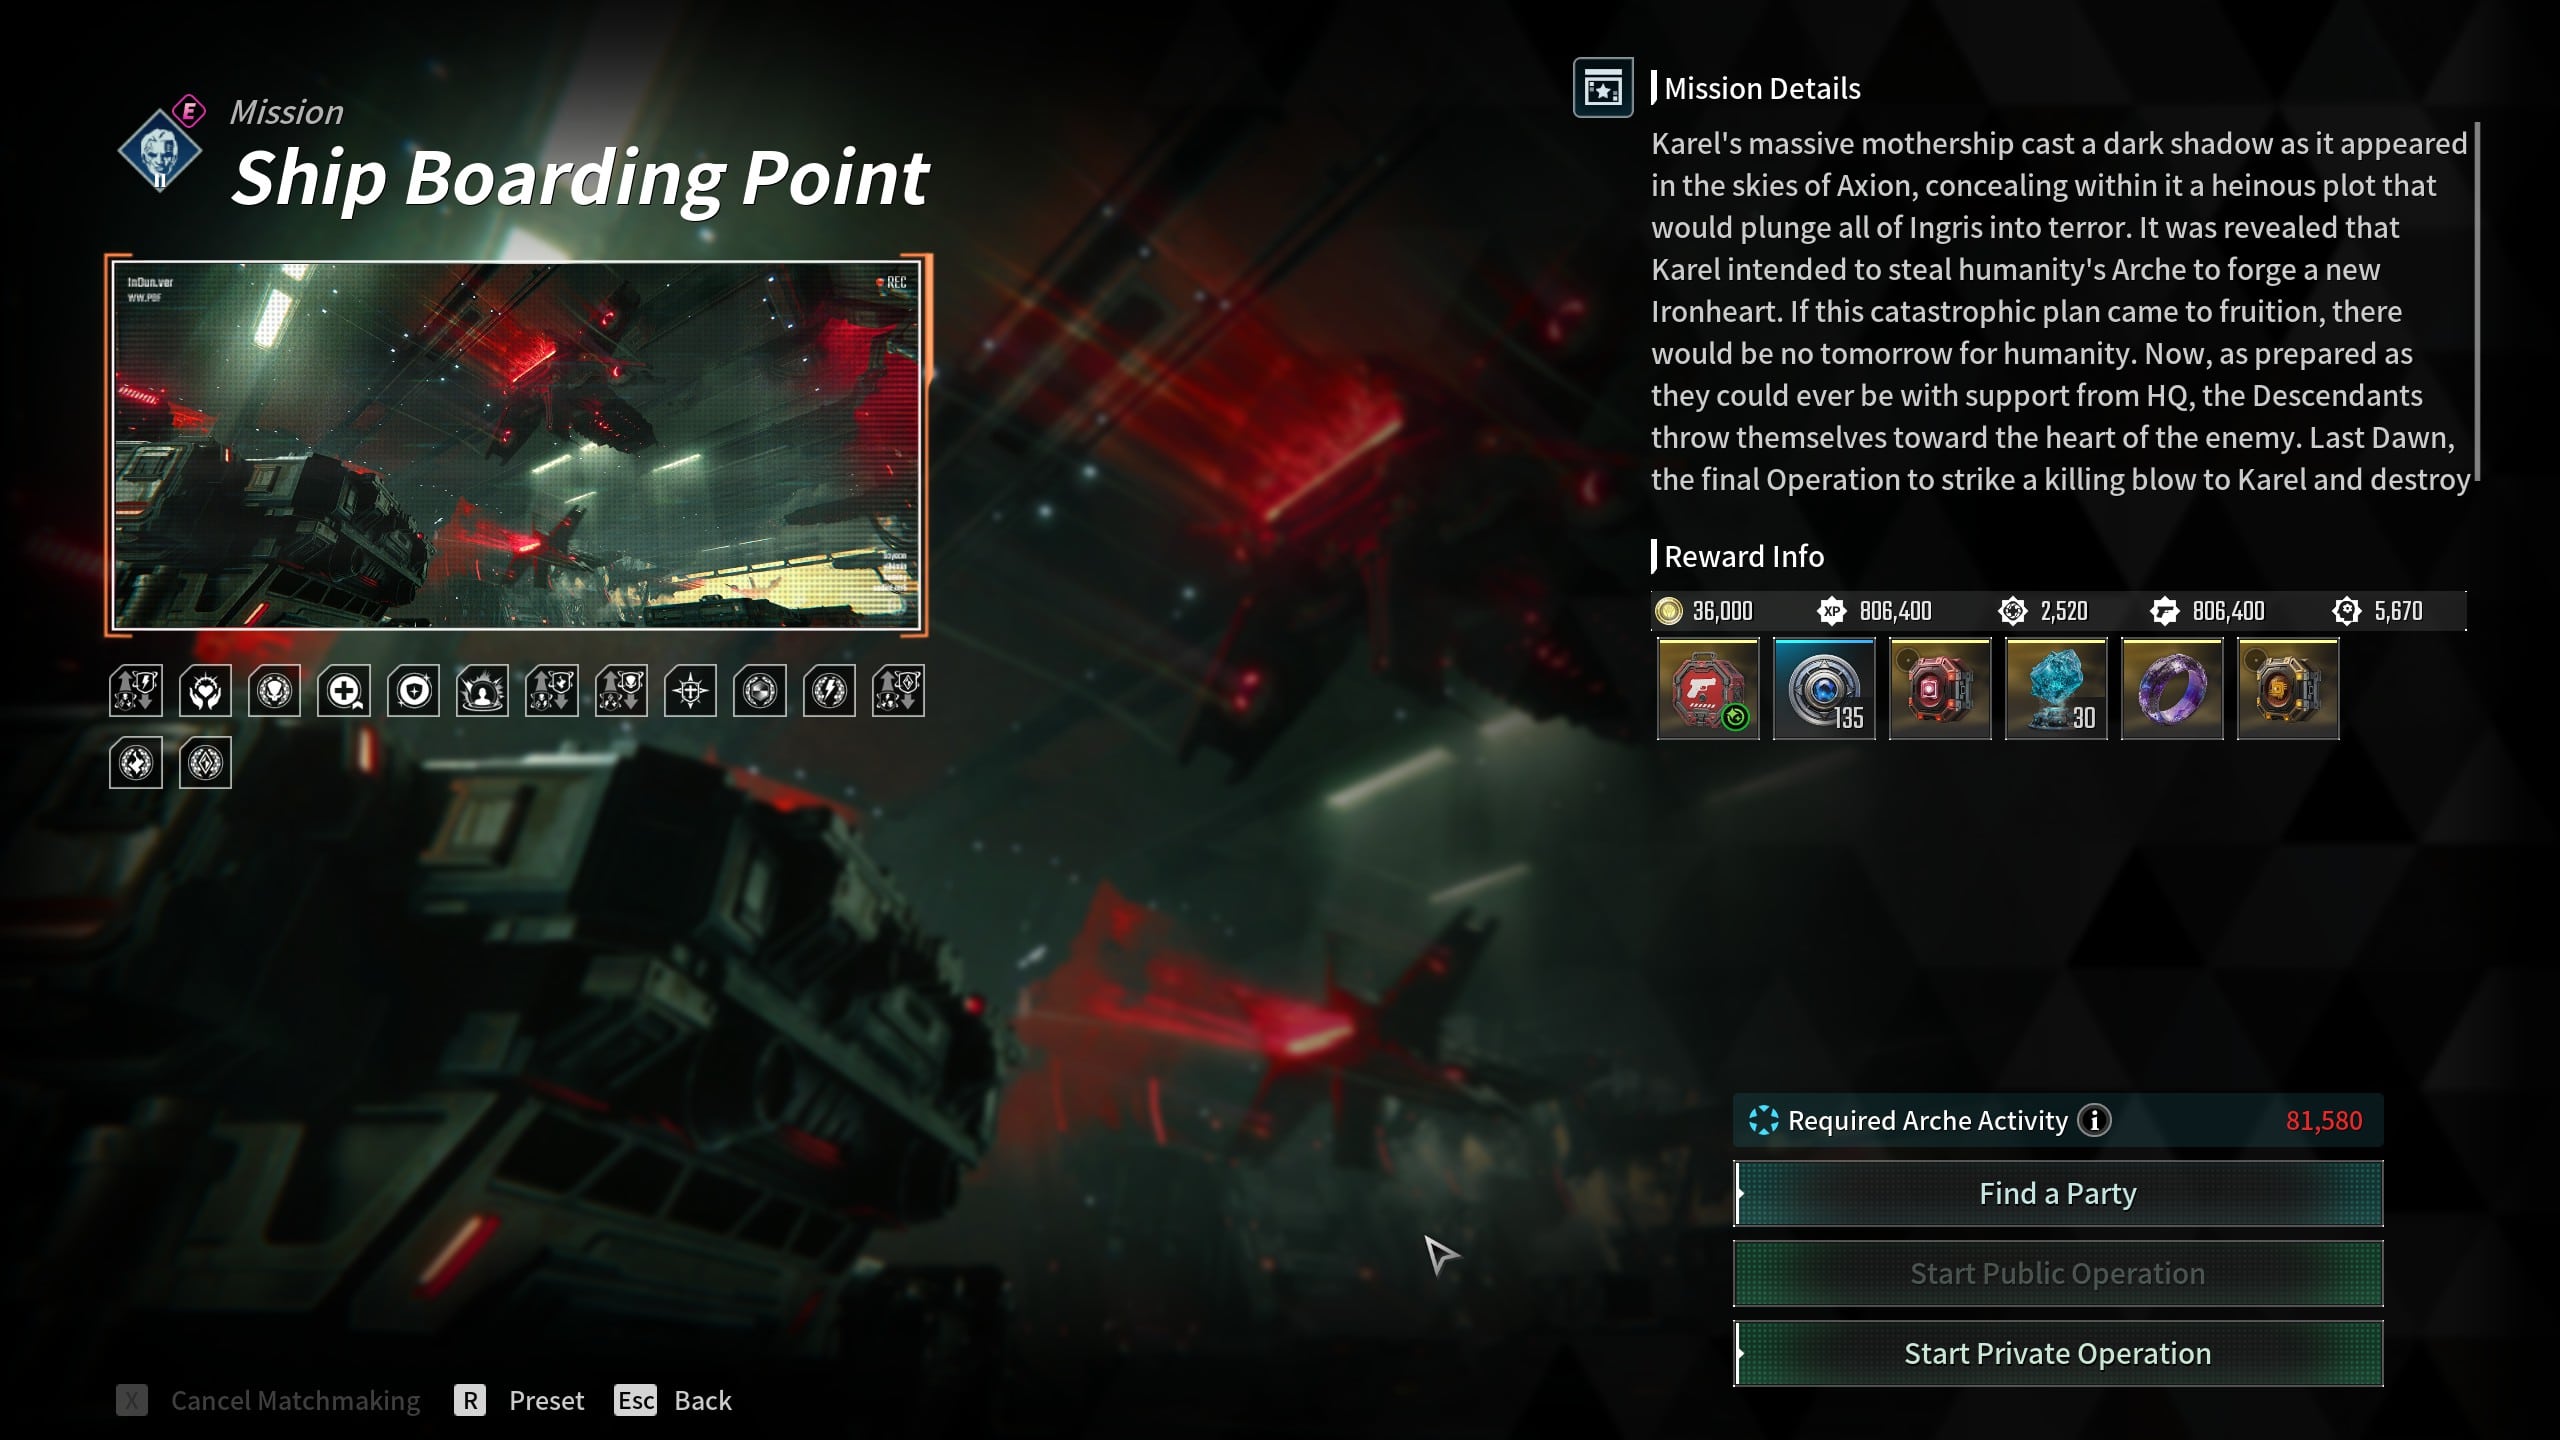
Karel’s Ship Mission
Karel’s Mothership pays a 14.5% completion chance on both Normal and Hard, which is double the next-best source in the game. Normal rolls Quality 251 to 400 and Hard rolls Quality 271 to 400.
Normal difficulty opens after you complete the main quest And, Tomorrow. Hard opens after one Normal clear, and starting a public operation on Hard requires 81,580 Arche Activity. Private operations ignore that requirement, so you can run it under the threshold with a premade squad.
Treat monster drops as bonus chances rather than the main reason to run the mission: completion rewards are the reliable comparison point, while Common, Elite, and Commander kills only add extra weapon rolls.
Onslaught Stage 4 for Guaranteed Range 4 Weapons
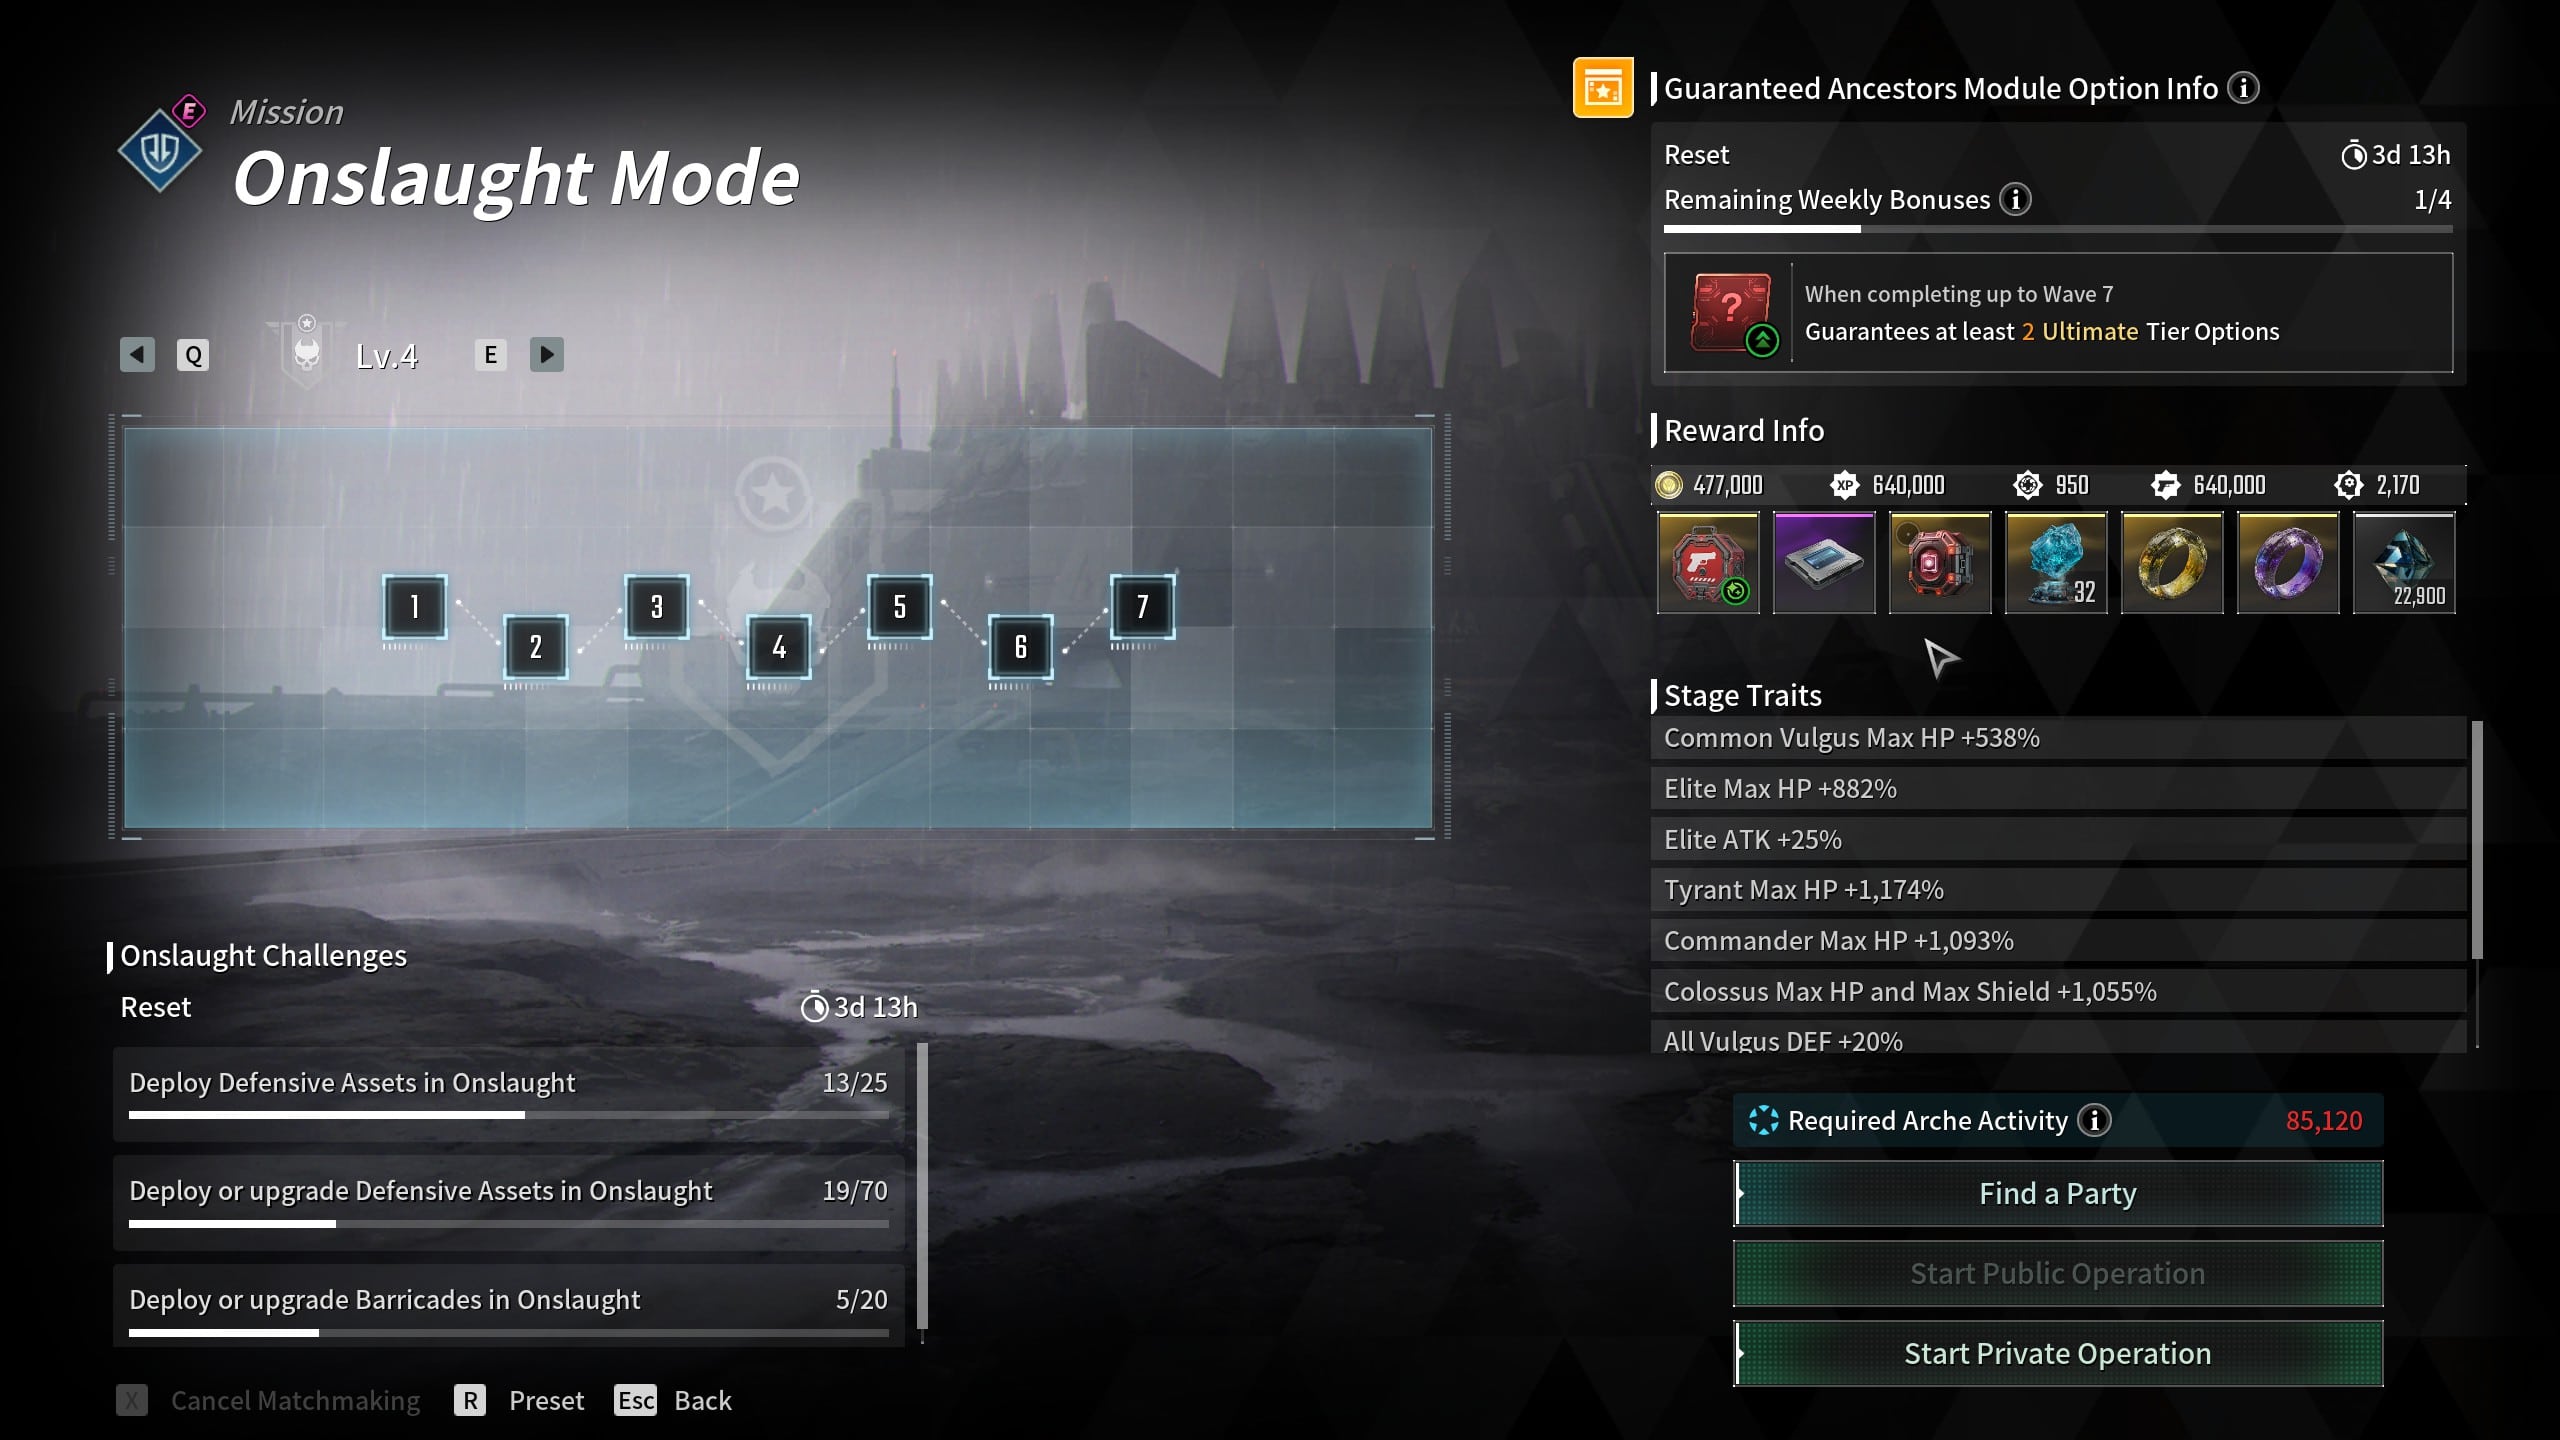
Onslaught Stage 4
Onslaught runs a flat 7.11% chance across all four stages, so the only thing that changes between stages is the Quality Range. That makes stage selection purely a question of how high you can clear.
- Stage 1: Quality 276 to 400.
- Stage 2: Quality 301 to 400.
- Stage 3: Quality 351 to 400.
- Stage 4: Quality 376 to 400.
Stage 4 is the strongest sustained farm in the game for anyone chasing a maxed weapon. Every drop lands in Range 4 at a minimum of 376, so there are no wasted rolls. Stage 2 is the lowest stage worth running once Range 4 is your goal, since it is the first stage that cannot roll below 301.
Update 1.4.0 also added wave rewards on mission abort, so you keep the rewards from your last completed wave if a run goes badly.
Trials Round Rewards and Merit Token Exchange
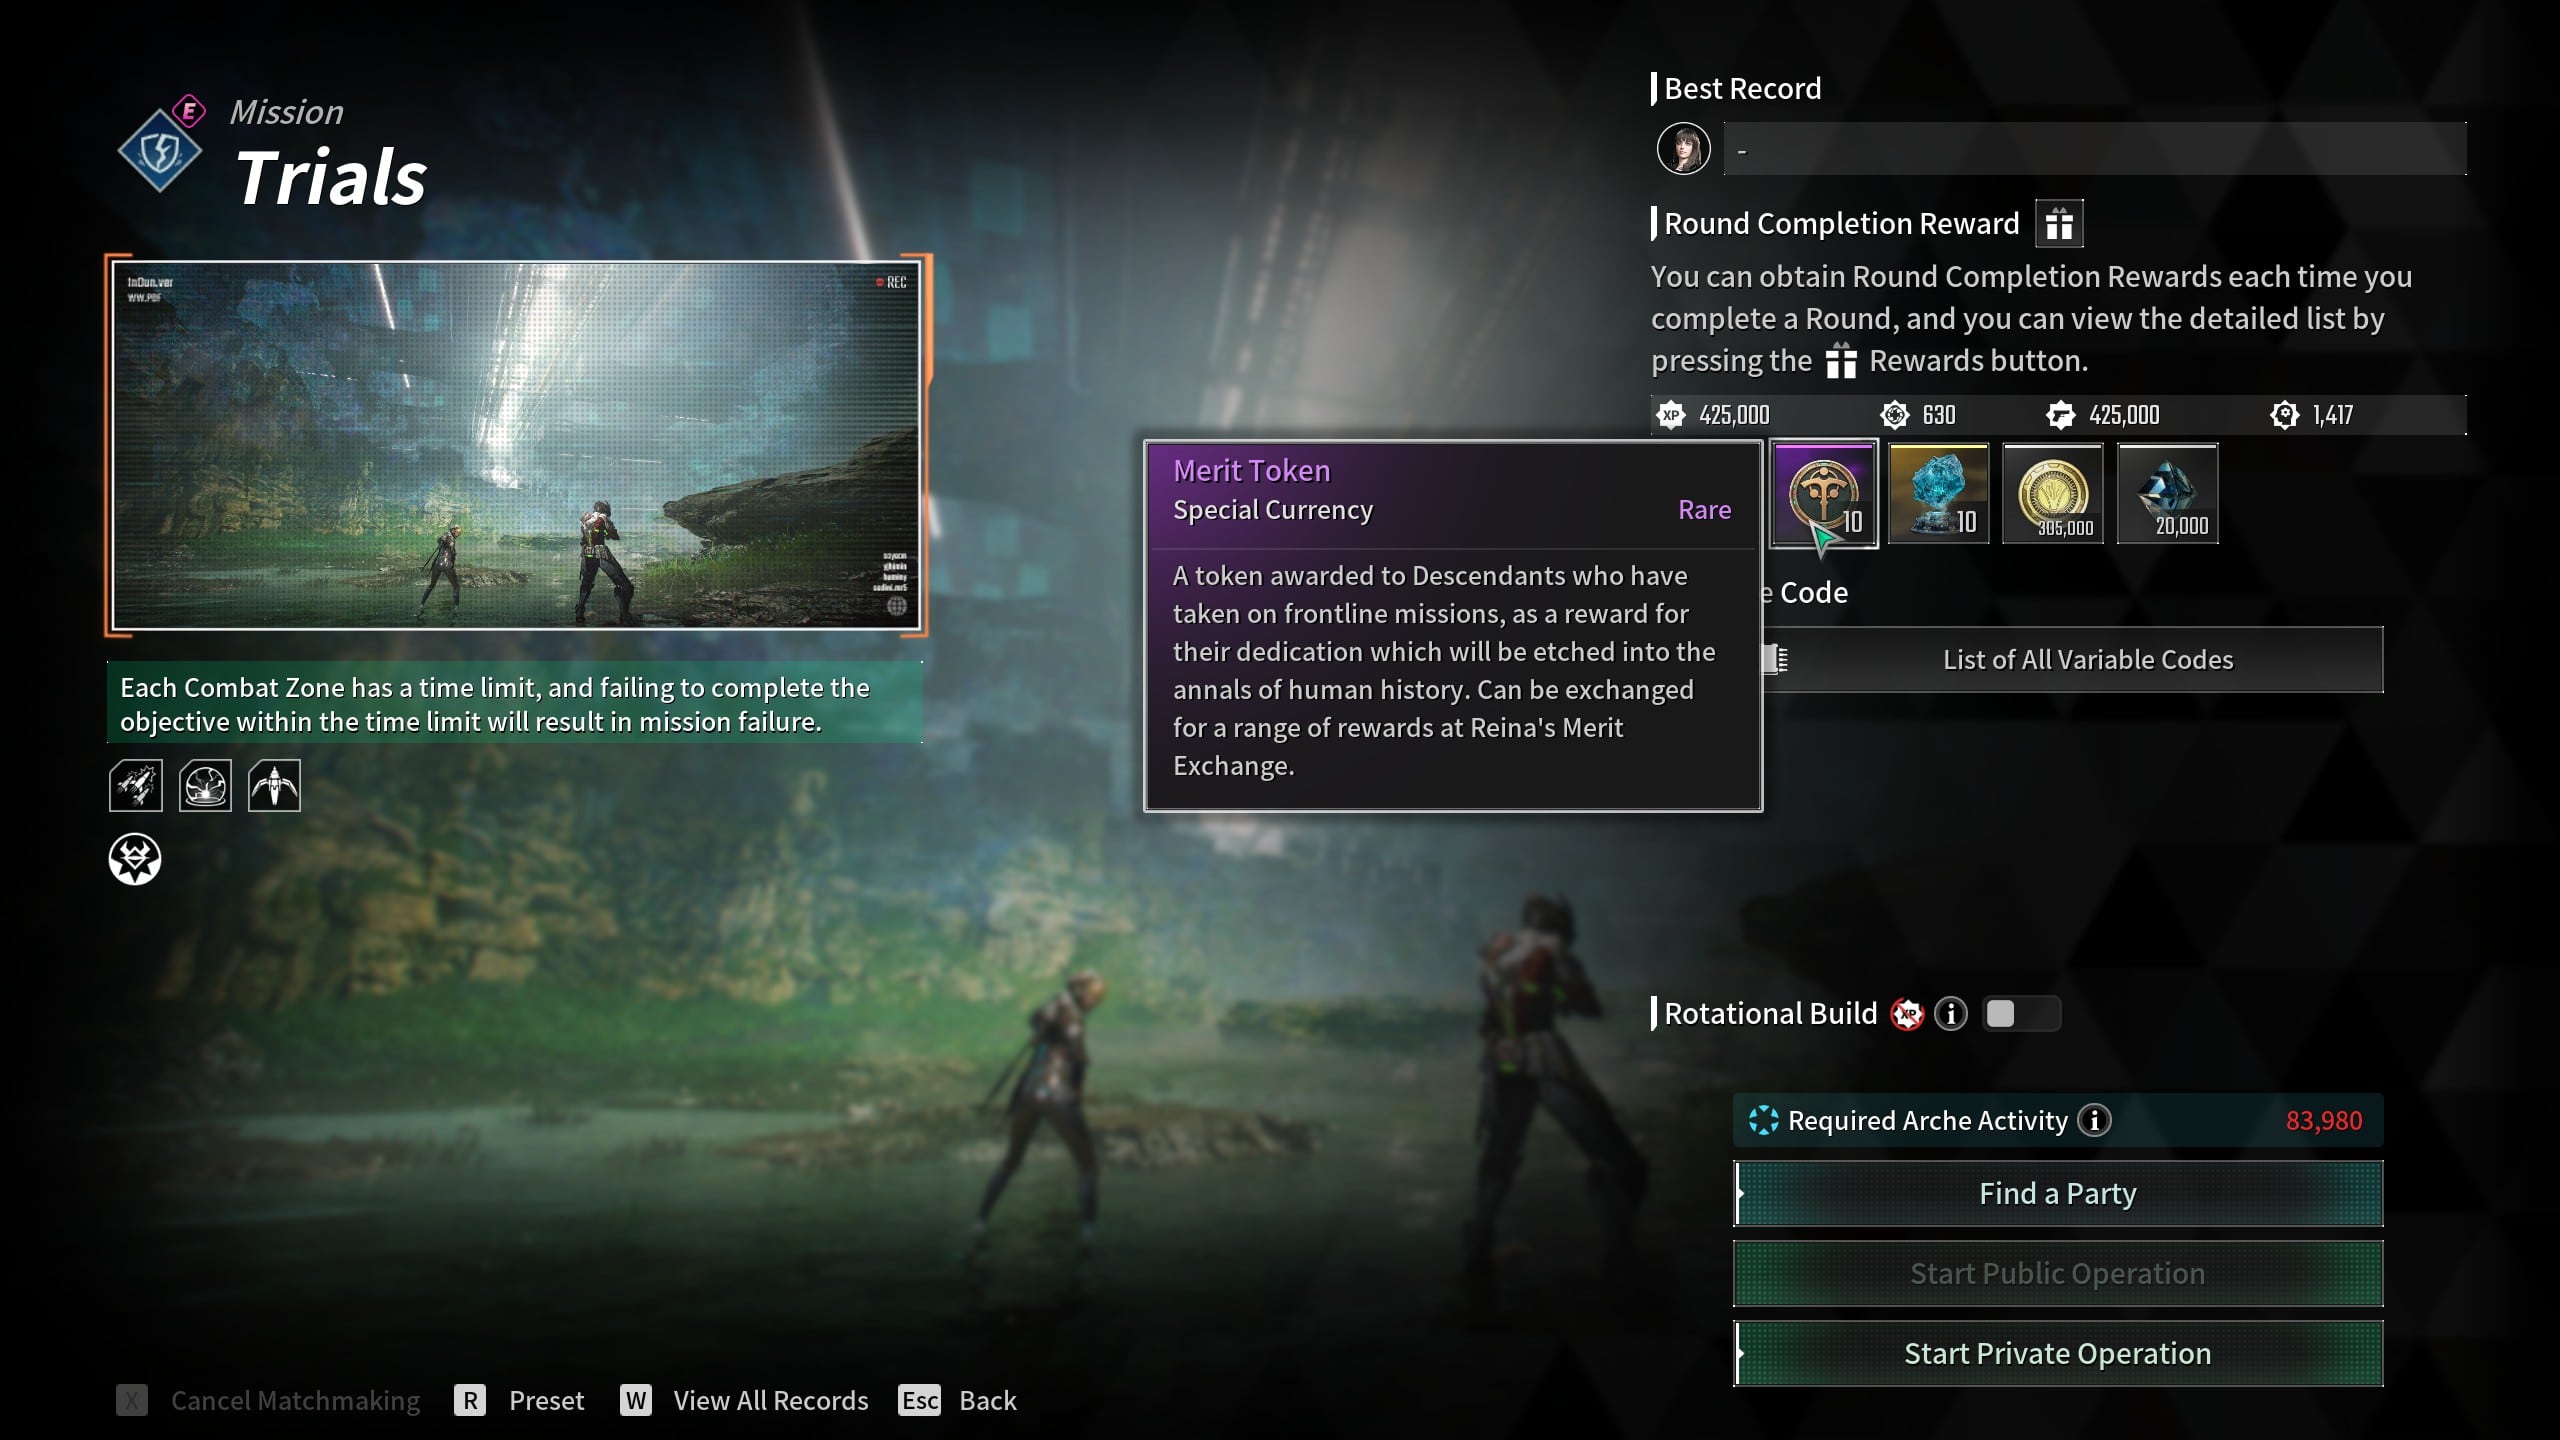
Trials Mission
Trials give a 10% chance per completed round rather than one chance per mission, so a four-round run gives four separate rolls. Rounds 1 and 2 roll Quality 271 to 400, and rounds 3 and 4 roll Quality 281 to 400.
Entry needs Hard difficulty unlocked through the main quest The Stance of the Magisters, plus 83,980 Arche Activity for public operations. Below that threshold, Rotational Build activates automatically, letting you start immediately with a developer-set loadout.
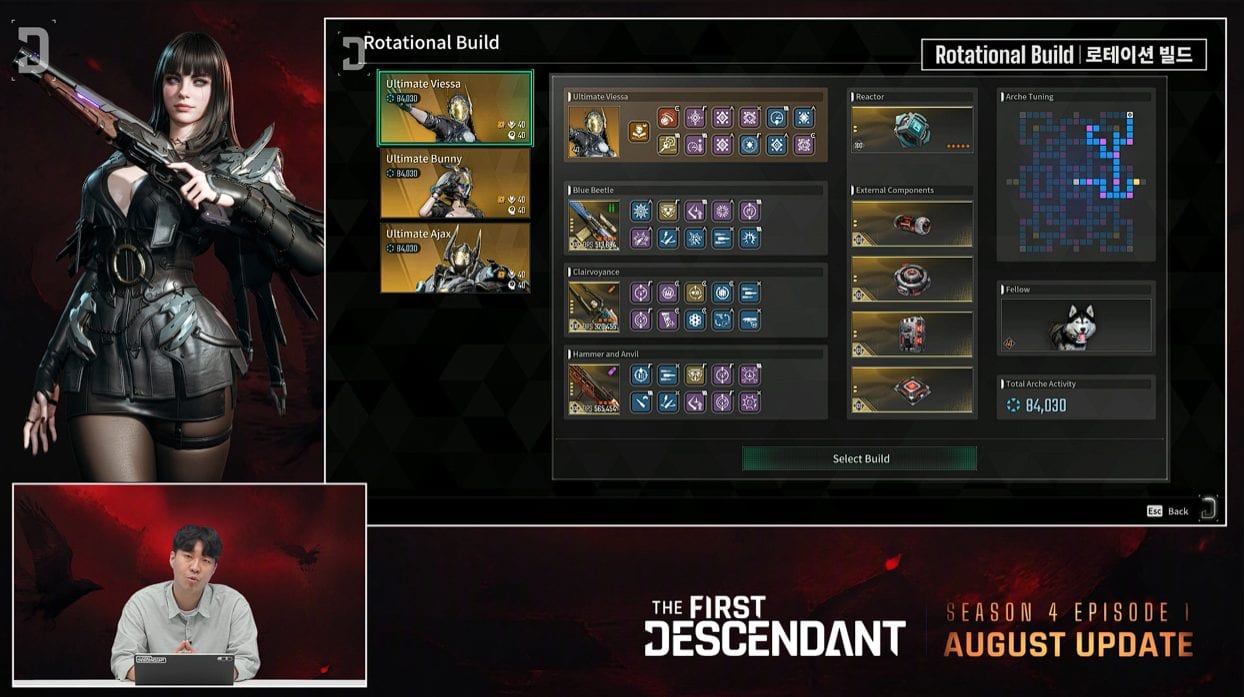
Rotational Builds
Rotational Build drops a lower band of Quality 51 to 350 in early rounds and gives no Weapon Proficiency or EXP. In exchange, it pays a far wider material list, so it stays worth running while you close the Arche Activity gap.
Defeating a Common Monster in Trials carries a very small chance of a Transcendent Weapon that can roll Quality 400 outright. That is the only source in the game where a trash mob can hand you a maxed weapon.
3. Best New Player Farms
New and mid-game players should chase quantity rather than Quality, because Base Quality is what unlocks good rolls later. Every weapon you pick up now raises the floor on every weapon you pick up afterward.
Four Guaranteed First-Clear Transcendent Weapons
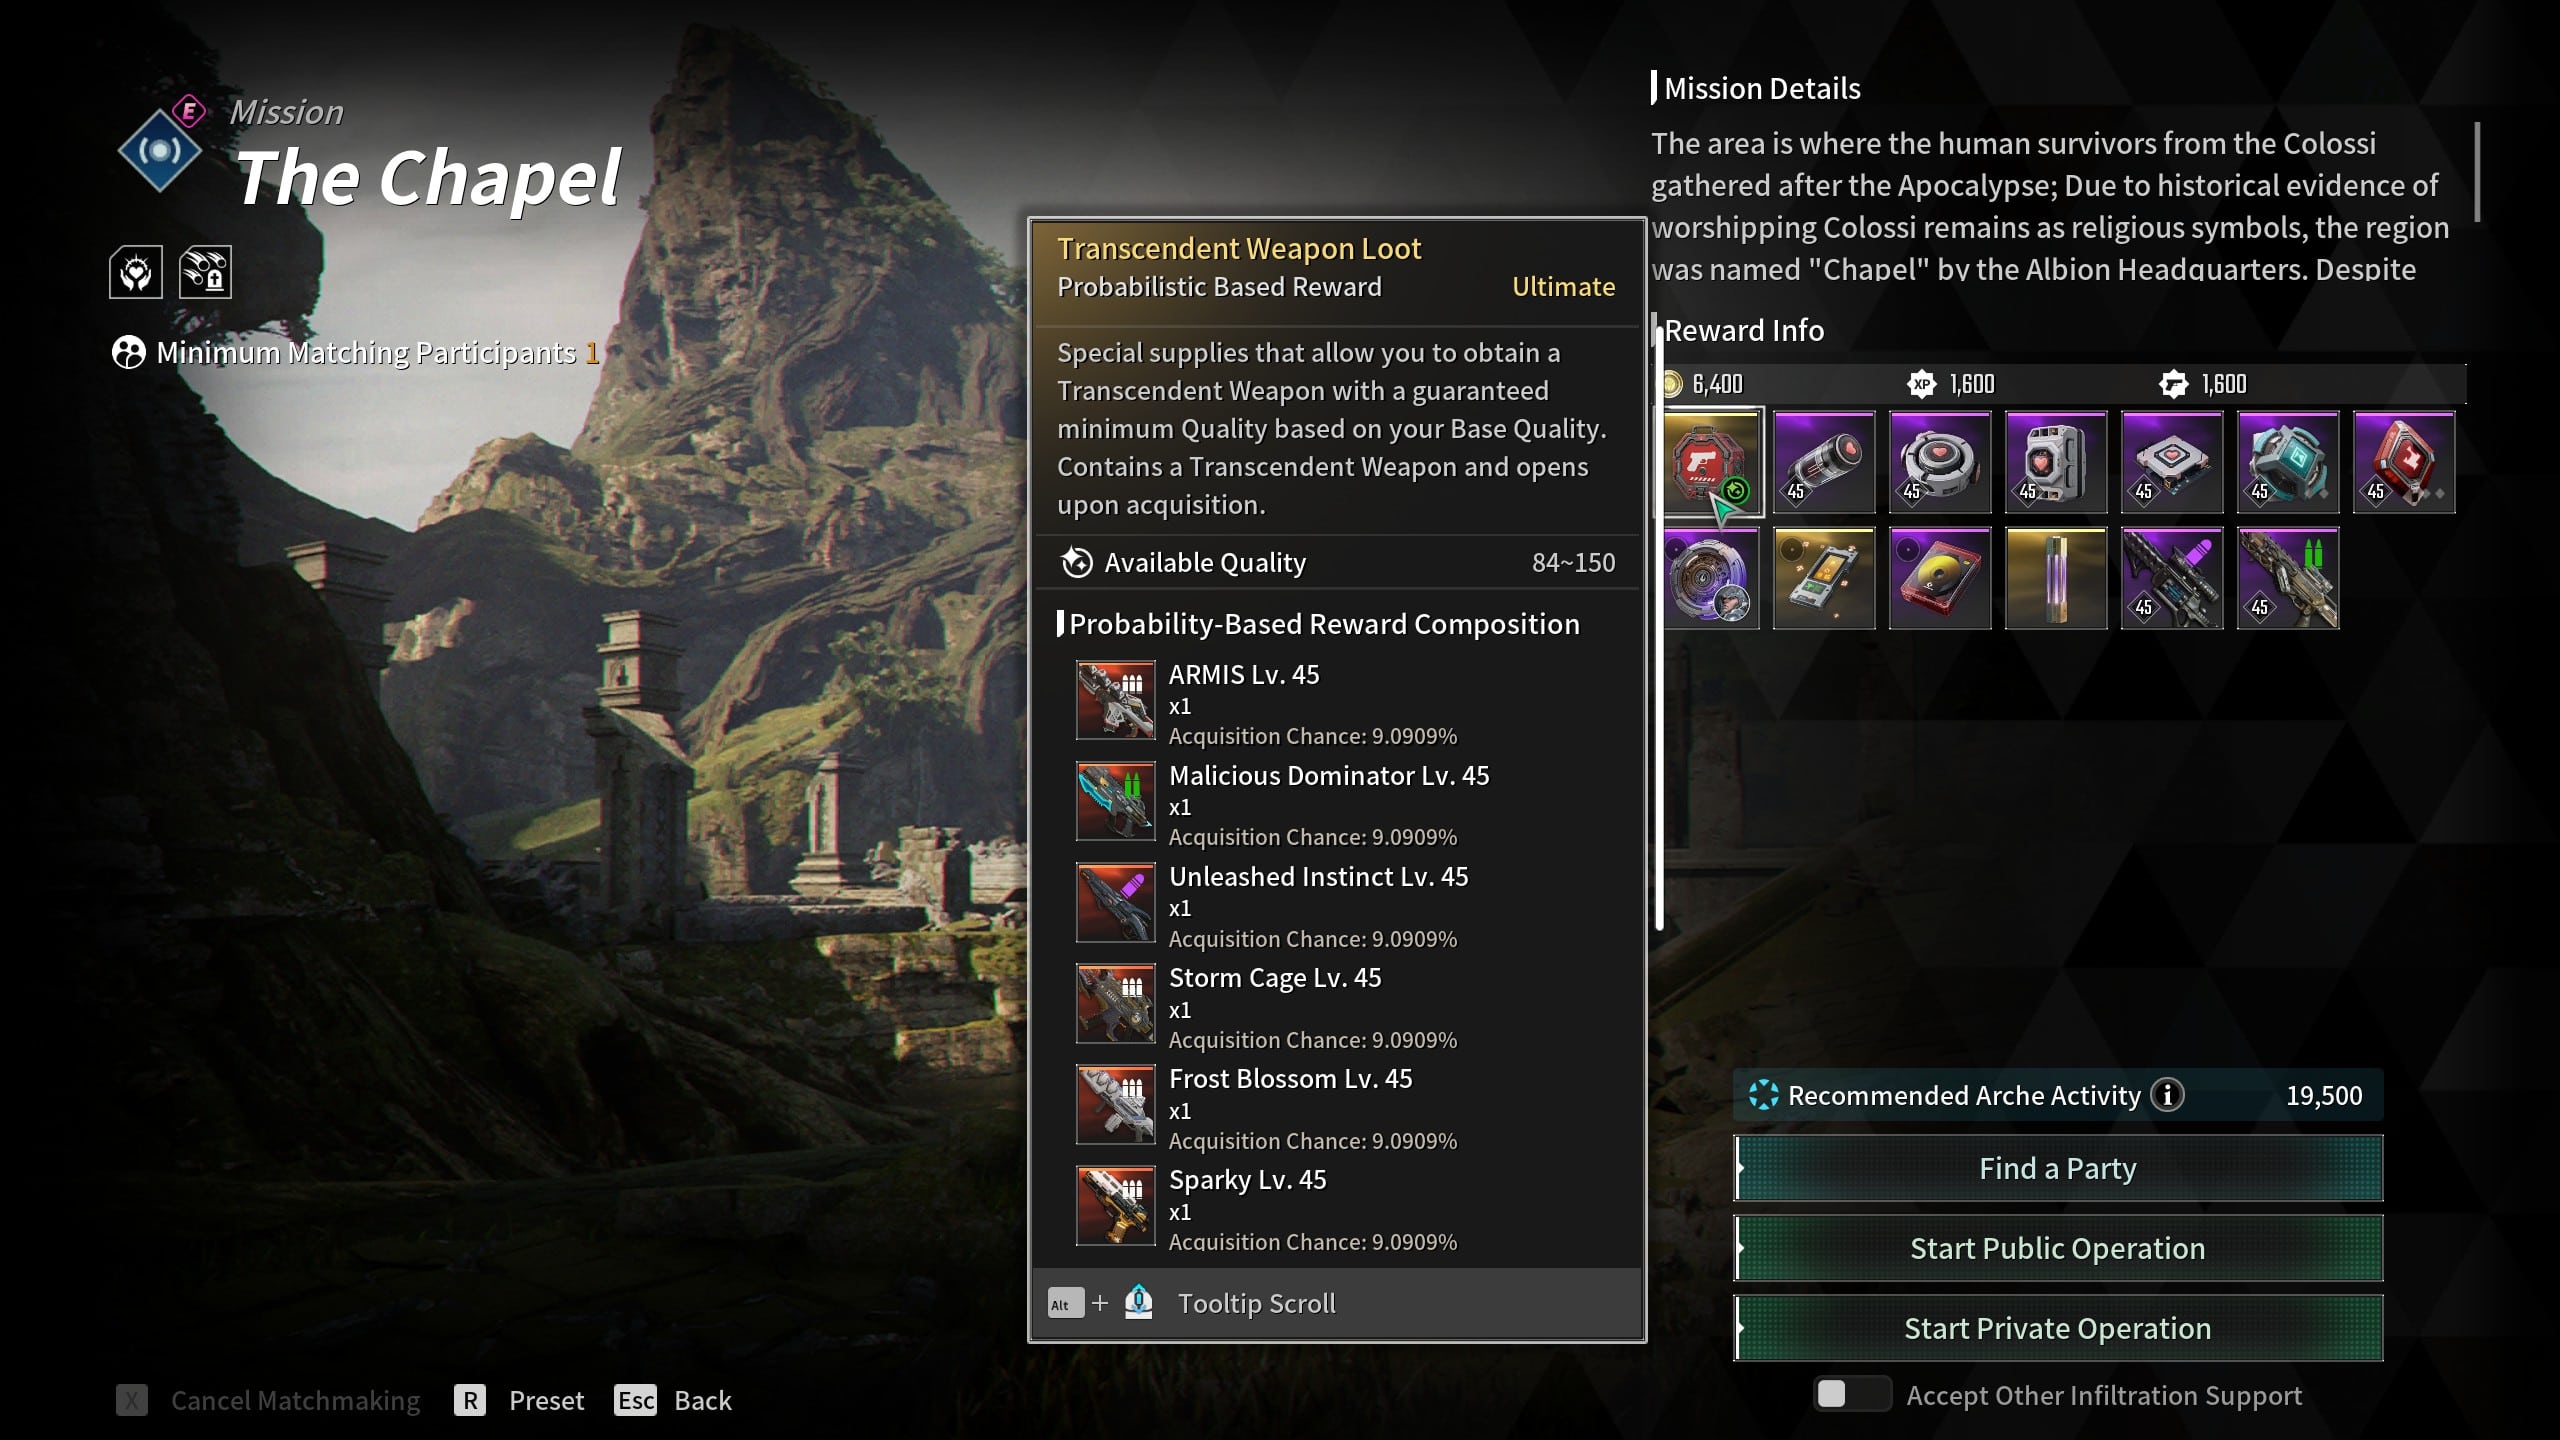
The Chapel (Normal)
Four Infiltration Operations hand you a Transcendent Weapon on your first clear in any Normal difficulty field. These are free Base Quality and cost nothing but the run, so clear all four before farming anything else:
- Unknown Laboratory (Normal): Quality 25.
- The Chapel (Normal): Quality 50.
- Bio-Lab (Normal): Quality 75.
- Heart of the Fortress (Normal): Quality 100.
Those four clears alone put your Base Quality floor at a level that makes every later farm more productive.
Assumed Bridge Zone for the Highest Early Drop Rate
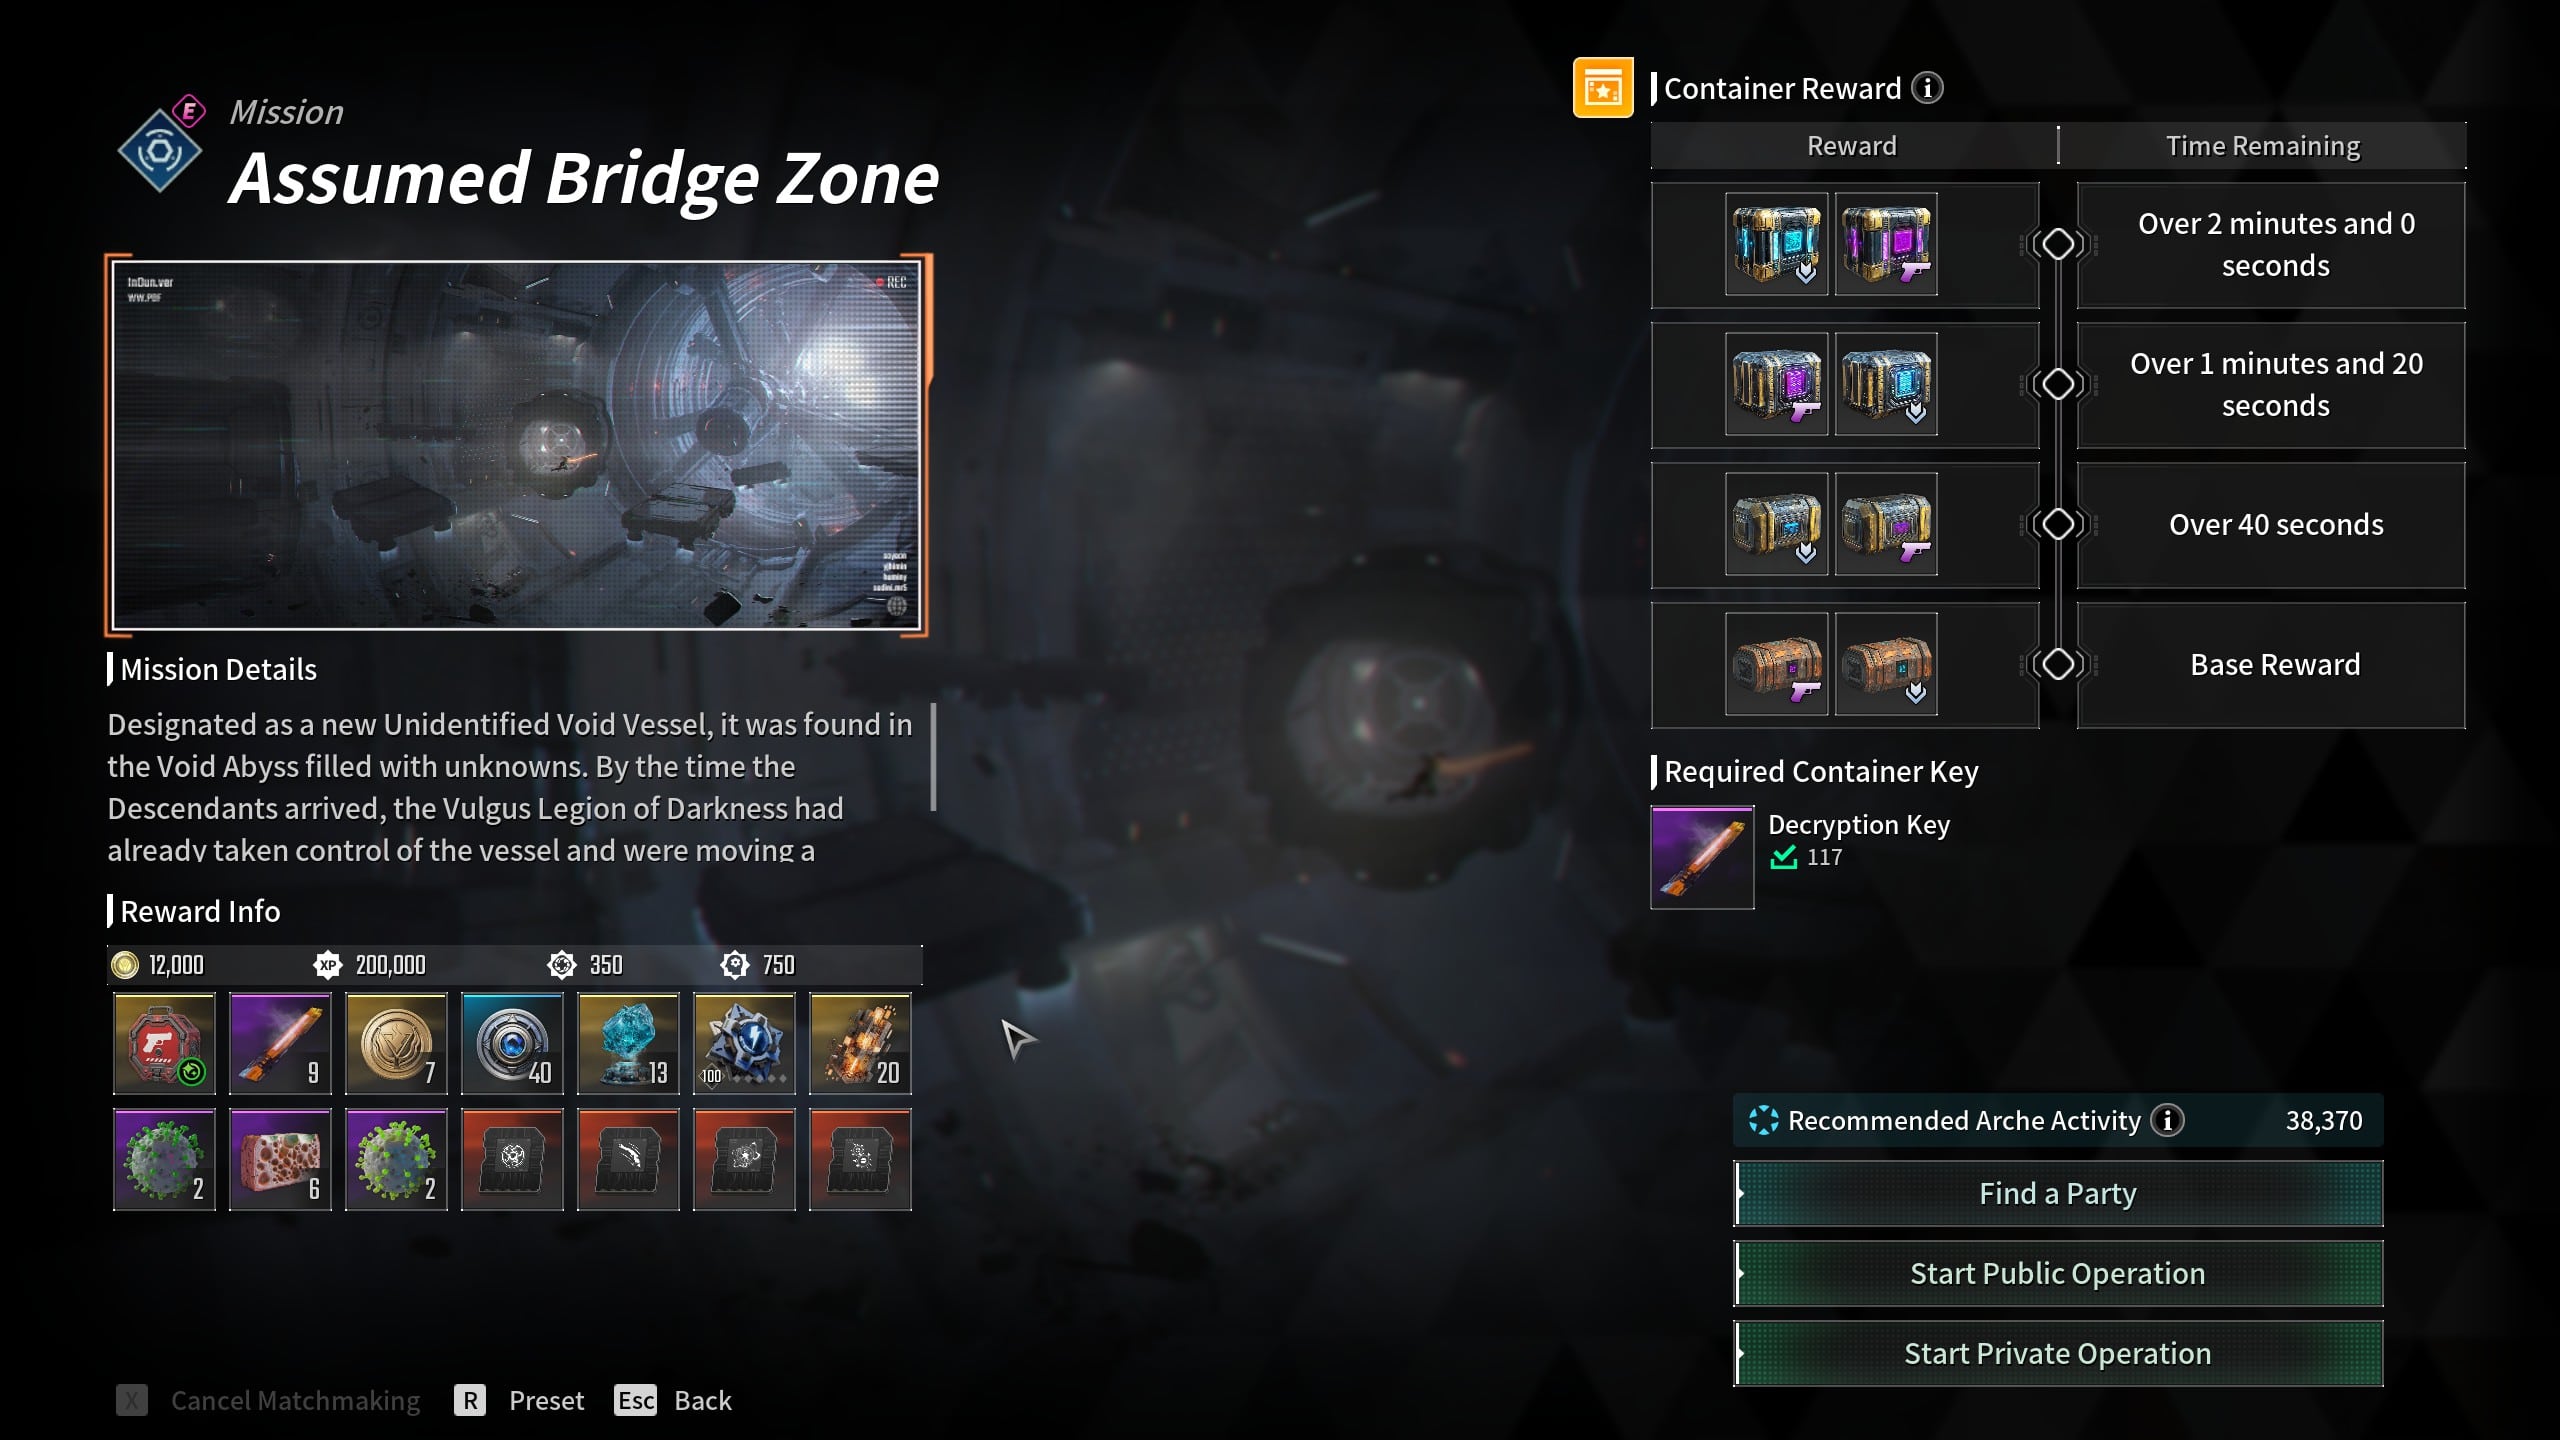
Assumed Bridge Zone
Assumed Bridge Zone runs at 6.92% on both Normal and Hard, which is the highest rate available outside the endgame content. Normal rolls Quality 1 to 150 and Hard rolls Quality 101 to 250.
The gap here is wide. The next-best Normal mission is Old Mystery at 5.17%, and the bottom of the bracket sits at 2.03%, so Assumed Bridge Zone pays more than three times the rate of The Magister Lab.
Sepulcher, Old Mystery, and Bio-Lab appear on Normal and Hard 100% but are absent from the Hard 400% list, so do not expect Transcendent drops from those three at 400%.
Missions to Skip
Several missions have rates so low that they are never the right choice when a better option in the same bracket exists. Avoid these unless you are running them for a different reward:
- Axium Drop Zone: 0.47%, the worst rate in the game by a wide margin.
- AX Power Converter Station: 1.97%, when the Sealed Residential District in the same bracket pays 6.69%.
- The Magister Lab: 2.03% across all three difficulties.
Axium Drop Zone sits in the same Quality 201-350 bracket as Sealed Residential District, which pays more than 14 times the rate for the same reward band.
4. How to Increase Transcendent Weapon Drop Rates
Two systems improve your overall weapon income before a long farming session: Battle Pass boosts raise drop chances, while Deslin boxes turn dismantled weapons and Merit Tokens into guaranteed extra rolls.
Battle Pass Acquisition Boosts
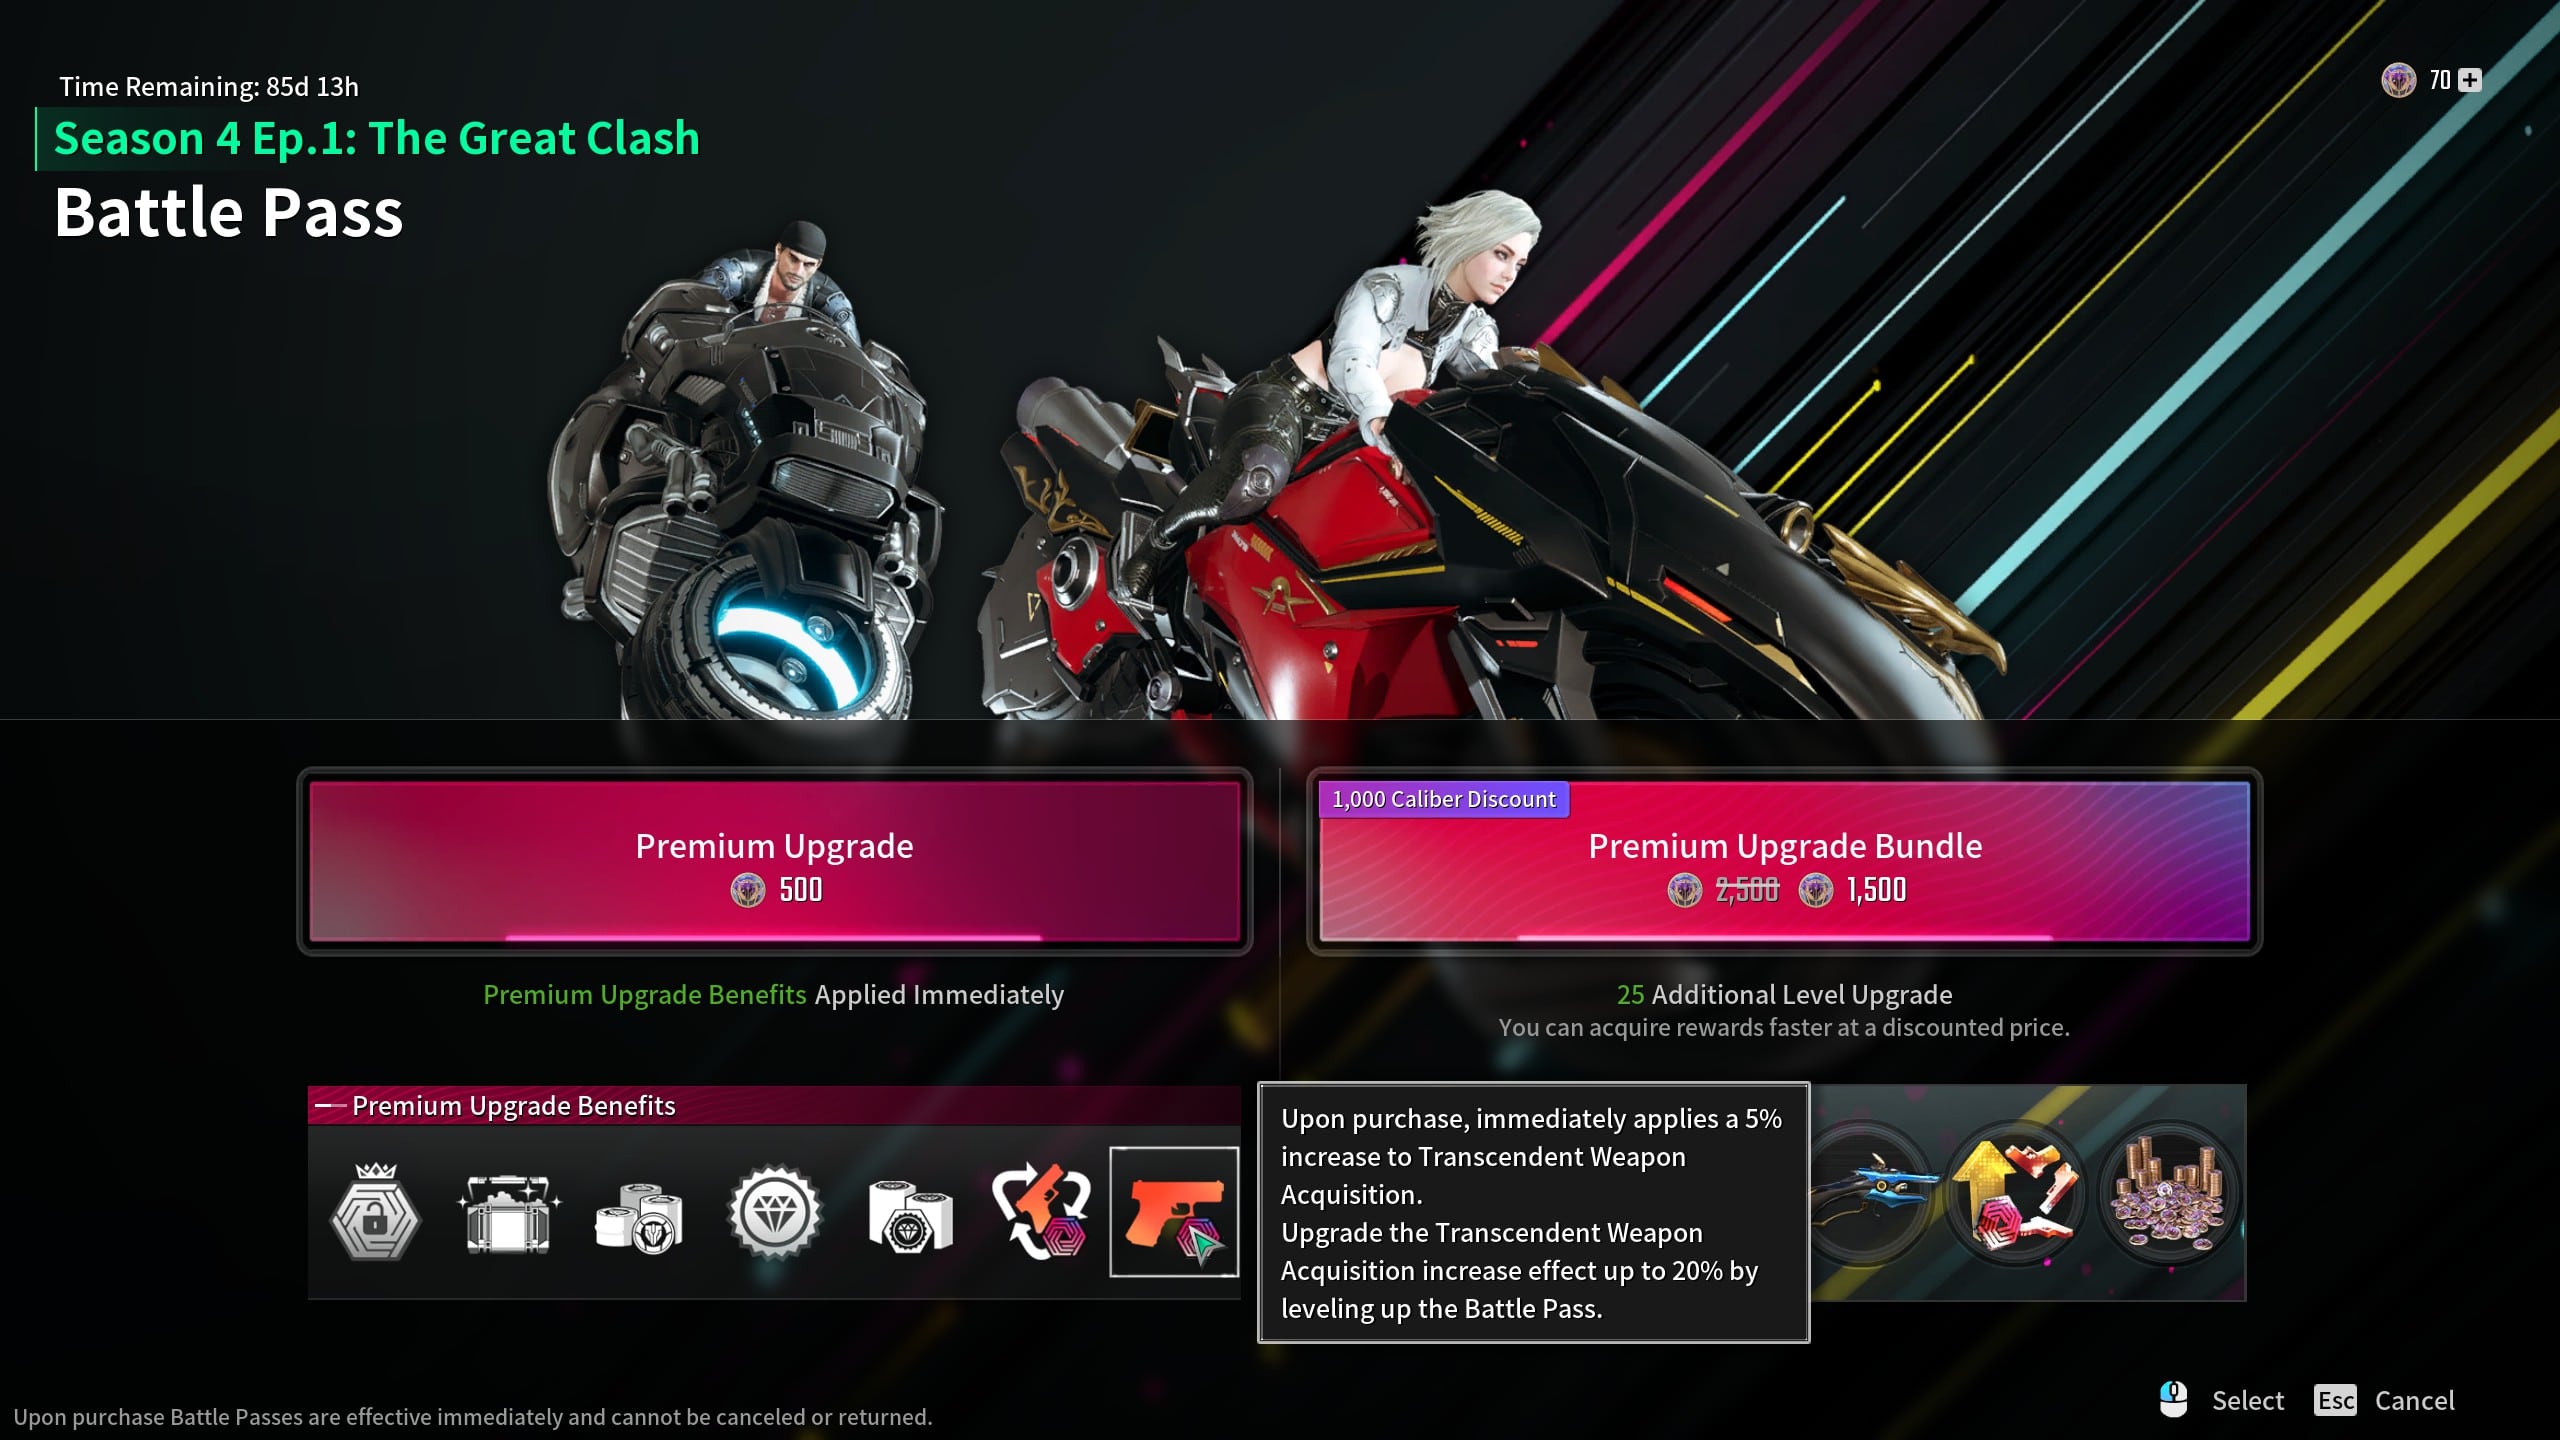
Battle Pass Benefits
The S4E1 Battle Pass Premium track grants Transcendent Weapon Acquisition Boosts at four levels. Only the biggest boost you have earned applies, so these do not stack with each other:
- Level 1: 5% acquisition boost.
- Level 30: 10% acquisition boost.
- Level 50: 15% acquisition boost.
- Level 80: 20% acquisition boost.
Upgrading to Premium immediately applies a 25% Transcendent Trait Element boost on top. Boosts from purchases and events combine into a single value and apply as the final rate, so a purchased boost stacks with the Battle Pass one.
Buying Transcendent Weapons from Deslin
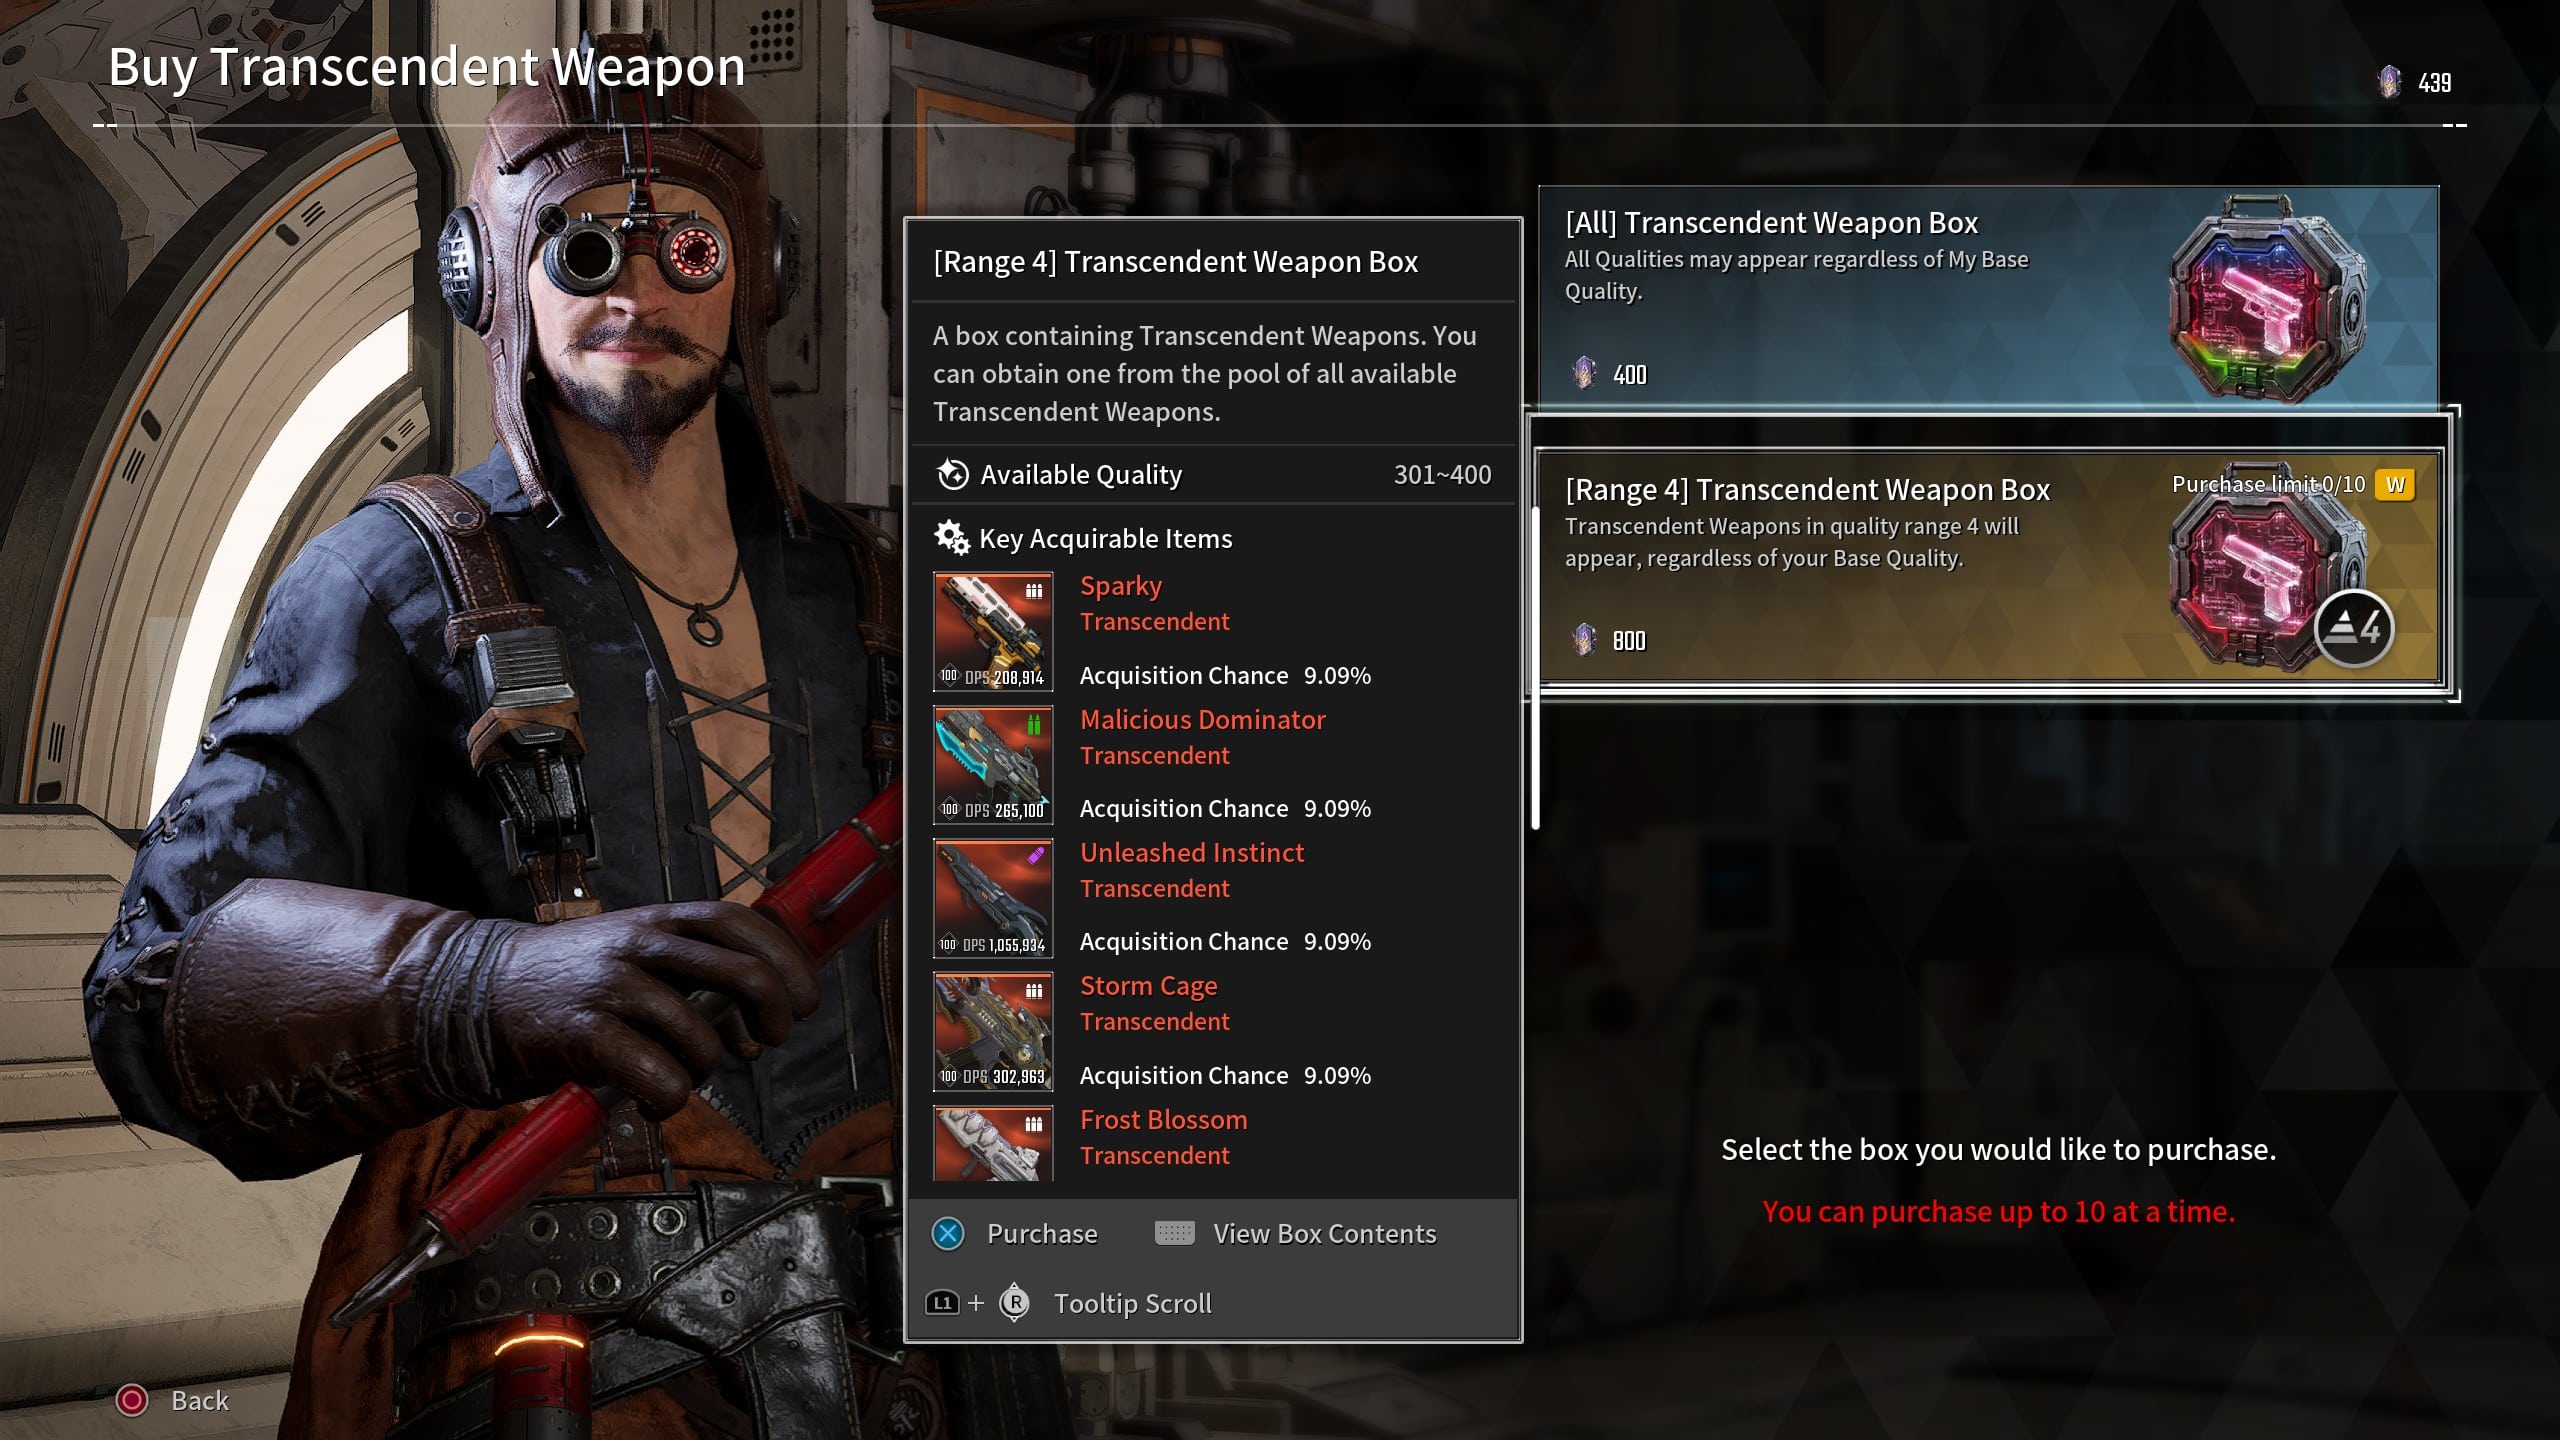
Transcendent Weapon Box
Dismantling unwanted weapons gives Transcendent Trait Element, and the higher the level and Quality Range, the more you get back. Deslin in Albion converts that currency straight into more weapons.
- [All] Transcendent Weapon Box: 400 Trait Element, unlimited purchases.
- [Range 4] Transcendent Weapon Box: 800 Trait Element, 10 times per week.
Cap the [Range 4] box every week before touching the [All] box. Paying double for a guaranteed Quality 301-400 roll is better value than gambling on the unrestricted box.
Merit Tokens from Trials convert at Excavation Chief Reina in Albion, at 200 Trait Element for 100 Merit Tokens, 10 times per week. That is 2,000 Trait Element weekly, which covers two [Range 4] boxes with change left over.
5. Transcendent Weapons Not Dropping
Ultimate Bunny with Sparky
Every listed percentage is a per-run independent roll, and no pity counter sits behind Transcendent Weapon completion rewards. A long dry streak is a normal probability rather than a broken drop table.
Attempts do not accumulate toward a guarantee. A 6.92% mission leaves a 93.08% chance of nothing on every single run, and that figure resets the moment the mission ends.
These are the odds of finishing a farming session empty-handed, so compare your own run count against the mission you are actually farming:
- Karel’s Mothership at 14.5%: 20.9% after 10 runs, 4.4% after 20.
- Onslaught at 7.11%: 47.8% after 10 runs, 22.9% after 20.
- Assumed Bridge Zone at 6.92%: 48.8% after 10 runs, 23.8% after 20.
- Old Mystery at 5.17%: 58.8% after 10 runs, 34.6% after 20.
- The Magister Lab at 2.03%: 81.5% after 10 runs, 66.4% after 20.
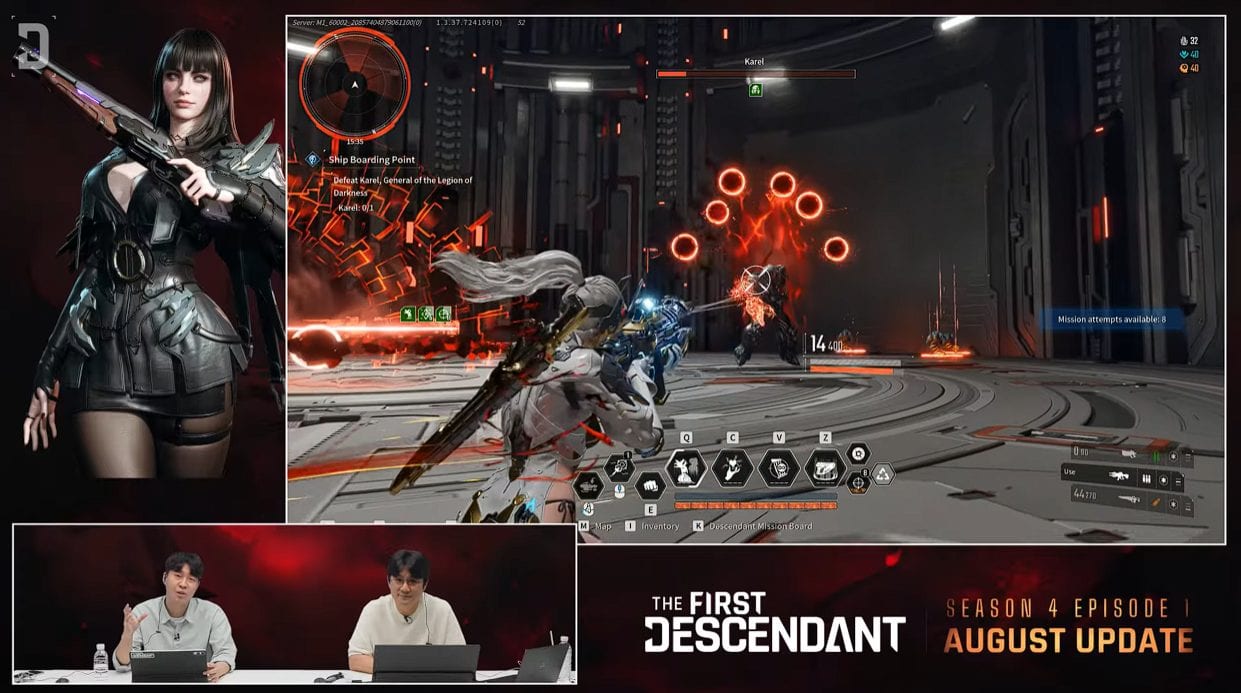
Karel Boss Fight
Twenty empty runs at The Magister Lab are the expected outcome, not bad luck. Twenty empty runs at Karel’s Mothership sit in the bottom 5% of the results, the only case on this list worth a second look.
Work through these three fixes in order before assuming anything is wrong with your account.
- Switch missions inside your current bracket before anything else. Rates within a single bracket run from 0.47% to 6.92%, so mission choice matters far more than run count. Assumed Bridge Zone pays more than three times The Magister Lab for the same Quality band.
- Move up a bracket once low rolls stop helping. A 4.92% mission rolling Quality 176 to 325 beats a 6.92% mission capped at 150.
- Use private operations to bypass the gates. Karel’s Mothership Hard needs 81,580 Arche Activity, and Trials needs 83,980, but both requirements apply only to public matchmaking.
If drops have stopped feeling worthwhile rather than stopping outright, the cause is your Base Quality floor rather than the drop rate. Every weapon you acquire raises the guaranteed minimum on the next one, so the answer is climbing brackets rather than repeating the same run.
For the full picture on everything that Update 1.4.0 changed, including Raven and the new Trials mode, our Season 4 complete guide covers the rest of the update.
Related posts:


 The First Descendant January 2026 Update Guide: Breach Tracking, Enzo Rework, Weapon Buffs, Events, and More
 Warborne: Above Ashes – Weapon Types & Which Weapon to Choose
 The First Descendant: All Encrypted Vault Locations
 Battlefield 6 RedSec All Twitch Drop Rewards


