


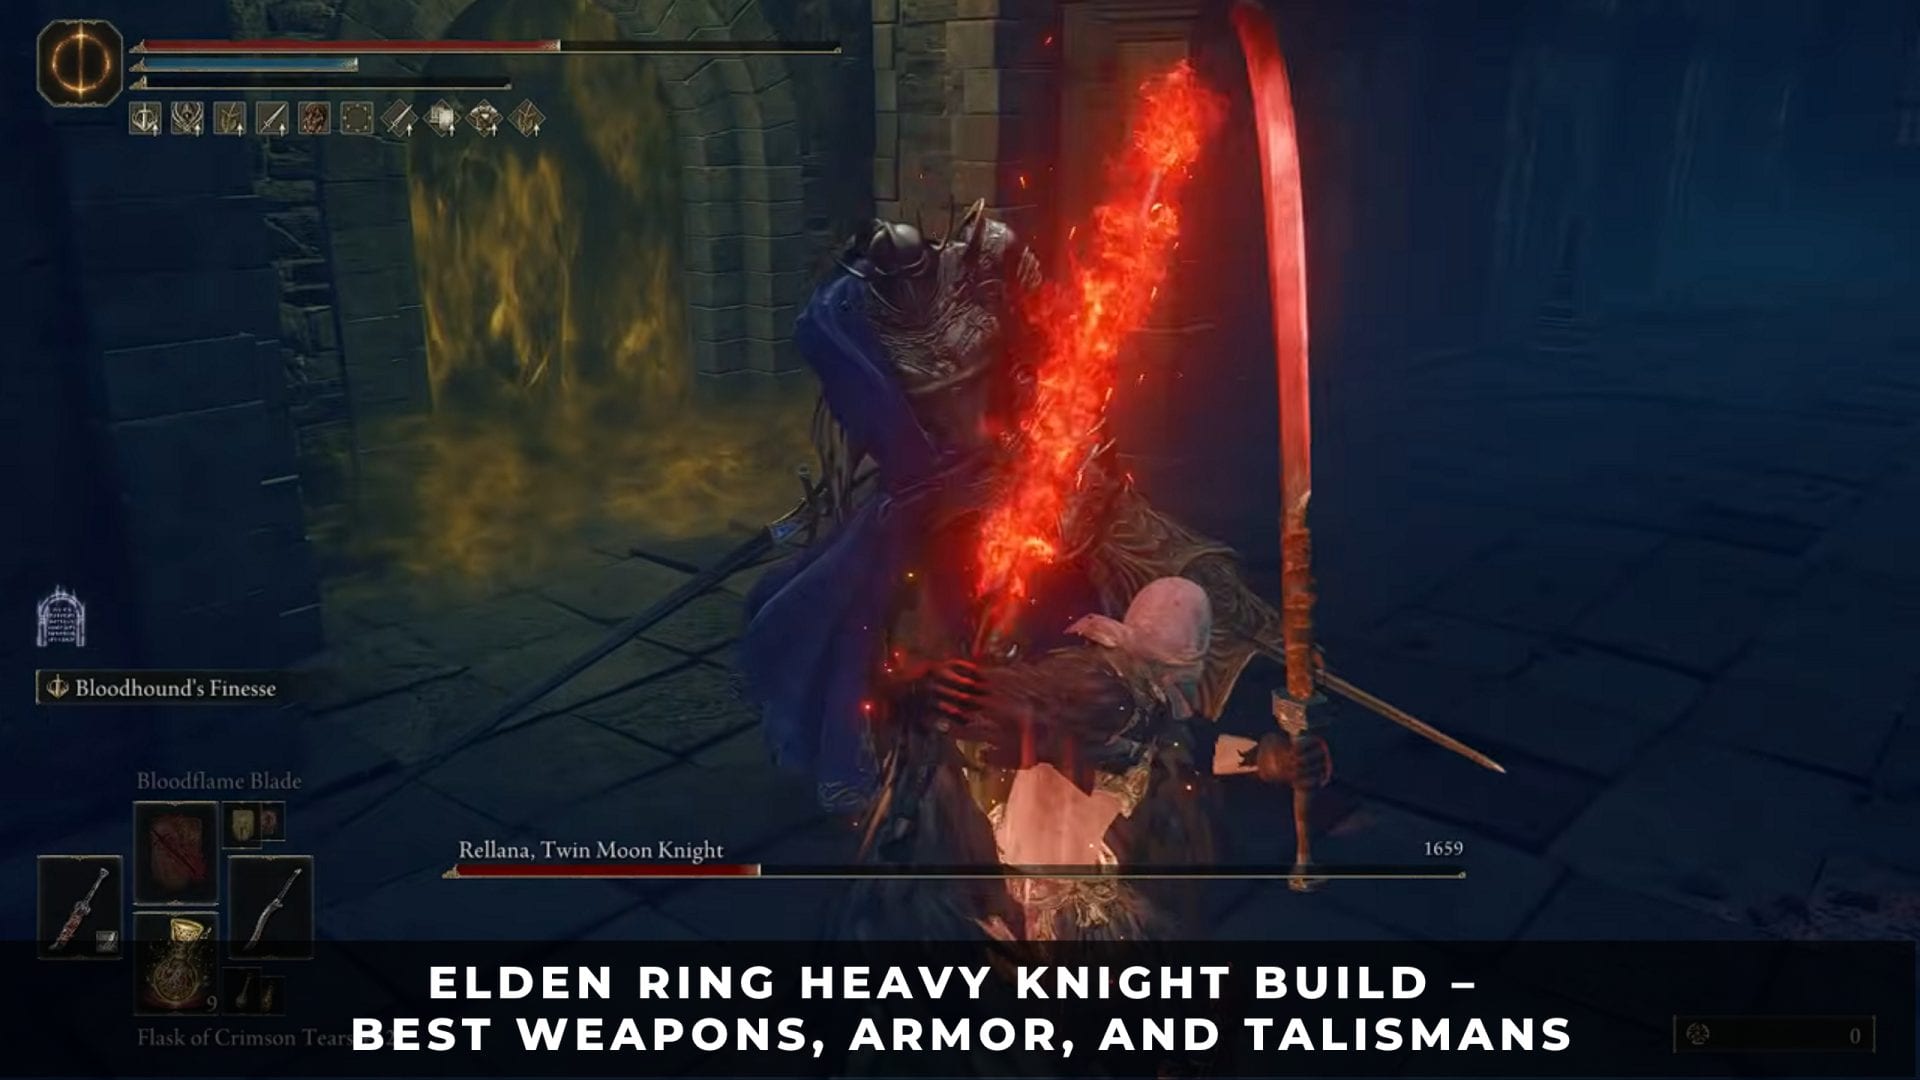
The best Heavy Knight build in Elden Ring combines the Hefty Scimitar, a greatshield, the Steel armor set, and high Strength and Endurance. The class begins without a shield, but its stat spread is ideal for turning the starter into a guard-counter tank.
Patch 1.17 makes that route stronger. It increased the guard boost of numerous greatshields, while several options also became lighter. The two builds below use those changes directly: a Rune Level 50 setup for Limgrave and Liurnia, followed by a Rune Level 150 setup for the endgame and Shadow of the Erdtree.
1. Heavy Knight Starting Stats and Build Priorities
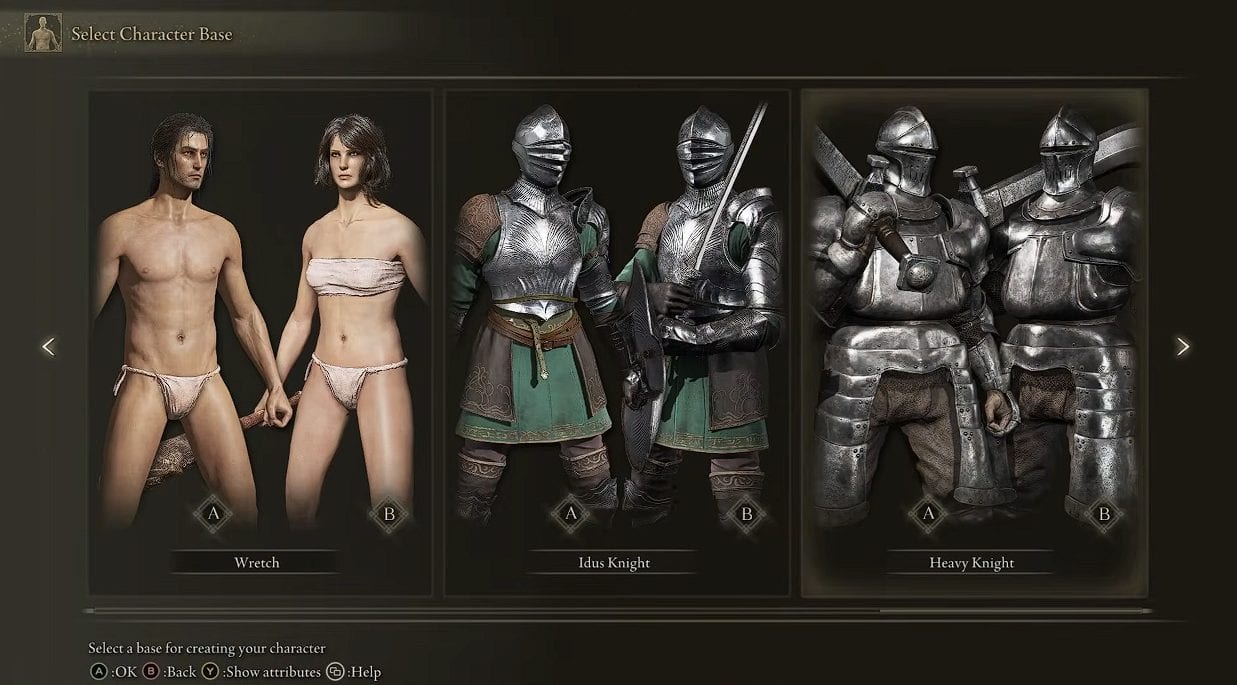
Heavy Knight
The Heavy Knight starts at Rune Level 10 with the highest Endurance of any starting class. Its 14 Vigor, 17 Endurance, and 15 Strength provide an efficient base for heavy armor, large weapons, and shields without spending levels on magic attributes.
| Attribute | Starting Value | Build Purpose |
|---|---|---|
| Vigor | 14 | Health and survivability |
| Mind | 8 | Ash of War FP |
| Endurance | 17 | Stamina and equip load |
| Strength | 15 | Weapon damage and shield requirements |
| Dexterity | 11 | Meets Hefty Scimitar requirement |
| Intelligence | 7 | Leave at base |
| Faith | 8 | Leave at base |
| Arcane | 9 | Leave at base |
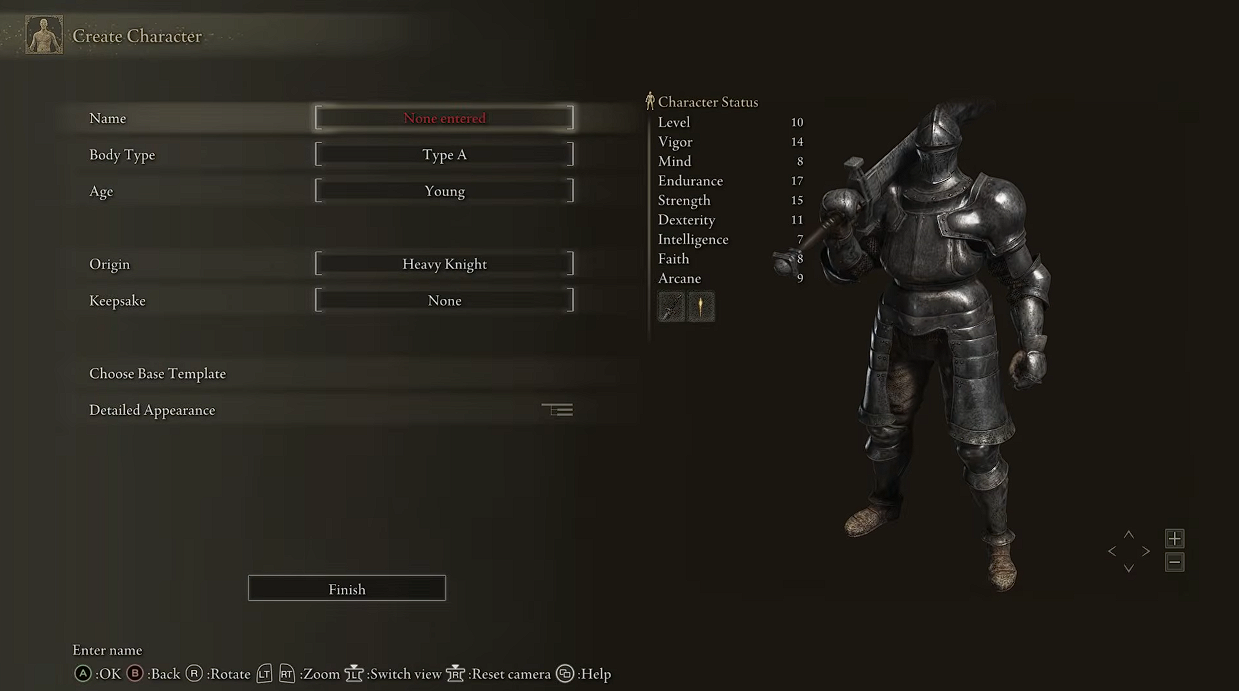
Heavy Knight Base Stats
Level Vigor first until normal enemy attacks stop taking a large part of the health bar. Raise Endurance alongside it so blocking doesn’t empty the stamina bar and heavier equipment doesn’t push the character into Overloaded.
The starting Steel set supplies 77 Poise, but its weight places the default character in Heavy Load. That is manageable for a shield build, yet adding a greatshield too early can cause Overloaded.
2. Best Early-Game Heavy Knight Build
The best early Heavy Knight build reaches Rune Level 50 and pairs a Heavy Hefty Scimitar with the Lordsworn’s Shield. The shield is available from Godrick Soldiers in Limgrave and received both guard-boost and weight buffs in Patch 1.17.
Early-Game Stats and Equipment
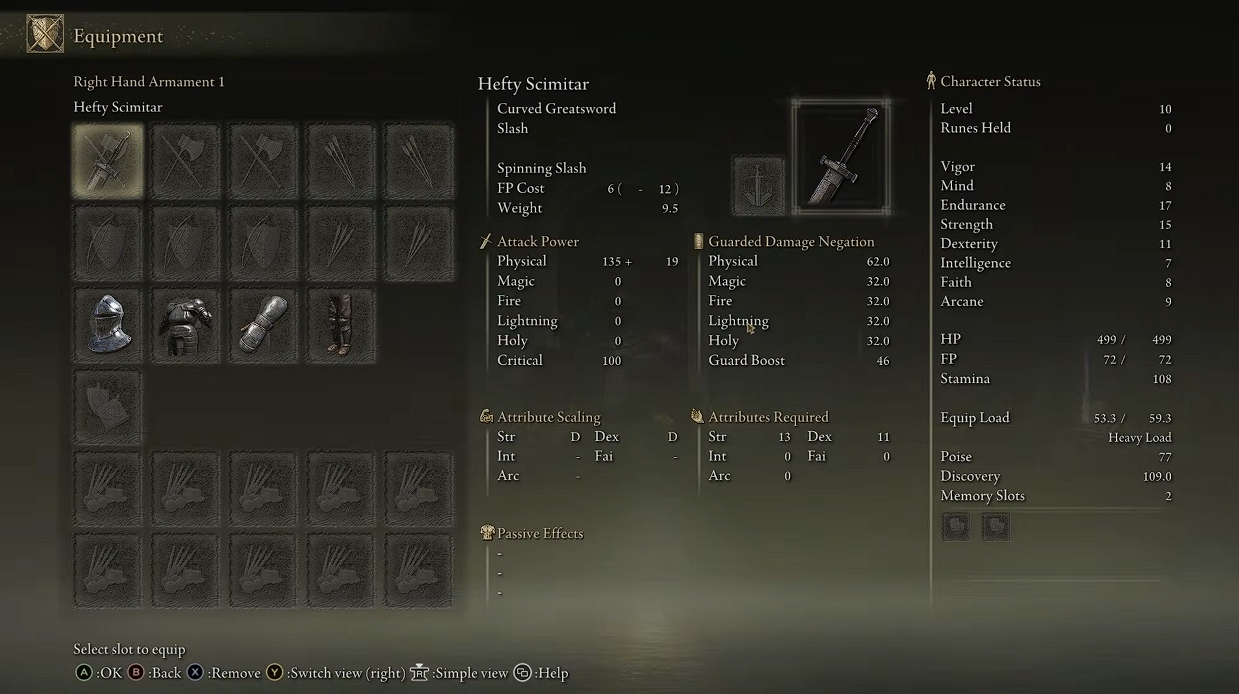
Hefty Scimitar
This setup invests every level into health, stamina, equip load, and physical damage. Keep Dexterity and all three magic attributes at their starting values.
- Rune Level: 50
- Attributes: 30 Vigor, 9 Mind, 25 Endurance, 30 Strength, 11 Dexterity, 7 Intelligence, 8 Faith, and 9 Arcane
- Right-hand weapon: Heavy Hefty Scimitar with Cragblade
- Left-hand shield: Lordsworn’s Shield
- Armor: Steel set, with lighter pieces substituted to avoid Overloaded
- Talismans: Curved Sword Talisman and Arsenal Charm
- Flask of Wondrous Physick: Greenspill Crystal Tear and Strength-knot Crystal Tear
- Strategy: Block the final strike of an enemy combo, answer with a guard counter, then use a charged heavy attack or critical hit after the enemy’s stance breaks.
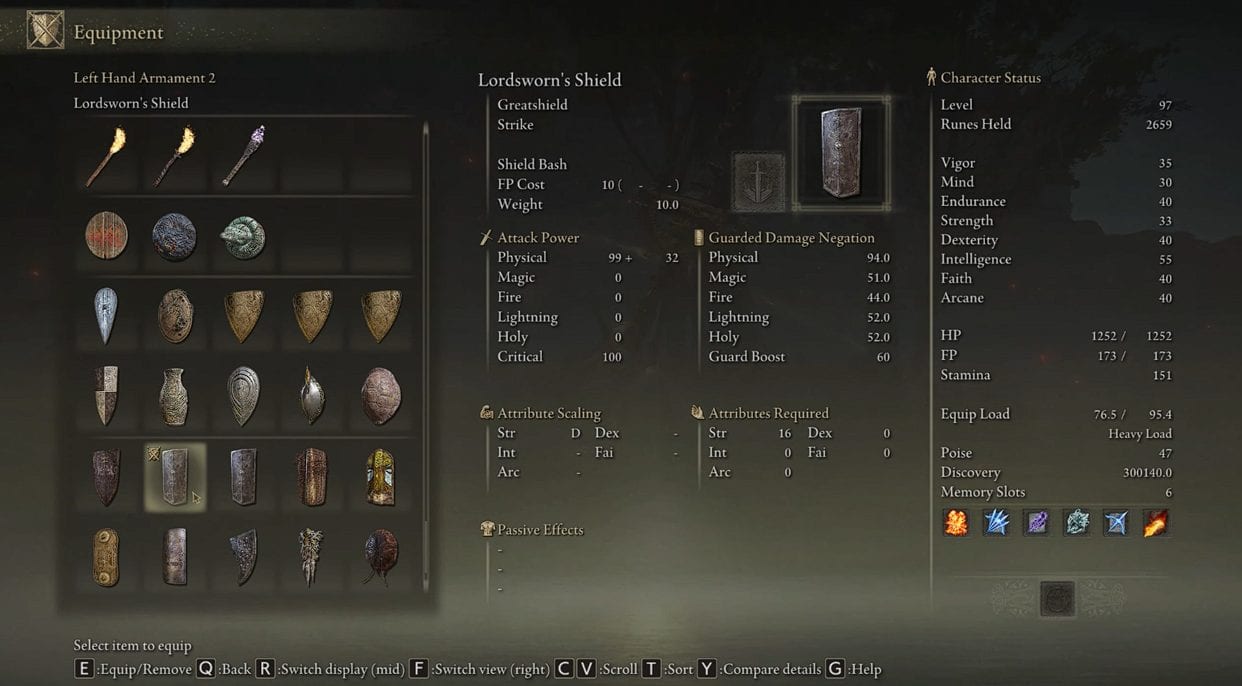
Lordsworn’s Shield
The Hefty Scimitar requires 13 Strength and 11 Dexterity, so the Heavy Knight can use it immediately. It also accepts Ashes of War. Apply Cragblade with the Heavy affinity to reinforce Strength scaling and increase the weapon’s ability to break an enemy’s stance.
Farm the Lordsworn’s Shield from shield-bearing Godrick Soldiers at Gatefront Ruins. Its improved Patch 1.17 guard boost reduces the stamina lost when blocking, while the lower weight helps this equipment-heavy class stay below the Overloaded threshold.
3. Best Endgame Heavy Knight Build
The endgame version reaches Rune Level 150, retains the Heavy Hefty Scimitar, and upgrades to the Gilded Greatshield. This shield also gained more guard boost and lower weight in Patch 1.17, making it a natural final form for the Heavy Knight’s original Steel loadout.
Endgame Stats and Equipment
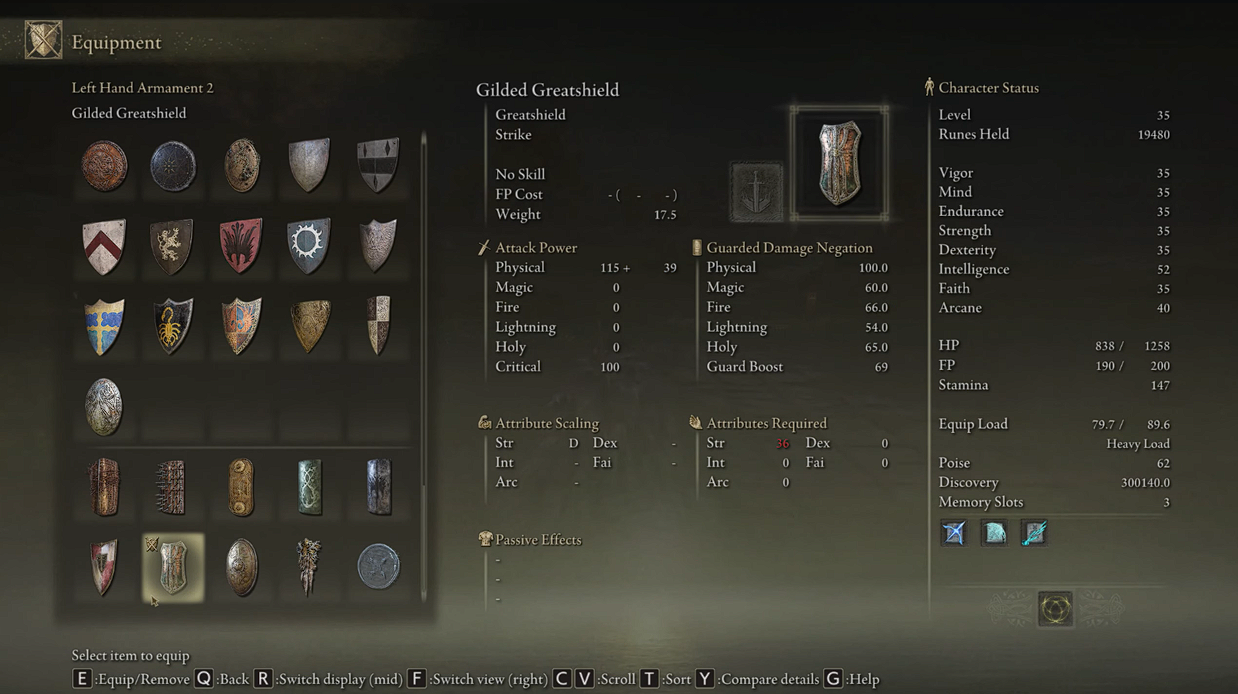
Gilded Greatshield
This setup reaches the 60 Vigor and 80 Strength targets while keeping enough Endurance for repeated blocks and heavy equipment. Great-Jar’s Arsenal carries the full loadout and preserves Medium Load.
- Rune Level: 150
- Attributes: 60 Vigor, 14 Mind, 40 Endurance, 80 Strength, 11 Dexterity, 7 Intelligence, 8 Faith, and 9 Arcane
- Right-hand weapon: Heavy Hefty Scimitar +25 with Cragblade
- Left-hand shield: Gilded Greatshield +25 with No Skill
- Armor: Full Steel set
- Talismans: Great-Jar’s Arsenal, Curved Sword Talisman, Greatshield Talisman, and Bull-Goat’s Talisman
- Flask of Wondrous Physick: Greenburst Crystal Tear and Opaline Hardtear
- Consumable: Boiled Crab for physical-defense-heavy encounters
- Strategy: Maintain Medium Load, use the Gilded Greatshield to absorb physical combo finishers, and convert each safe block into a guard counter that builds toward a stance break.
The Gilded Greatshield requires 36 Strength and drops from Godrick Knights, including the knight at Gatefront Ruins. It already complements a pure Strength character, and Patch 1.17 improves both sides of its stamina-and-weight tradeoff.
Set the shield to No Skill so the left-hand equipment does not override Cragblade. Activate Cragblade before a boss closes the distance, then return to guarding. Fourteen Mind provides a small FP reserve without deviating too far from the build’s core attributes.
Endgame Talisman Choices
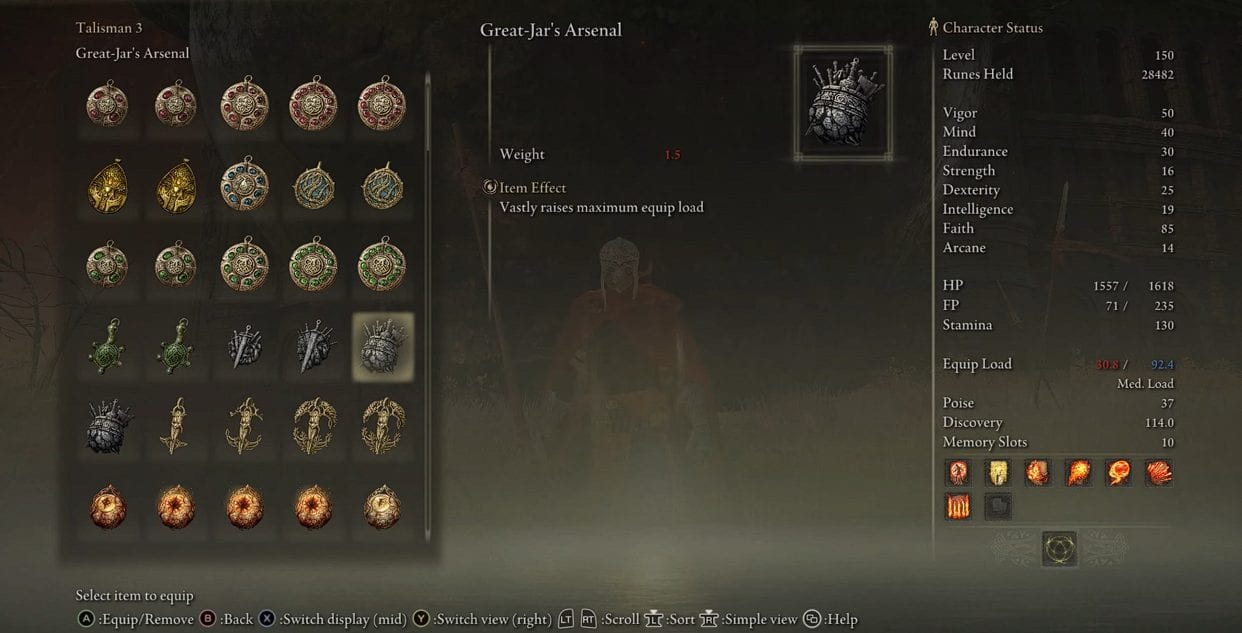
Great-Jar’s Arsenal
Great-Jar’s Arsenal is the foundation of the finished loadout because the weapon, shield, and Steel set are all heavy. The Curved Sword Talisman improves the main punish, while the Greatshield Talisman makes sustained guarding easier on stamina.
The Bull-Goat’s Talisman amplifies the Steel set’s poise and helps the Heavy Knight finish slower attacks through light hits. Replace it with the Dragoncrest Greatshield Talisman when a boss deals overwhelming physical damage, or with an elemental Drake Talisman when one damage type is the main threat.
If Medium Load is still unavailable because extra weapons or tools are equipped, remove unused armaments from the other weapon slots. Inventory weight does not count. Only items assigned to active equipment slots contribute to equip load.
4. Patch 1.17 Shield Buffs
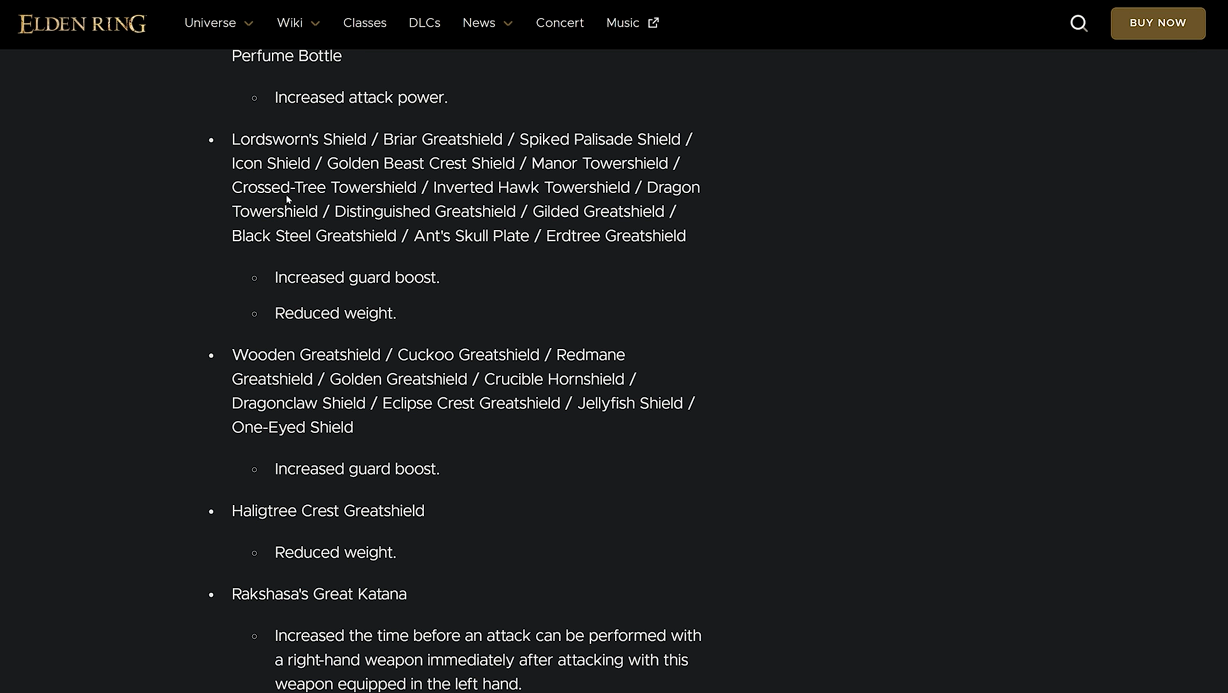
Shield Buffs
Patch 1.17 directly improves shield-focused Heavy Knight builds by increasing the guard boost of 23 greatshields. Higher guard boost reduces the stamina damage taken after a successful block, leaving more stamina for the next guard counter or emergency roll.
The patch also reduced the weight of the Lordsworn’s Shield, Gilded Greatshield, and 12 other greatshields. Those reductions are especially valuable here because the Steel armor already consumes a large share of the equip-load limit.
- Lordsworn’s Shield: Gains more guard boost and lower weight, making it the best thematic early target.
- Gilded Greatshield: Gains more guard boost and lower weight, improving the endgame setup without changing its role.
- Golden Greatshield: Gains more guard boost and works as an alternative with a lower 34 Strength requirement.
- Elemental options: Erdtree, Black Steel, and several specialty greatshields also received buffs, giving the build matchup-specific swaps.
Guard boost does not make blocking free. A depleted stamina bar still causes a guard break, leaving the character exposed. Release the block button between enemy strings, avoid blocking area attacks, and never spend the final part of the stamina bar on an unsafe counter.
5. How to Use Guard Counters Against Bosses
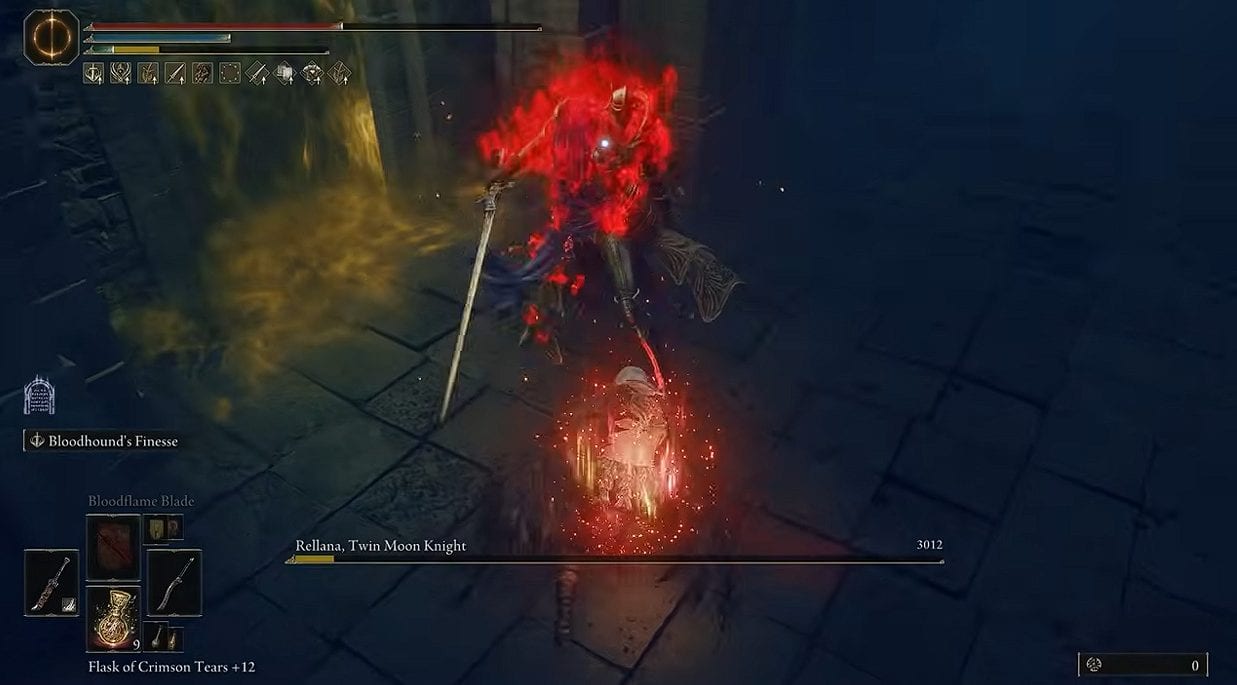
Heavy Knight Gameplay
The Heavy Knight wins boss fights by controlling stamina and punishing reliable combo endings. The shield creates safe windows for gathering information, but the build still requires deliberate timing to avoid a guard break or a counter animation on the next attack.
- Apply Cragblade before contact: Use the skill outside the boss’s immediate range, then approach with the Gilded Greatshield ready.
- Lower the shield between attacks: Regenerate stamina whenever the boss pauses, repositions, or begins a slow windup.
- Block the combo finisher: Learn which strike ends the sequence instead of holding guard through every possible hit.
- Use one guard counter: Press the heavy-attack input only when the boss cannot extend the combo or cancel into another attack.
- Take the critical hit: Move to the glowing weak point after a stance break and use a light attack for the riposte.
- Dodge unblockable threats: Roll away from grabs and move out of status pools, large explosions, and attacks with excessive elemental chip damage.
Against fast bosses, skip the guard counter and use a normal light attack after blocking. The safe punish is more valuable than forcing the build’s central mechanic into a window that is too short.
6. Gear Locations and Alternatives
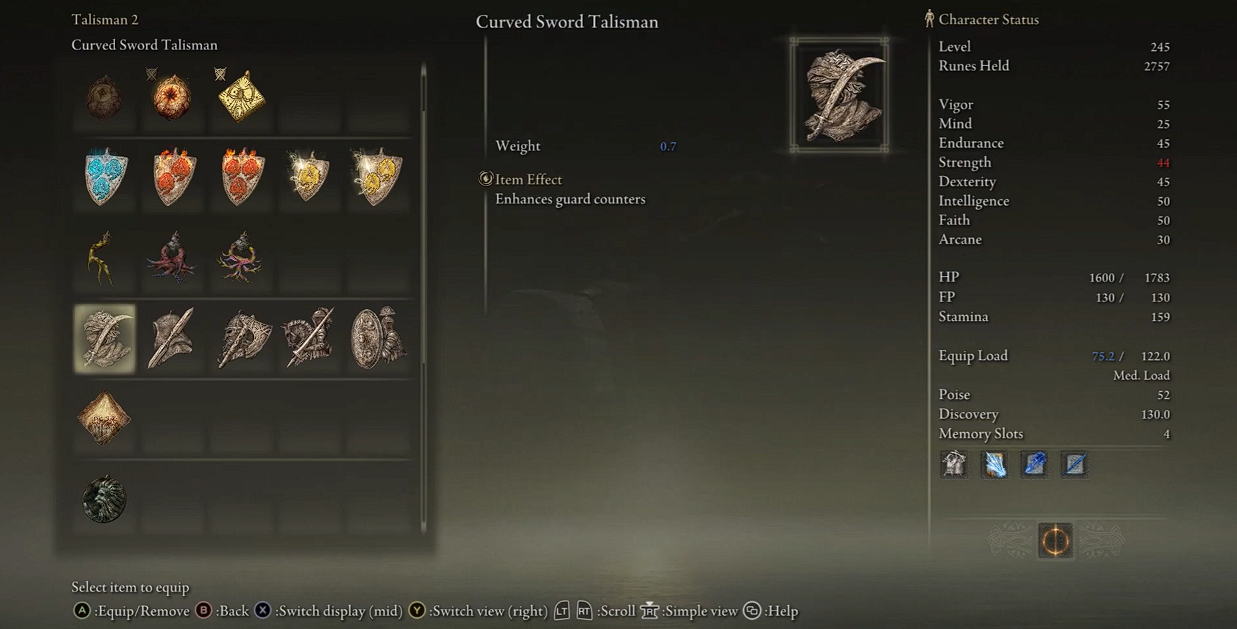
Curved Sword Talisman
New Heavy Knight characters receive the Hefty Scimitar and Steel set immediately. Existing characters can collect the same equipment in the opening regions, so the build does not require a fresh save. Our Tarnished Edition weapon and armor locations guide provides the full routes.
- Hefty Scimitar: Buy it from the Nomadic Merchant north of Fort Haight West in eastern Limgrave for 2,400 Runes.
- Steel set: Buy all four pieces from the Isolated Merchant at the Isolated Merchant’s Shack in the western Weeping Peninsula.
- Lordsworn’s Shield: Farm shield-bearing Godrick Soldiers at Gatefront Ruins.
- Gilded Greatshield: Farm Godrick Knights, including the knight stationed at Gatefront Ruins.
- Curved Sword Talisman: Open the chest in the dark room with the Banished Knight in Stormveil Castle.
- Greatshield Talisman: Open the guarded carriage chest east of Erdtree-Gazing Hill in Altus Plateau.
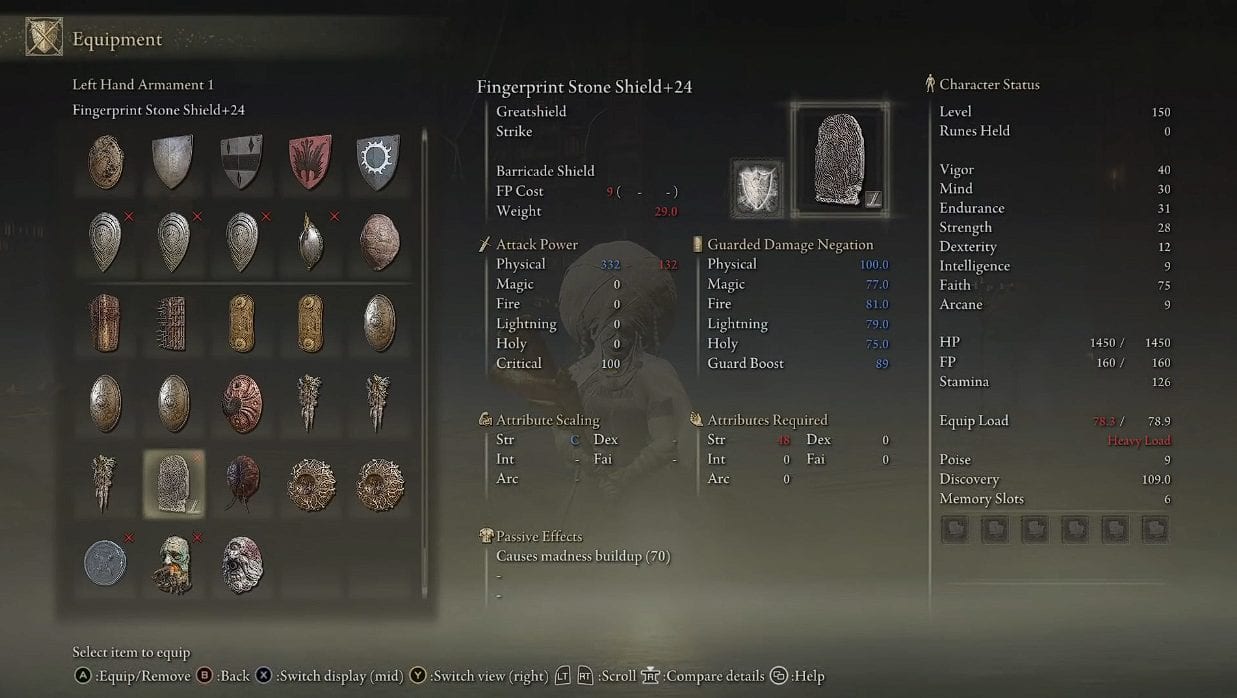
Barricade Shield
The Barricade Shield is a useful alternative before the Greatshield Talisman is available, but activating it prevents immediate access to the weapon’s Ash of War. Lion’s Claw is another strong Hefty Scimitar option for players who prefer direct stance damage over the Cragblade weapon buff.
The Golden Greatshield can replace the Gilded Greatshield for enemies that deal more Holy damage. For encounters dominated by Magic, Fire, or Lightning, choose a greatshield with better protection for that element and keep the same stats, weapon, and guard-counter talismans.
Related posts:


 Elden Ring Nightreign DLC – Best Undertaker Build
 Elden Ring Nightreign DLC – Best Scholar Build


