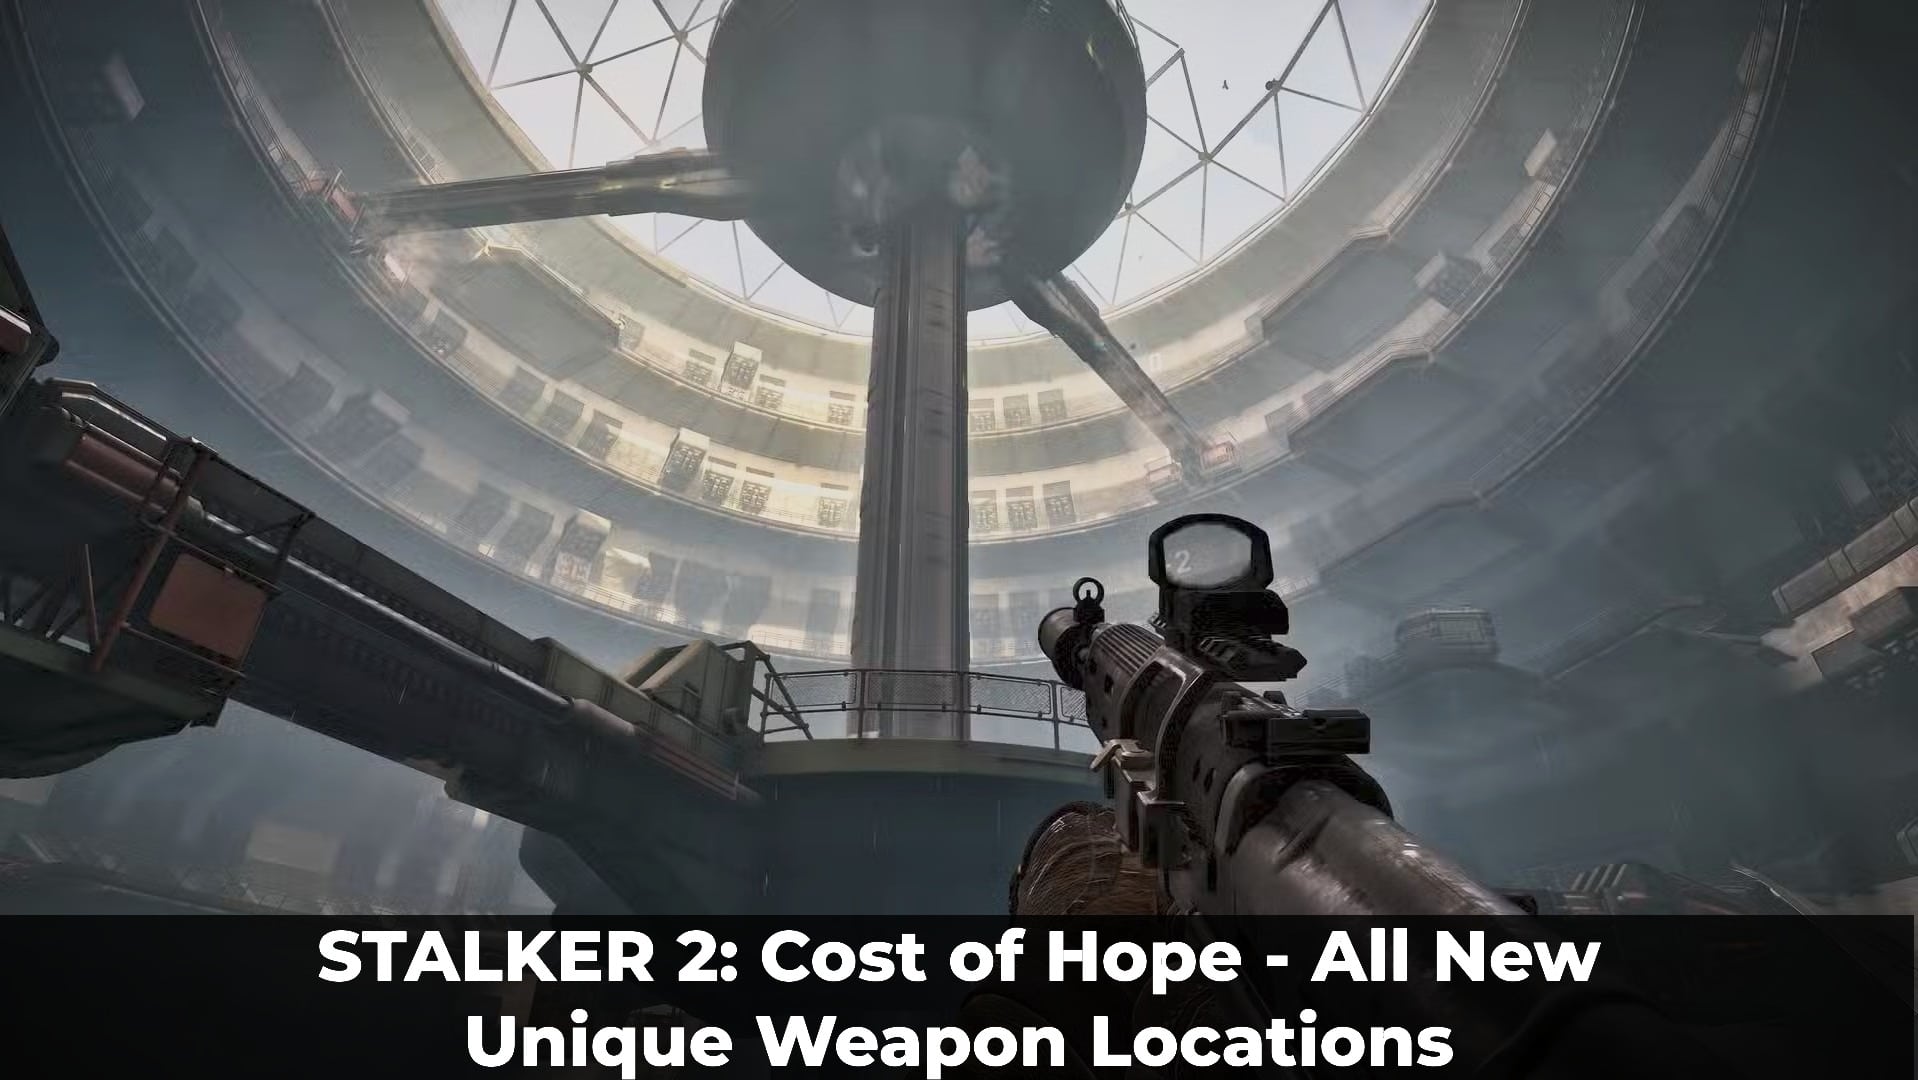
The update itself adds four completely new standard weapons, while Cost of Hope adds a much larger collection of unique weapons and customized variants obtained from the new areas, quests, characters, and faction routes.
The important point is that the ARev, GP3A, SIC/SKP, and Fora-230 are free Update 2.0 weapons and do not require Cost of Hope.
1. All New Weapons and Unique Weapons in STALKER 2 Cost of Hope
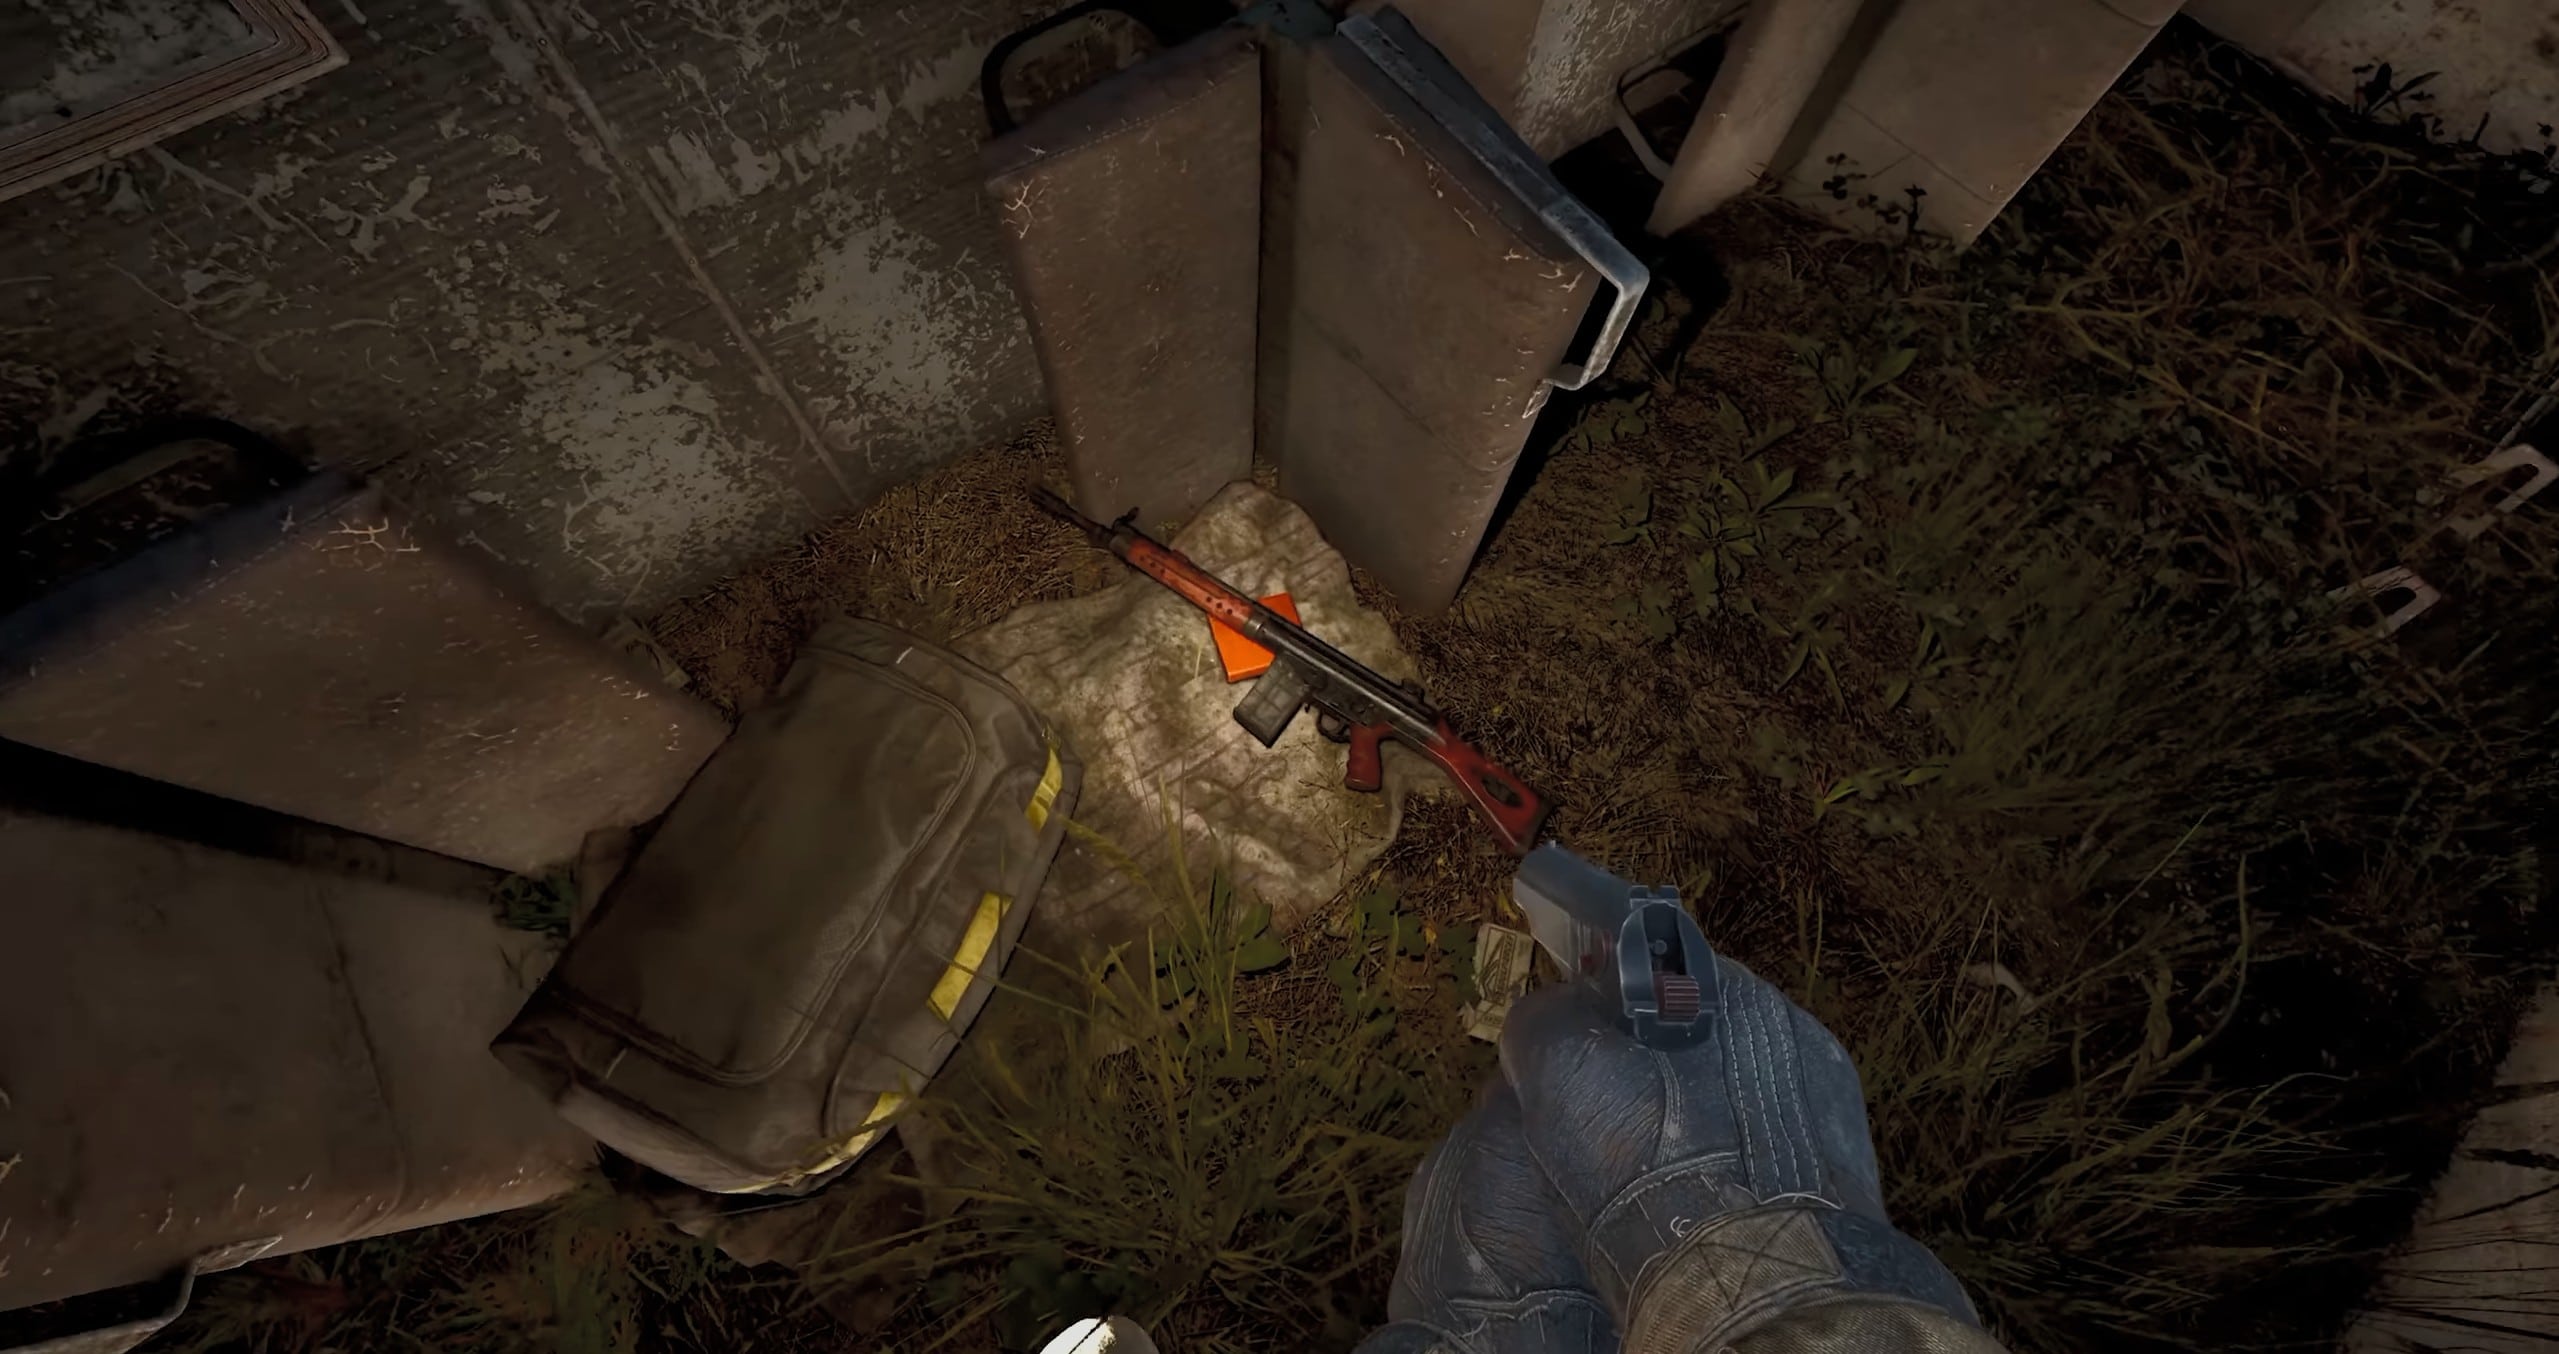
GP3A Rifle location
There are four new standard weapon platforms introduced with Update 2.0, followed by multiple named weapons and customized variants associated with Cost of Hope.
Keeping the two groups separate makes it much easier to know what can simply be bought and what requires a specific quest, location, or story decision.
| Weapon | How to Get |
|---|---|
| ARev | Buy at Yaniv Station or Water Treatment Facility; drop from Mercenaries |
| GP3A | Buy at Yaniv Station or collect the fixed rifle from the ISF rooftop |
| SIC/SKP | Buy from several traders, including Rickman in Rostok |
| Fora-230 | Buy from Sidorovich, Rostok, or Yaniv Station |
| Jagerblick | Hidden unique ARev associated with Update 2.0 |
| AKM-9B | Safe in the northwestern Iron Forest building; code 3456 |
| Justice | Dropped by General Tachenko during Shadows of the Past |
| Leichtfuchs | Loot Myklukha during Status Quo |
| Maximum | Monolith stash room inside the CNPP |
| Luftgarde | Hidden unique GP3A/HK51 variant |
| Warszawa | Choose Zulu at the start of The Destructive Power of the Mind |
| Clapper | Choose Mavka at the start of The Destructive Power of the Mind |
| Rifled Barrel | Loot Otter’s stash during The Forgotten |
| Guardian | Freedom/Mavka route reward during The Price of a Miracle |
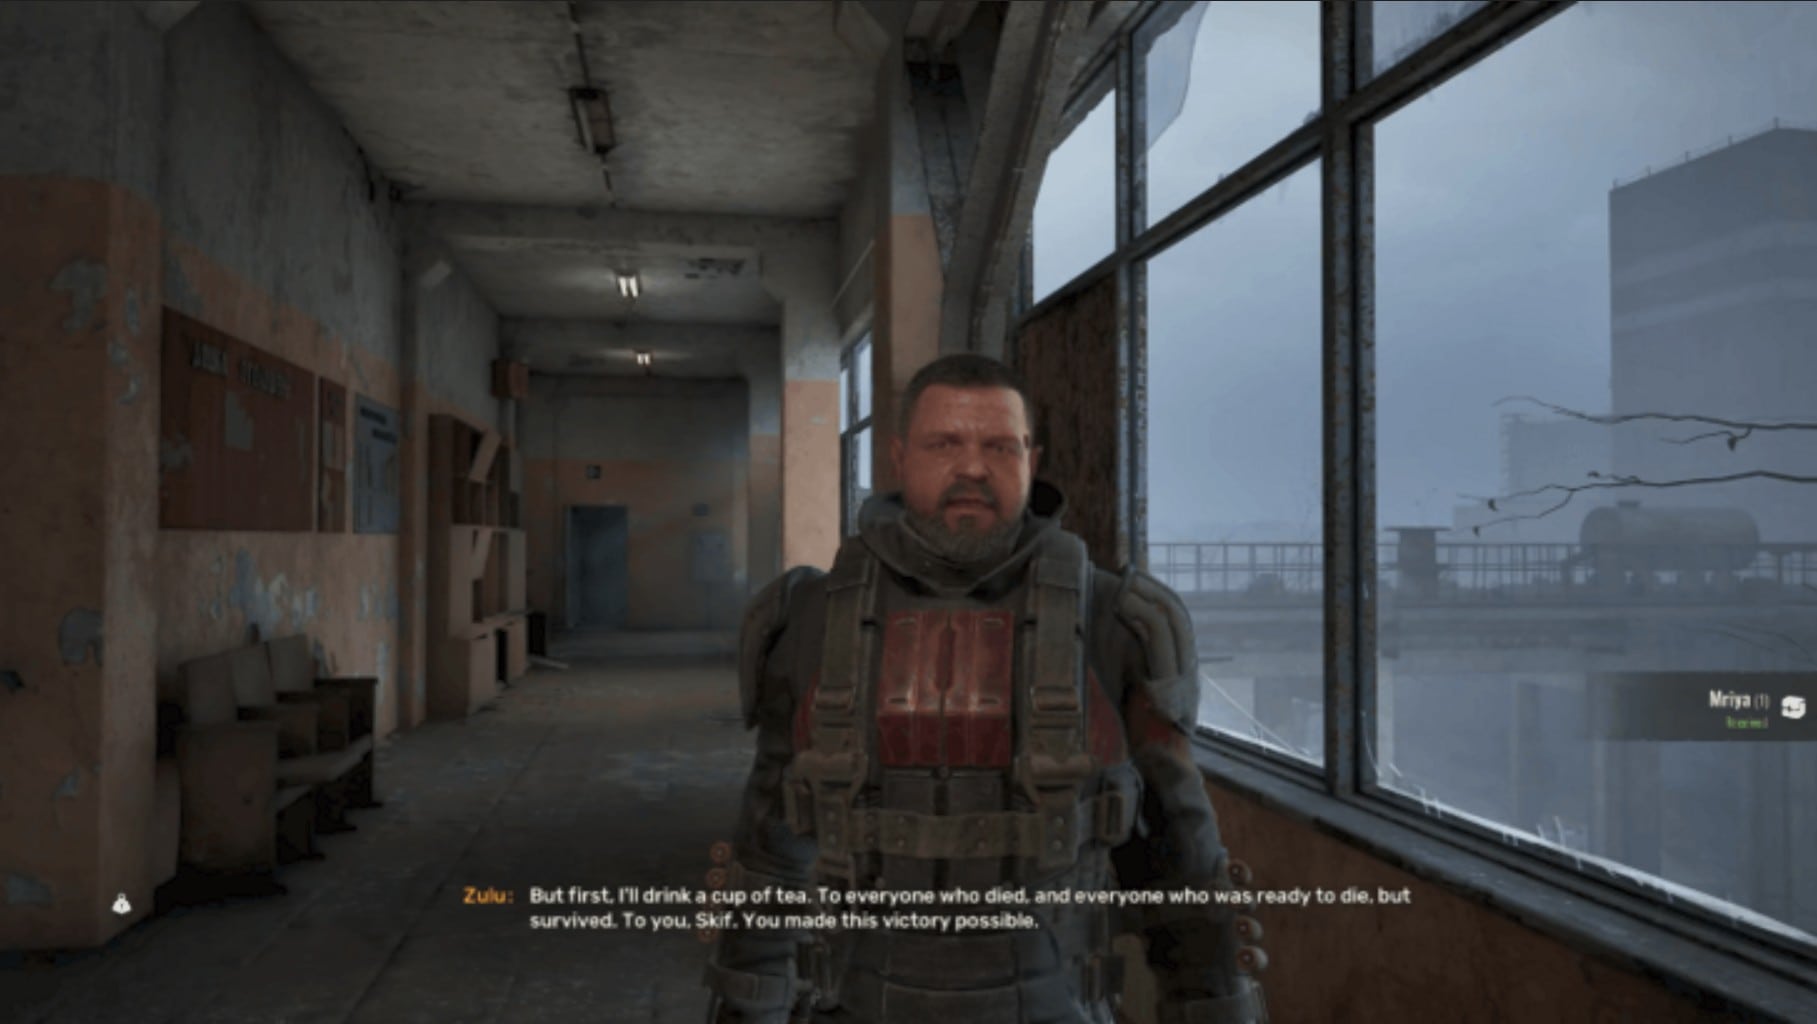
| Mriya | Duty/Zulu ending reward |
| Freedom’s Bounty | Freedom route reward from Territorial War |
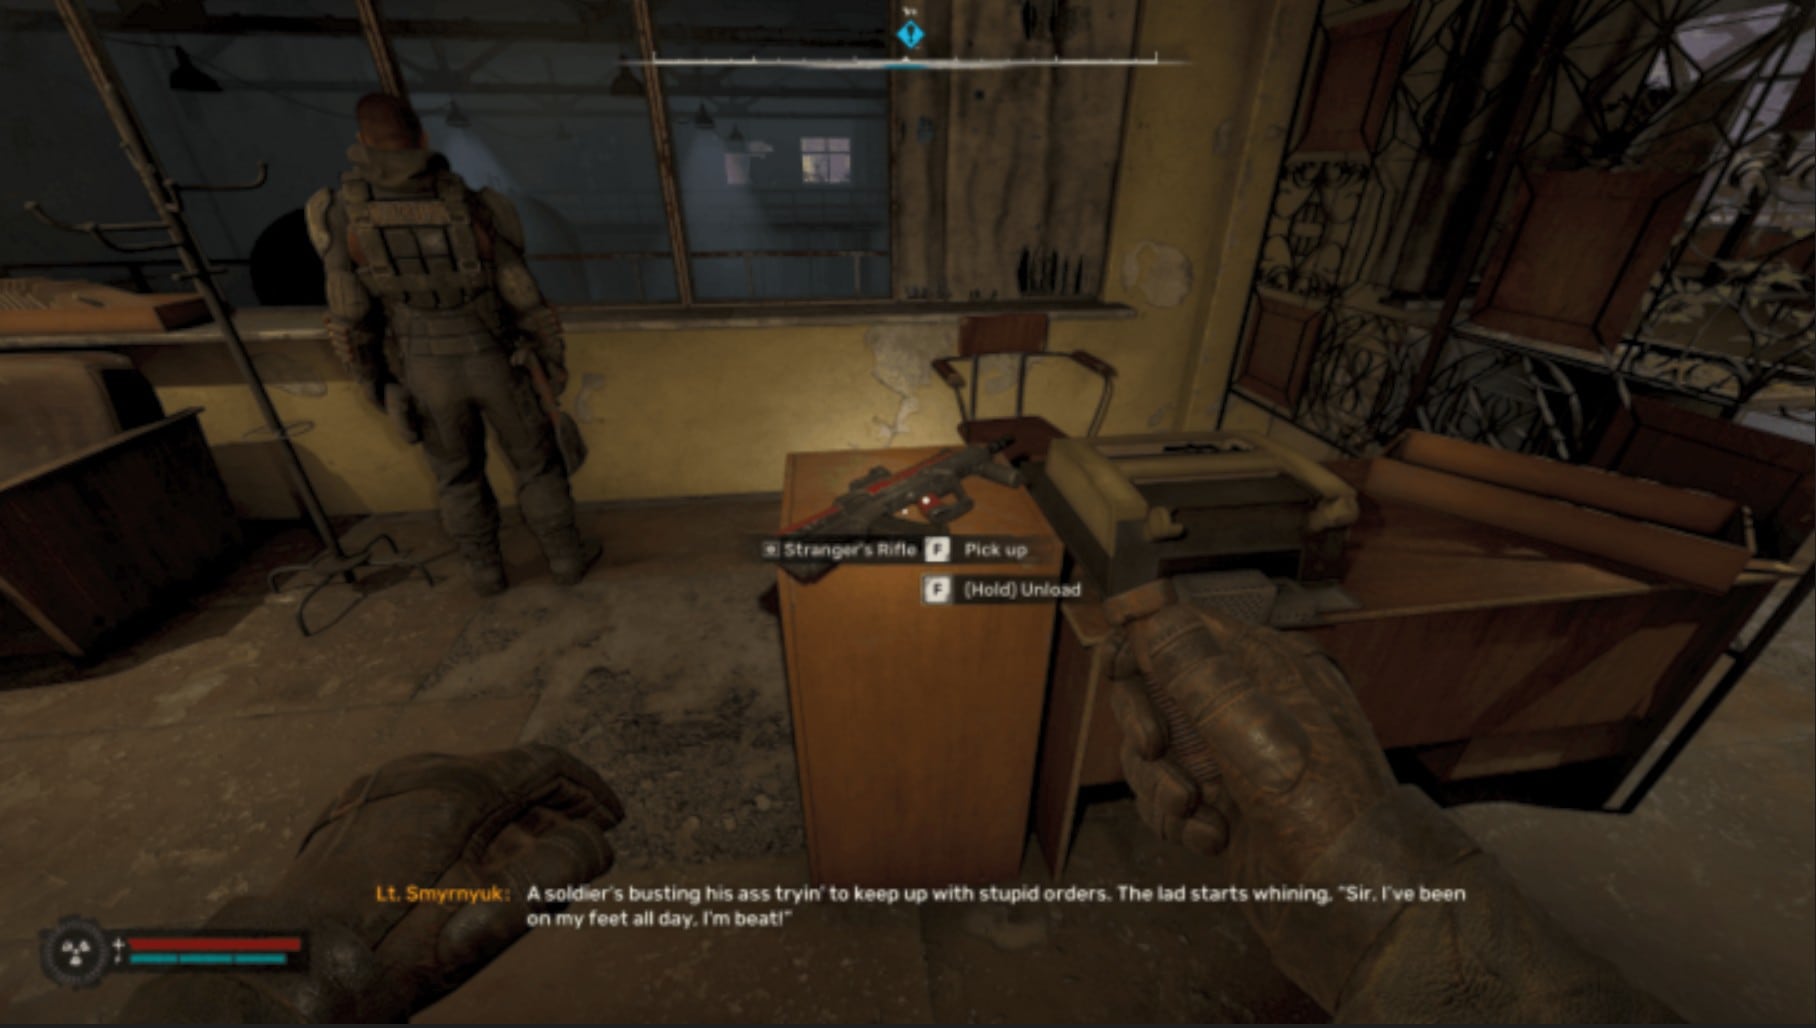
| Stranger’s Rifle | Duty route reward from Territorial War |
2. ARev Location
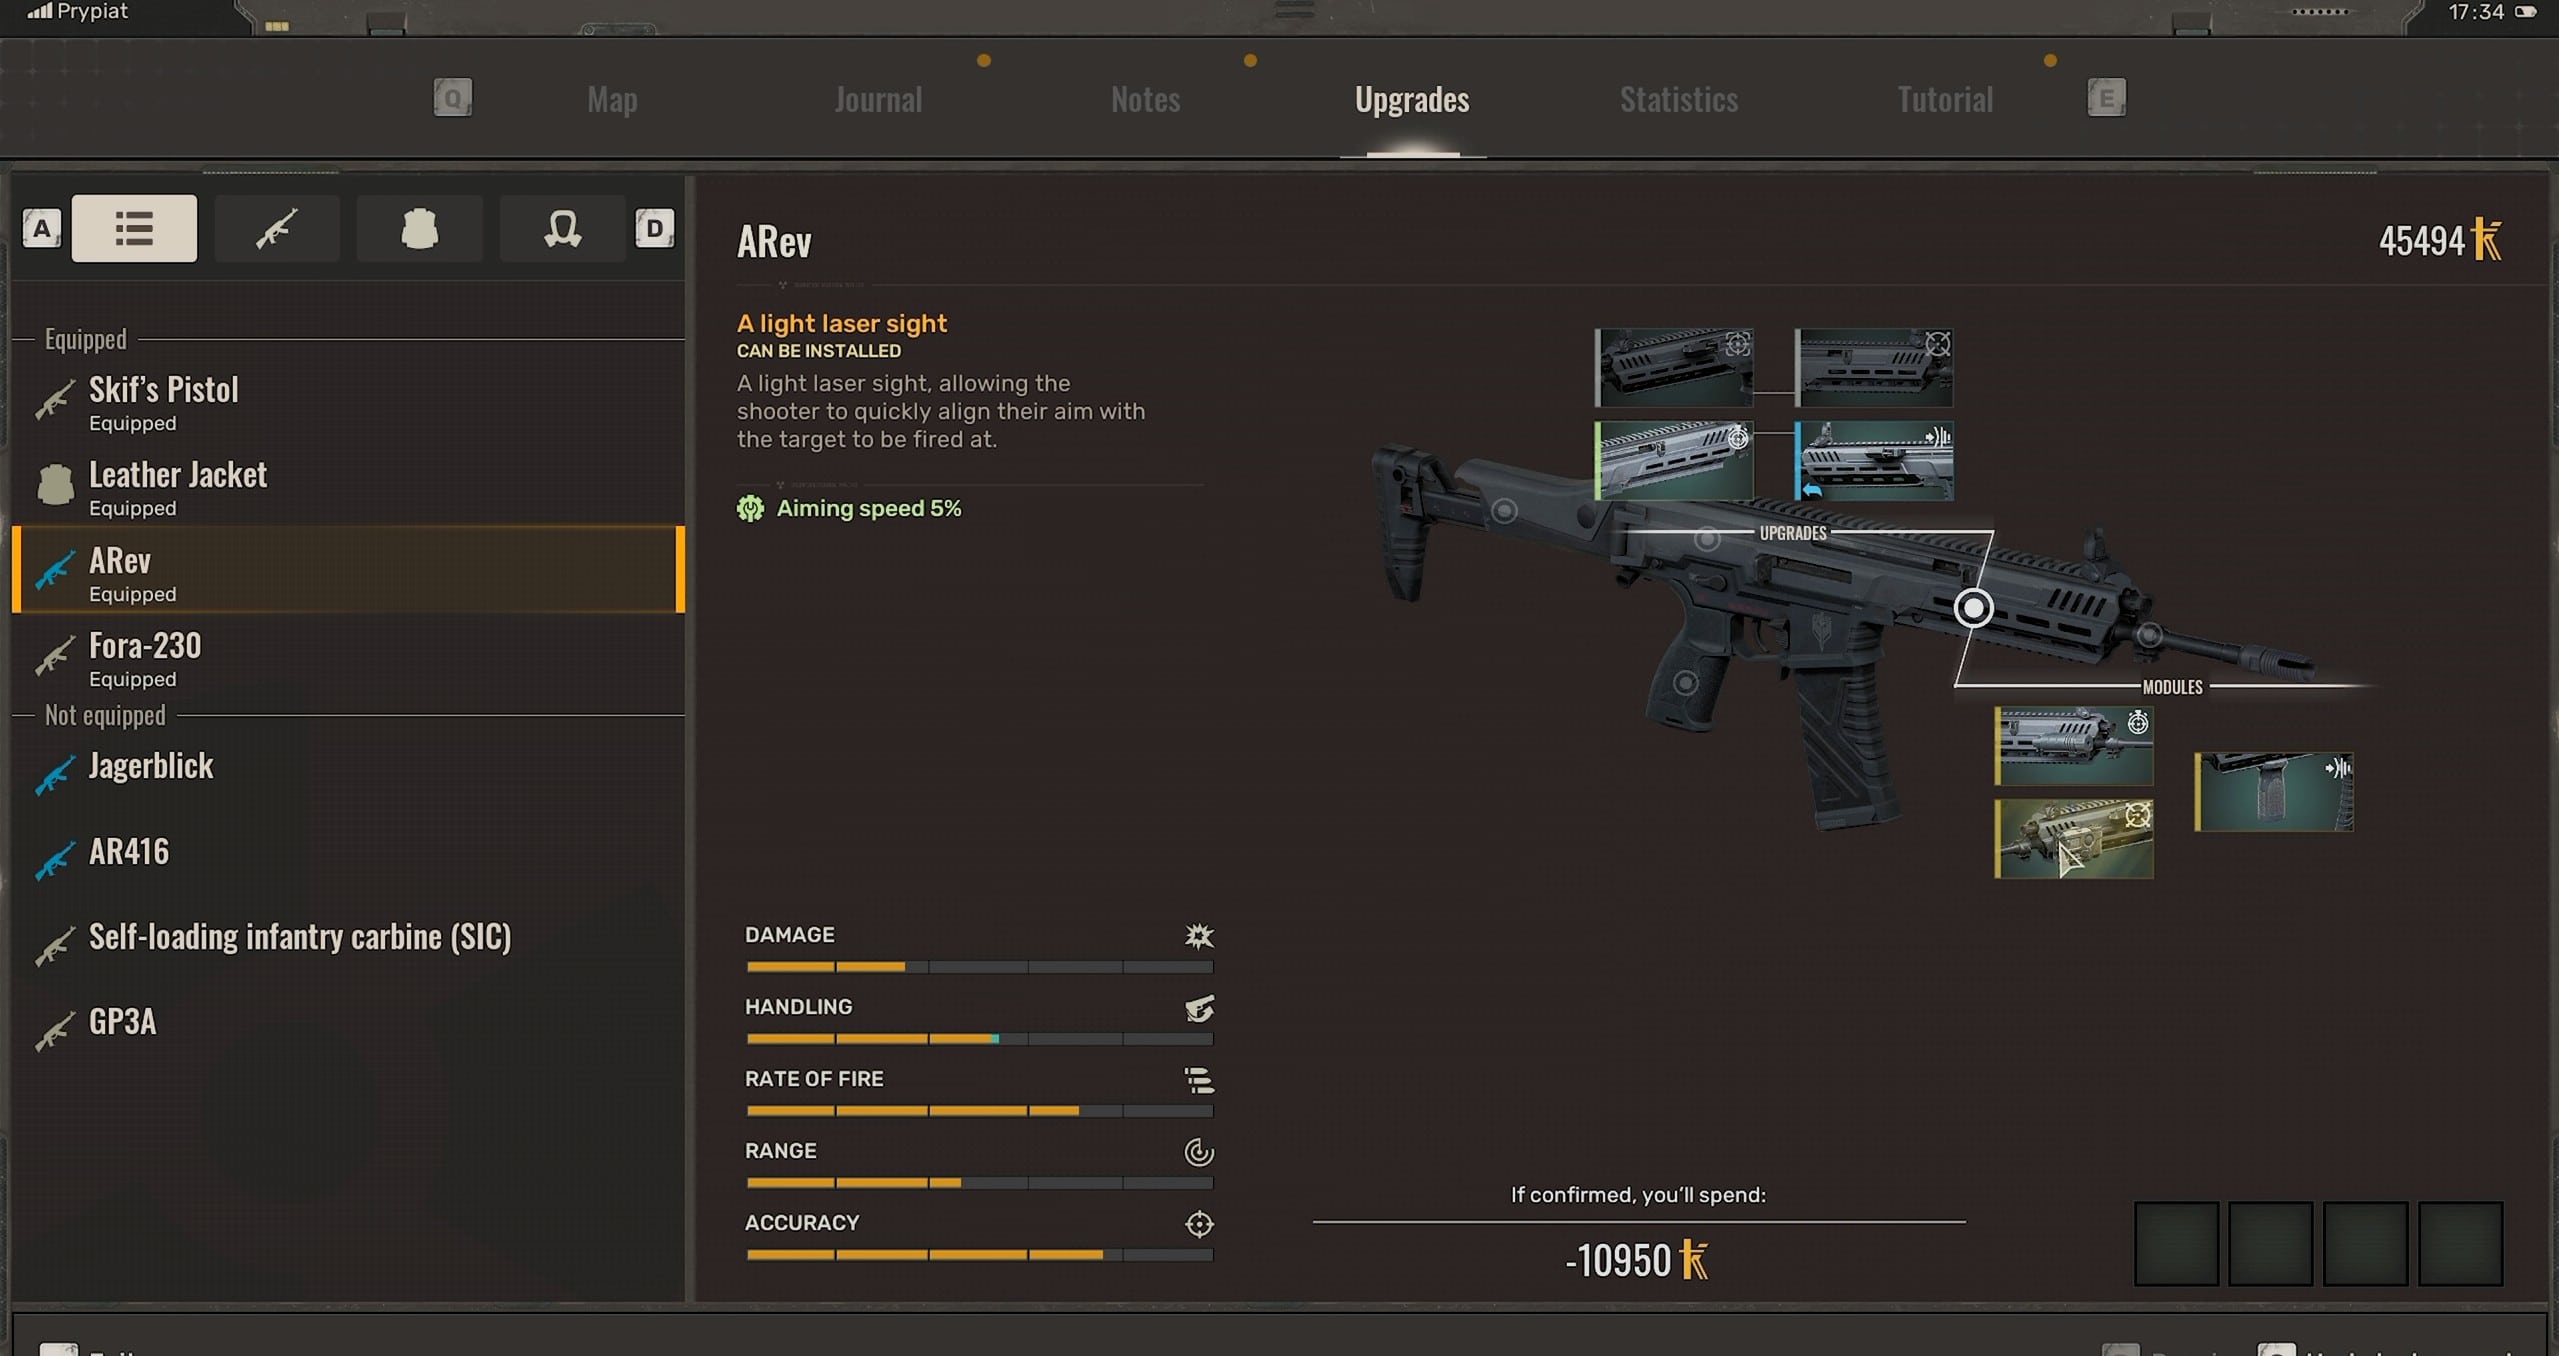
ARev
The ARev is the new assault rifle introduced with Update 2.0. Unlike its unique variants, the standard rifle is repeatable and can be purchased from traders or taken from some enemies.
- Travel to Yaniv Station and check the weapon trader.
- Alternatively, visit the trader at the Water Treatment Facility.
- Enemy Mercenaries can also carry the ARev, allowing you to obtain one without buying it.
The trader route is the most reliable because enemy equipment depends on the NPCs that spawn.
ARev Unique Versions
The ARev has several named versions connected to the new content.
- Jagerblick
- Leichtfuchs
- Warszawa
These are separate weapons with fixed configurations rather than ordinary ARevs with manually installed attachments.
3. GP3A Location
GP3A Rifle location
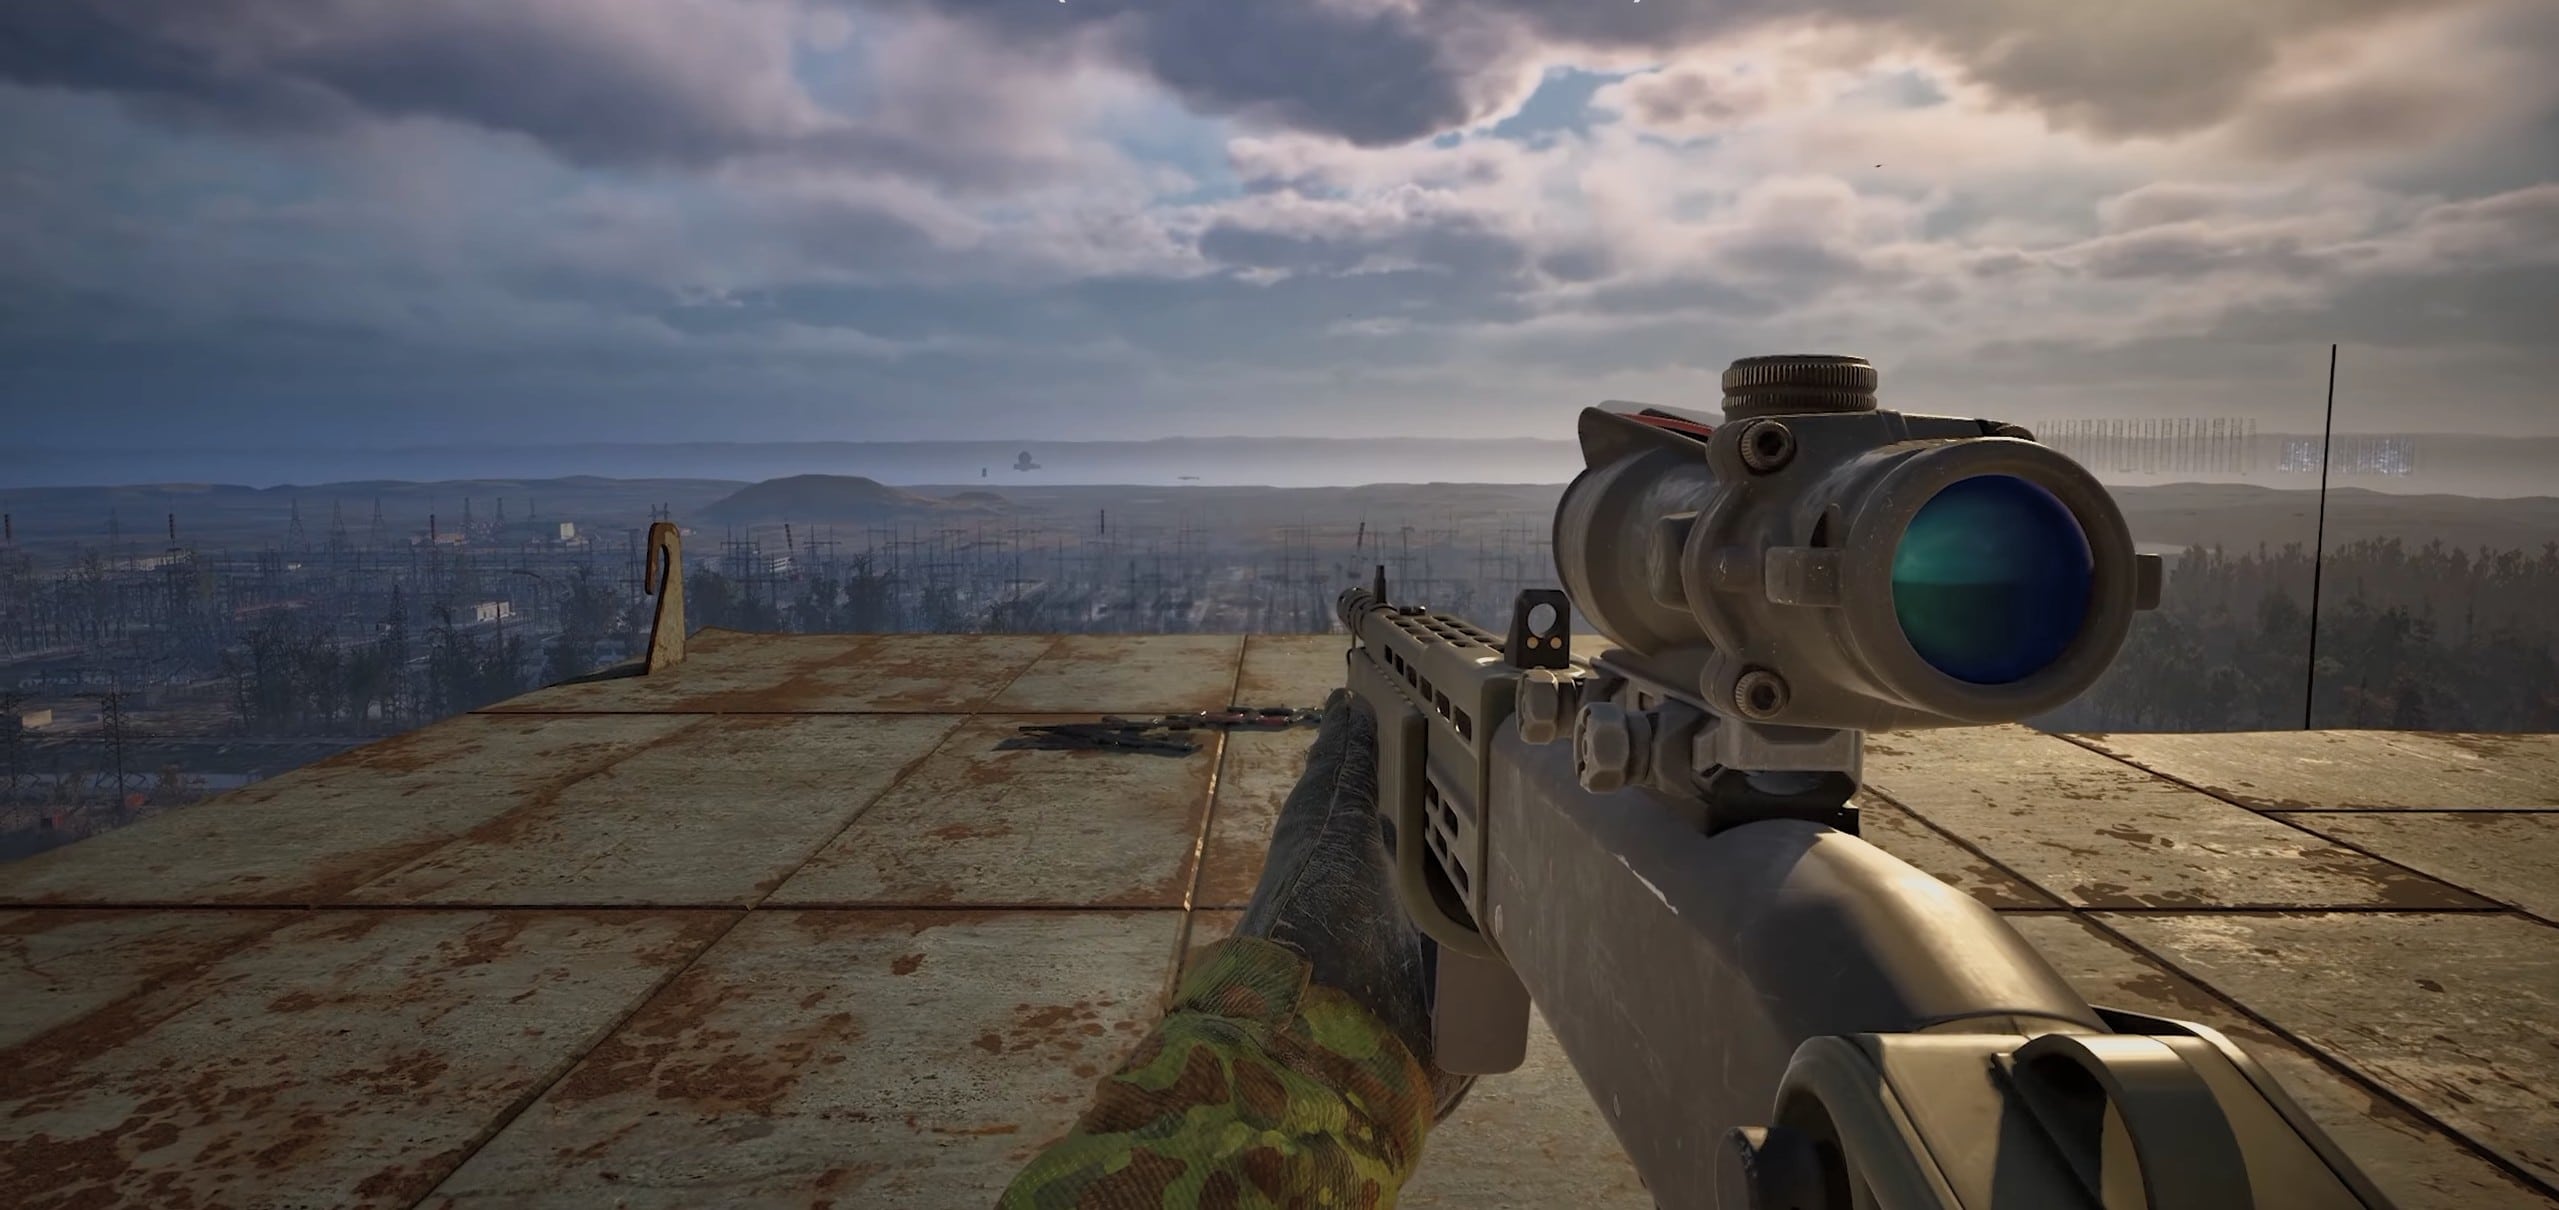
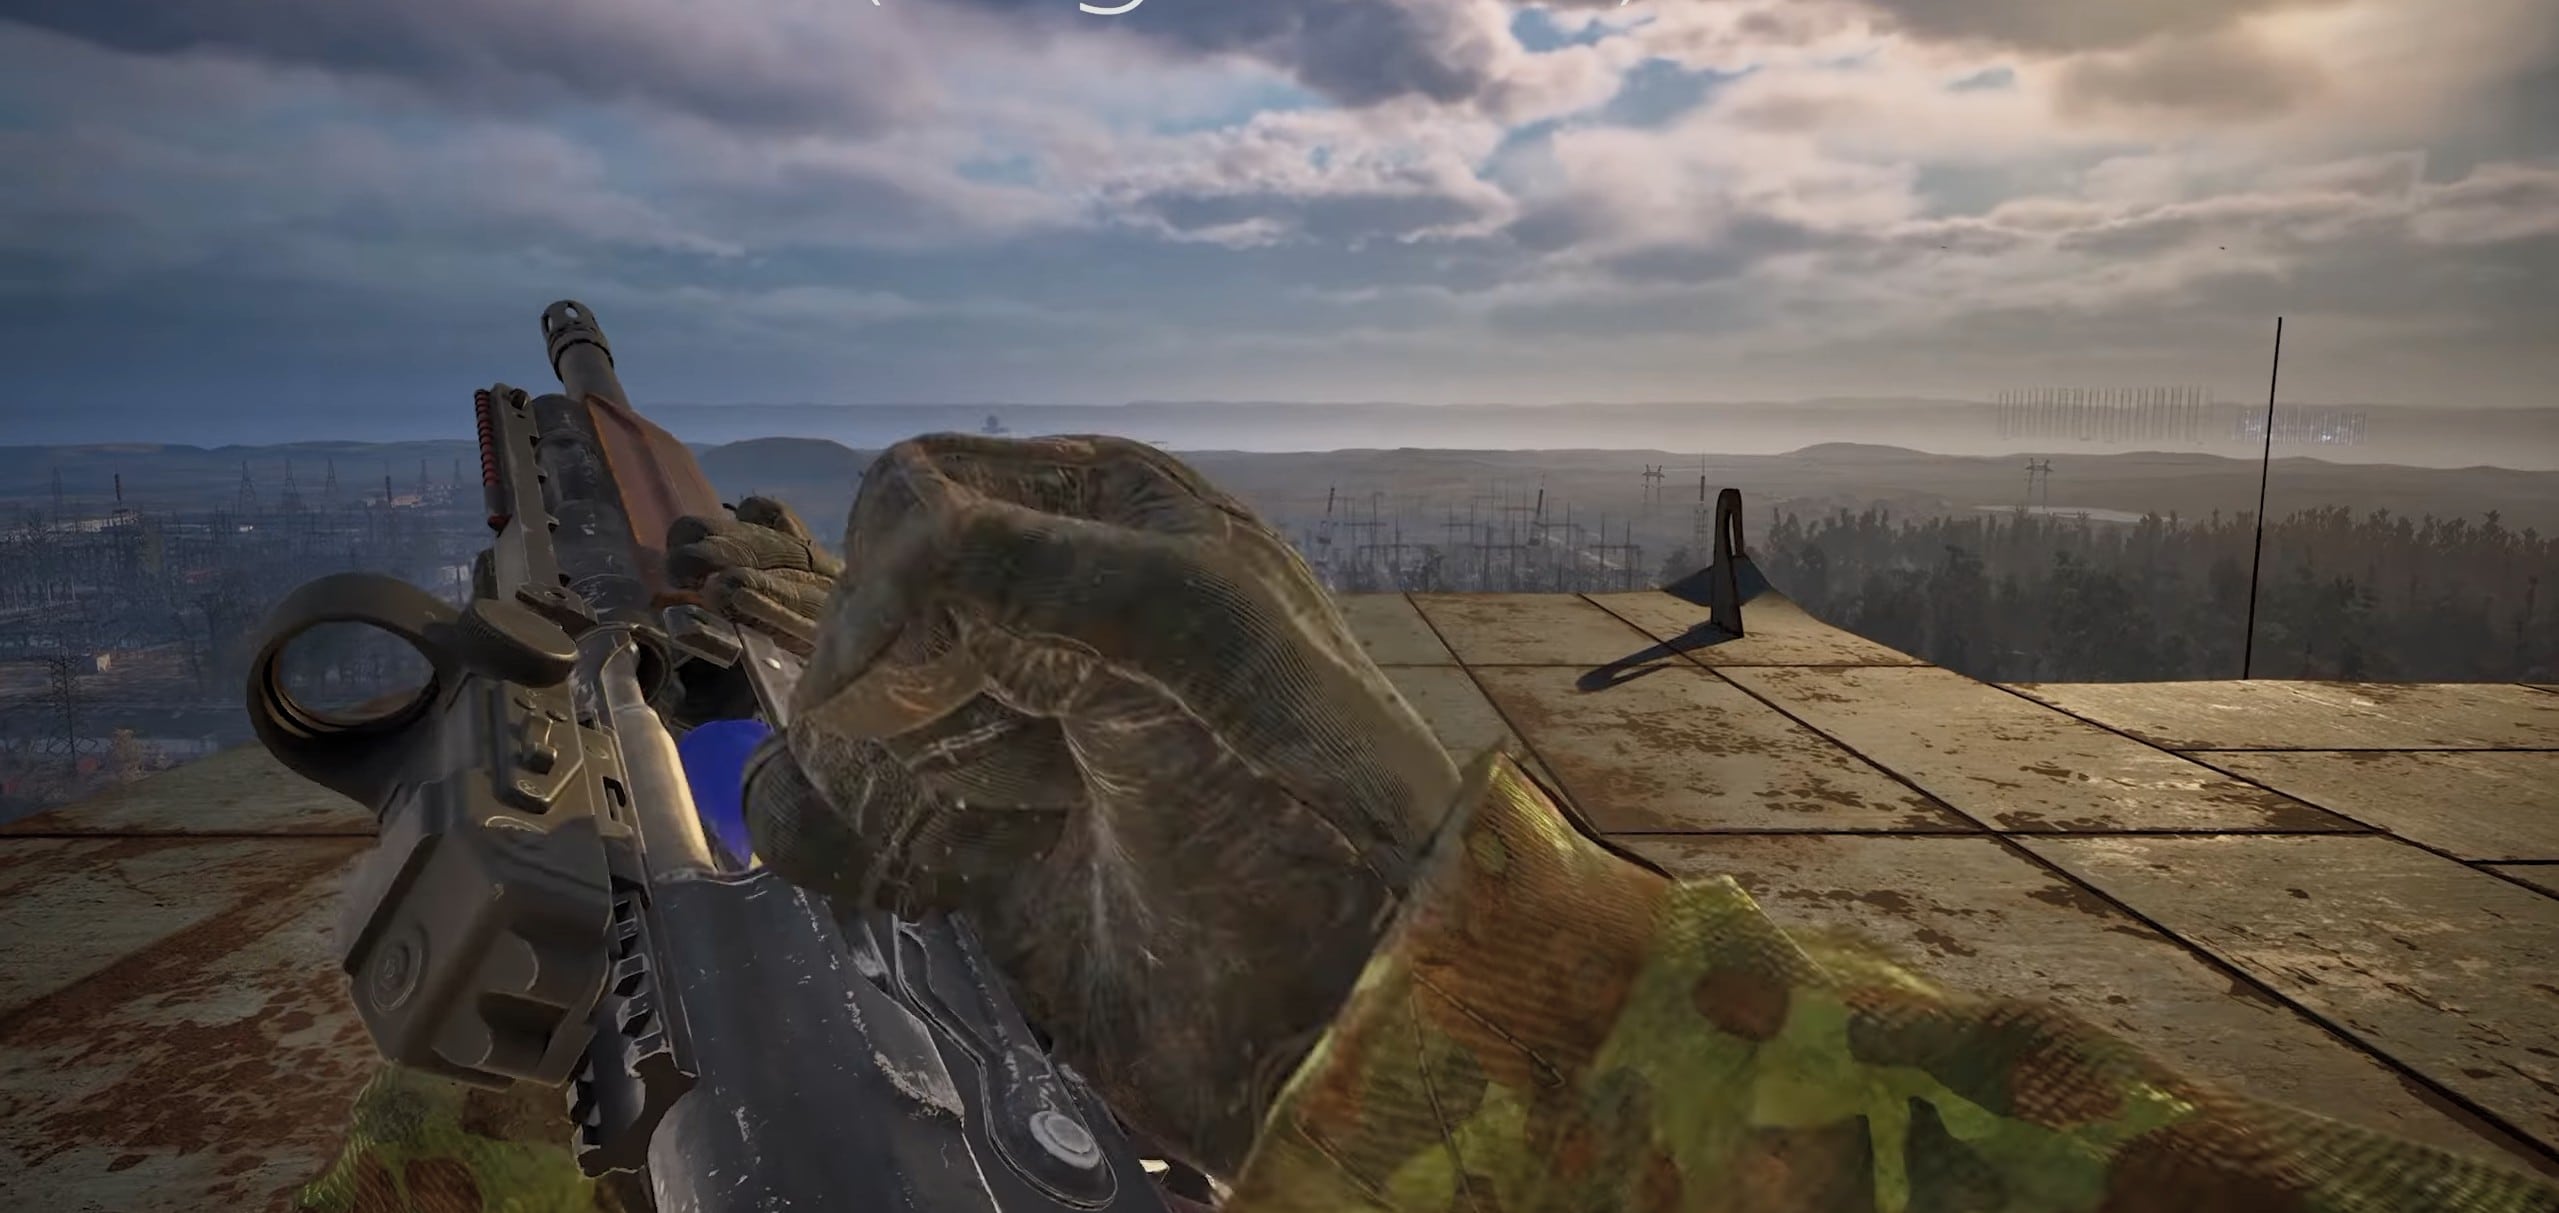
The GP3A is the new .308 DMR and has one of the better fixed free pickups among the Update 2.0 weapons. You can either buy one or collect the rifle from the ISF at the CNPP.
- Travel to the ISF.
- Find the portal beside the large pipes.
- Enter the portal instead of trying to reach the weapon through the normal entrance.
- Work through the structure and climb toward the roof.
- Reach the ISF rooftop.
- Pick up the GP3A found there.
The placed rifle can appear with a 4x optic, making this the better option if you want one without spending Coupons. The other straightforward method is buying it from the trader at Yaniv Station.
GP3A Unique Versions
Cost of Hope contains two notable customized versions of the G3/GP3A platform.
- Luftgarde
- Mriya
Mriya is tied directly to the Duty route, while Luftgarde is a separately hidden weapon.
4. SIC/SKP Location
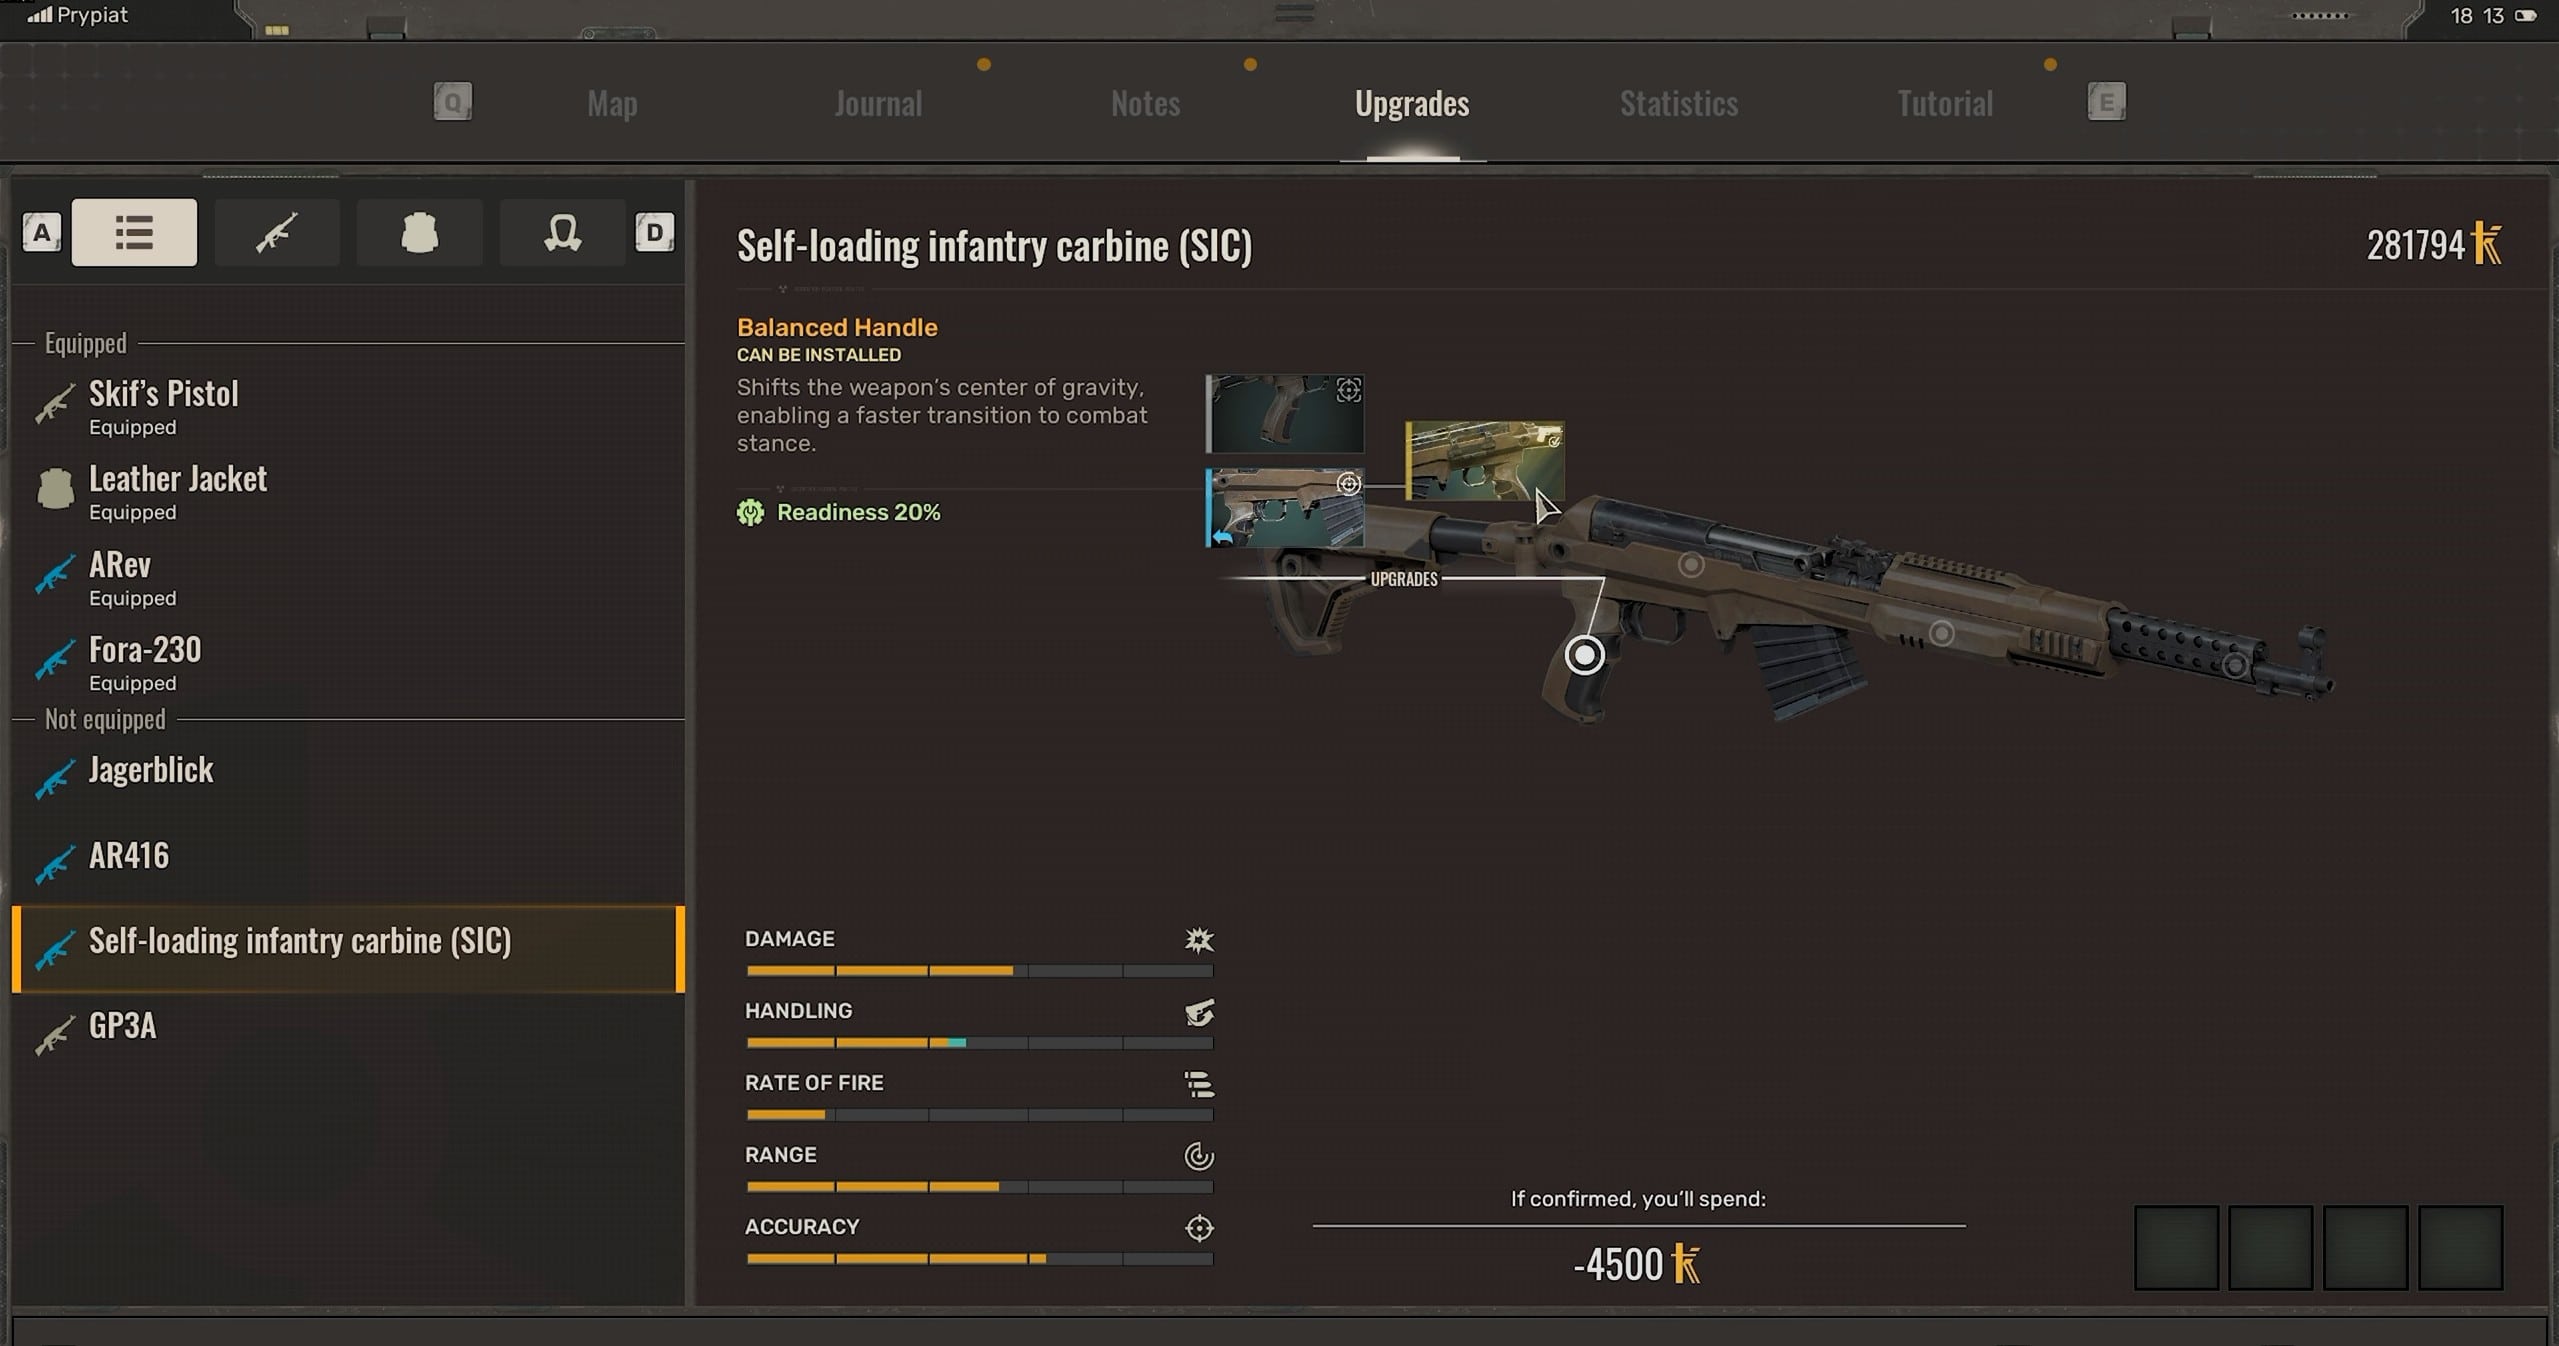
SIC Rifle
The third Update 2.0 weapon is the Self-Loading Infantry Carbine, currently displayed as SIC in live guides. GSC’s official Update 2.0 notes call the weapon SKP, so both names refer to the same new DMR rather than two different guns.
- Travel to Rostok.
- Find the trader Rickman.
- Open his trade inventory.
- Purchase the SIC.
The weapon can also appear with traders at the Water Treatment Facility and Chief’s Bunker, giving you several purchase options if it is absent from one trader’s current stock. The SIC also receives a unique variant in the expansion: Justice.
5. Fora-230 Location
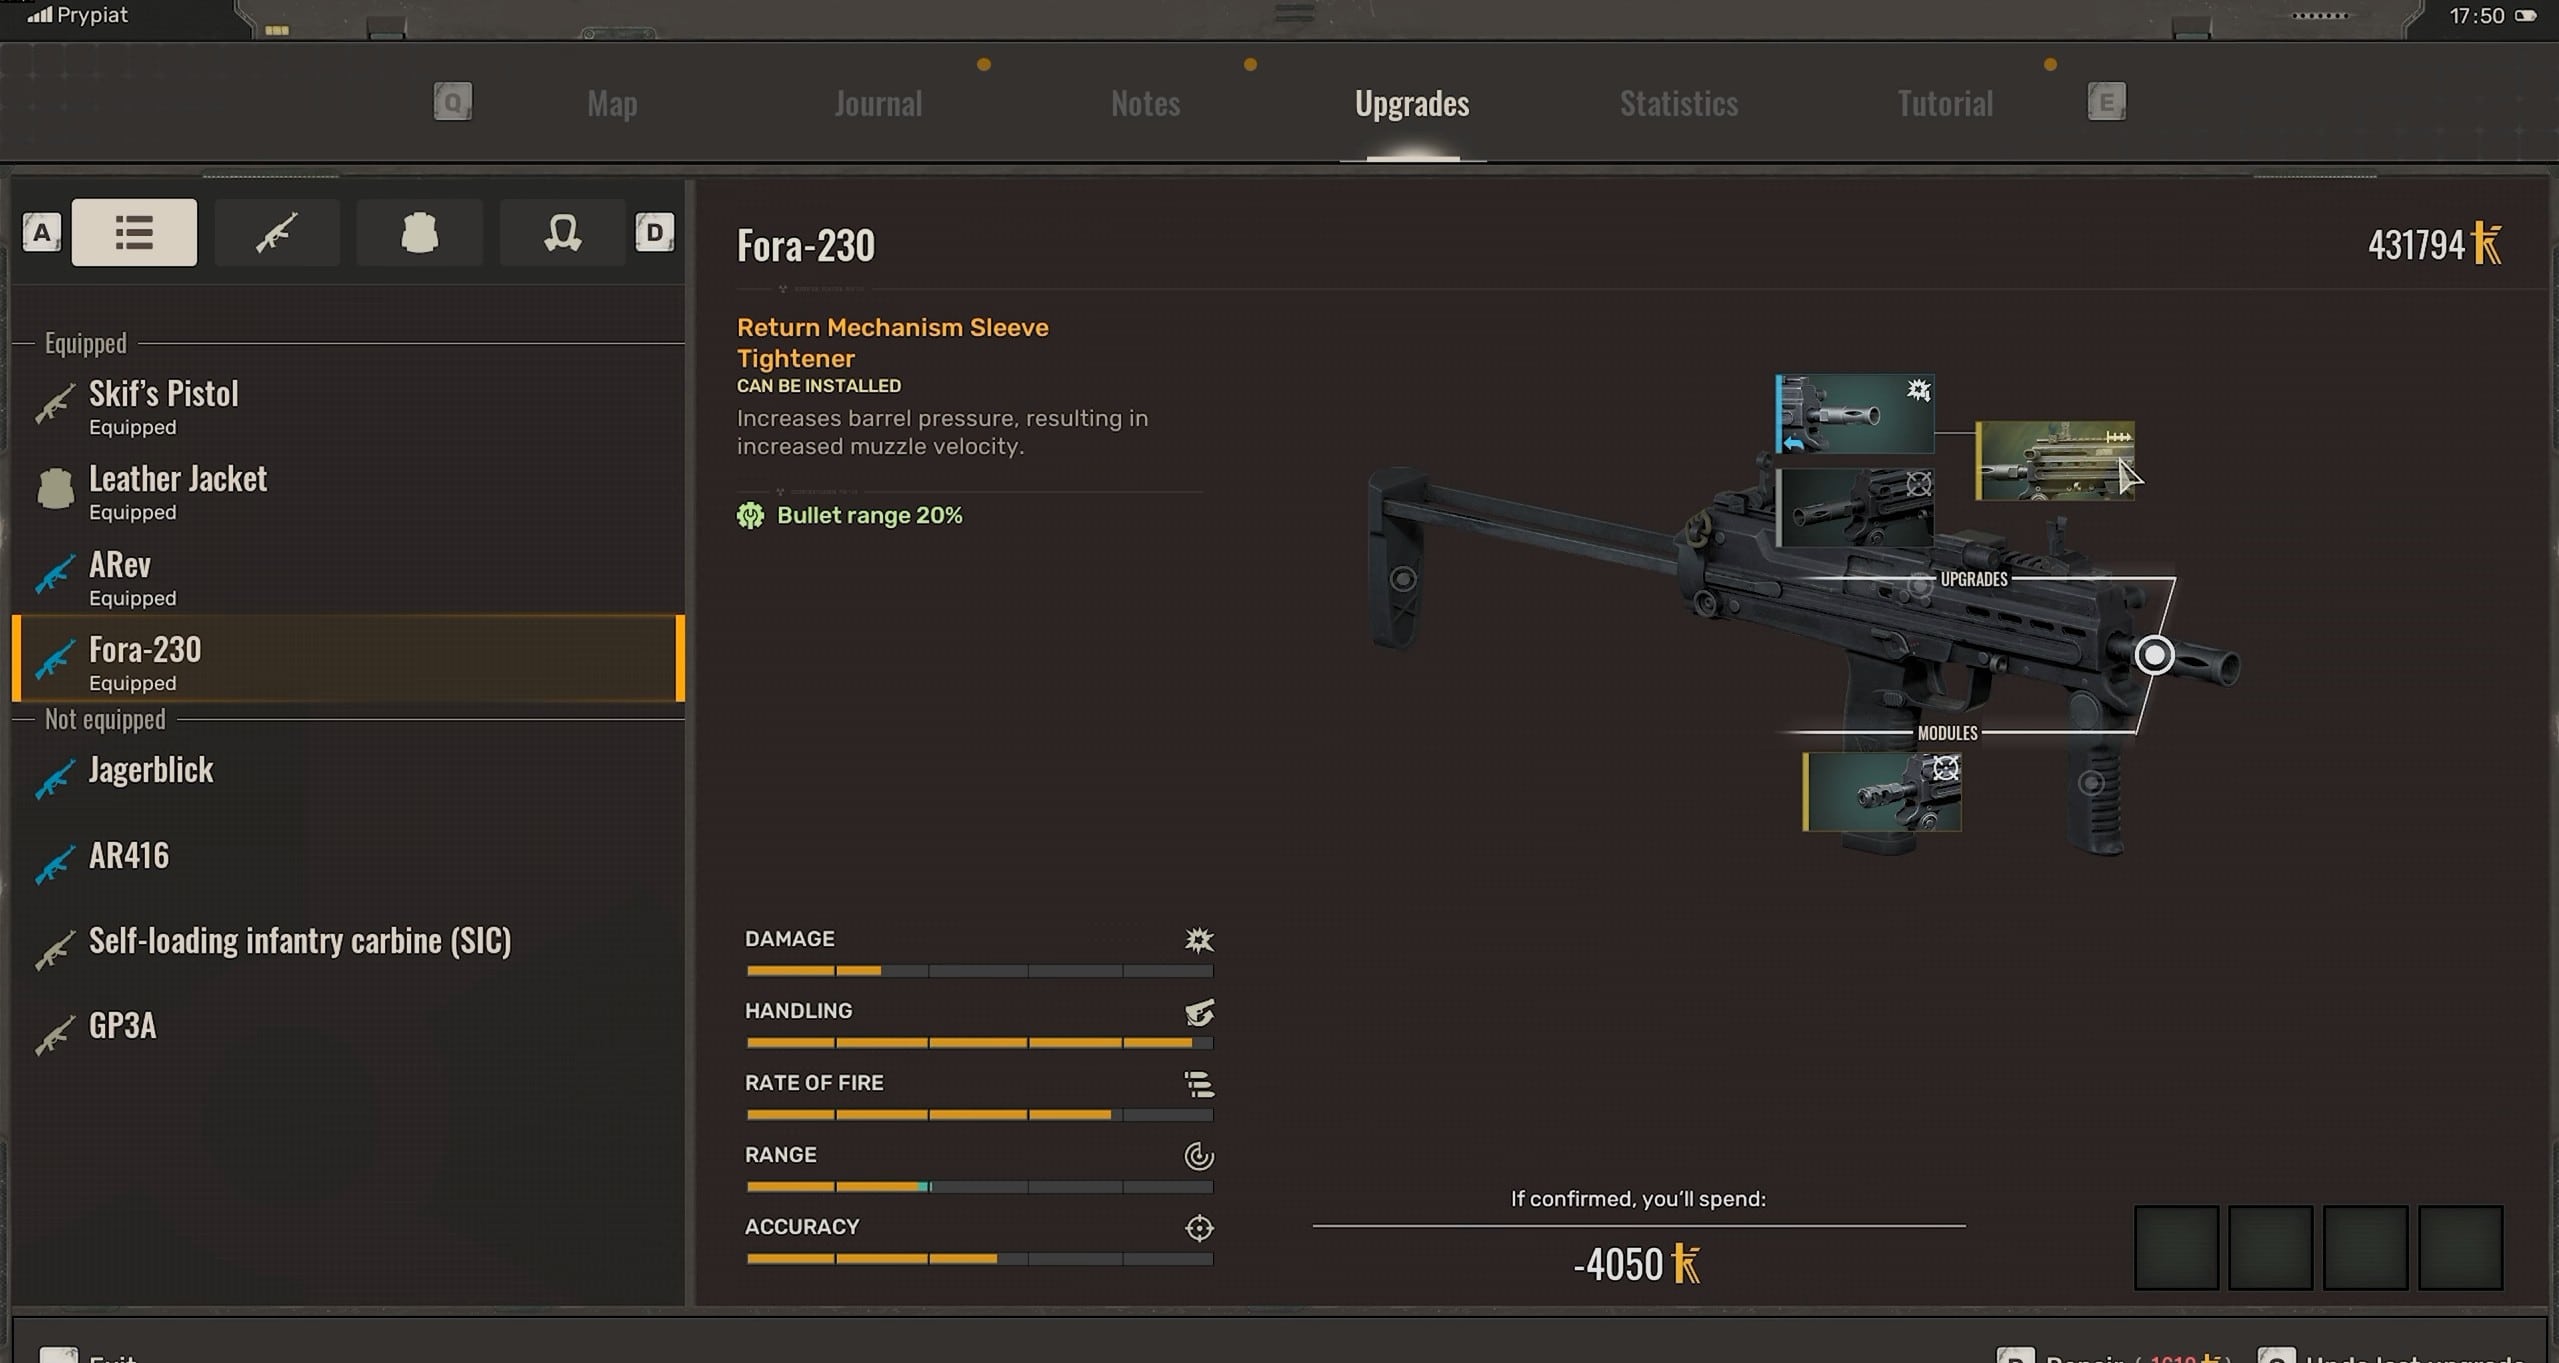
Fora-230
The Fora-230 is the new 9x19mm SMG. Unlike most of the expansion’s named weapons, there is no complicated quest requirement involved in obtaining the standard version.
- Travel into the Cordon.
- Enter Rookie Village.
- Speak with Sidorovich.
- Check his weapon stock and purchase the Fora-230.
The Fora-230 is also sold at Rostok and Yaniv Station, so you do not need to return to the Cordon later in the game just to buy another one.
6. AKM-9B Location
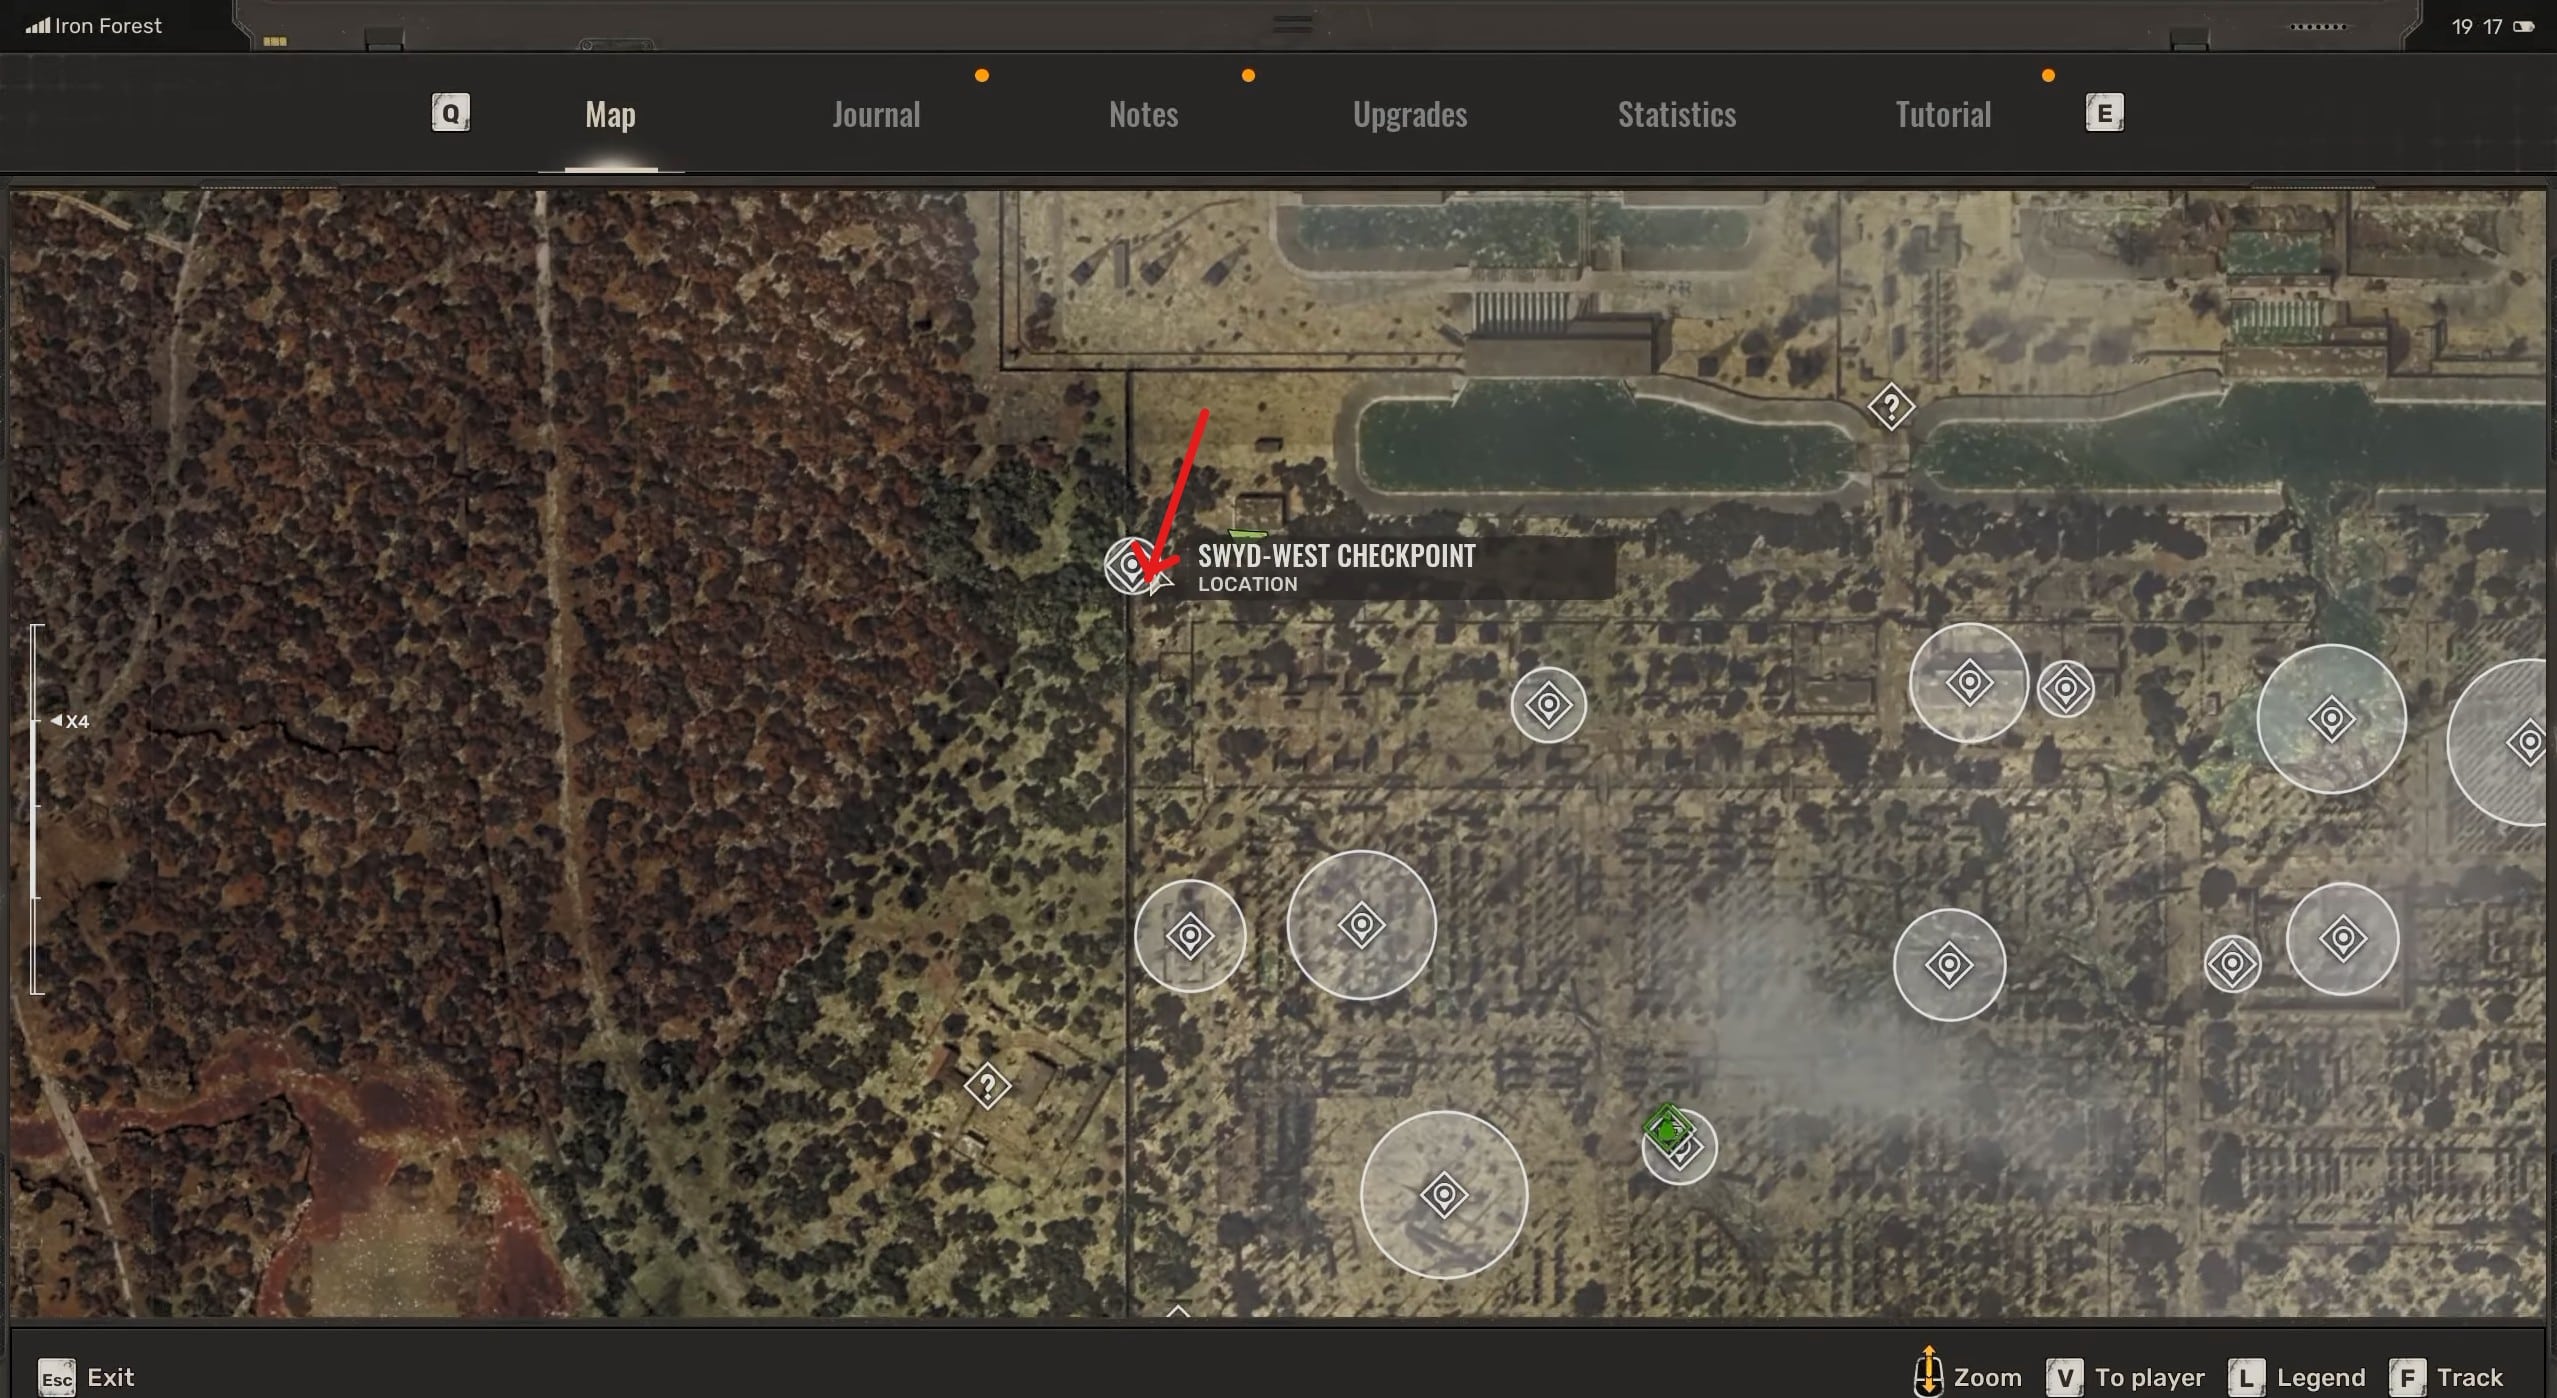
AKM-9B Location
The AKM-9B is one of the easiest DLC uniques to miss because it is hidden inside a coded safe rather than awarded through the main story. It is a customized 9x39mm AK-based assault rifle found in the Iron Forest.
- Travel into the Iron Forest.
- Head toward the SWYD-West Checkpoint area.
- Look for the building in the northwestern part of the Iron Forest.
- Find the locked safe inside.
- Enter the code 3456.
- Open the safe and collect the AKM-9B.
The safe also contains additional supplies, but the AKM-9B is the important unique reward. The correct safe code is 3456.
7. Justice Location
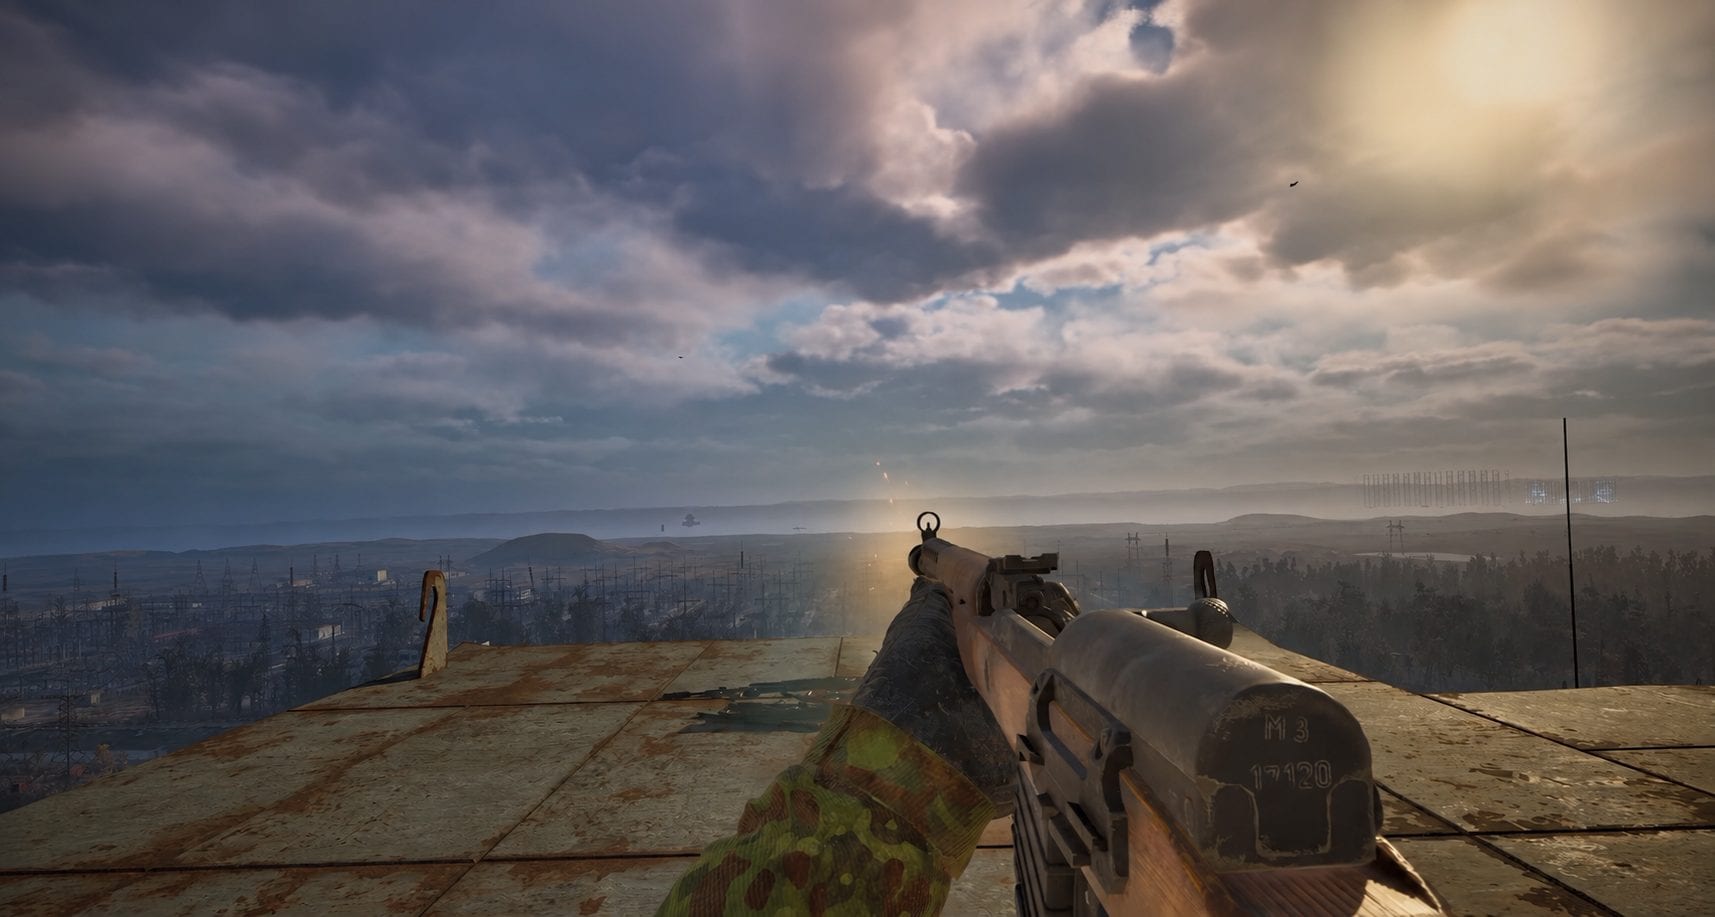
Justice
Justice is the unique version of the new SIC/SKP platform. You obtain it during the Cost of Hope story rather than from a normal world stash.
- Continue Shadows of the Past until the encounter involving General Tachenko.
- Progress through the confrontation until the Shadow Chimera attacks.
- Tachenko drops Justice during the sequence.
- Once the cutscene finishes, look on the ground where the encounter took place.
- Pick up Justice before leaving the area.
- Check around the nearby table for ammunition as well.
Because the gun is physically dropped into the area rather than simply being added to your inventory, make sure you actually loot it before moving on.
8. Leichtfuchs Location
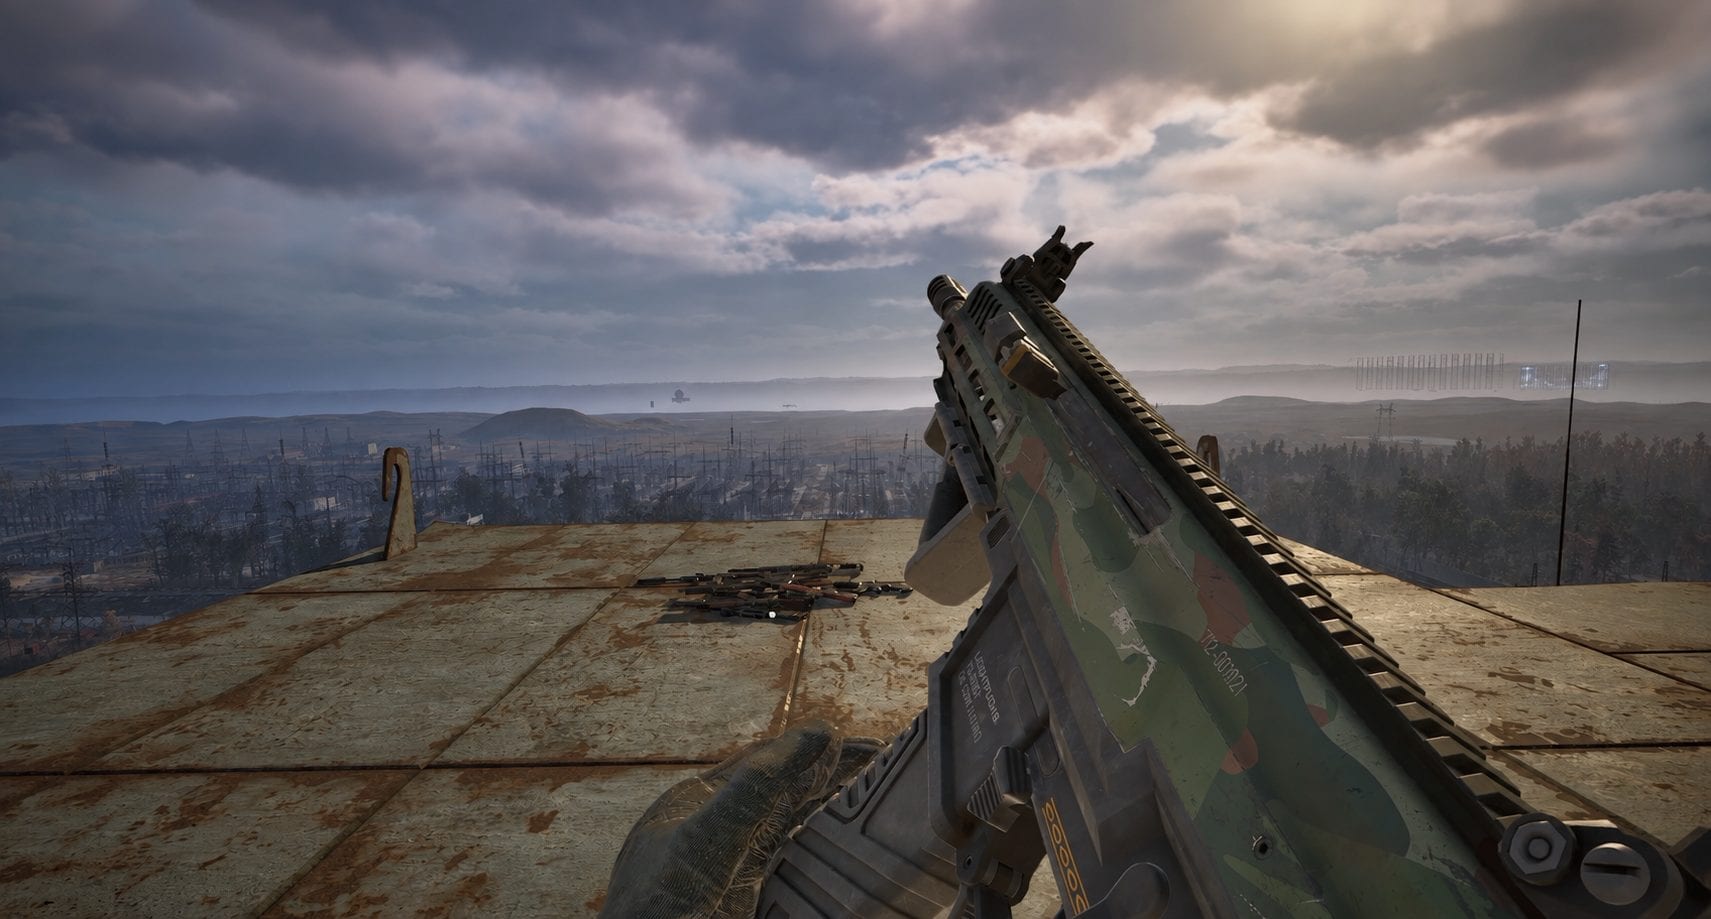
Leichtfuchs
Leichtfuchs is a unique ARev belonging to Myklukha and is tied to the Freedom side of the DLC storyline. You cannot simply visit Rostok and take it before reaching the relevant mission.
- Progress far enough into Cost of Hope to reach Status Quo.
- Follow the route that puts you on Mavka/Freedom’s side.
- The mission eventually takes you to the Arena in Rostok.
- Fight and kill Myklukha.
- Loot Myklukha’s body.
- Take Leichtfuchs from his inventory.
Do not leave the Arena immediately after the fight. The mission walkthrough specifically warns players to loot Myklukha’s unique weapon from his body.
9. Maximum Location
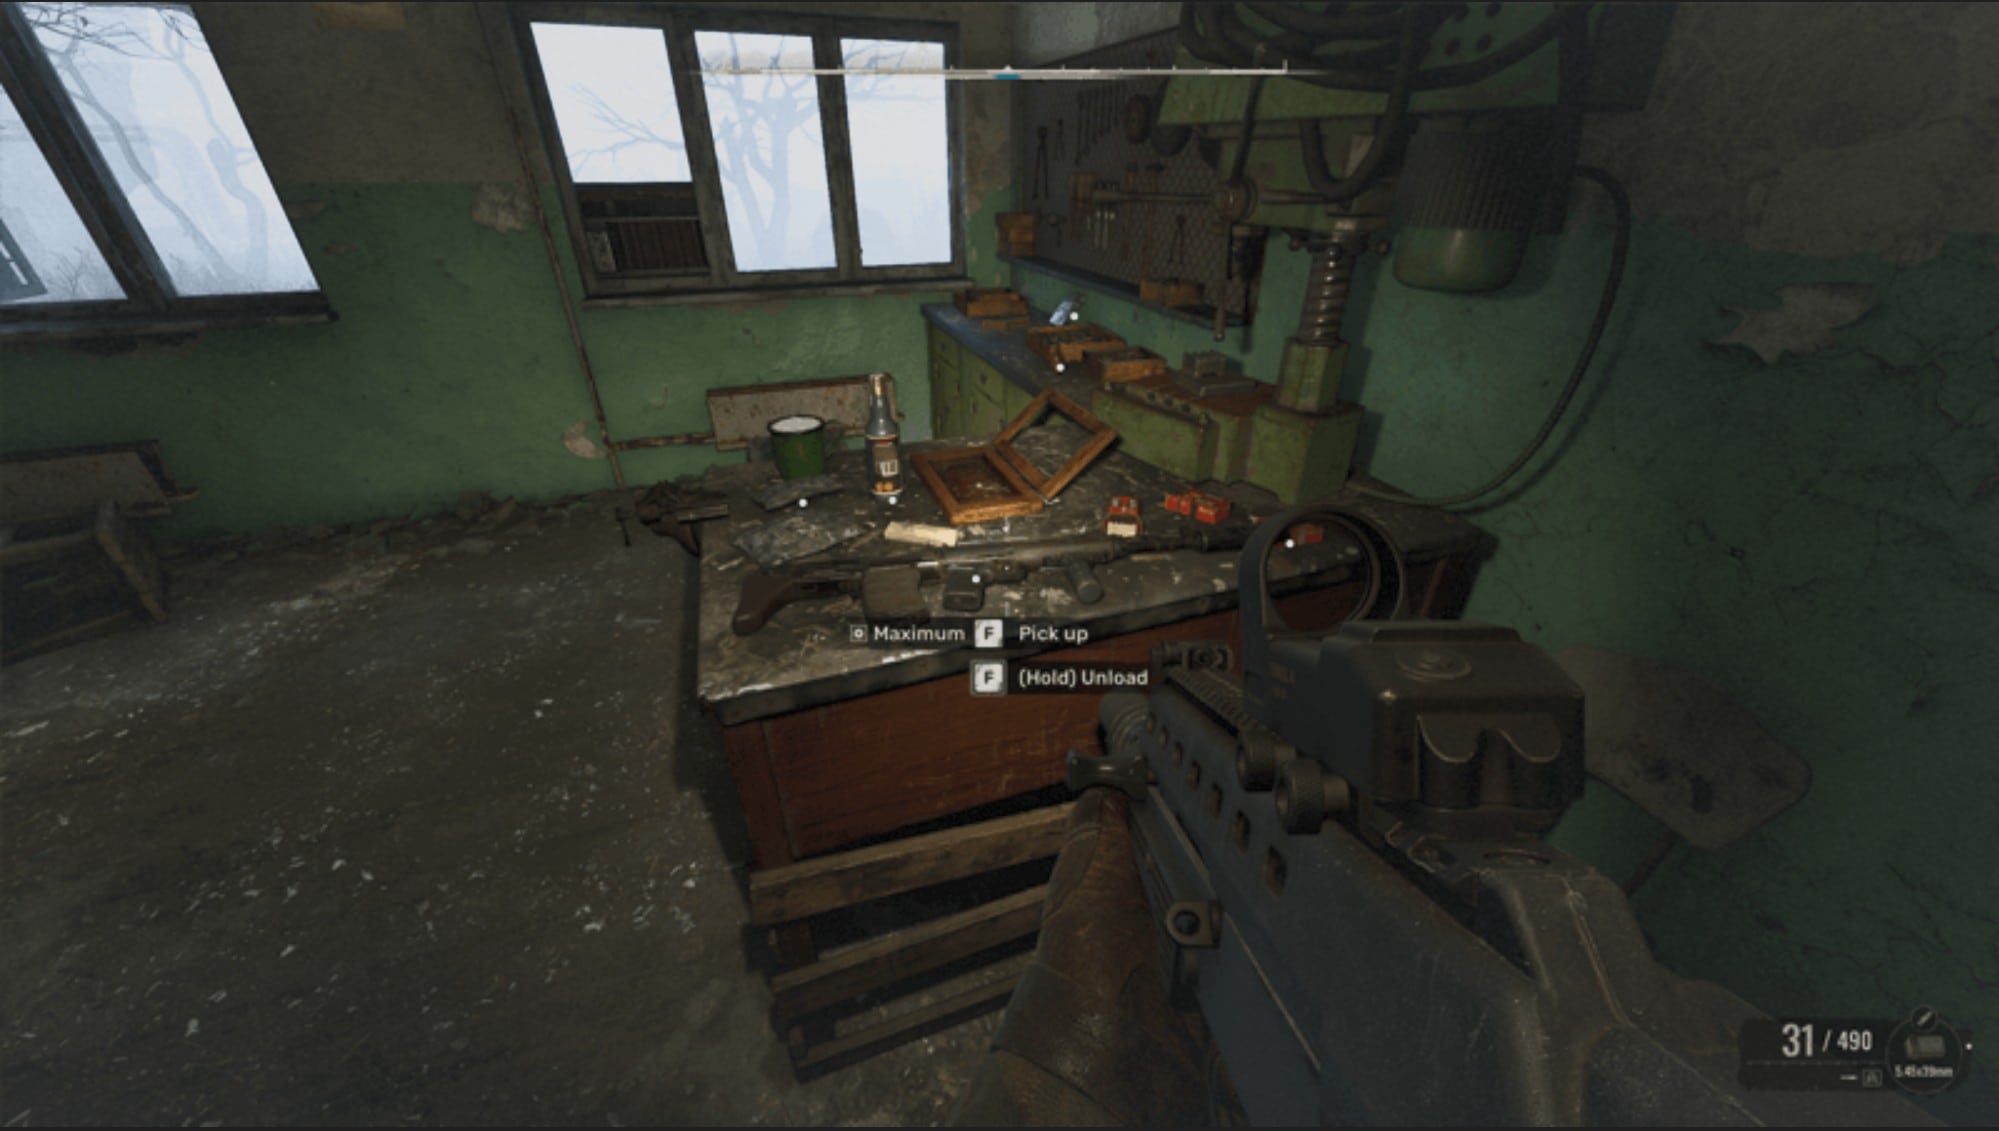
Maximum Location
Maximum is a unique SVU-MK S-3 configuration hidden inside the CNPP. Unlike several later uniques, it does not depend on picking Freedom or Duty. The weapon is inside one of the CNPP Monolith stash rooms.
- Explore the CNPP until you can access the Module IB Building.
- Find the Monolith stash room inside the building.
- Enter the stash room.
- Look for the large safe.
- Check the desk directly in front of it.
- Maximum is sitting on the desk.
10. Jagerblick Location
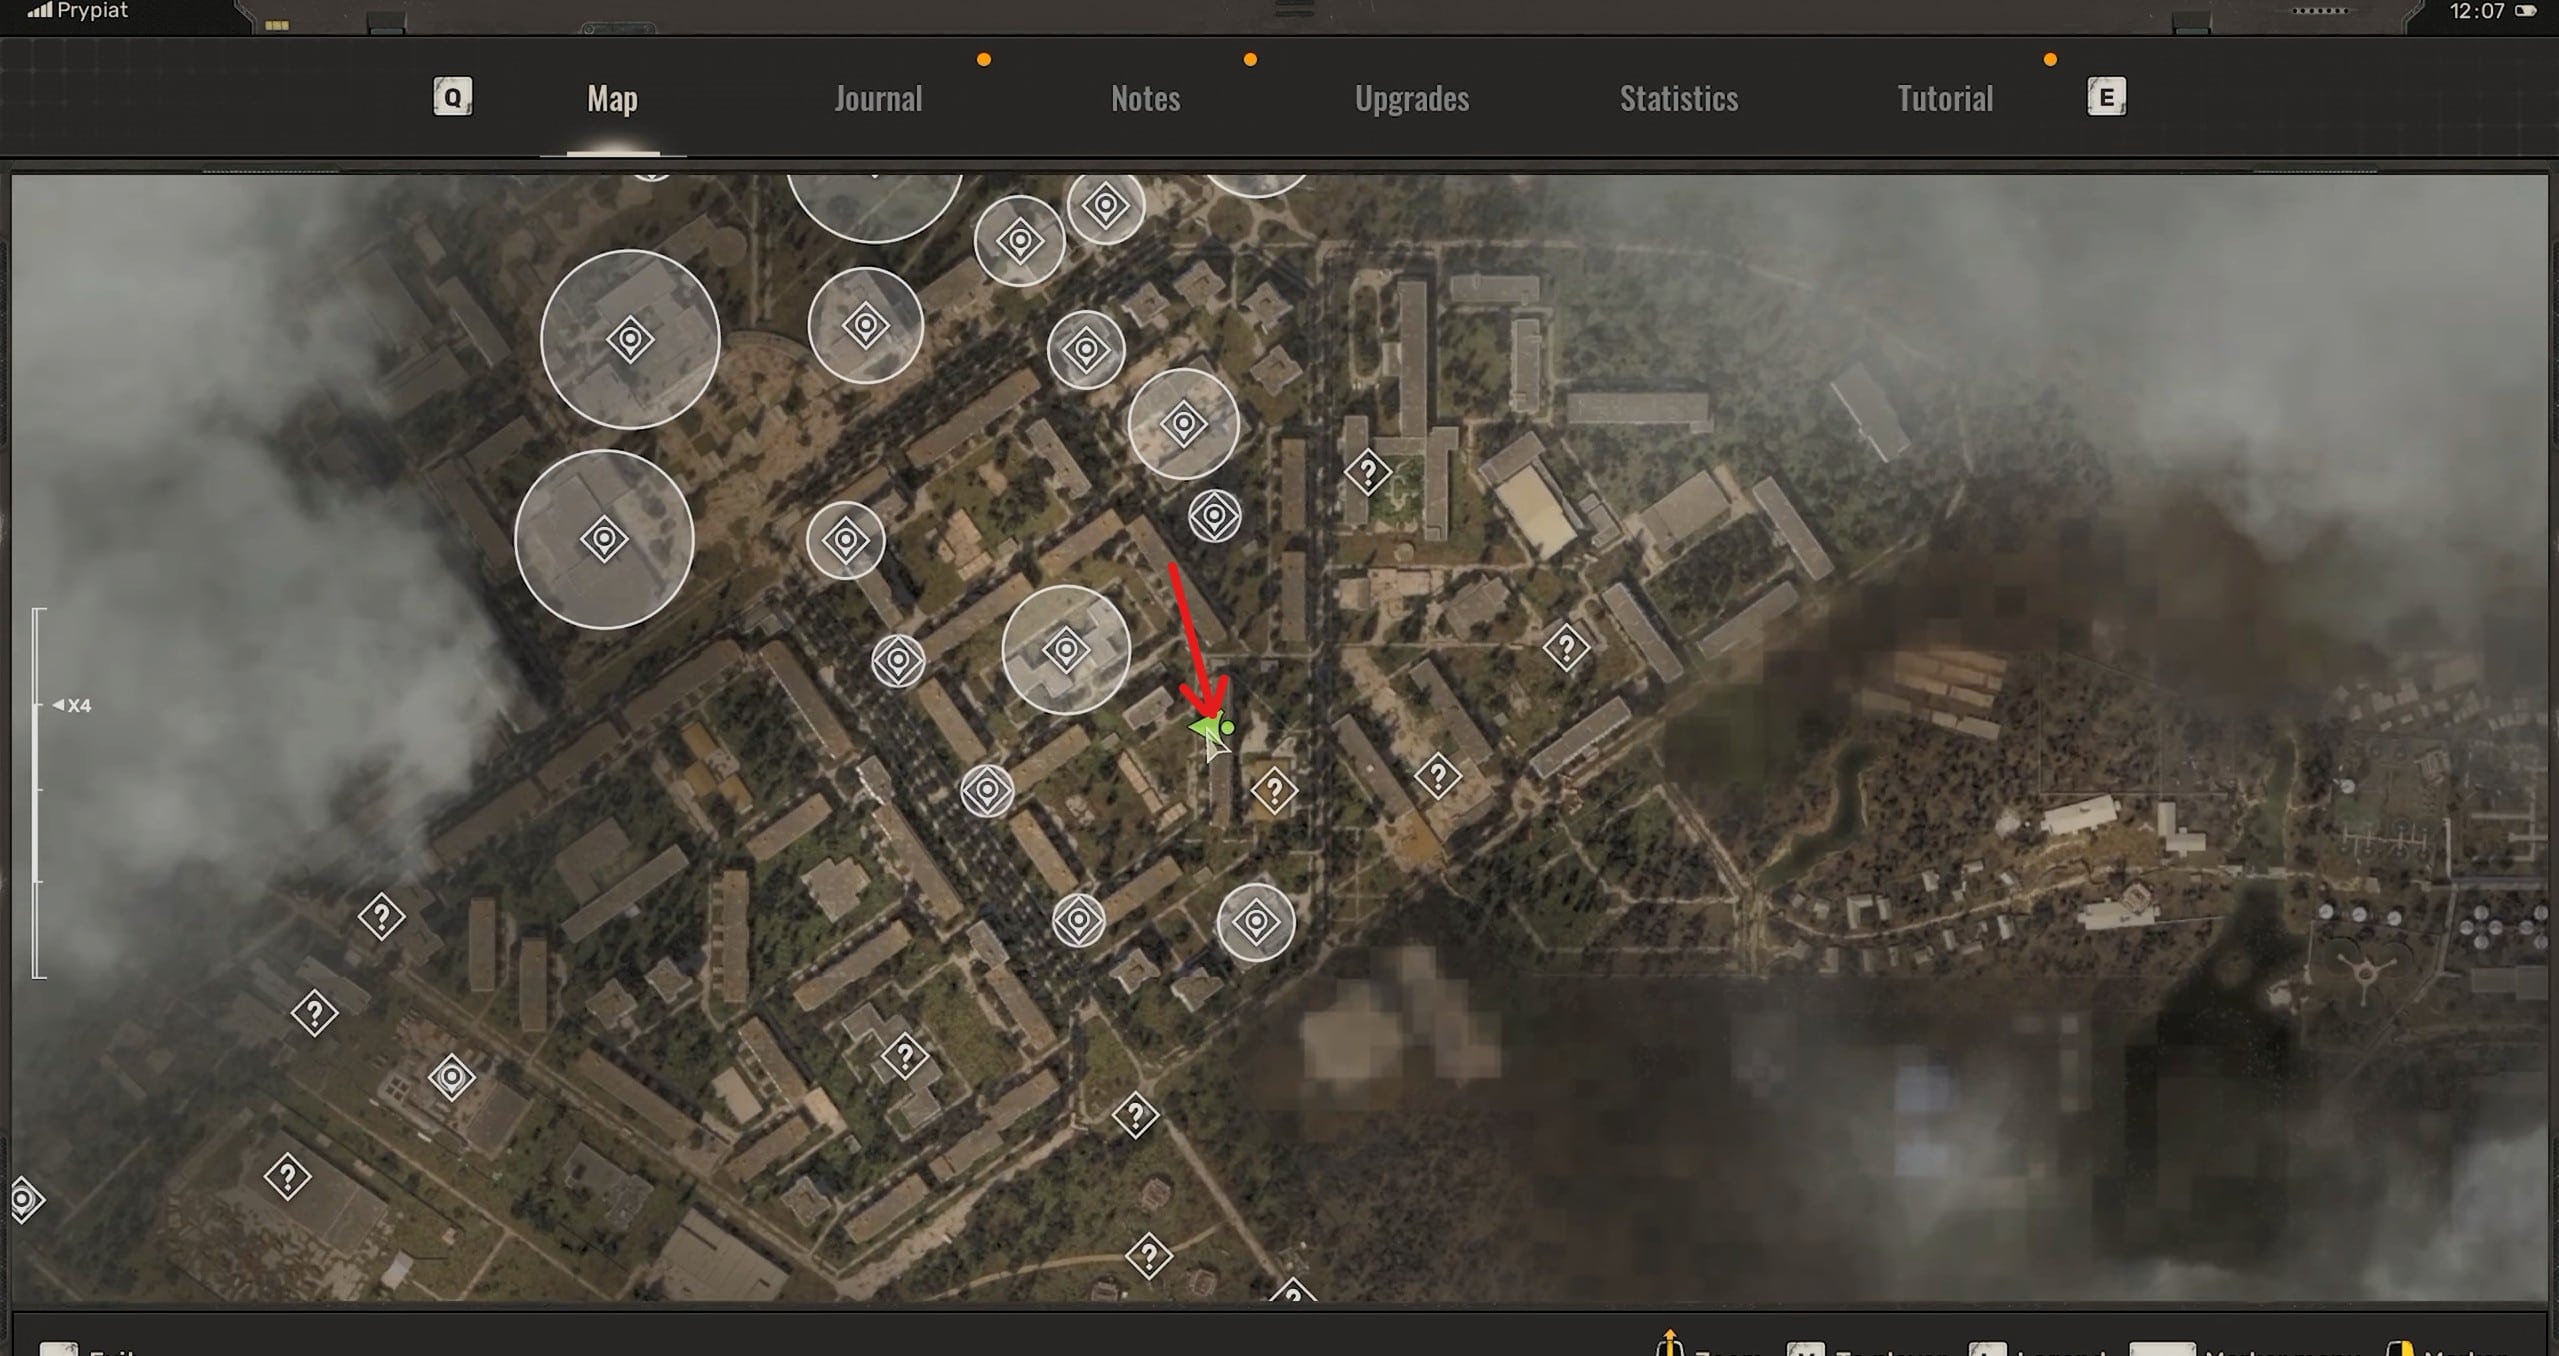
Jagerblick location
Jagerblick is a heavily modified ARev configured for long-range use. It comes with an 8x Storm Falcon scope, suppressor, heavy precision-oriented stock, and other changes, effectively turning the ARev platform into a DMR-style weapon.
- Travel to the Pripyat region and locate the residential building containing the hidden cache.
- Move around to the eastern side of the building.
- Look for a broken section of the wall that you can pass through.
- Enter the building through the opening in the broken wall.
- Find the open doorway inside the room.
- Look at the cabinet directly above the open door and collect Jagerblick from it.
11. Luftgarde Location
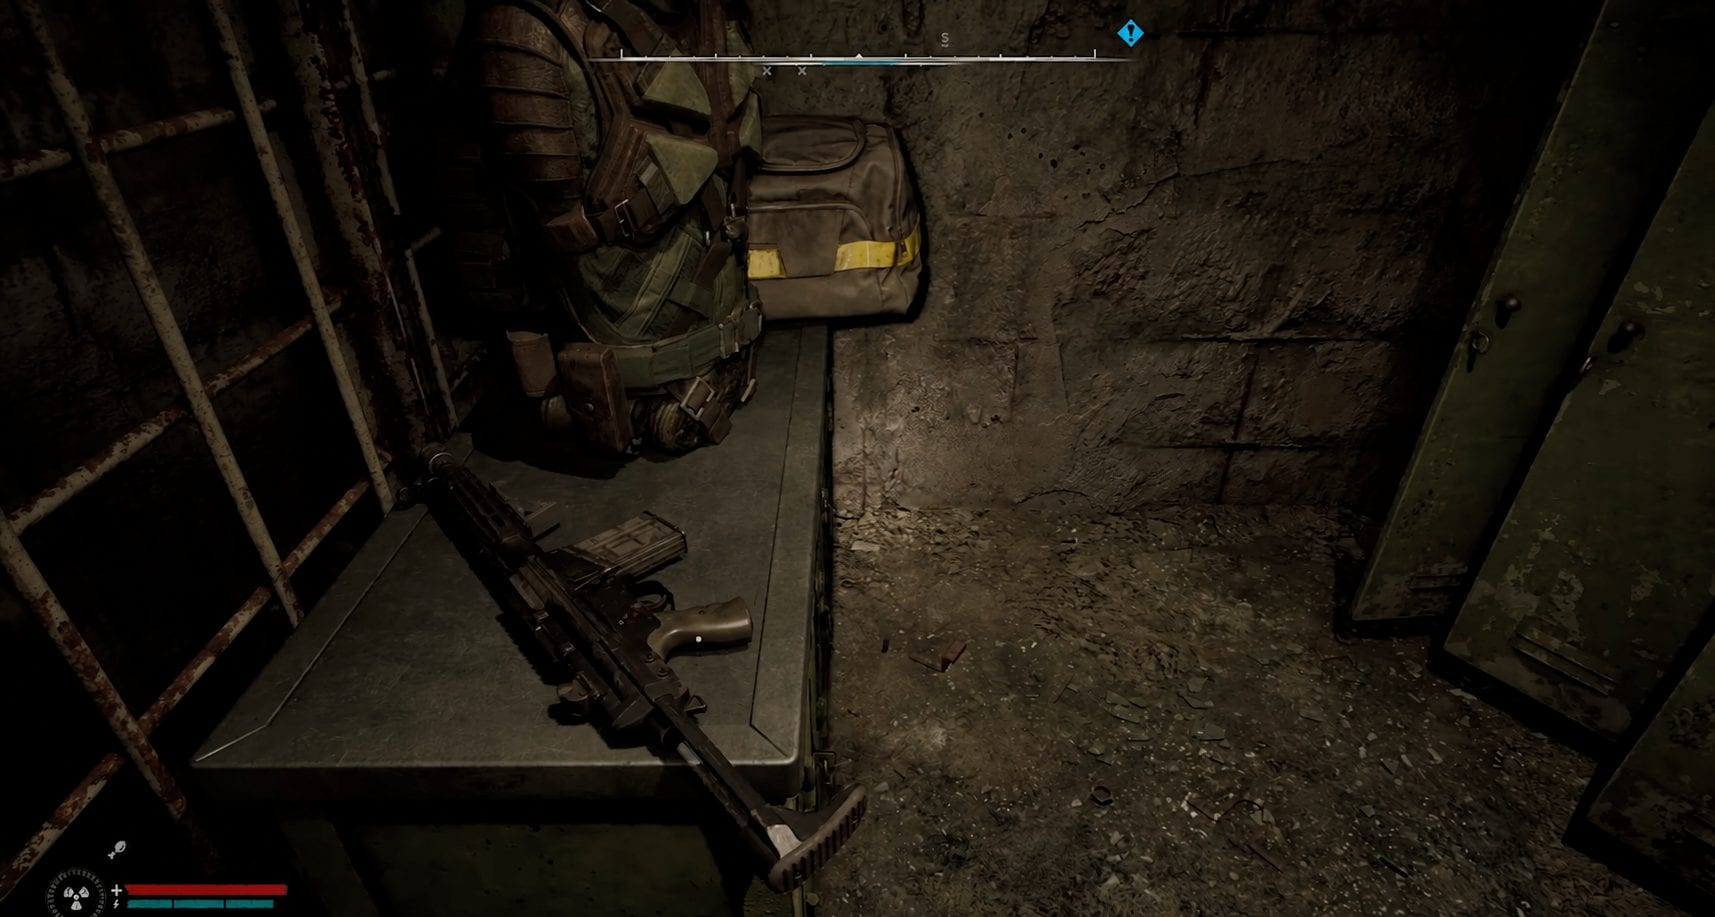
Luftgarde
Luftgarde is a unique GP3A variant found inside a tunnel room in the Iron Forest. The room is blocked by an anomaly, so you first need to obtain and equip the Water Drop anomaly before you can get through the doorway.
- Travel to the Iron Forest and head toward the main building near the DPP-2 location.
- Find the Water Drop anomaly inside the building and shoot it down.
- Follow the Water Drop until it falls within reach, then pick it up.
- Head to the nearby tunnel containing the anomaly-blocked room.
- Equip the Water Drop in one of your artifact slots.
- Pass through the blocked doorway and enter the small room inside.
- Collect Luftgarde from the table in the room.
12. Warszawa Location
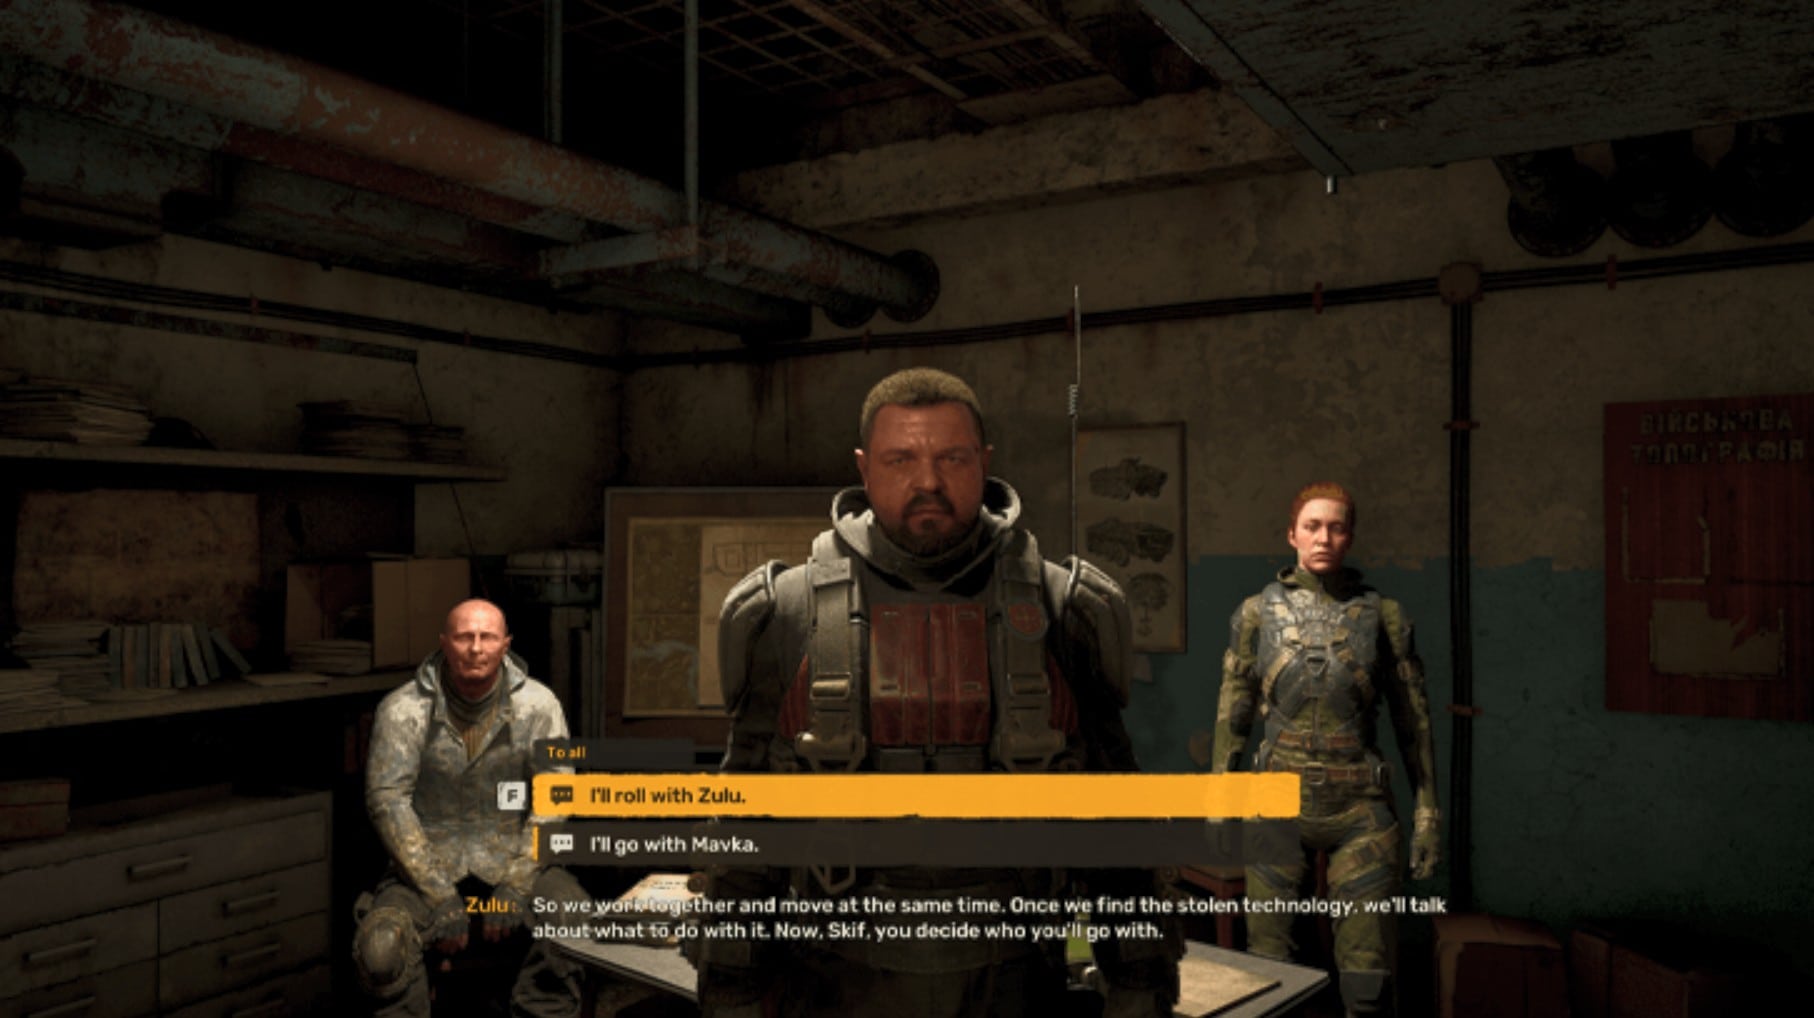
Side with Zulu
The Destructive Power of the Mind contains one of the most important weapon decisions in the entire expansion. The first choice between Zulu’s and Mavka’s approaches determines whether you receive Warszawa or Clapper, so save before making it if you want to record or collect both on separate saves.
Warszawa is another unique ARev and is obtained by working with Zulu during the opening part of The Destructive Power of the Mind.
- Start The Destructive Power of the Mind.
- Speak with both faction leaders and hear their plans.
- When asked whose approach to follow, choose “I’ll roll with Zulu.”
- Continue with Zulu’s louder assault plan.
- Warszawa is awarded as part of this route.
This choice specifically rewards the unique ARev Warszawa.
13. Clapper Location
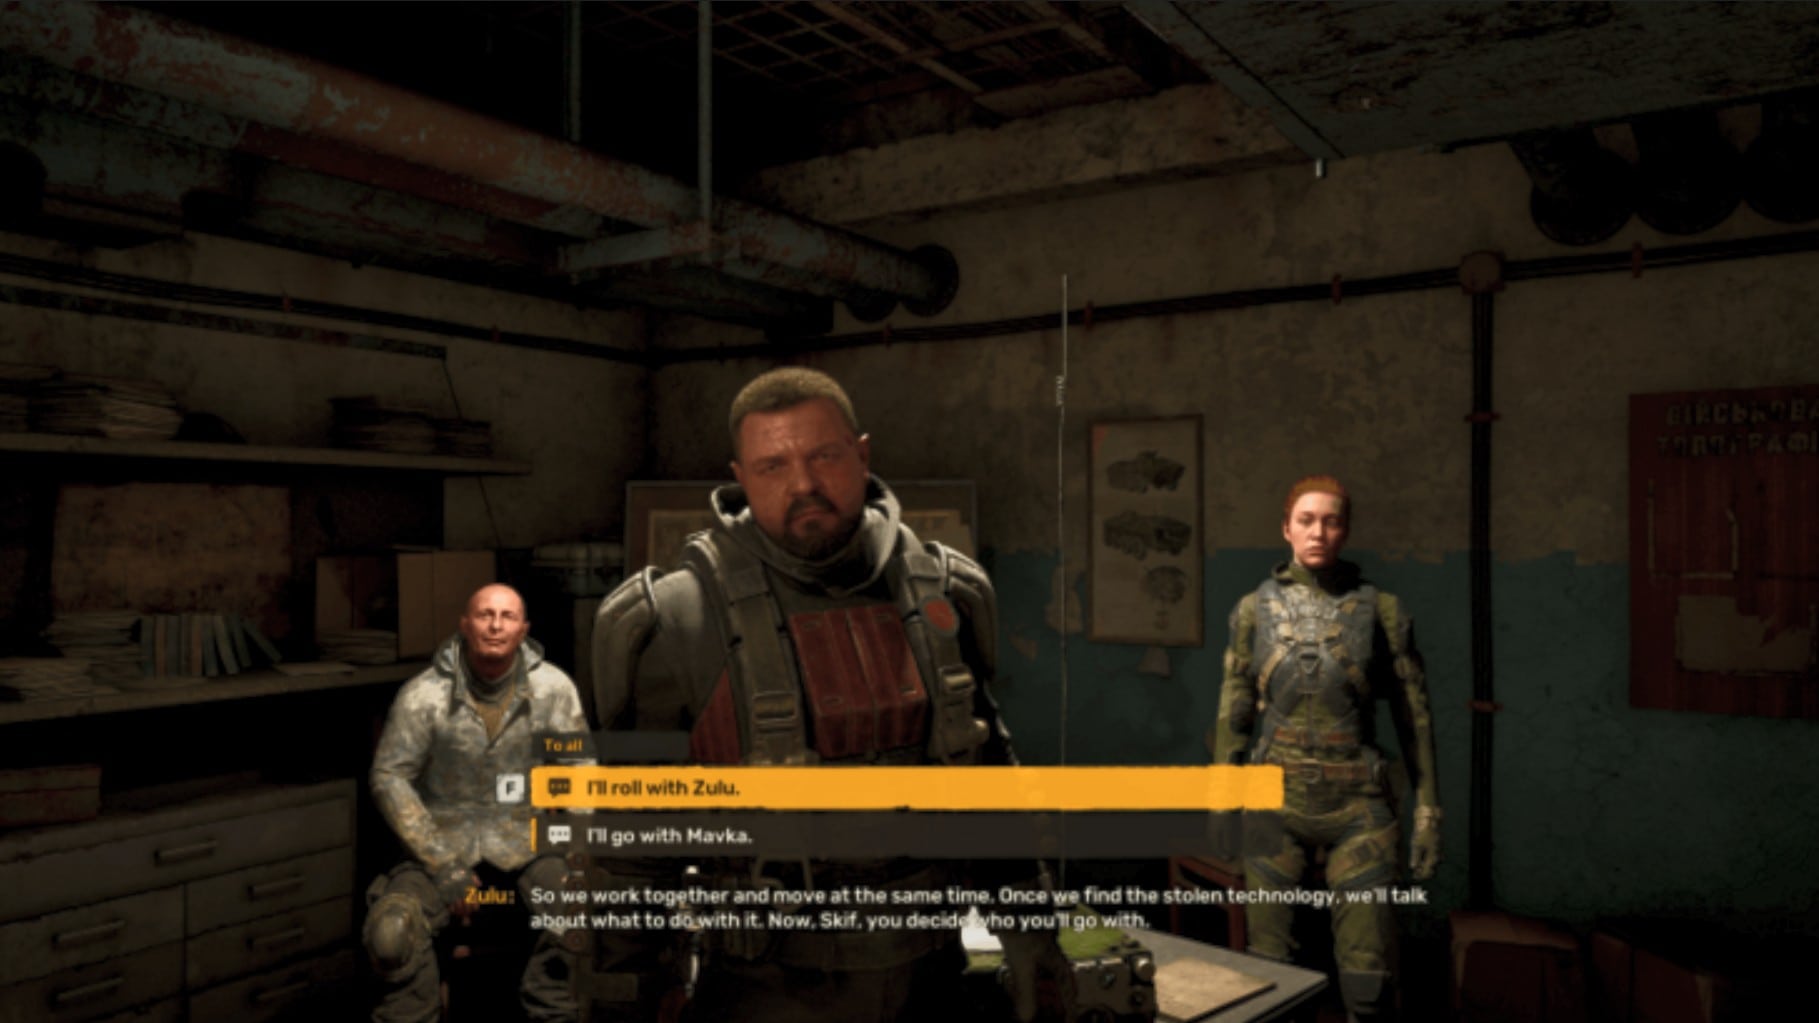
Siding with Mavka
Clapper is the alternative weapon to Warszawa. It is a customized M860 Cracker shotgun obtained by going with Mavka instead of Zulu during the same mission.
- Start The Destructive Power of the Mind.
- Listen to both Mavka and Zulu’s plans.
- Choose to go with Mavka.
- Continue her approach to the mission.
- Receive Clapper as the unique weapon for this path.
Choosing Mavka here means you do not receive Warszawa on that version of the save.
14. Rifled Barrel Location
Rifled Barrel
Rifled Barrel is a named shotgun hidden during the side mission The Forgotten. Do not confuse the weapon with similarly named barrel upgrades elsewhere in STALKER 2.
- Start and progress through The Forgotten.
- Continue until you unlock Otter’s Ventilation Shaft hideout.
- Enter the hideout.
- Locate Otter’s stash/chest.
- Open it and take Rifled Barrel.
15. Guardian Location
Guardian
Choosing the Freedom/Mavka route opens several unique weapons that the Duty branch cannot naturally obtain. These include Leichtfuchs, Guardian, and Freedom’s Bounty, making this route especially important for weapon collectors.
Guardian is a customized Saiga D-12 shotgun associated with Zulu but obtained from Mavka when the Freedom storyline reaches its confrontation with him.
- Side with Mavka/Freedom.
- Continue the DLC storyline until The Price of a Miracle.
- Progress to the confrontation with Zulu.
- Speak with Mavka before the boss fight.
- Mavka gives you Guardian before you fight Zulu.
16. Freedom’s Bounty Location
Freedom’s Bounty
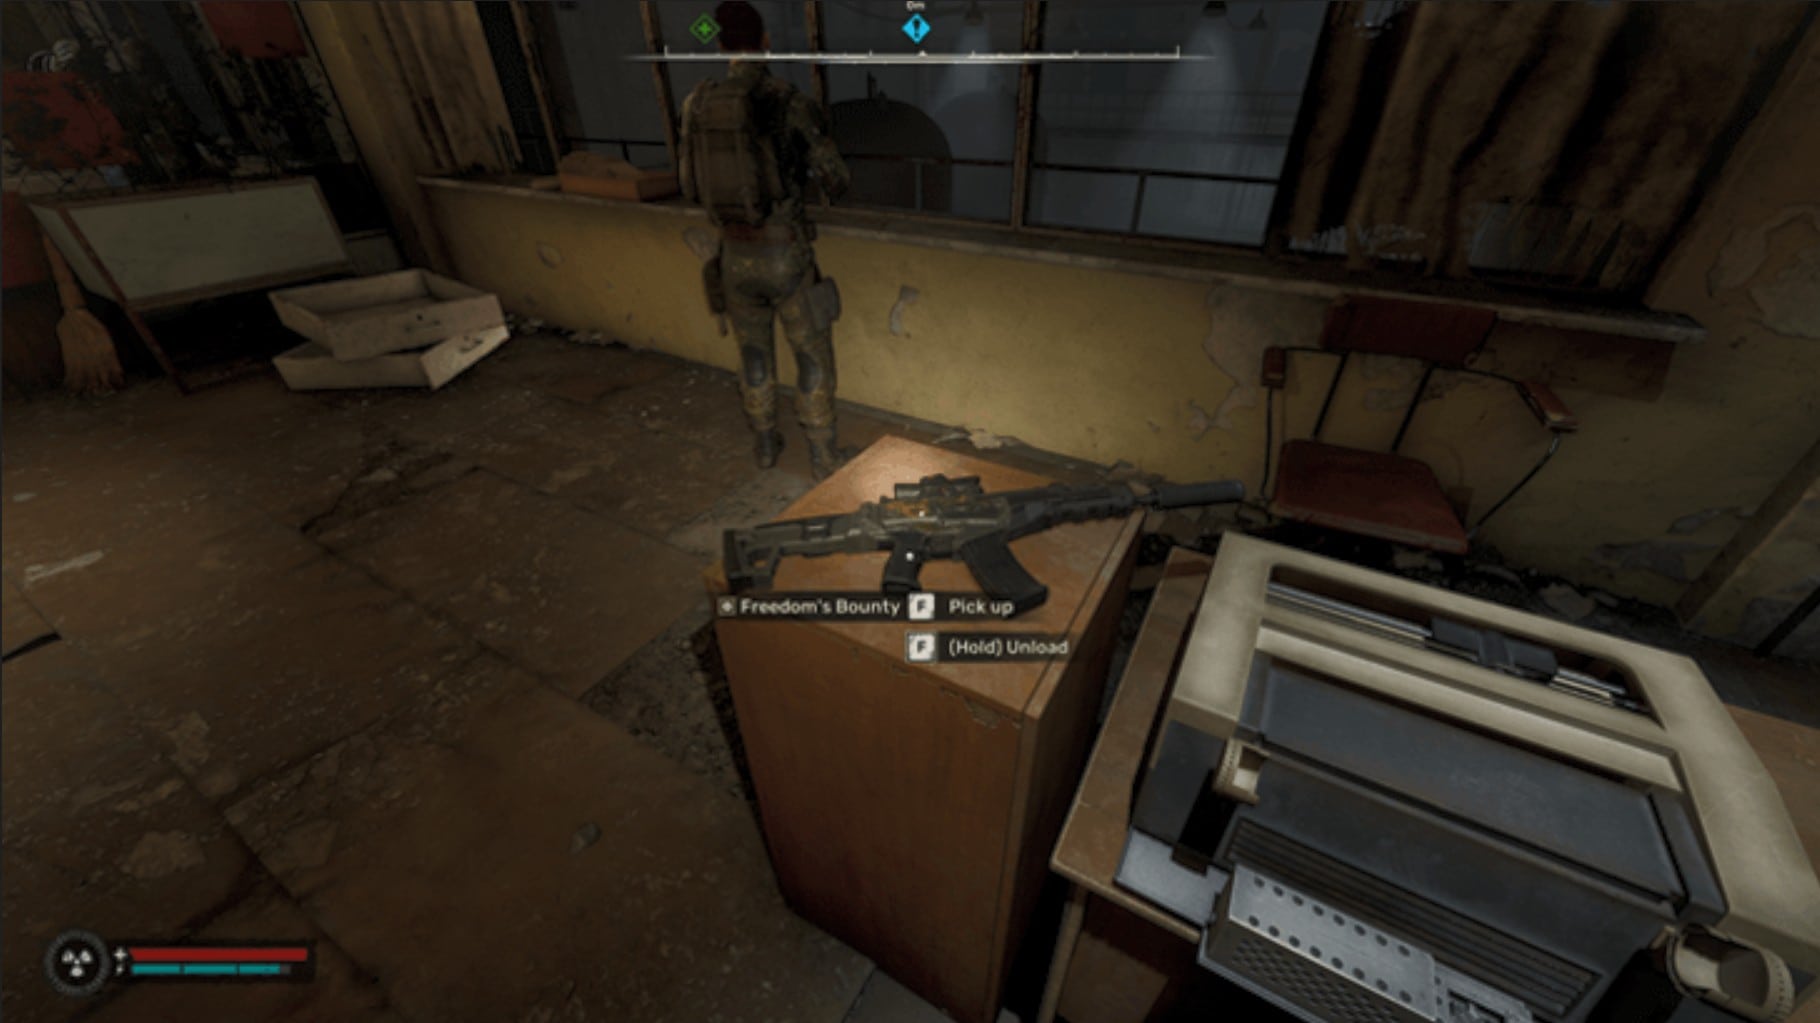
Freedom’s Bounty is the unique version of the Kharod and is one of the final rewards available on the Freedom branch. You must first finish the story on the Freedom side, then complete the post-story side mission Territorial War.
- Follow the Cost of Hope storyline supporting Mavka/Freedom.
- Complete the corresponding Freedom ending.
- Continue into the DLC’s post-game content.
- Start Territorial War.
- Complete the mission for the Freedom side.
- Collect Freedom’s Bounty as the route-specific weapon reward.
The weapon can be found sitting on a small shelf when you reach its reward location.
17. Mriya Location
Mriya Reward
Mriya is Mavka’s customized GP3A/G3 and becomes obtainable when Skif commits to Zulu and Duty.
- Follow the DLC toward the late Mavka vs. Zulu decision.
- Commit to Zulu/Duty.
- Complete the Duty ending.
- Return to the Water Treatment Facility at the CNPP.
- Speak with Zulu.
- Mriya is automatically obtained during this conversation.
18. Stranger’s Rifle Location
Stranger’s Rifle
Stranger’s Rifle is the Duty counterpart to Freedom’s Bounty and is a unique Dnipro obtained through the post-game side content.
- Complete Cost of Hope on the Zulu/Duty route.
- Continue playing after the DLC ending.
- Unlock the post-game side mission Territorial War.
- Complete Territorial War while on Zulu’s route.
- Receive Stranger’s Rifle as the Duty-specific weapon reward.
The weapon is explicitly tied to completing Territorial War after siding with Zulu.
Related posts:

 Stalker 2 Receives First Major Patch
 6 Ways to Fix Stalker 2 Crashing with the LowLevelFatalError on Windows PCs
 Where Winds Meet – Mirage Boat Mount, Cost and Painted Cruise Event Complete Guide
 Doom Eternal Free: Experience the Intense Action at No Cost
 The First Descendant | How to Beat the Death Stalker Void Intercept Boss