Puzzle names are mostly community labels because the game does not formally name each challenge, so the descriptions below focus on what each puzzle actually looks like and how to solve it.
For the cleanest playthrough, unlock the Drawbridge, then work through the Red, Green, Yellow, Blue, and Black towers before entering the giant Black Sphere.
1. Opening Area Puzzle Solutions
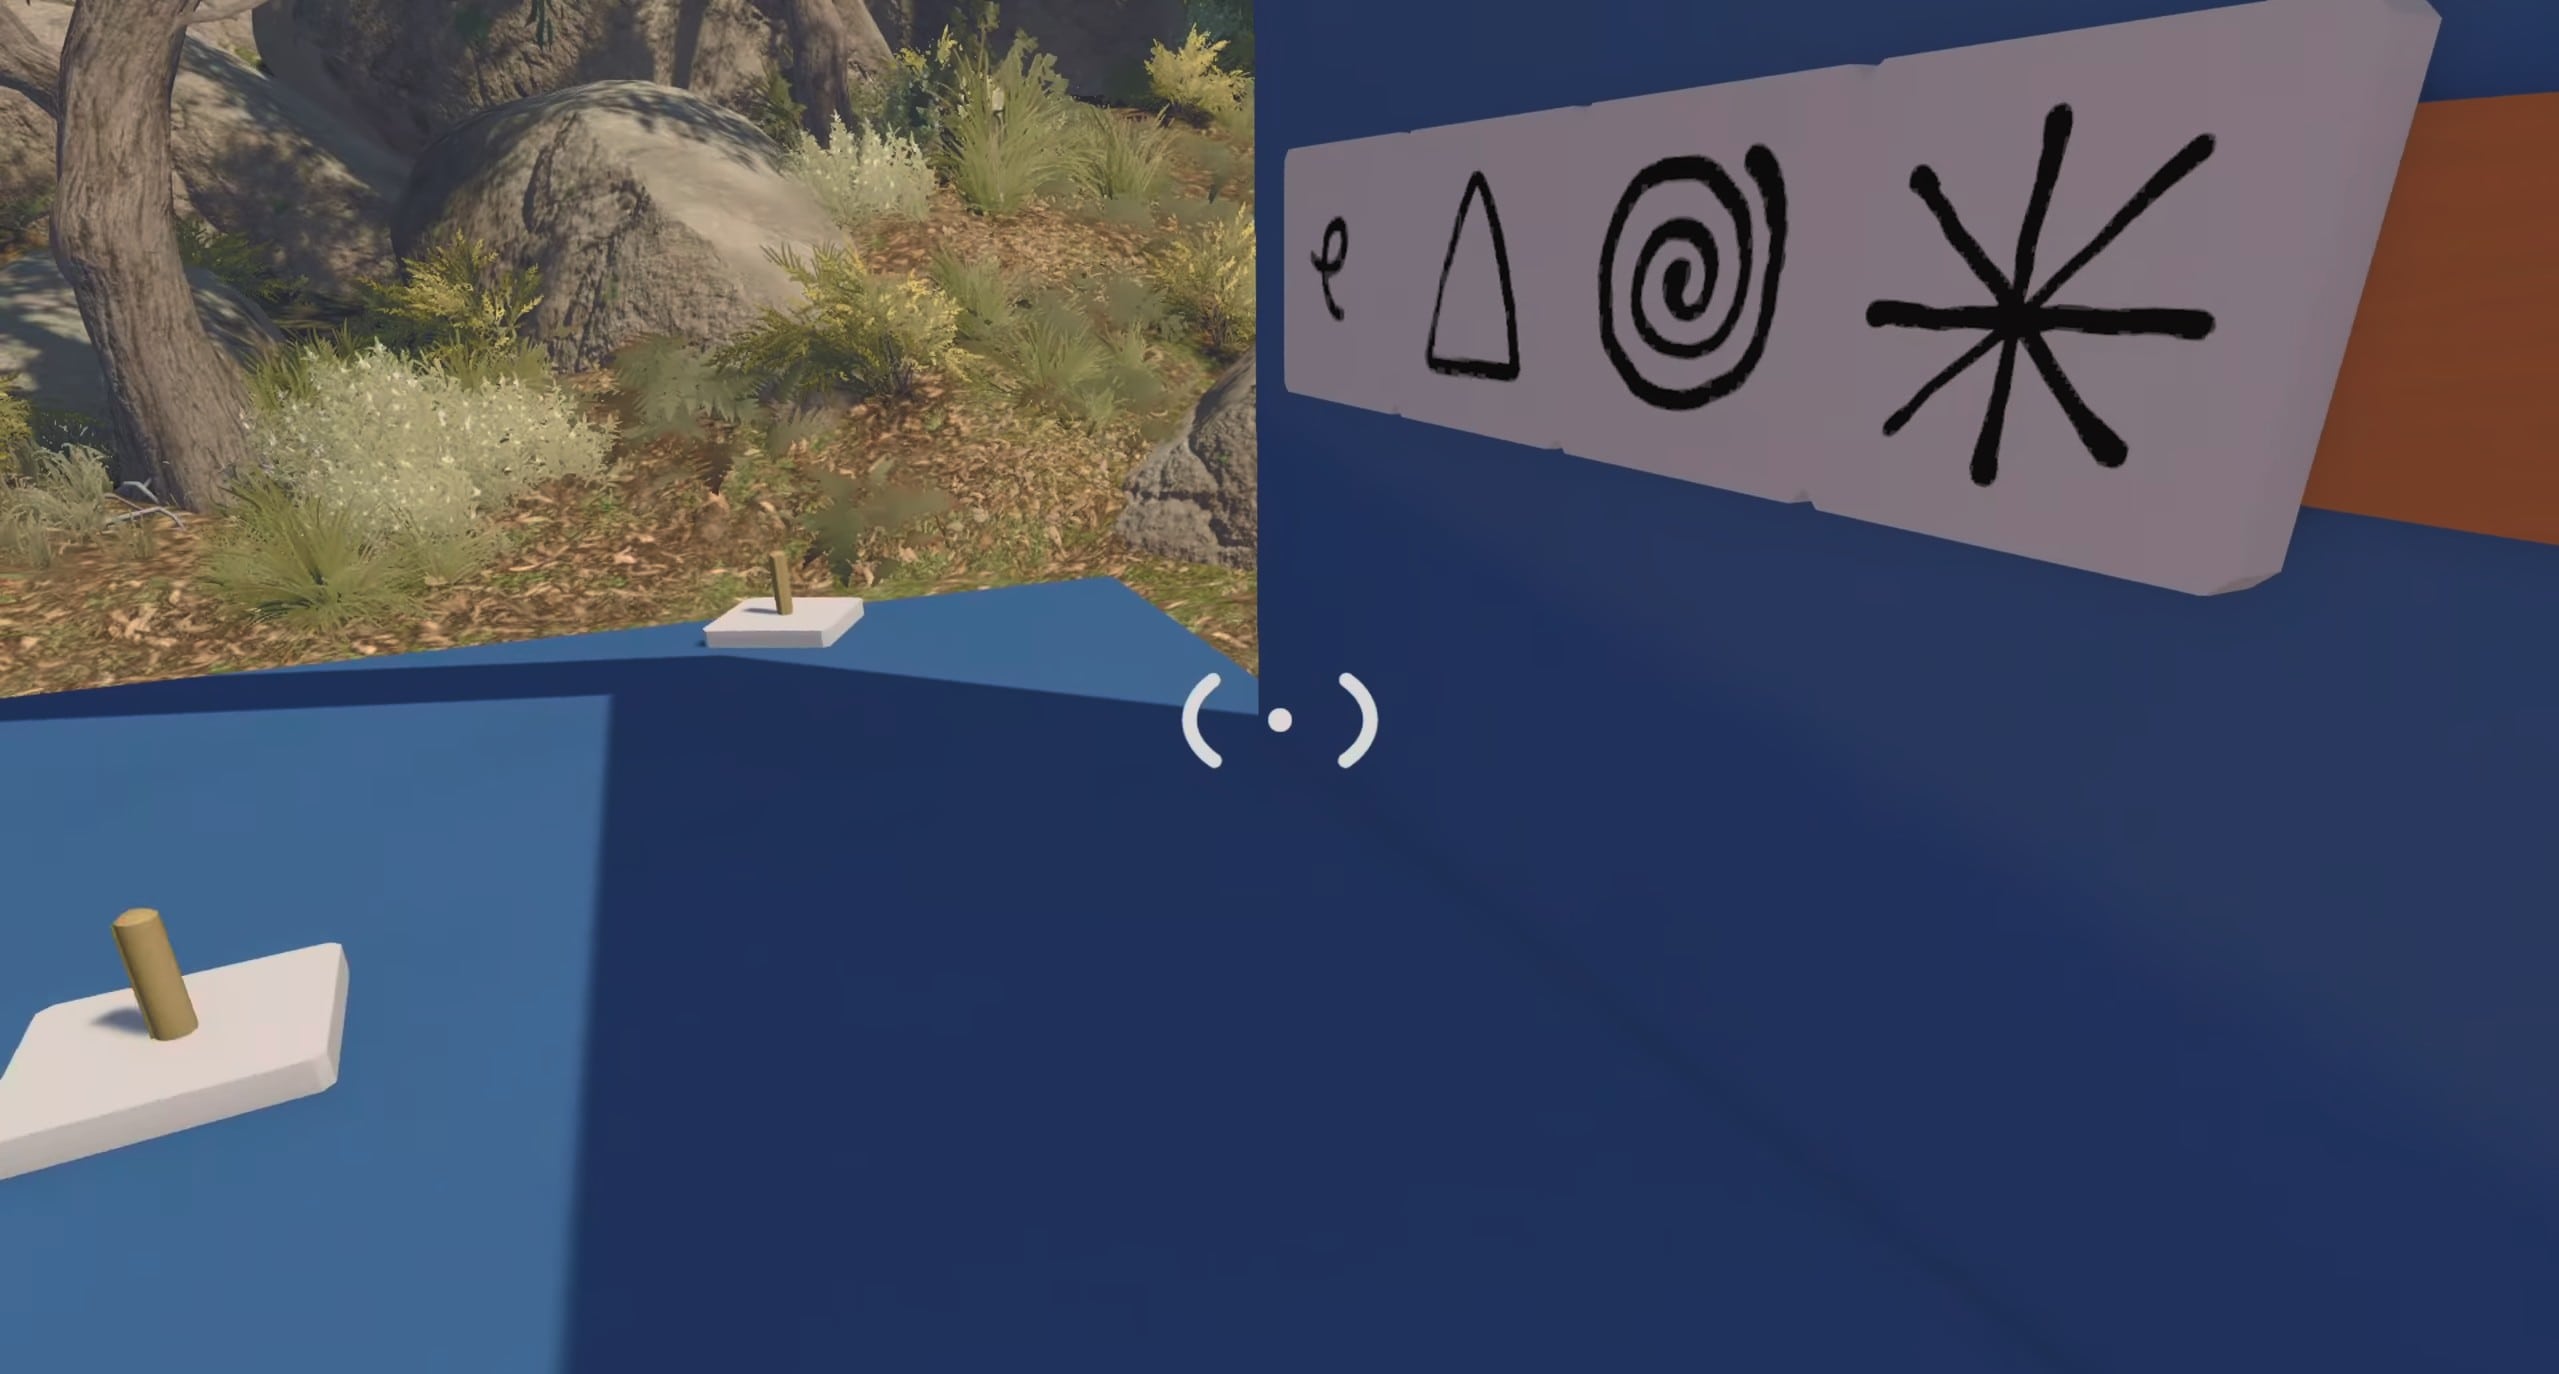
Blue Room Pegboard Puzzle
The first four puzzles teach the core communication mechanics used throughout Big Walk. Complete all four, place their rewards into the opening structure, then take the released key through the nearby key-cutting machines to open the Drawbridge and reach the main island.
| Puzzle | Solution |
|---|---|
| Blue Room Pegboard | One player enters the enclosed room and studies the displayed tile pattern. Describe the positions to the outside player, who recreates the exact arrangement on the pegboard. |
| Green Structure Switches | Put one player at each required switch and press them at the same time. Coordinate with a countdown rather than pressing independently. |
| Mechanical Arm Puzzle | Use each other as platforms to reach the elevated interaction point. Stack players and climb high enough to activate the switch and retrieve the reward. |
| Cave and Telescope | One player stays at the telescope and holds its button. This opens or reveals the remote reward box, allowing another player to collect the gourd. |
2. Red Tower Puzzle Solutions
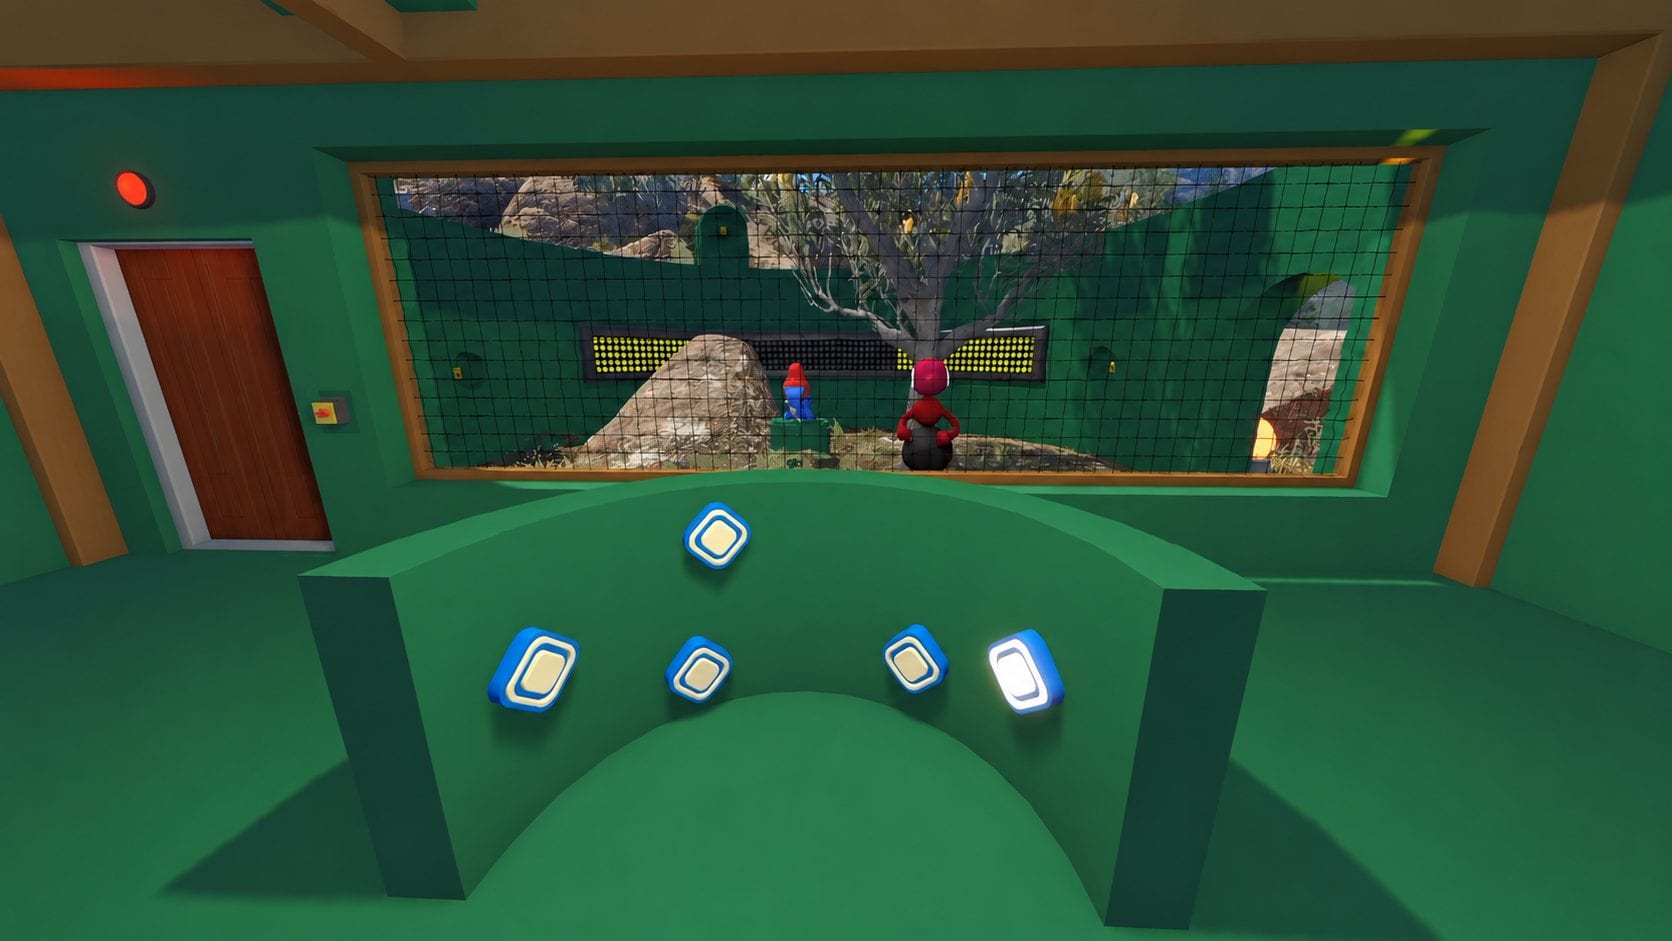
Green Room Symbols Puzzle
The Red Tower is the best first major tower because completing it gives access to the Map Room. The portable coordinate map becomes useful for several later puzzles, especially the 4166, 1899 challenge. Complete five red puzzles, place their rewards at the tower, then finish the key-cutting route.
After collecting five rewards, place them into the Red Tower.
| Puzzle | Solution |
|---|---|
| Green Room Symbols | One player goes inside and reads the symbols shown there. The outside player presses the matching symbols in the same sequence. |
| Yellow Maze / Tomato Timer | Split up and move through the separate routes. Pass the timed tomato between players and get it into the green pot before the timer expires. |
| Train Station Cannon | Fire the timed object from the cannon, have another player retrieve or catch it, then move it quickly to the green destination pot. |
| Basketball Court | Pick up the glowing bulbs/balls and throw them through the hoops. Continue until the associated lights are all green. |
| Mountain Gesture Puzzle | One player watches through the telescope while another stands on the distant platforms. Perform the displayed poses and have the observer select the matching gesture cards. |
3. Green Tower Puzzle Solutions
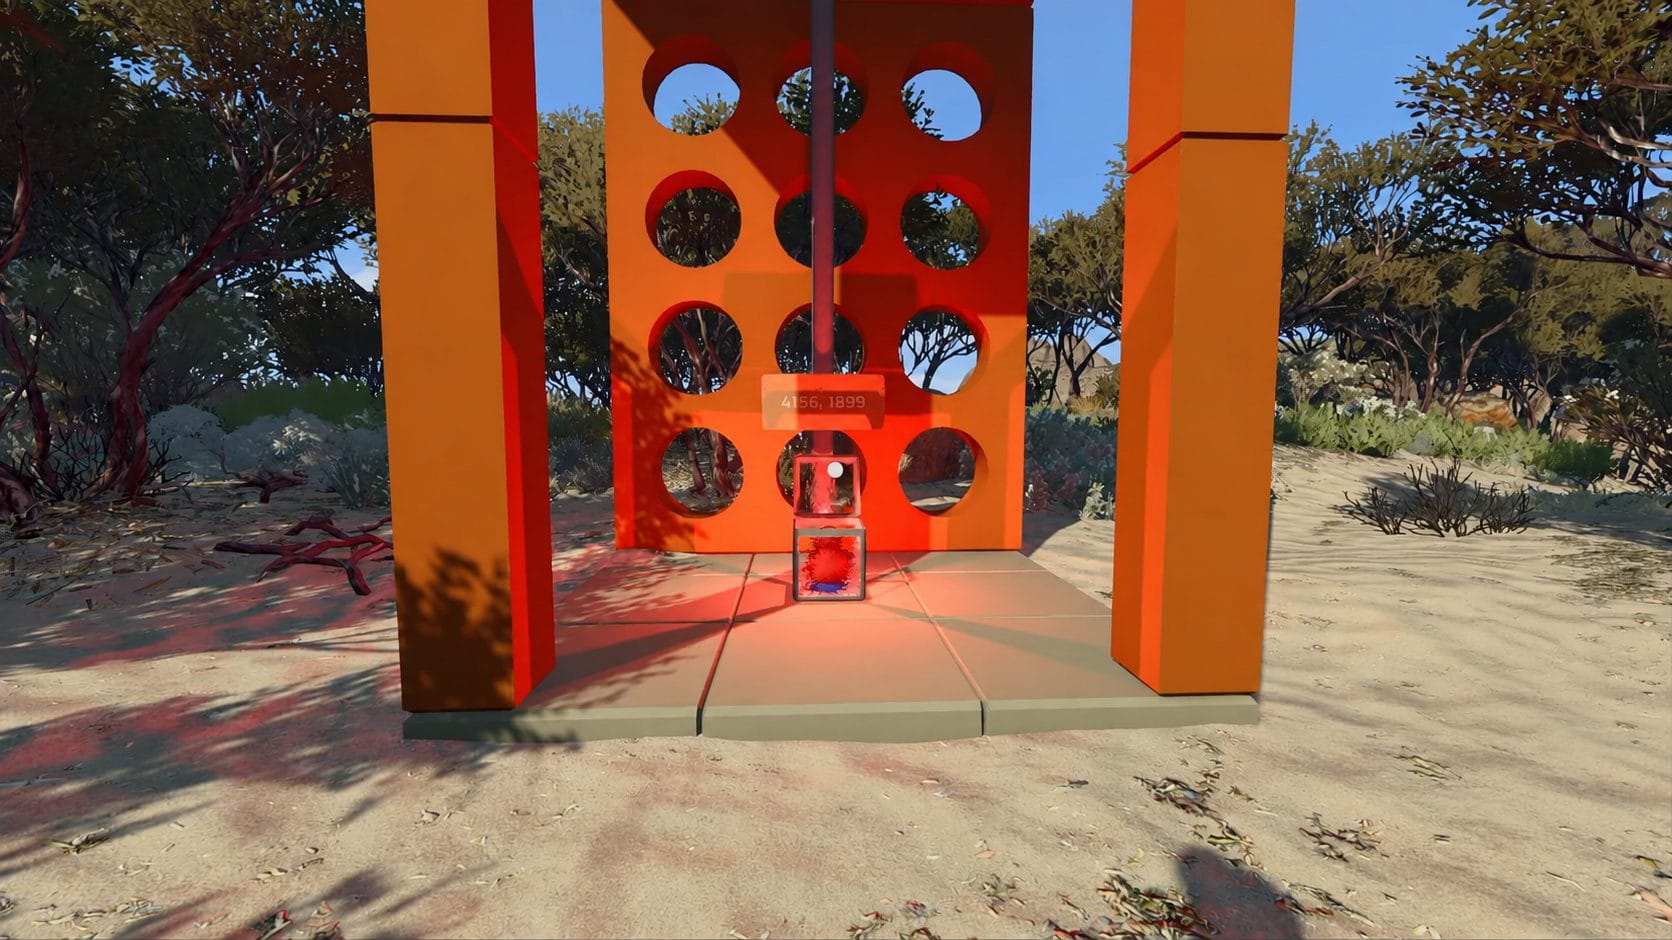
Solving the Number Puzzle
The Green Tower route unlocks the Chairlift, making long trips across the island easier. These puzzles place more emphasis on indirect communication, including situations where normal voice communication is blocked.
| Puzzle | Solution |
|---|---|
| Orange Barn Pattern Puzzle | Press the entrance buttons to trap one player inside. The trapped player finds the hidden switch and sees a tile pattern. Since direct communication is restricted, use gestures or agreed signals so the outside player can recreate the pattern. |
| Blue Signal Counting | Activate the puzzle and count the faces or figures appearing across the blue signals/screens. Enter the total number shown during that round. The answer is randomized. |
| Yellow Stands | Interact only with stands containing a green-glowing item. Choosing a red/wrong stand resets progress. Continue selecting valid stands until the meter reaches 100%. |
| Beach House Number Puzzle | Count the required images in the first house, then use the upstairs symbol values to construct the requested number. Launch the completed board so the second player can read it through the telescope and enter the result. |
| 4166, 1899 Coordinate Puzzle | Leave one player at the locked glass box. Another player uses the map or GPS to reach 4166, 1899, finds the camouflaged button near the curved railway and ski-lift tunnel, and holds it while the teammate collects the reward. |
4. Blue Tower Puzzle Solutions
Tiles Puzzle
The Blue Tower progression unlocks the island’s train network. Its puzzle set includes several communication challenges where one player can see information unavailable to the other, making simple labels such as “1–5” or “left-middle-right” useful before starting.
| Puzzle | Solution |
|---|---|
| Turnstile House | The player on one side sees a randomized sequence of five symbols. Describe them from left to right while the other player selects the matching pieces from the larger set and submits the sequence. |
| Five-Minute Locked Room | Get everyone inside and press the two required buttons to lock the room. Remain inside for the full five-minute countdown. The reward appears when the timer finishes. |
| Obstacle Course / Tomato Timer | Work together through the walls, climbing sections, switches, low passages, and red planks. At the end, pass or throw the timed tomato to the waiting player and place it into the holder before time runs out. |
| Blindfold / Golden Head Course | One player wears the golden headpiece and loses normal visibility. The teammate gives short directions such as left, right, forward, stop, jump, and climb until the blinded player reaches and presses the final red button. |
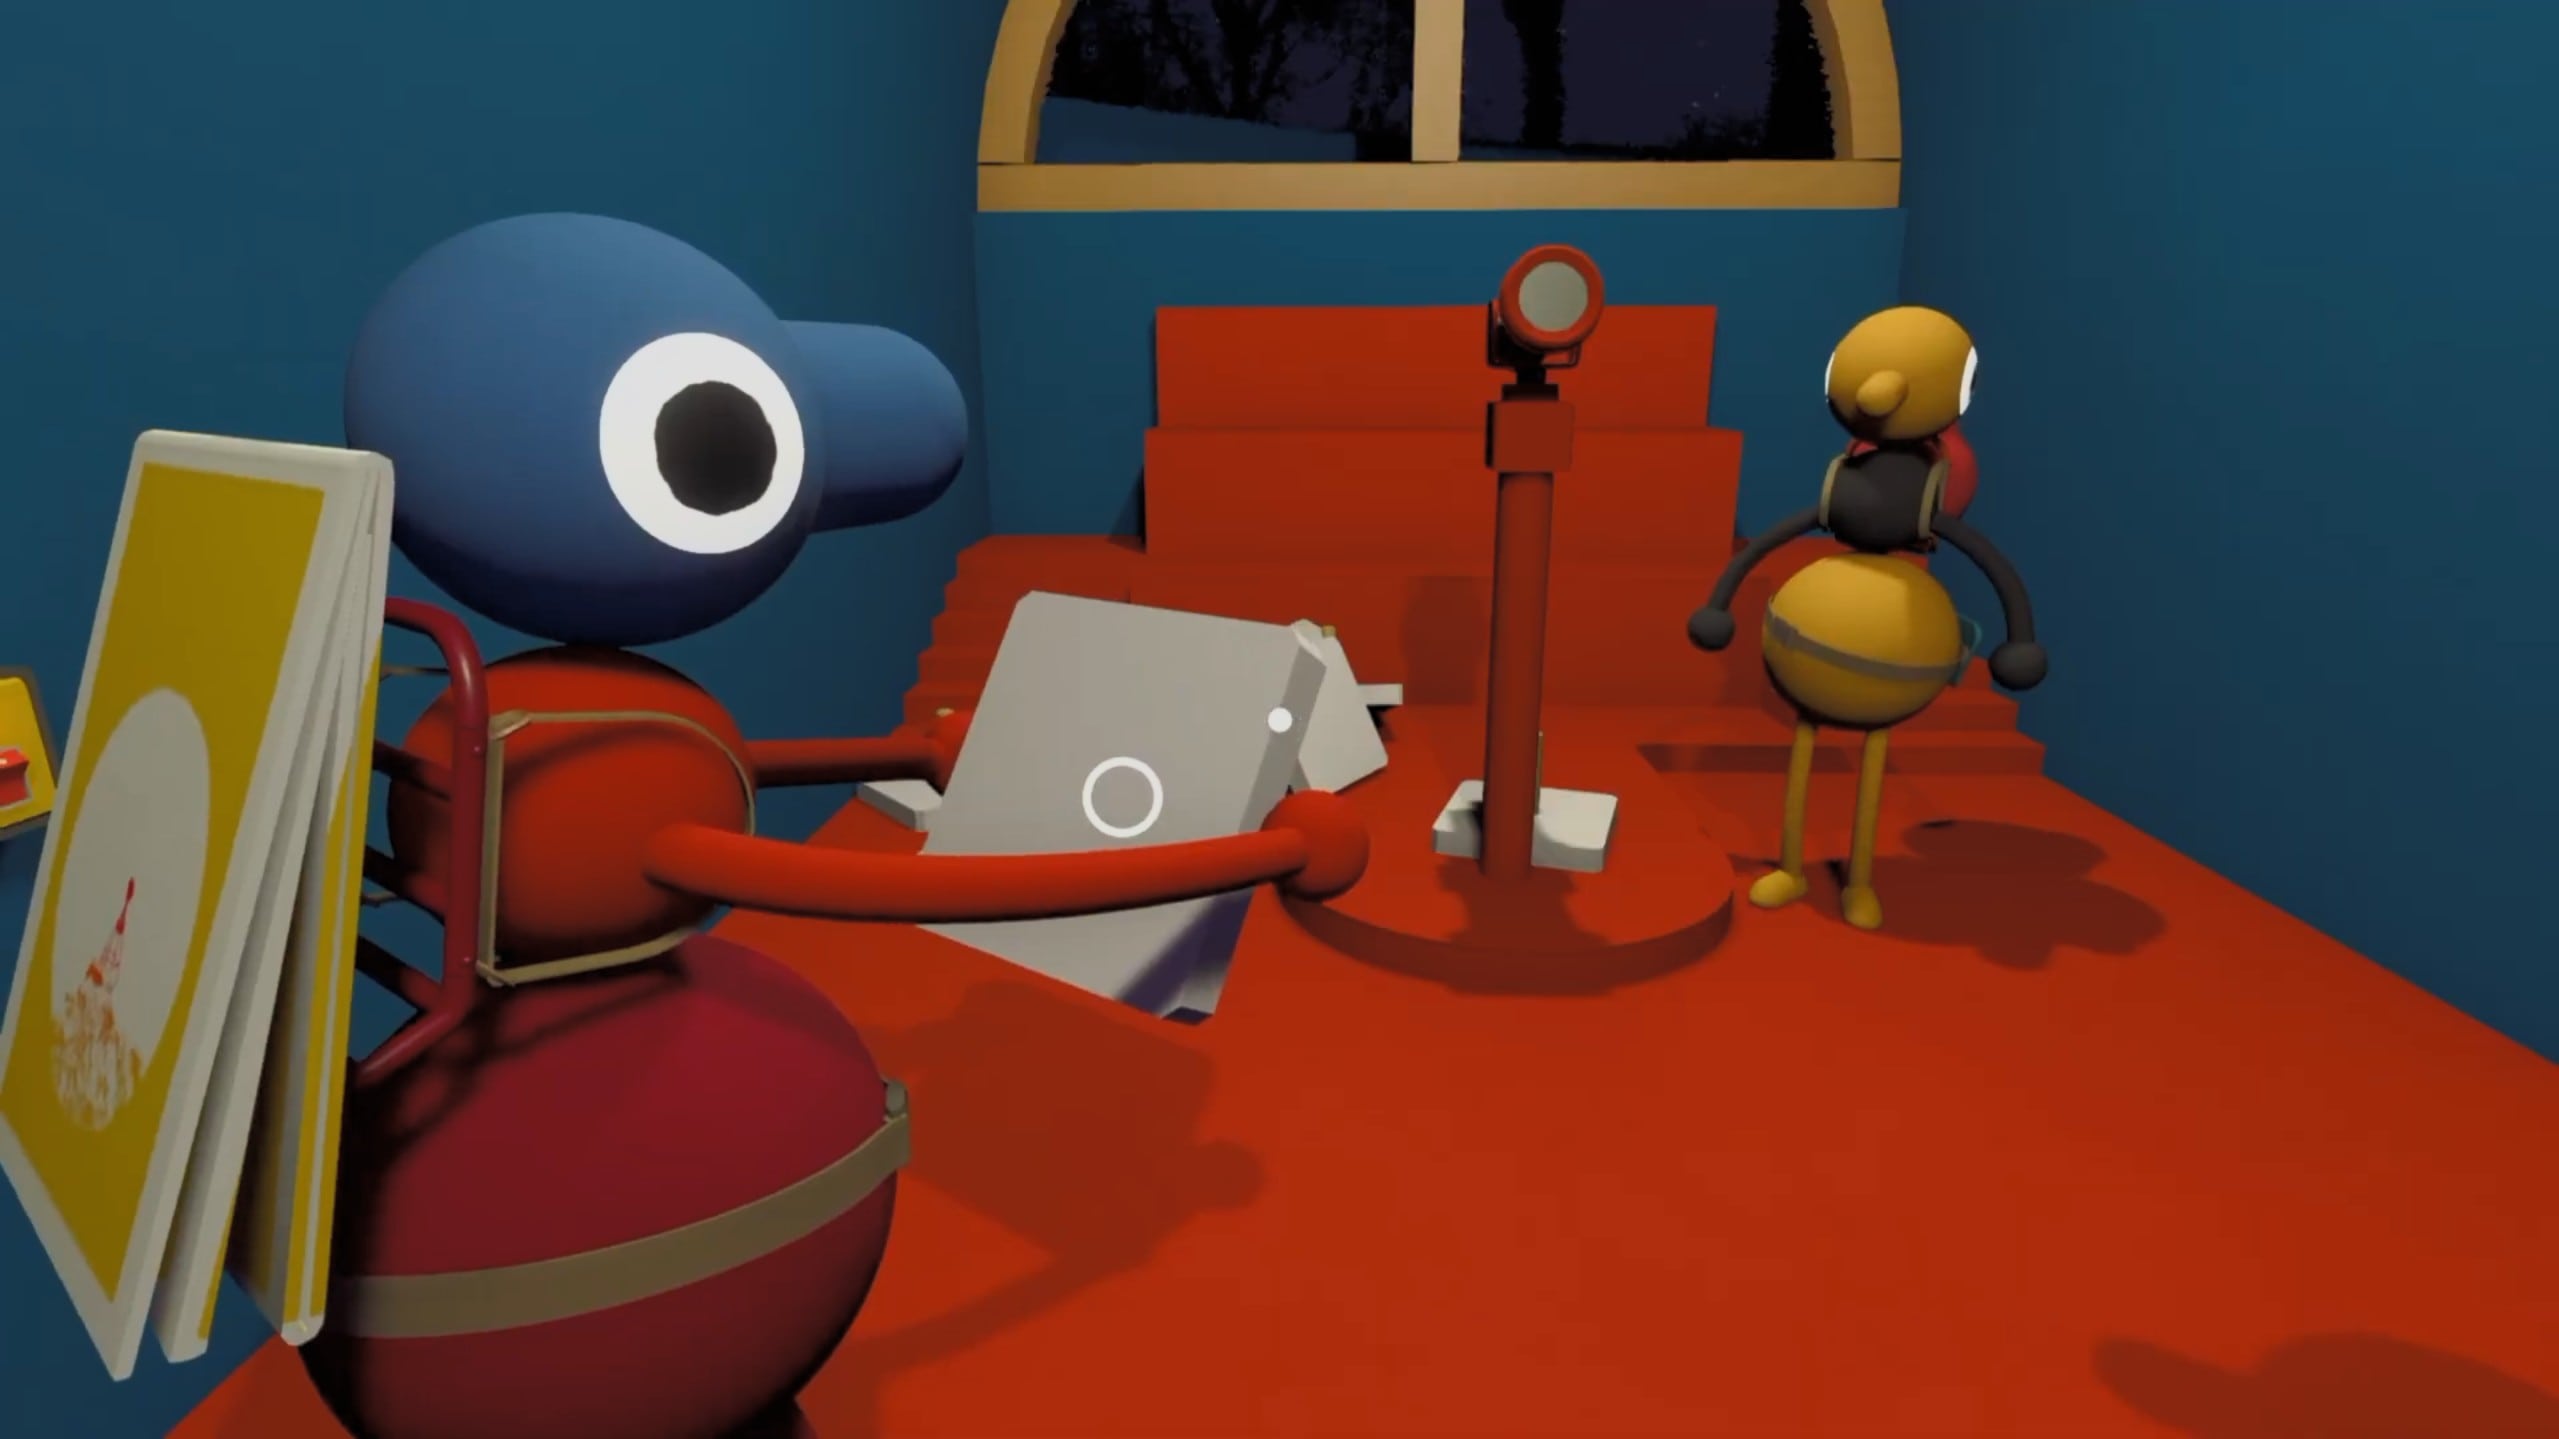
| Charades Locked Room | One player receives a sequence of poses and acts them out through the glass. The other players choose the matching pose tiles in the correct order. |
5. Yellow Tower Puzzle Solutions
Music Room Puzzle
There are six useful red-gourd puzzles around the Yellow Tower region, although only five rewards are needed to activate the tower. Complete whichever five are easiest during progression and leave the remaining puzzle for the later eight-red-gourd cleanup if necessary.
| Puzzle | Solution |
|---|---|
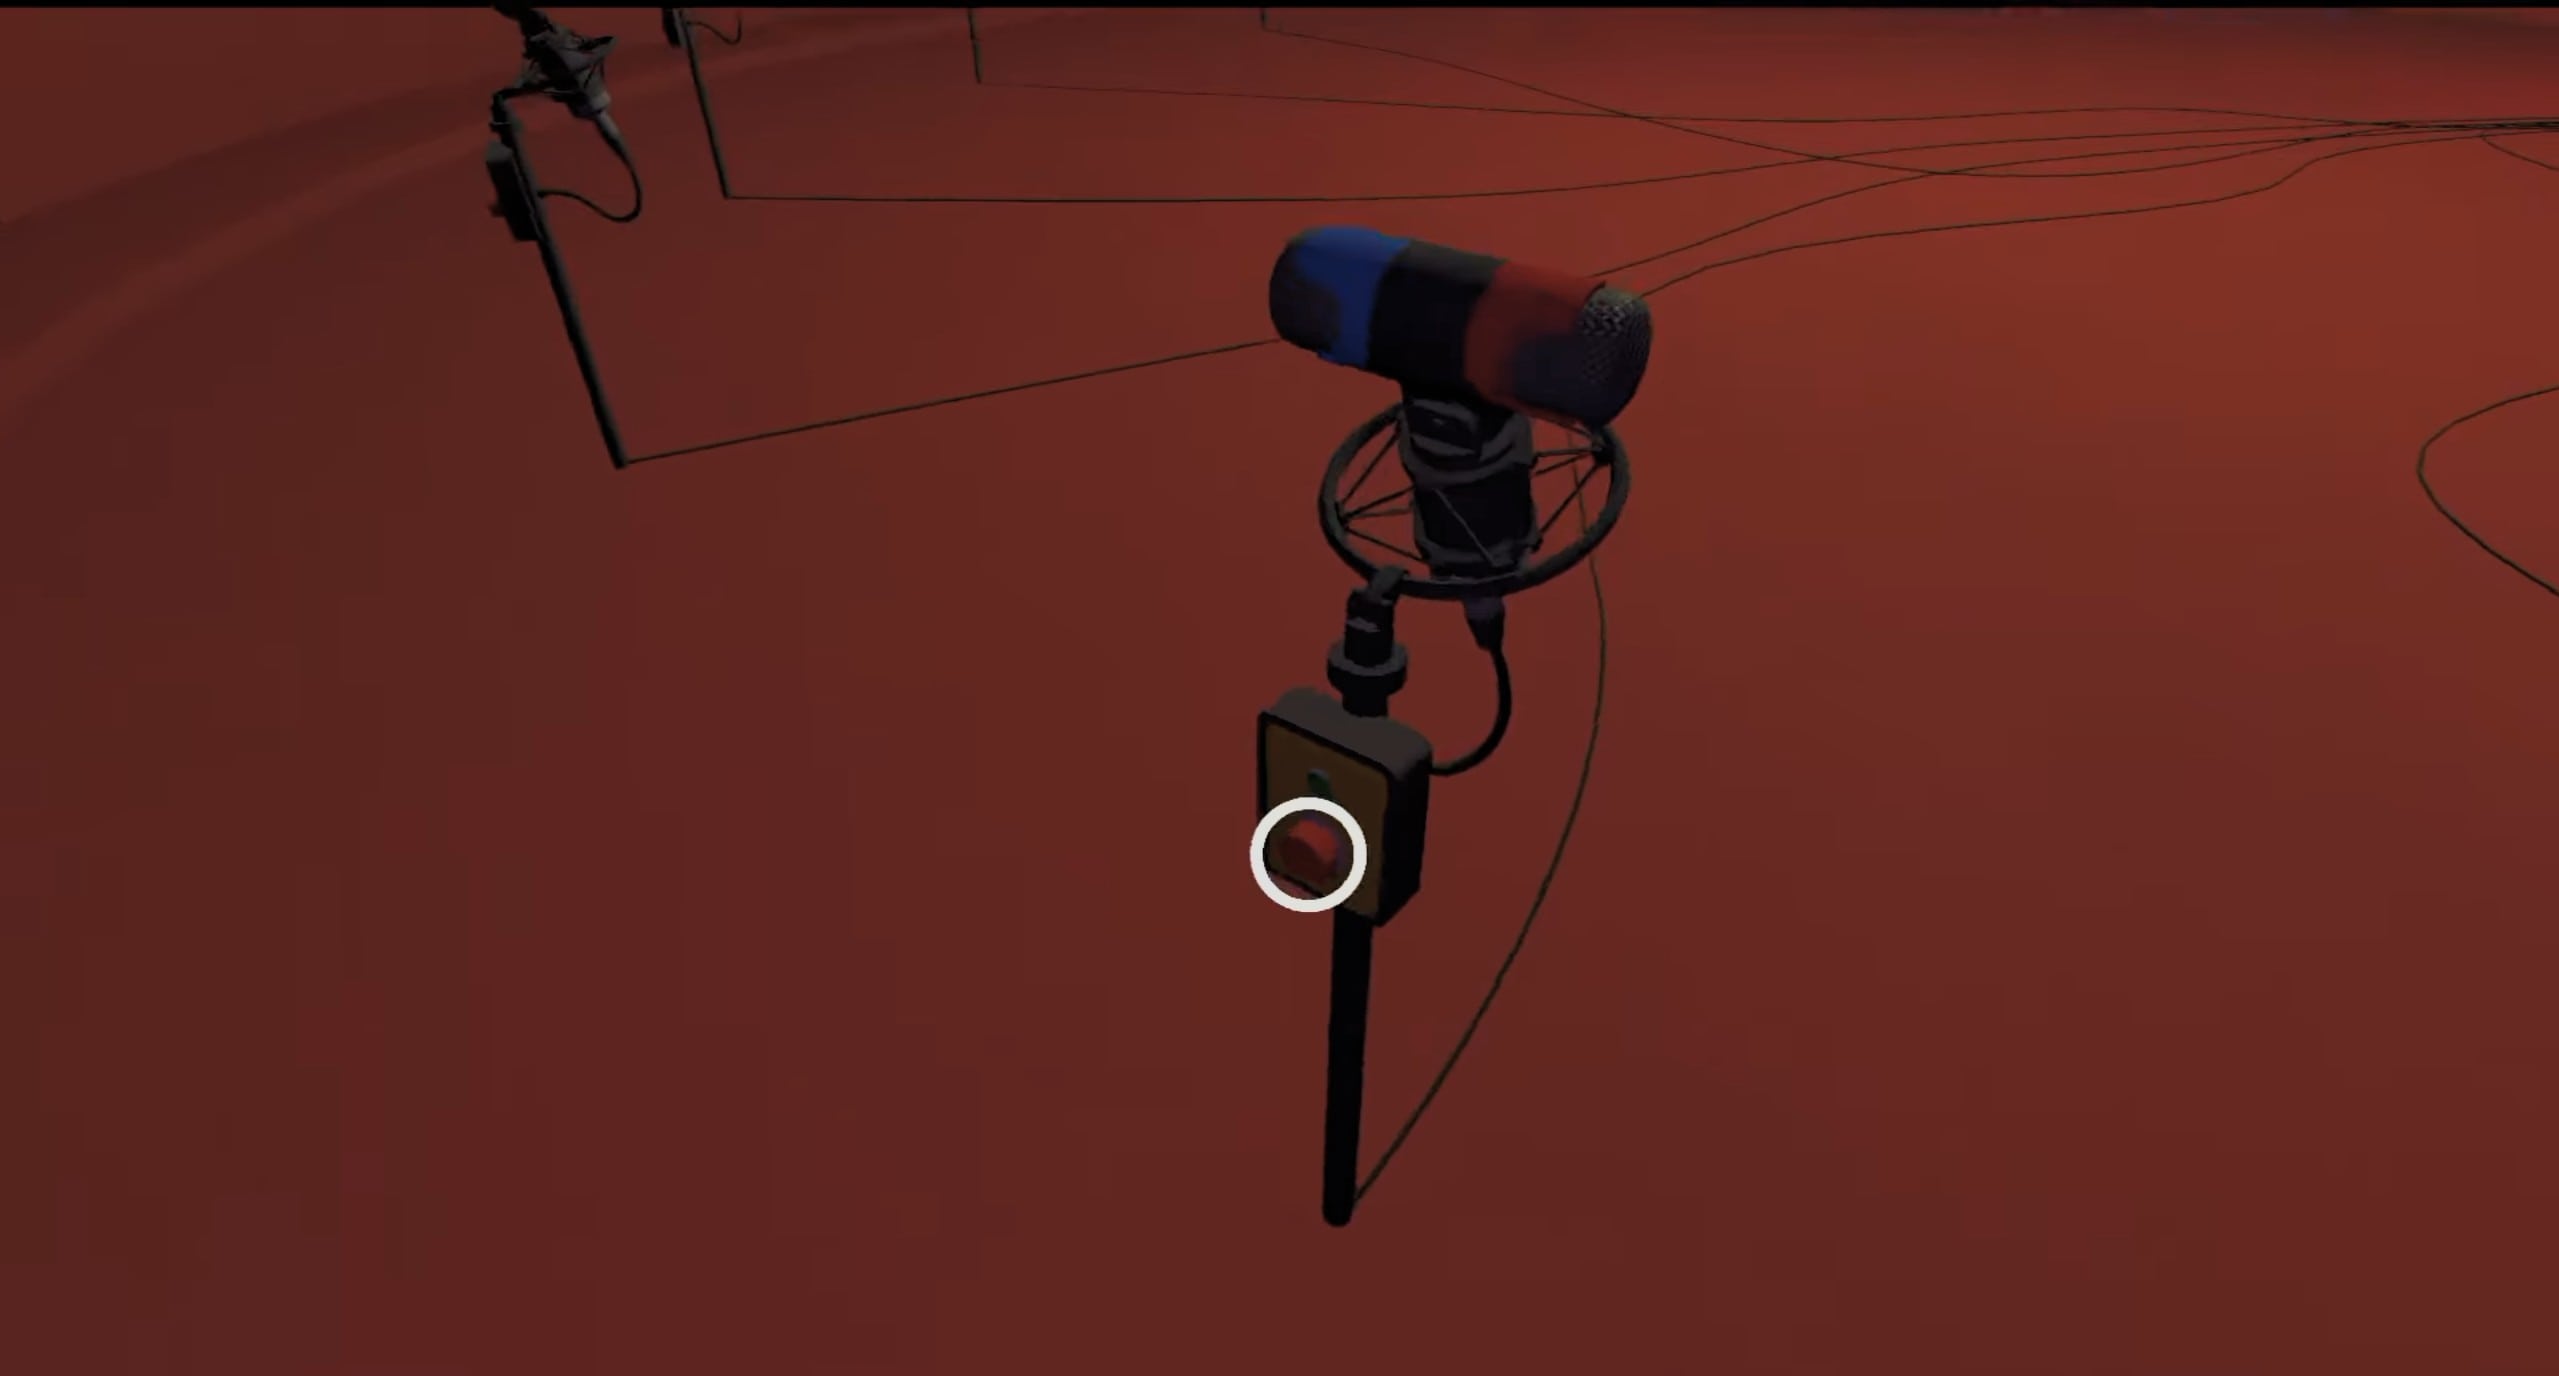
| Microphone Puzzle | Put one player in the green headphone chair, number the six microphones, and test them one at a time. The listener identifies the active microphone, then a teammate presses its button. Repeat until the green meter fills. |
| Easter Egg Hunt | Find all 36 wooden pieces scattered around the area. The pieces are divided into four visual types and tend to appear around matching terrain such as trees, rocks, rails, and the red region. Return all pieces to the wheel. |
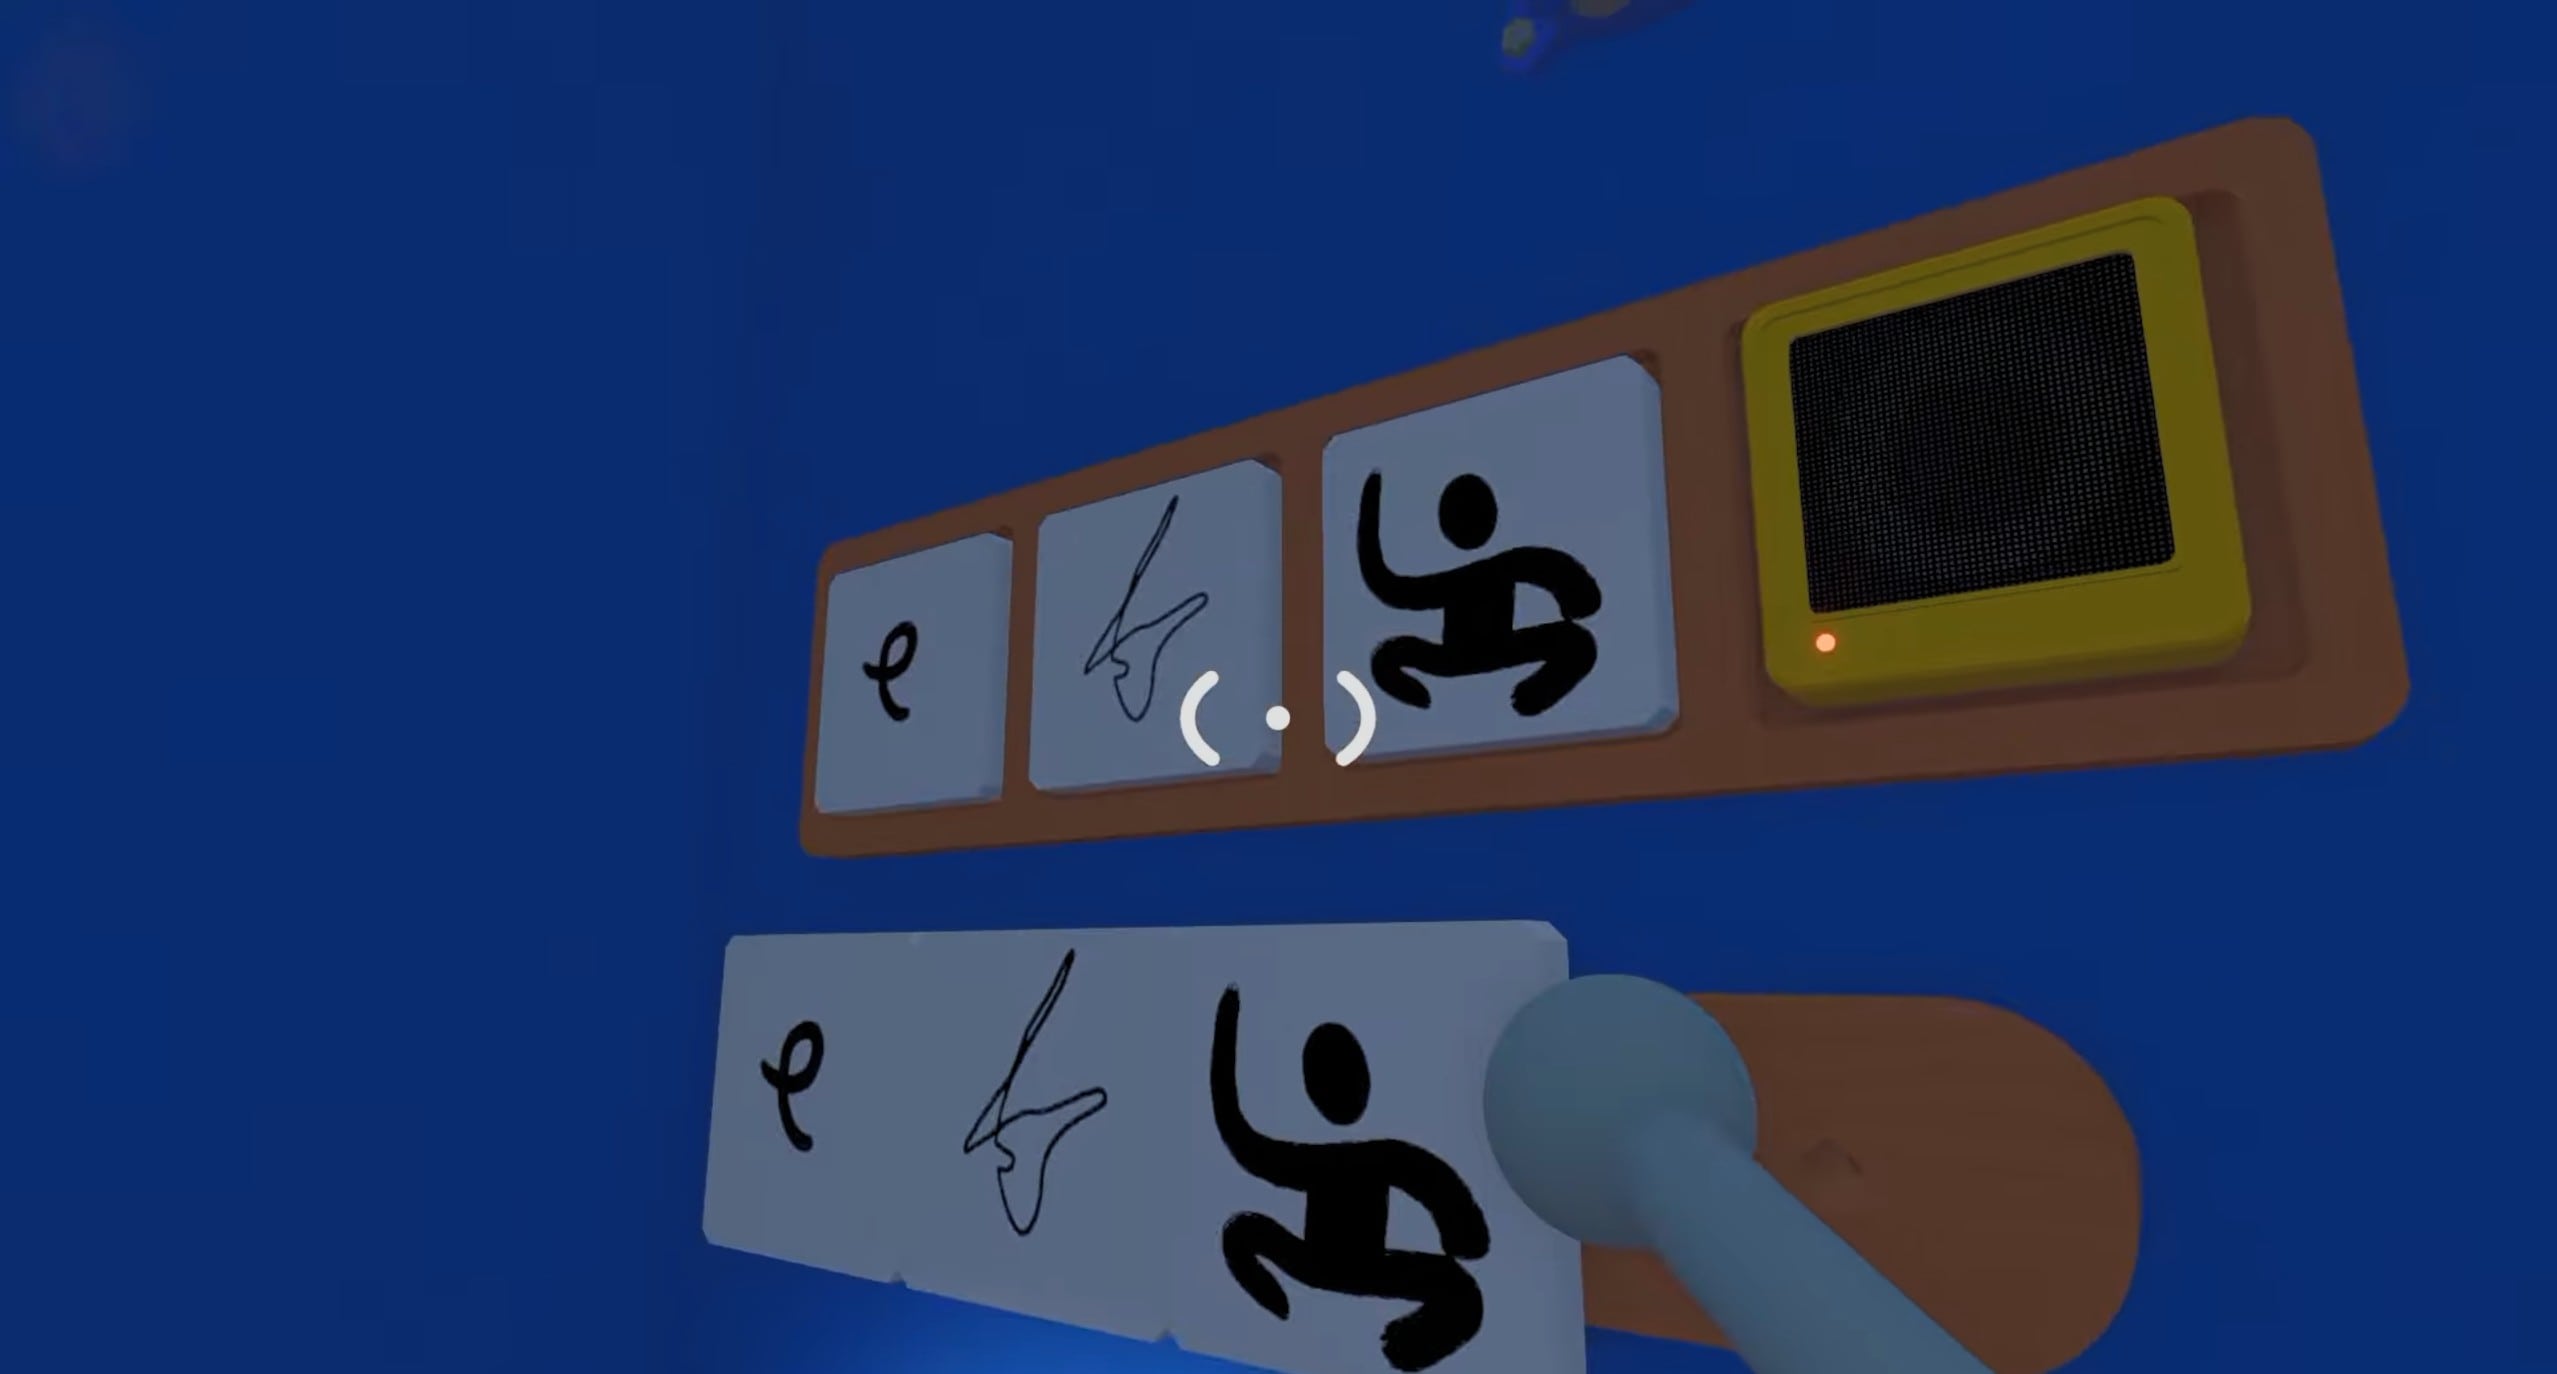
| Music Room | One player listens to the reference sounds inside the locked booths while the outside player moves the yellow speakers. Match each movable speaker to the booth producing the same sound. |
| Stage Directions / Light Positions | One player sees which of seven lights is active while the other controls a mirrored button layout. Account for the reversed positions: 1↔3, 2 stays 2, 4↔7, and 5↔6. |
| Aerial Seat Shape Sequence | One side displays the completed five-piece sequence. Move the matching pieces across using the suspended crescent chair and reproduce the sequence exactly on the opposite side. |
| Separated Button Room | The two players occupy separate buildings across the gap. One communicates the position of the active light; the other presses the corresponding red button. Repeat for each new light. |
6. Black Tower Puzzle Solutions
Chairlift Shapes Puzzle
The Black Tower, or Black Obelisk, is the final tower required before the first ending. You need six rewards here. These challenges combine mechanics introduced earlier, so clear communication and assigning numbered positions before starting can save a lot of resets.
| Puzzle | Solution |
|---|---|
| Blue Locked Room Symbols | One player is trapped with a set of symbols while normal communication is restricted. Number the symbols before entering, then use gestures or jumps to communicate the required number to the outside player, who presses the corresponding switch. |
| Green Room Red-Light Pattern | One player sees the target pattern while another builds it. Use the red light as a code—for example, a number of flashes for the required position and a rapid burst to reject an incorrect tile. |
| Double Green Barn Charades | One player sees a sequence of poses but cannot simply relay them verbally. Perform each pose for the teammate, who selects the corresponding tiles in the same order. |
| Golden Mask Obstacle Race | Put the golden mask on one player and guide them through the course using clear directional commands. The masked player must reach and press the final button. |
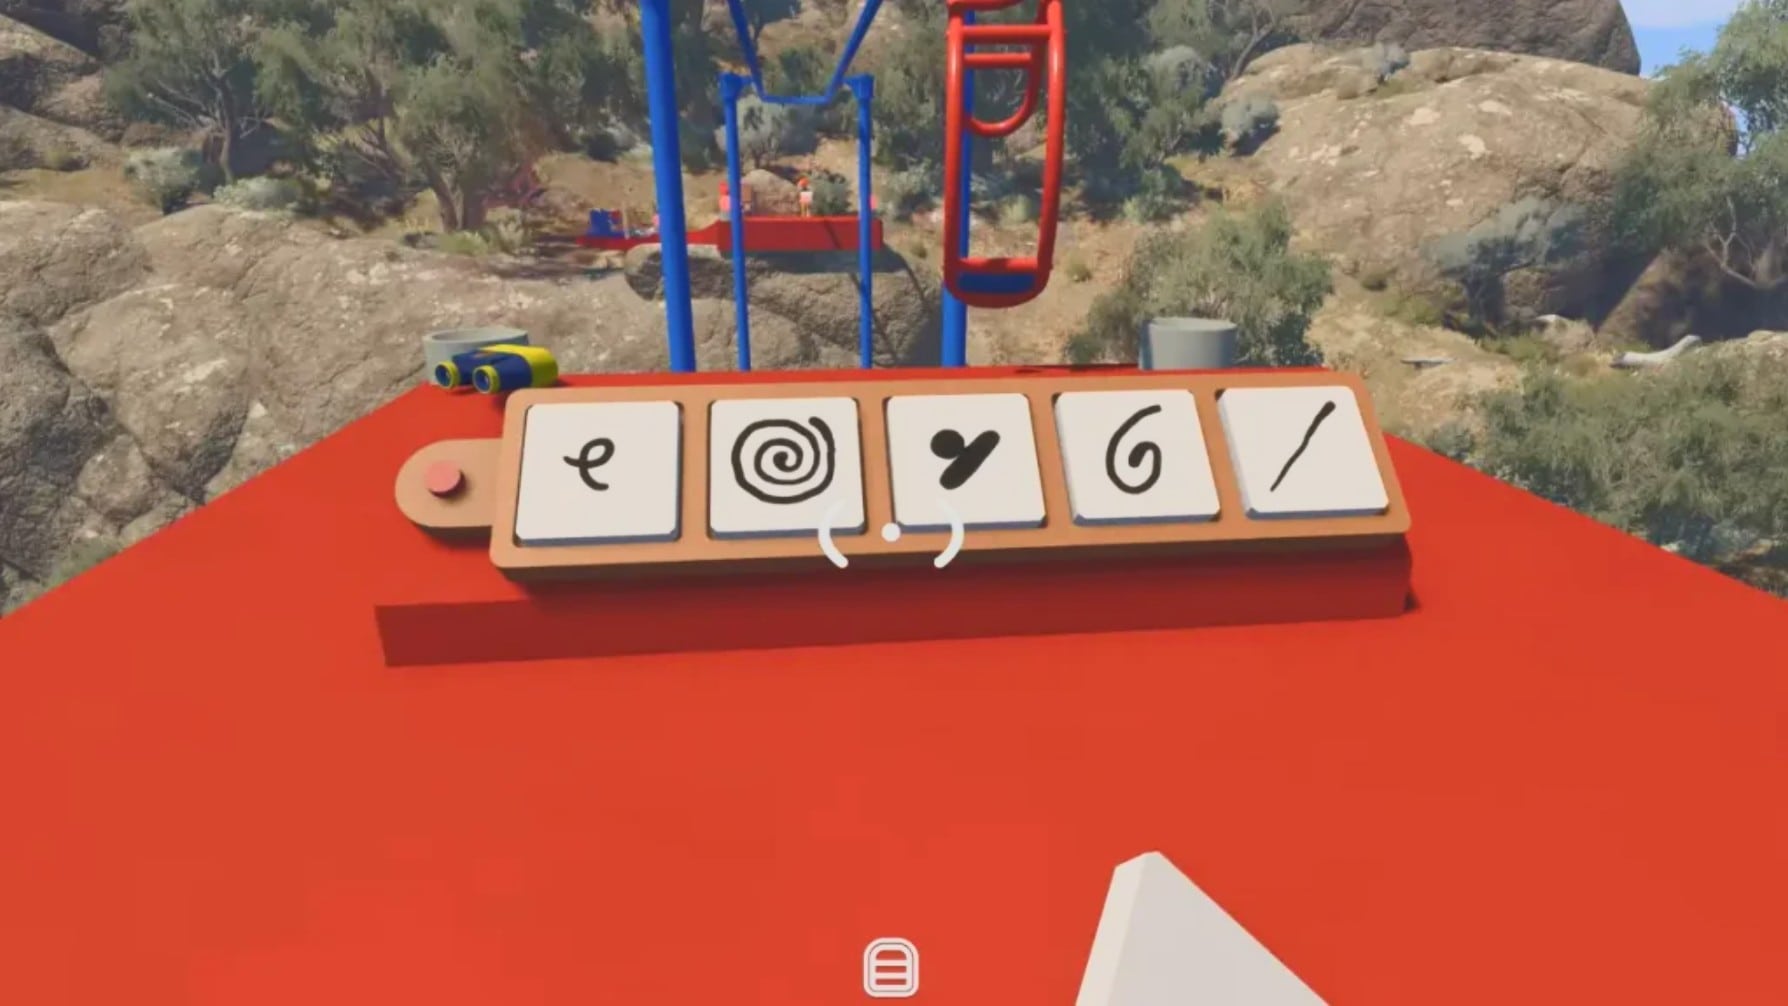
| Chairlift Shape Sequence | One side contains the correct shape order while the opposite side has the pieces. Memorize the sequence and ferry the required pieces across using the chairlift, then recreate it exactly. |
| Deep Well | Retrieve the reward from the bottom. Because the exit route closes, players must throw and catch the collectible upward from platform to platform until it reaches the top. |
7. Additional Red Puzzle Solutions
Pressing Microphone Button
After accounting for the main tower progression, there are eight additional red rewards needed for 100% completion. One can be the unused Yellow-region puzzle from the previous section, while the remaining challenges are scattered around the island. You can clean these up before or after the first ending.
| Puzzle | Solution |
|---|---|
| Heavy Golf Ball | The large red ball is intentionally awkward to transport. Move it toward the distant hole by kicking, pushing, and relaying it between players, then get it fully into the target hole. |
| Moving Coordinate Box | Carry the box while watching the changing coordinate display. Use a GPS or map to reach the requested locations, then have players activate the required buttons together. |
| Green Flare Puzzle | One player fires or observes the green flare, which indicates the direction of a hidden seaside location. Another player follows that direction to find the remote box and coordinates the final interaction. |
| Seaside Counting / Binocular Puzzle | One player counts the requested flashing figures and interprets the displayed symbol values. Send the resulting display so the distant teammate can read it through the telescope and enter the correct answer. |
| Blue Slope Music Blocks | Study the four designs shown at the house, locate the matching musical blocks from the surrounding puzzle areas, return them, and place each one into its corresponding slot. |
| Dome Microphone Puzzle | Sit one player in the headset chair while another tests the microphones around the dome. Identify which microphone is transmitted clearly, press its button, and repeat until the meter fills. |
| Green Seat / Remote Speaker | One player remains seated and listens to the music cue. The second player searches for the remote speaker playing the matching sound and activates the required interaction once both sides are ready. |
| Unused Yellow Puzzle | If you completed only five of the six Yellow-region puzzles earlier, finish the remaining one now and keep its red reward for the final collection. |
8. Black Sphere Walkthrough and First Ending
Symbol Card Relay
Opening the western wall leads toward the enormous Black Sphere, which contains the final cooperative sequence for the normal ending.
| Black Sphere Room | Solution |
|---|---|
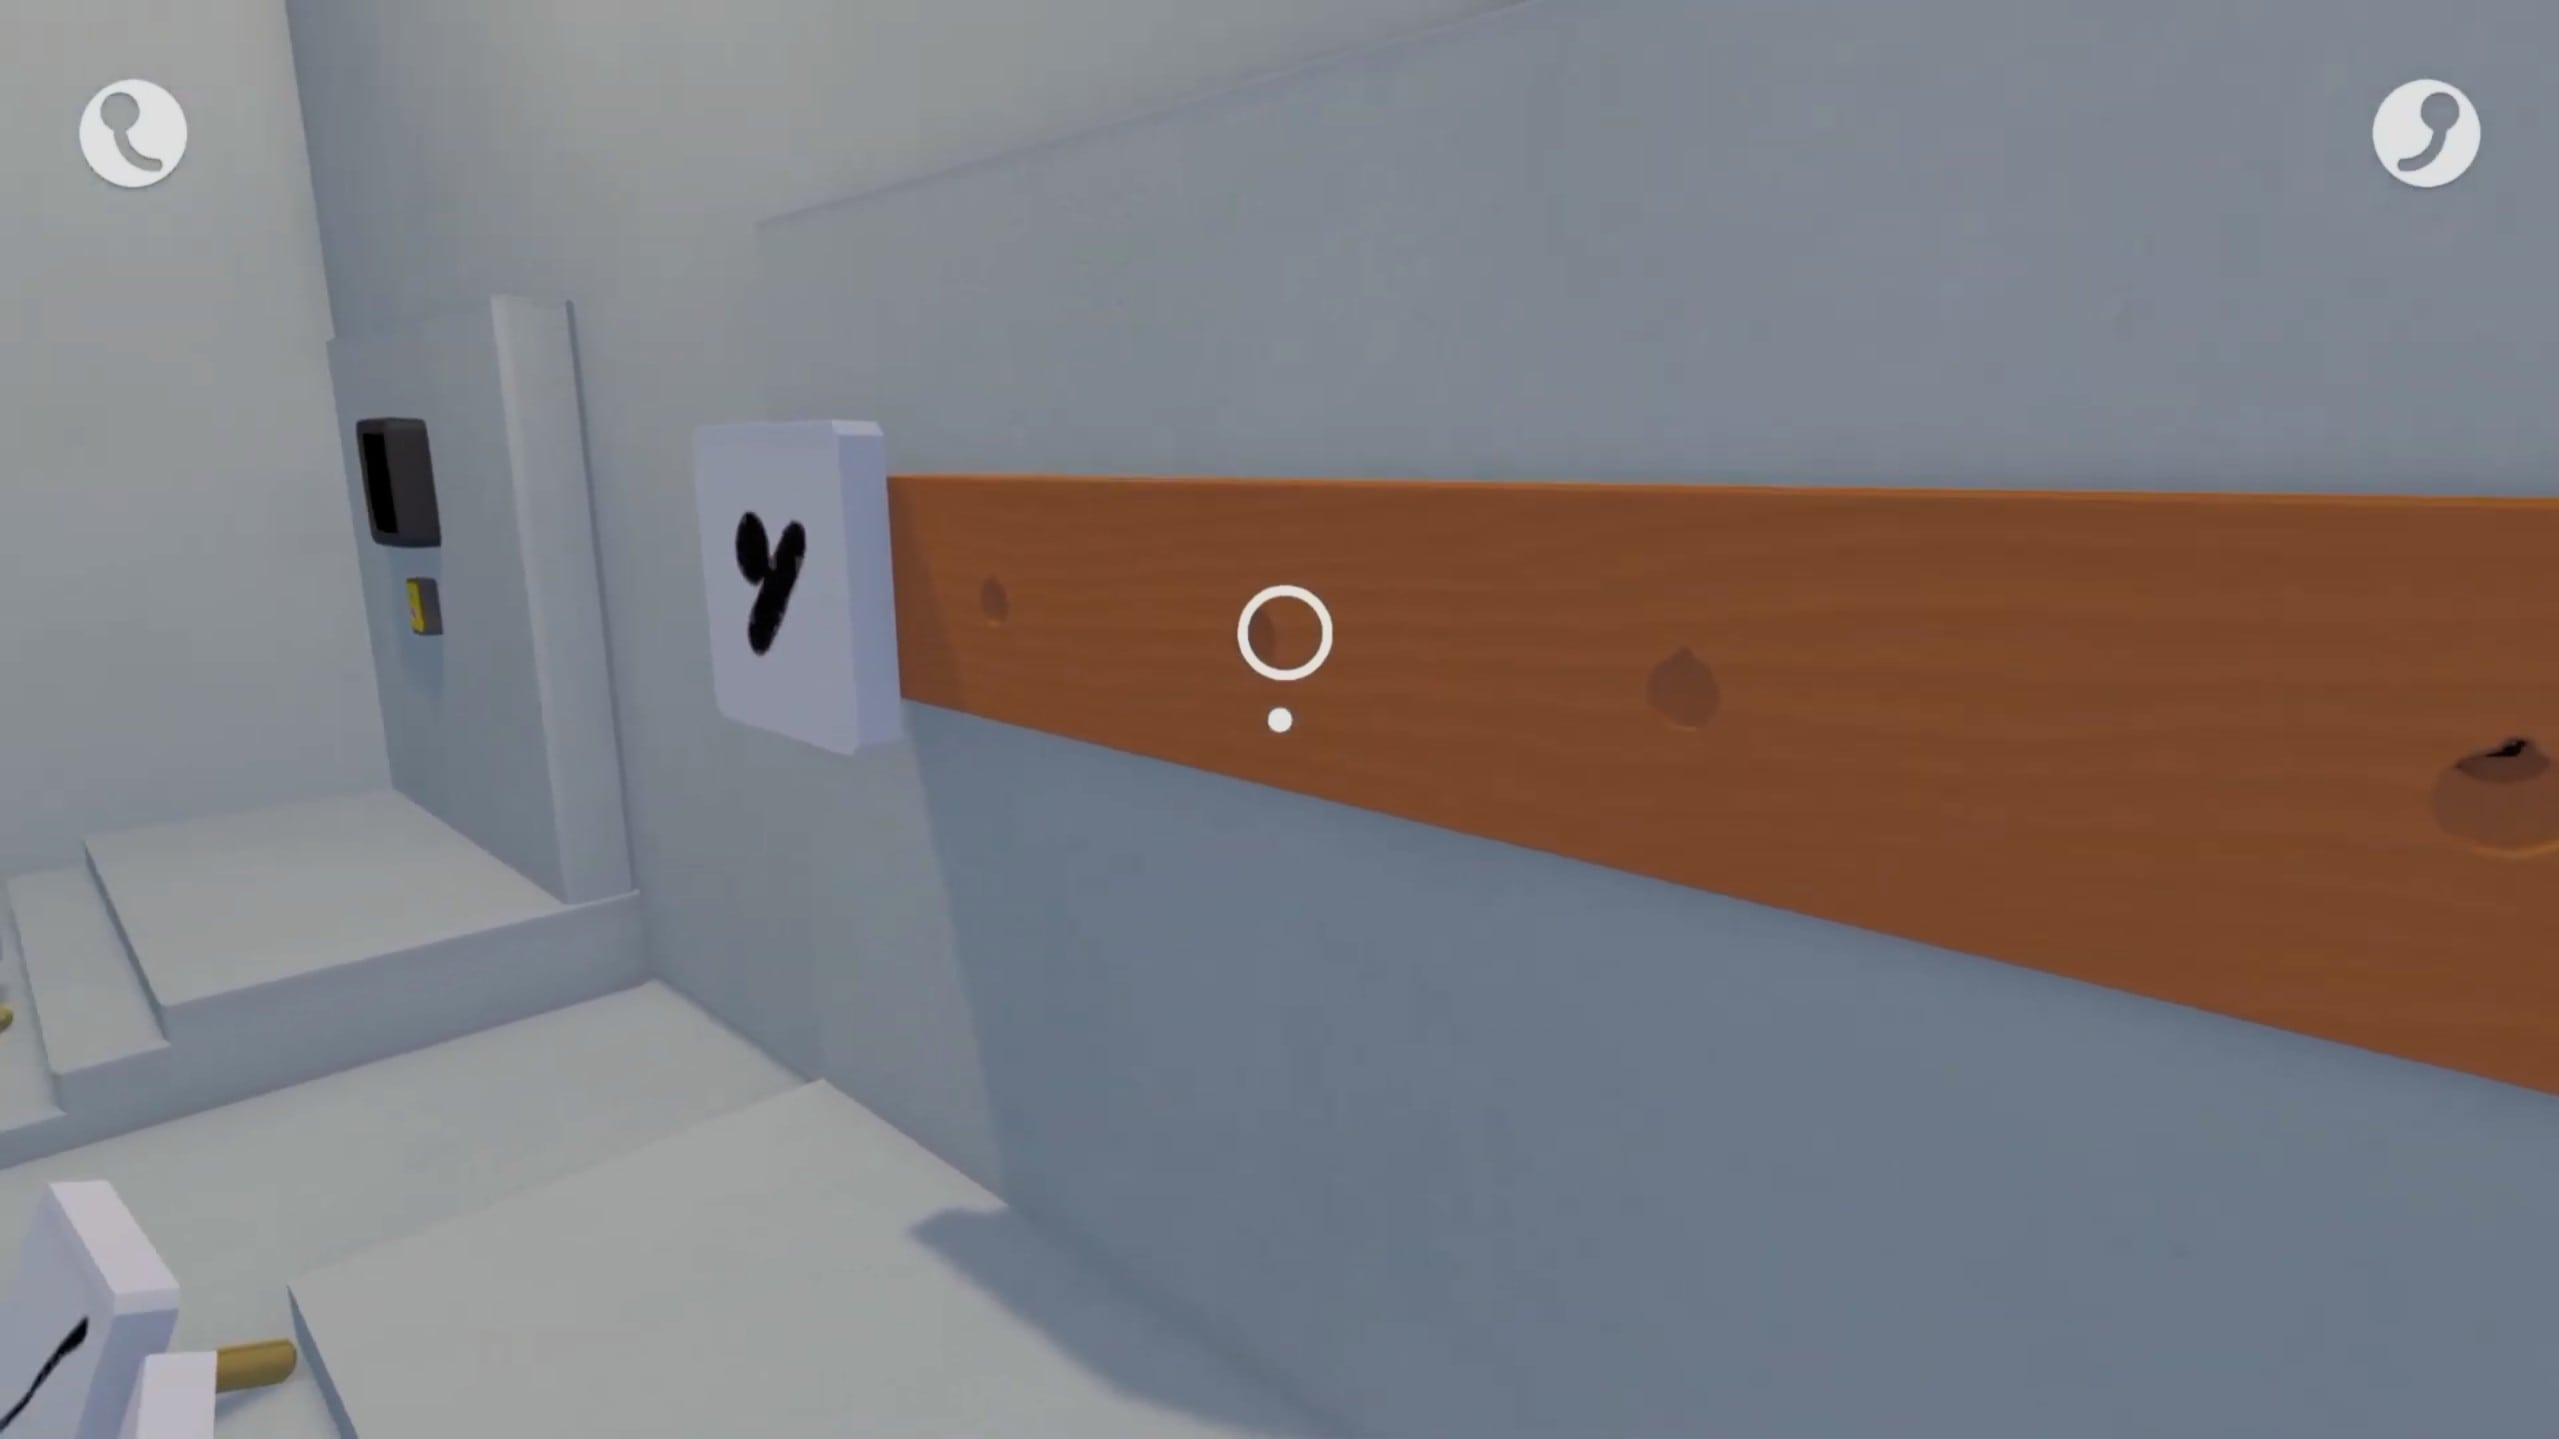
| Symbol Card Relay | One player reads the reference arrangement while other players display the available symbol cards. Identify the requested row/column or symbol and have the input player activate the matching position. |
| Blue Marker Relay | Number the blue markers from left to right before starting. The player who can see the target calls its number while the runner activates the corresponding marker. |
| Yellow Control and Door Relay | Leave one player at the controls while another moves through the changing route. Agree on simple terms such as near/far, top/middle/bottom, and left/right before operating the doors. |
| Red Kettle Relay | Keep track of the shared red kettle because it is central to the interaction. Communicate the displayed icon sequence and move/place the kettle where required while another player operates the mechanism. |
| Colored Magnetic Shapes | Call each required piece using both its color and shape, then move the matching magnetic object into position one at a time. Confirm each successful placement before moving on. |
9. Purple Post-Game Puzzle Solutions
Multi Light Puzzle
The seven purple challenges appear after completing the first ending and returning to the same world.
| Purple Puzzle | Solution |
|---|---|
| Clifftop Golf / Long-Distance Golf | Start with the shared heavy object or ball and carefully transport it across the route to the orange flag/hole at the cliff. Relay it between players rather than trying to move it quickly. |
| Warehouse Icon Relay | Split the team across the warehouse/turnstile areas. One side reads the icon sequence while the other recreates or selects those symbols in the same order. |
| Beach House Icon Puzzle | Use the two separated turnstile positions to communicate the displayed icon order. The player at the receiving side enters the sequence exactly as described. |
| Greenhouse Speaker Match | Split between the reference sound area and the movable speakers. Play each cue, identify the speaker with the matching sound, and place it into the corresponding position. |
| Beach Timer / Platforming Puzzle | Carry or relay the timed object through the scaffold and obstacle route. Coordinate switches and stair sections so the timer reaches its destination before expiring. |
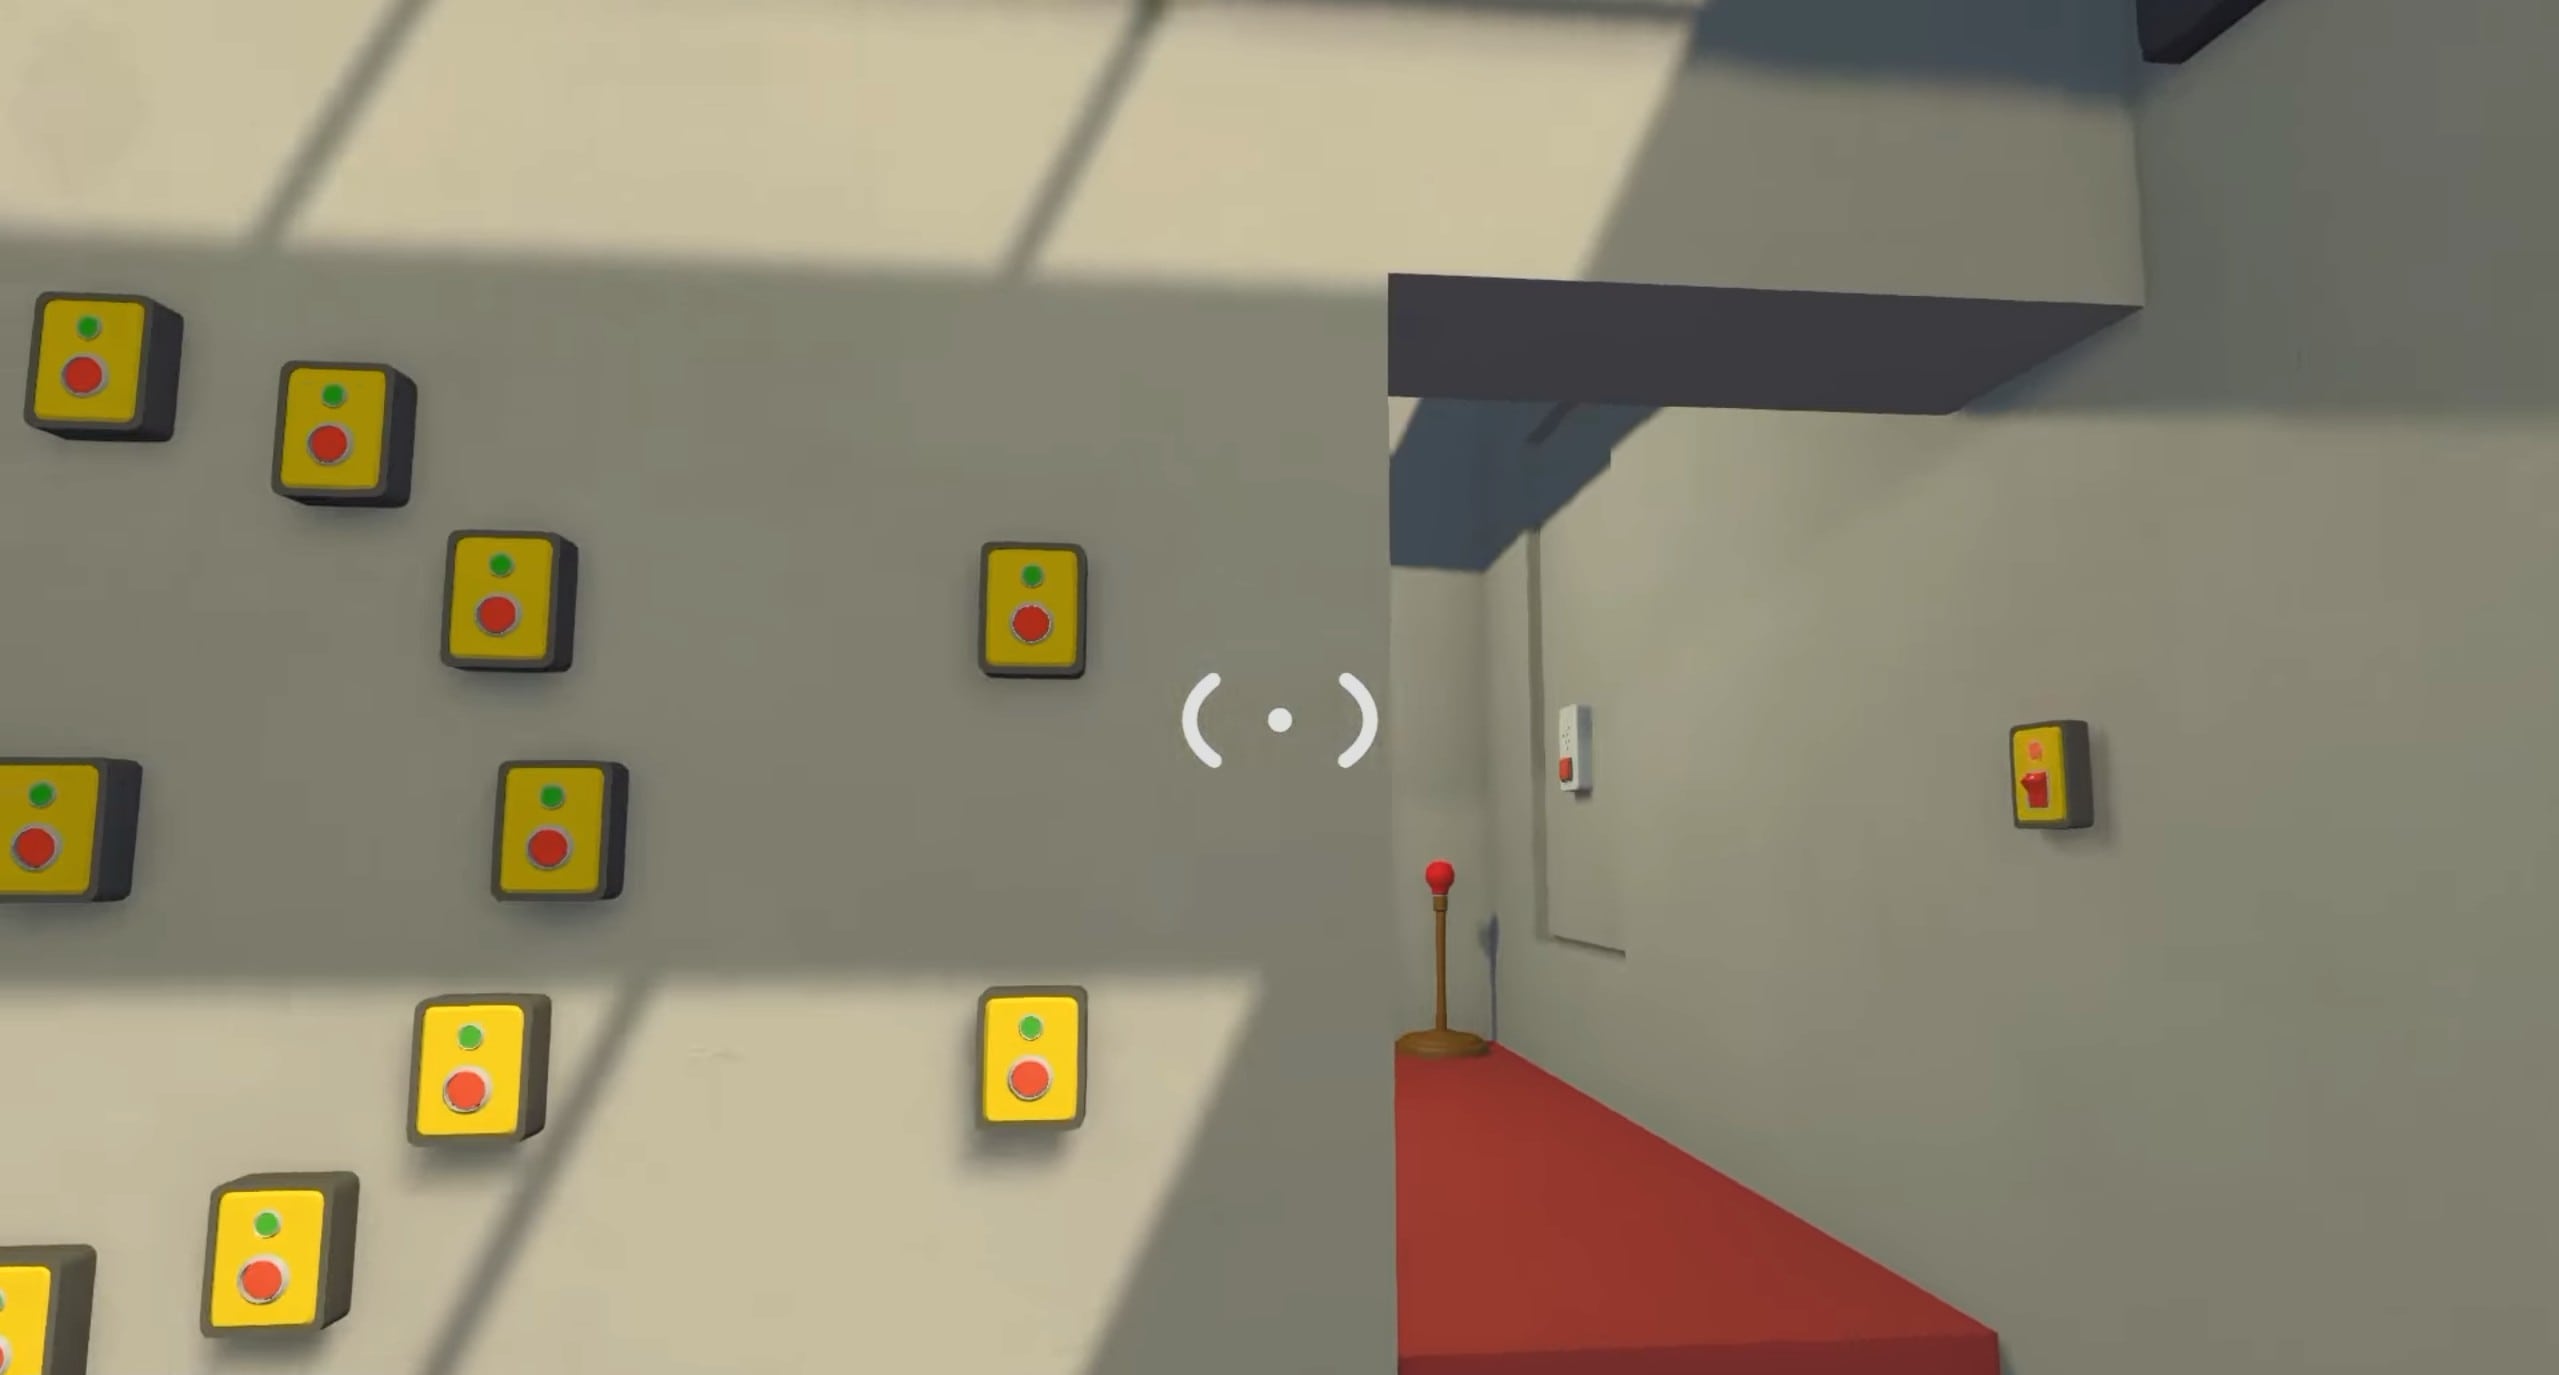
| Multi-Light / Many Lights | Two players work from separate waterside buildings. Communicate which light or position is active and press the matching control on the other side until the sequence is complete. |
| Patience / 30-Minute Puzzle | Bring the required players to the waiting area and remain there for the full 30-minute real-time requirement until the puzzle completes. Do not rely on leaving the area while the timer runs. |
10. How to Get the True Ending and Big Game Achievement
Reading Final Messages
Finishing Big Goodbye is only the normal ending. To reach the full completion sequence, reload the same host world and finish every remaining ordinary and purple puzzle. The collection building near the tutorial/Map Room area contains 15 final slots: eight for red rewards and seven for purple rewards.
- Collect the white key produced by the completed collection.
- Return toward the starting area and find the smaller Black Sphere.
- The sphere opens to reveal a hidden route; use the white key and descend the stairs.
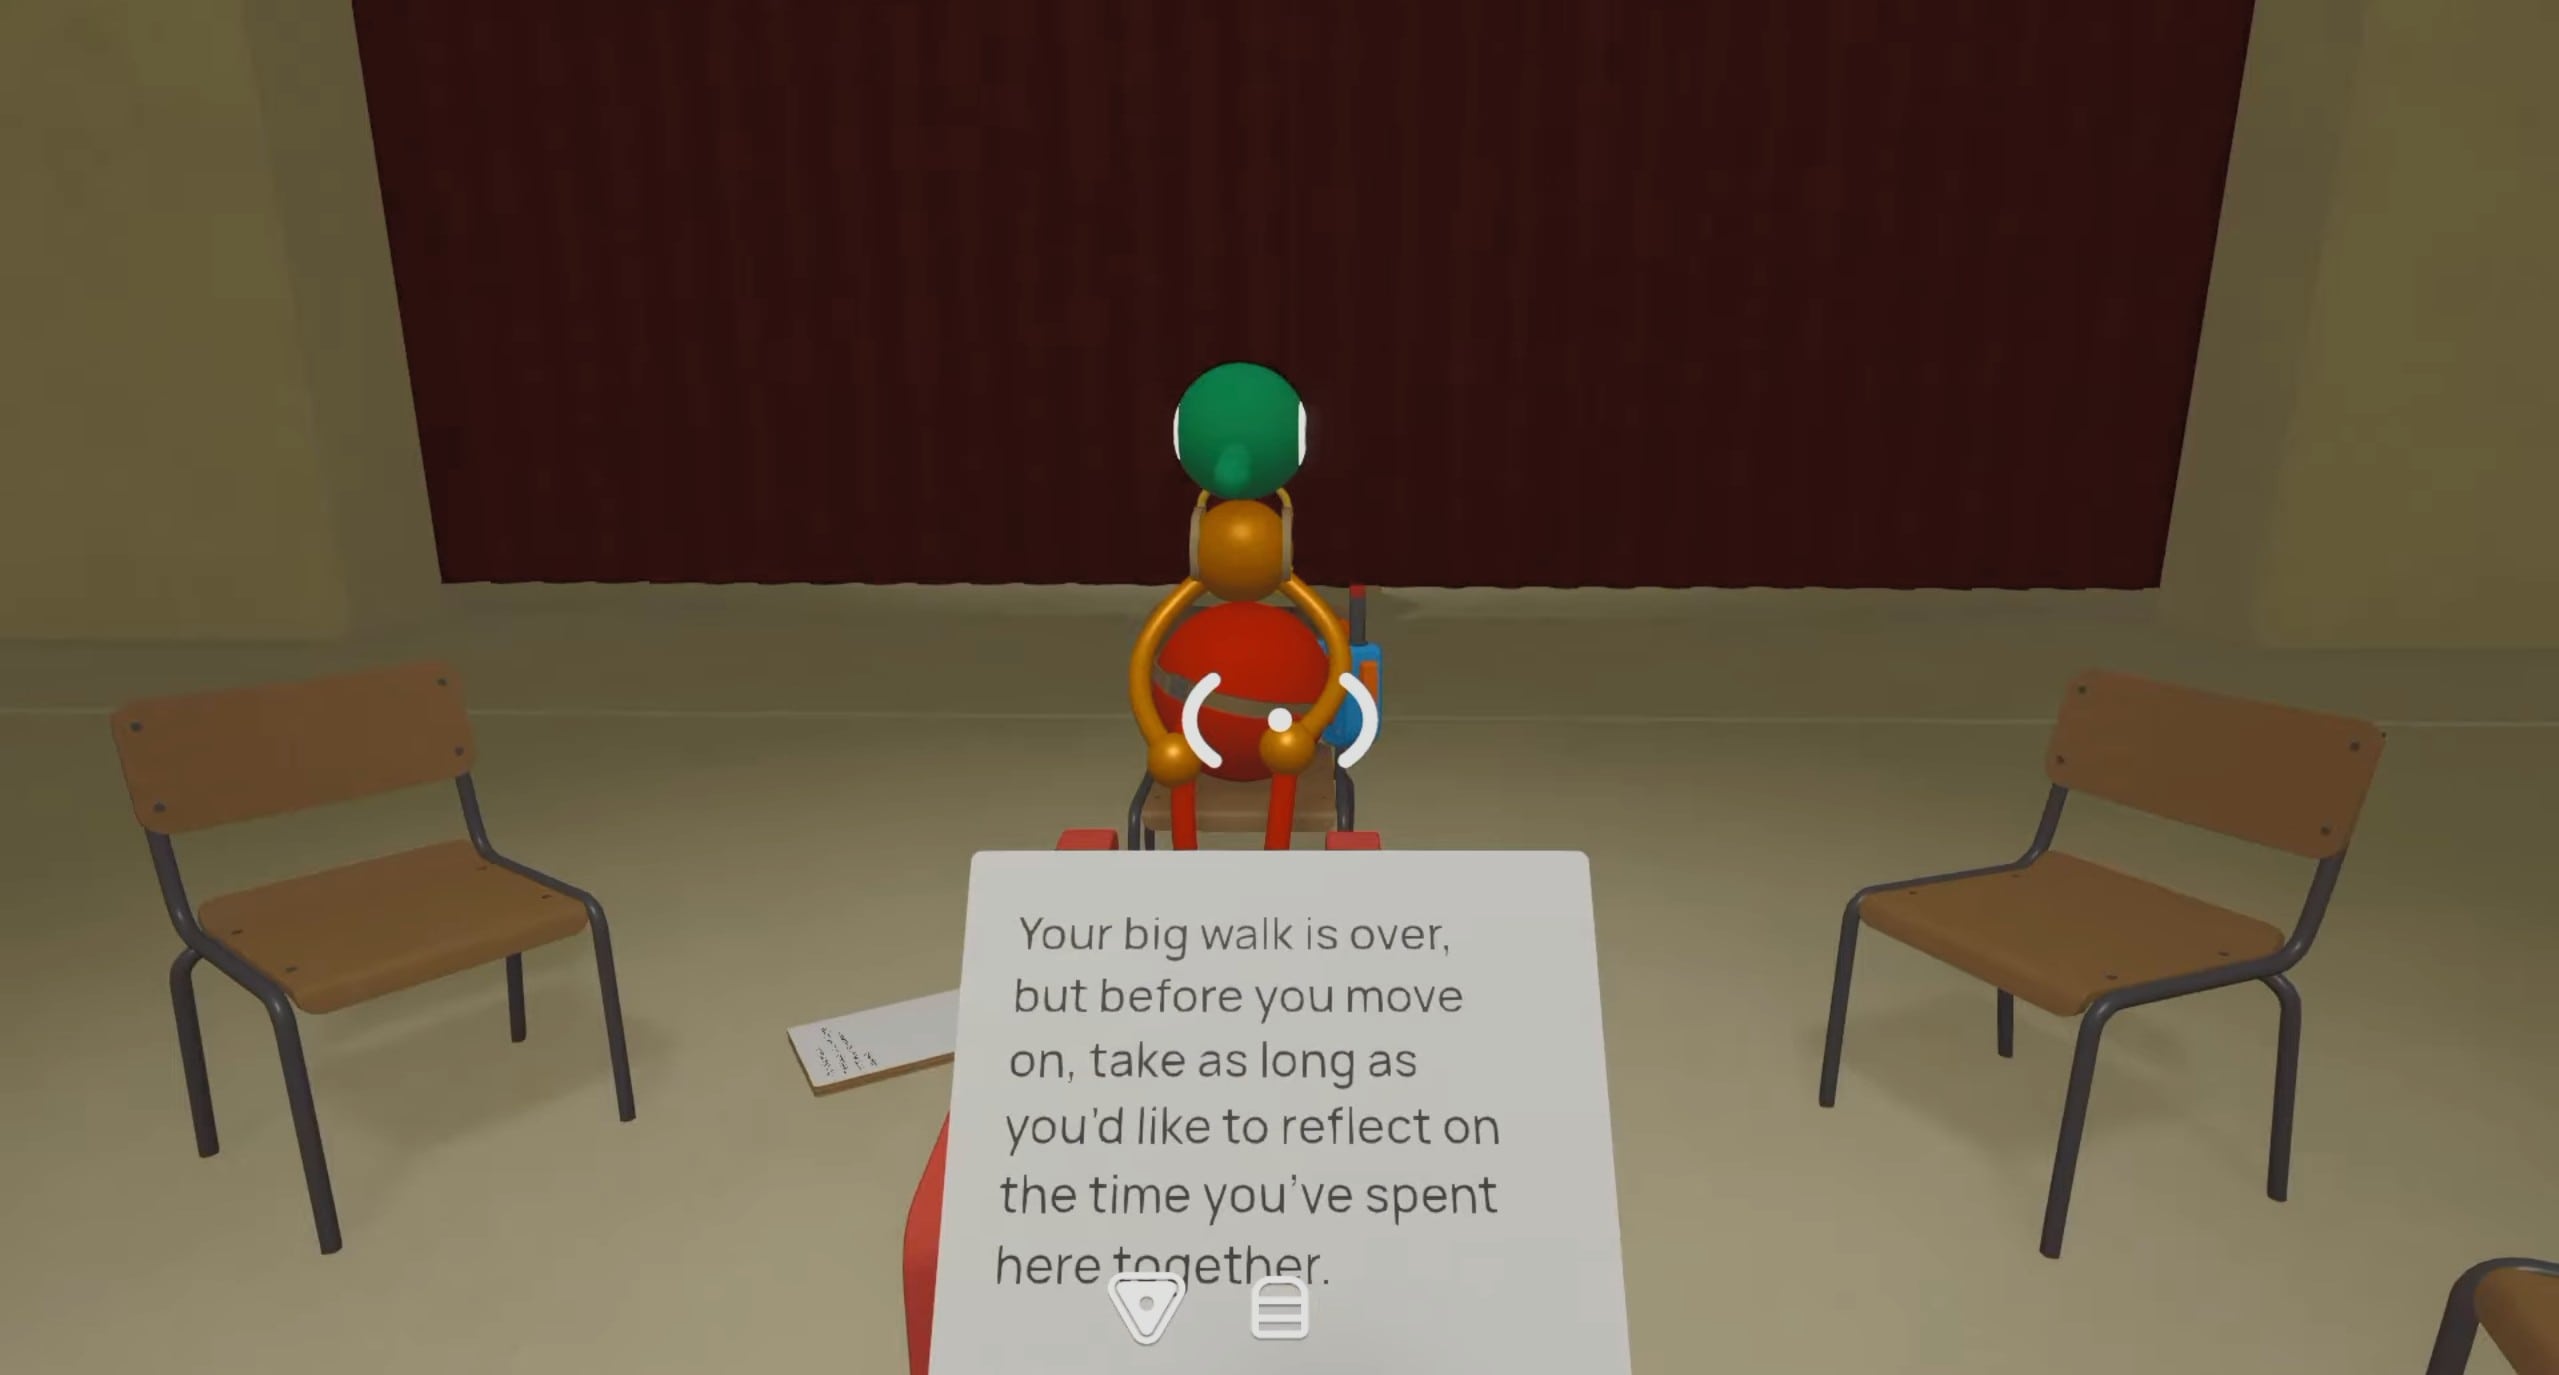
- Continue into the secret theatre and follow the cooperative seating, card, and memory interactions.
- Complete the final interaction after the curtain opens.
- Finish the white-space farewell sequence to reach the full ending and unlock Big Game.