

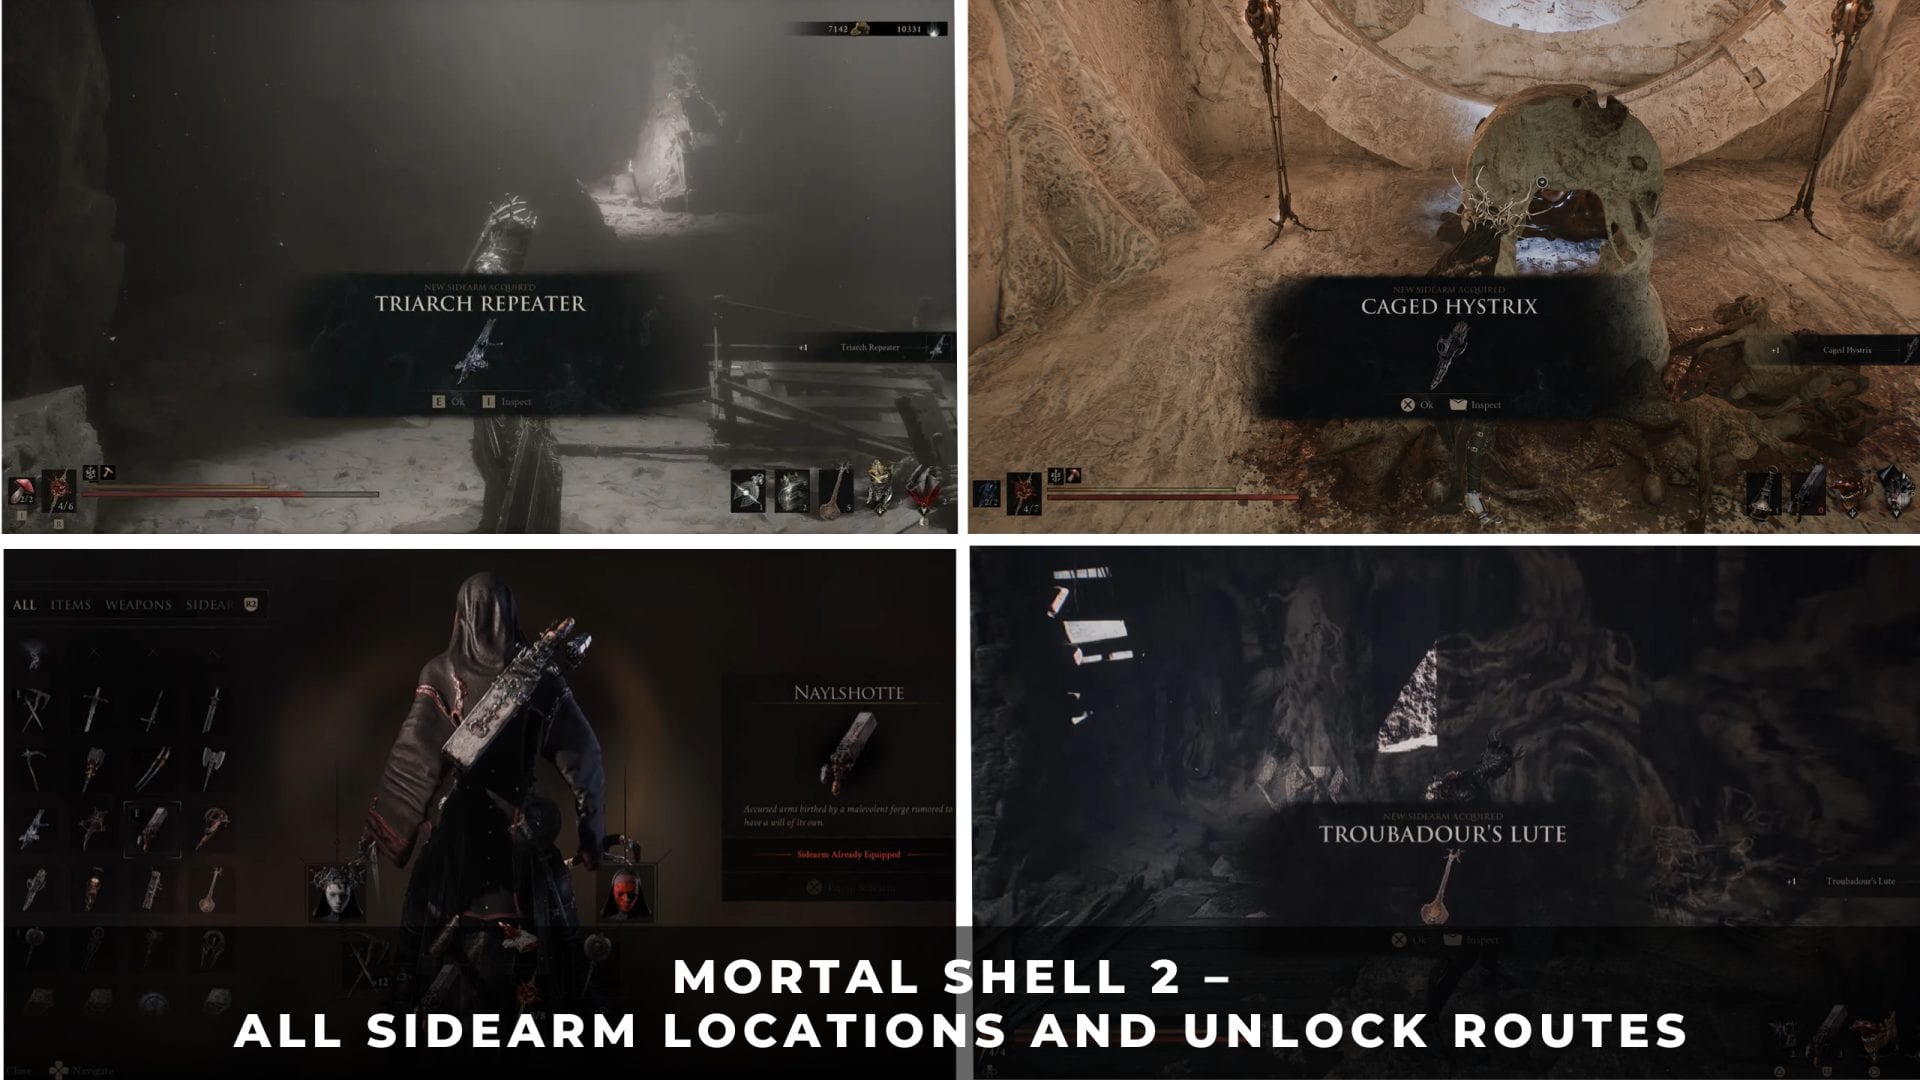
Mortal Shell 2 gives the Harbinger eight sidearms, and only one of them arrives without a fight. The other seven sit behind dungeons, minibosses, a locked door, and one tower that burns you on sight.
None of the eight are missable. Free roam stays open after the final boss, so anything skipped on the way to the credits can still be collected before you commit to New Game+.
Every route below starts from the nearest beacon, so you can fast travel in and pick up what you are missing instead of sweeping the whole map.
1. Sidearms and Trophy Requirements
There are eight sidearms in total, split across the prologue and the game’s two main regions. Collecting all of them unlocks the Guns. Lots of Guns trophy, and each individual sidearm carries its own bronze trophy on top of that.
Three sit in Fainweald, the grassland and swamp region to the north. Four are buried in the Ruins of Mammon to the south. The last one is handed to you before the world opens up at all.
- Total sidearms: 8
- Prologue: 1
- Fainweald: 3
- Ruins of Mammon: 4
- Missable: None
- Cleanup window: Free roam after the final boss, before New Game+
- Trophy: Guns. Lots of Guns
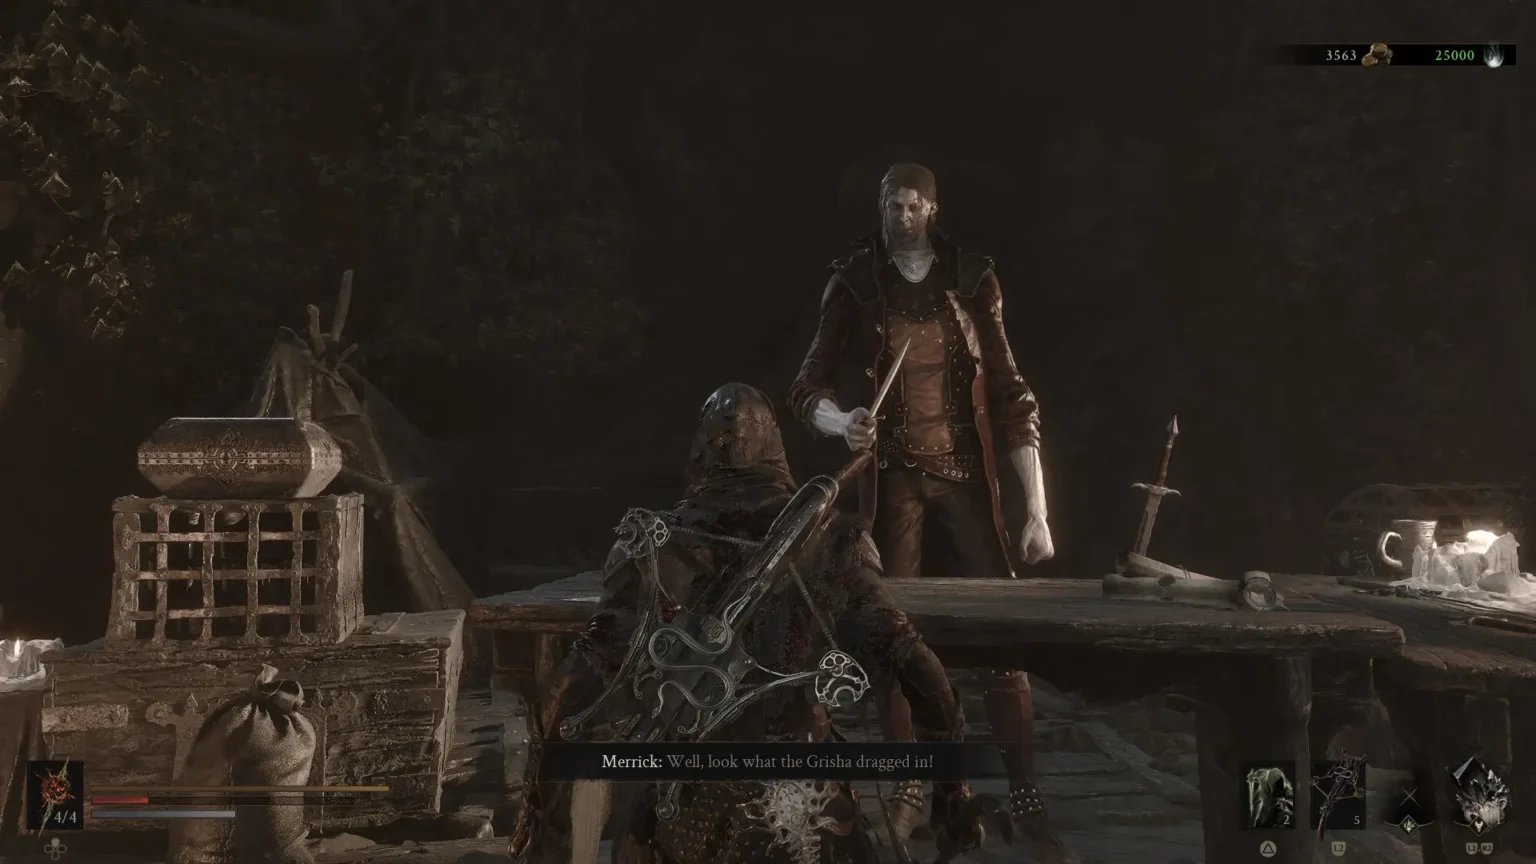
Merrick
The merchant down the mine shaft in Marrow Keep, Merrick, sells maps for coin that mark a search area for each sidearm on the overworld map.
He hands over the Forgotten Crossbow map for free the first time you speak to him. The paid maps point at a zone rather than an exact pickup, so the routes below save you both the coin and the wandering.
| Sidearm | Region | Where to Find |
|---|---|---|
| Naylshotte | Prologue | Given with the Harros shell |
| Forgotten Crossbow | Fainweald | Flooded Village dungeon |
| Salvaged Trebuchaxe | Fainweald | Ravaged Hideout dungeon |
| Troubadour’s Lute | Fainweald | One Legged Wolf Tavern |
| Triarch Repeater | Mammon | Blackwell Cavern dungeon |
| Ballistazooka | Mammon | Sentry’s Grave dungeon |
| Cursed Child | Mammon | Revered Beacon dungeon |
| Caged Hystrix | Mammon | Chamber of Becoming |
2. Resolve and Sidearms in Mortal Shell 2
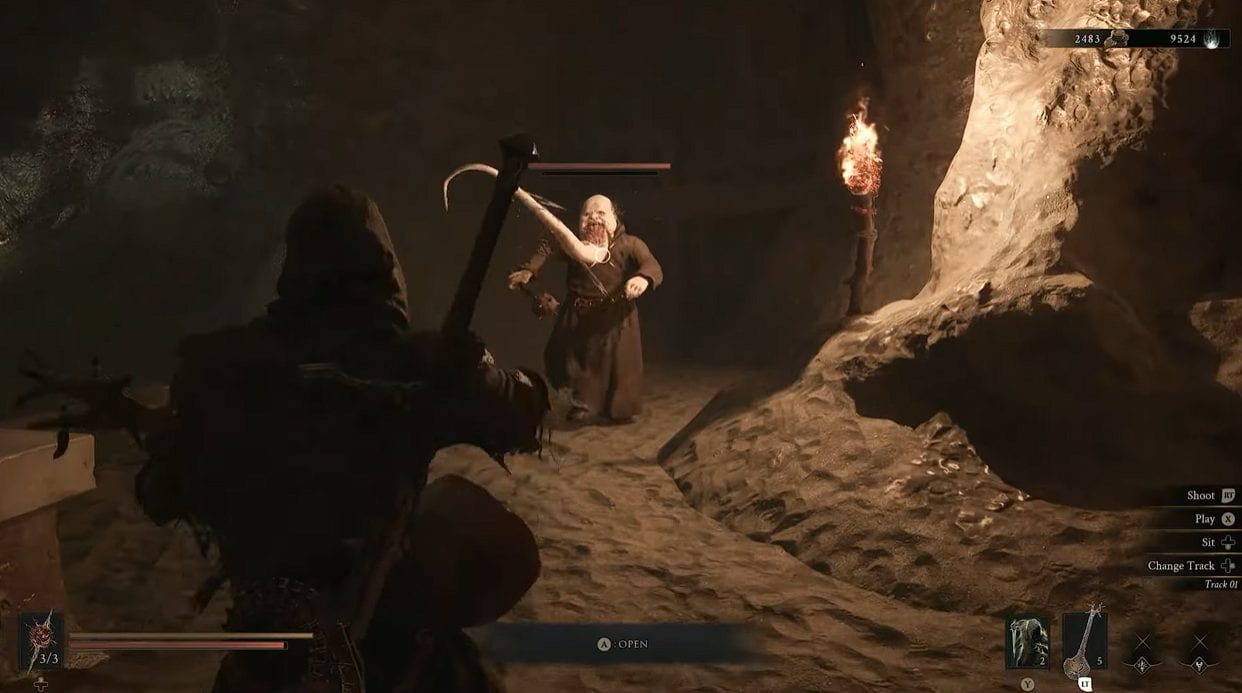
Using the Troubadour’s Lute
Sidearms fire using Resolve, the same bar that powers Shell abilities. There is no ammo to farm and no reload, so your firing rate is capped entirely by how much Resolve you have banked when the fight starts.
Landing hits with your melee weapon is the main way to build Resolve back up. Sidearm hits return nothing, which is why a pure ranged playstyle falls apart quickly. Perfect blocks also feed the bar, so an aggressive defensive rhythm keeps the gun loaded.
The glowing effigies scattered around the world are the second source. Destroying one drops Resolve directly, which lets you top up before a boss arena without picking a fight first. Resting at a beacon refills the bar completely, at the cost of respawning normal enemies.
You can only equip one sidearm at a time, and swapping happens at a beacon rather than mid-fight. Every sidearm works on every Shell and on the bare Harbinger, so nothing is locked to a specific body.
3. All Sidearm Locations in Mortal Shell 2
The list below follows the order in which most players hit these during a normal run, starting in Fainweald and finishing deep in Mammon. Two of the eight come from miniboss kills, one is a straight pickup off a tavern stage, and the rest are tucked at the end of dungeons.
3.1. Naylshotte
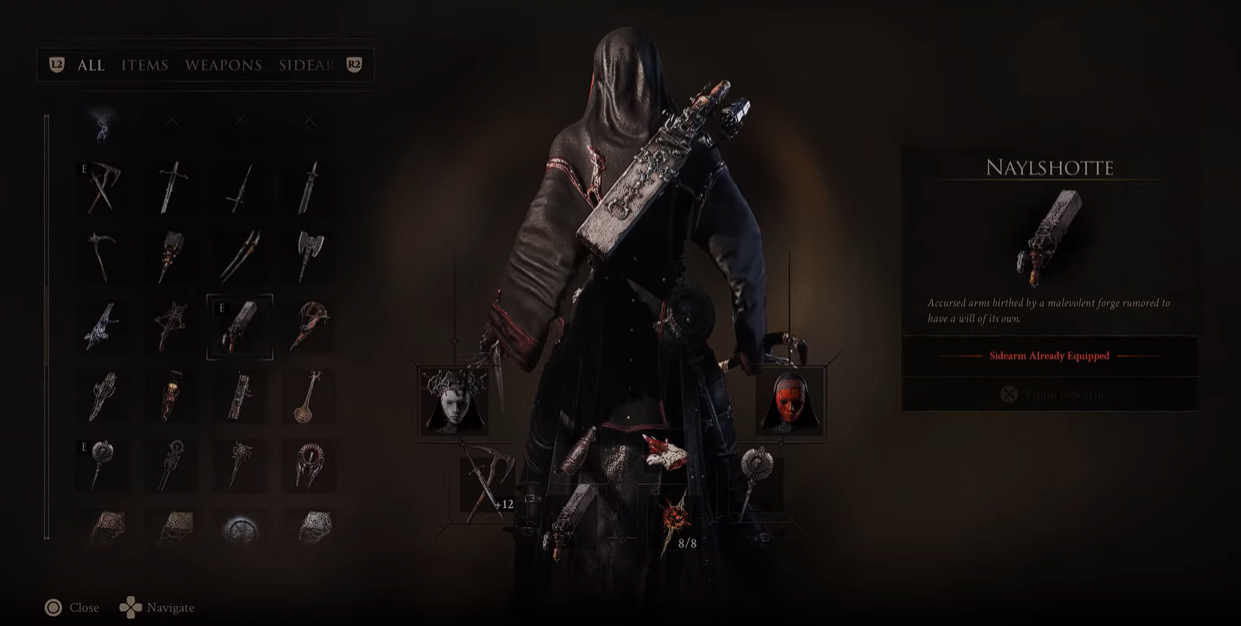
Naylshotte
The Naylshotte is handed to you during the prologue at the same moment you unlock the Harros shell, alongside The Iconoclast sword and the Untarnished Seal. There is nothing to hunt for and no way to lose it.
It fires a close-range spread that deletes smaller enemies in a single shot, and it stays a reliable panic button long after better options appear. Keep it slotted until you have something upgraded.
3.2. Forgotten Crossbow
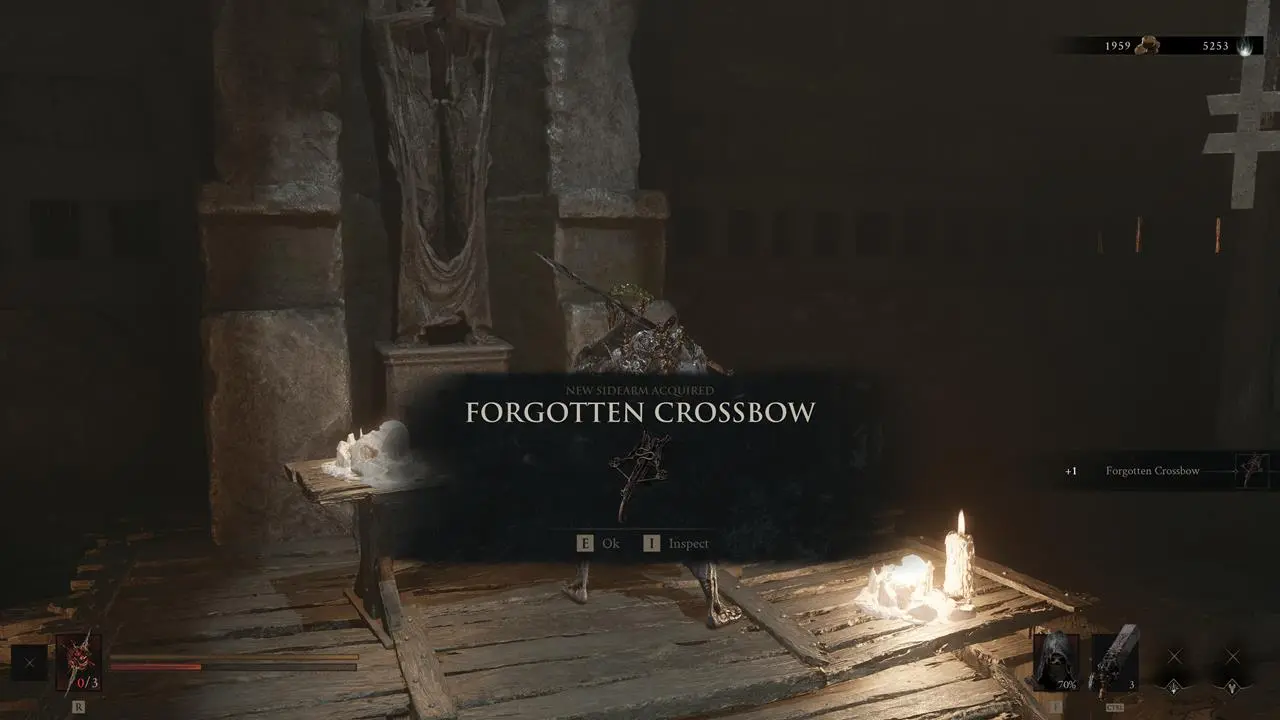
Forgotten Crossbow
The Forgotten Crossbow sits inside the Flooded Village dungeon in Fainweald, north-west of the Blackridge Pass beacon and below the rope bridges that drop away from Widow’s Overlook. The pickup is behind a locked door, so the Damp Key is the real objective here.
- Cross the rope bridges to the lower crags where the Spear Maidens patrol, then look for a stone archway covered in wooden boards.
- Break the boards to clear the arch and reveal the tower entrance behind it.
- Go down the steps, press the wall switch to lift the cage, and ride the elevator to the bottom. It collapses on arrival.
- Clear the underground village carefully. Toxic Stalkers apply poison, so pull them one at a time instead of fighting in the open pools.
- Take the Damp Key from the box beside the house at the back-left of the flooded area.
- Return to the building in the middle of the village and unlock it. The Forgotten Crossbow is on the table inside.
3.3. Salvaged Trebuchaxe
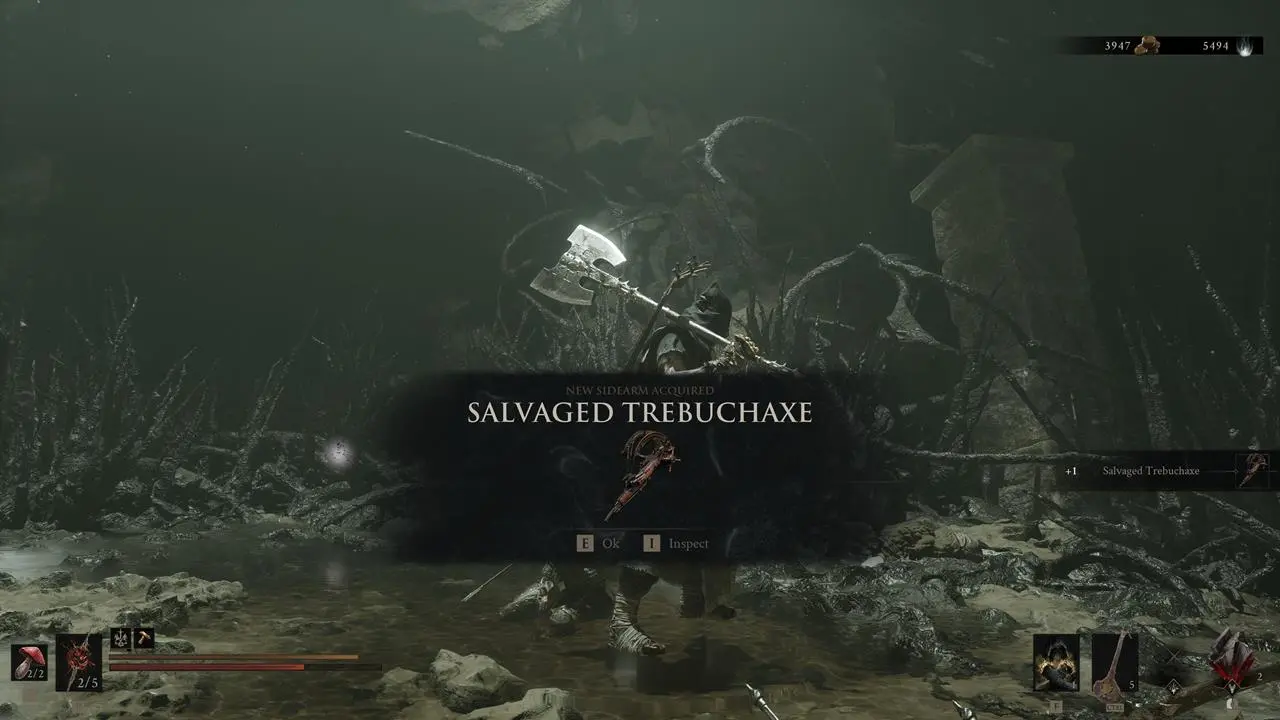
Salvaged Trebuchaxe
The Salvaged Trebuchaxe is at the end of the Ravaged Hideout dungeon, south of the Gloomshade Grove beacon. The entrance does not exist until the Bloodcursed Lithopod nearby is dead, which is why players sweeping this area on the map find nothing.
- Head south from the Gloomshade Grove beacon into the open area below, which is thick with poison enemies.
- Kill the Bloodcursed Lithopod. Its death opens a crevice in the large rock formation beside the arena.
- Squeeze through and push to the final chamber, where reaper-style enemies fight you in tight quarters.
- Loot the kneeling corpse at the back of the room to claim the sidearm.
This one throws axes rather than bolts. It hits hard enough to end small and medium enemies outright, but the fire rate is slow, and each shot is expensive, so save it for openers.
3.4. Troubadour’s Lute
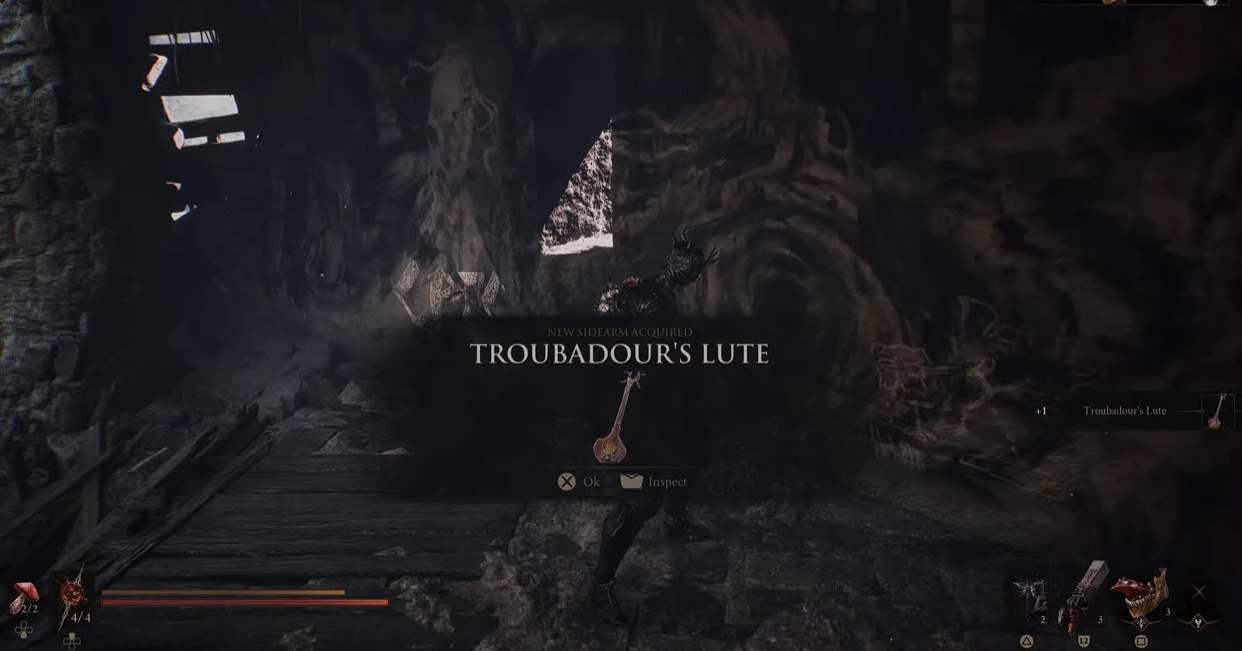
Troubadour’s Lute
The Troubadour’s Lute sits on the stage inside the One Legged Wolf Tavern, southeast of the One Legged Wolf beacon in eastern Fainweald. It is a straight pickup with no boss attached, but corruption blocks the path in, so you need siphoned Ova before the route opens.
Take the bridge north of the Mushroom Village gate, cleanse the corruption in your way, and follow the path until the tavern appears. The lute is to the left of the musician on the stage. The Gragu shell is inside the same building, so clear both in one visit.
Firing it applies Confusion, which causes affected enemies to attack each other for a short window. In a corridor or a packed camp that is worth more than raw damage, and it costs you nothing but Resolve to reset a bad pull.
3.5. Triarch Repeater
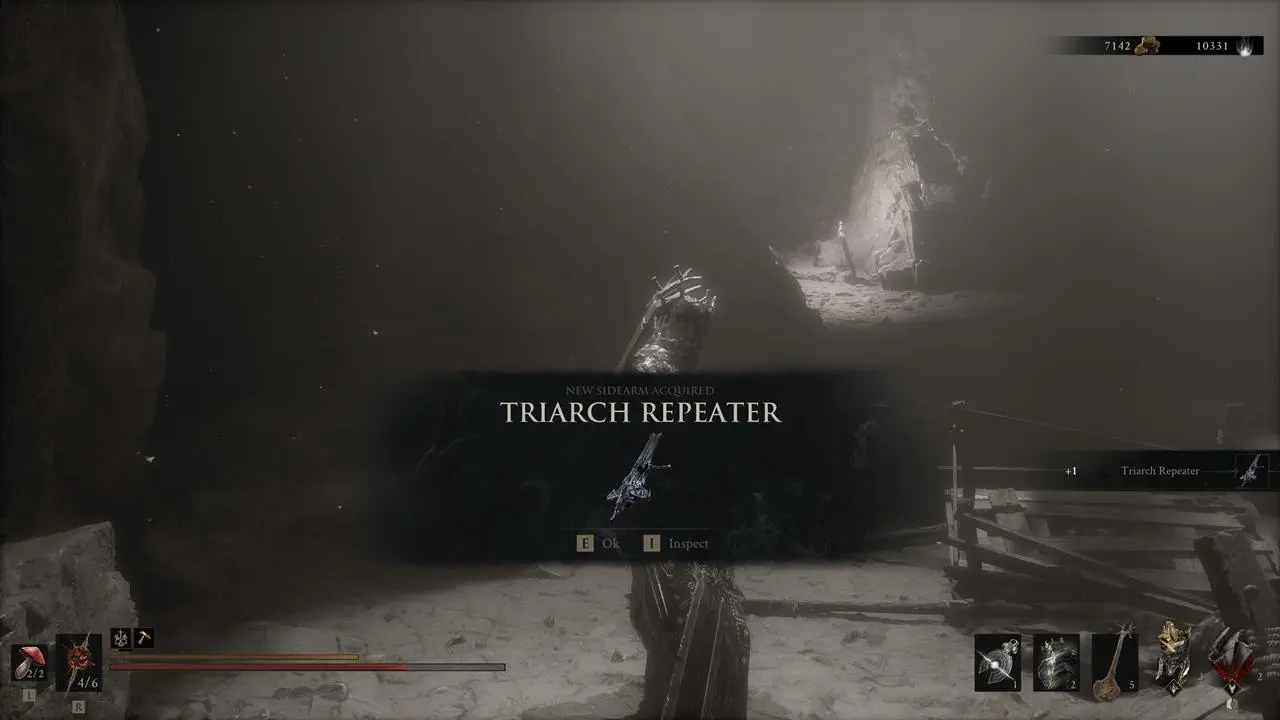
Triarch Repeater
The Triarch Repeater is inside Blackwell Cavern, reached from the Castigator’s Keep beacon in Mammon. The dungeon runs dark enough to cut visibility to a few feet, and the wraiths inside wash the screen out further, so lock-on is the only dependable way to track anything.
- From Castigator’s Keep, take the steps or drop down behind the beacon to reach the lower level.
- Follow the cliffside path and take the wooden lift down when you reach it.
- Circle the grassy field until the cave mouth appears on the far side.
- Lock on to each wraith as it closes, because the darkness hides their approach entirely.
- Take the repeater from the ground beside a corpse in the first lit chamber.
This is the automatic option, emptying long bursts that shred weak enemies and clear packed corridors. Individual bullets land soft, so it earns its slot through volume and pairs well with a damage-over-time Tarstone.
3.6. Ballistazooka
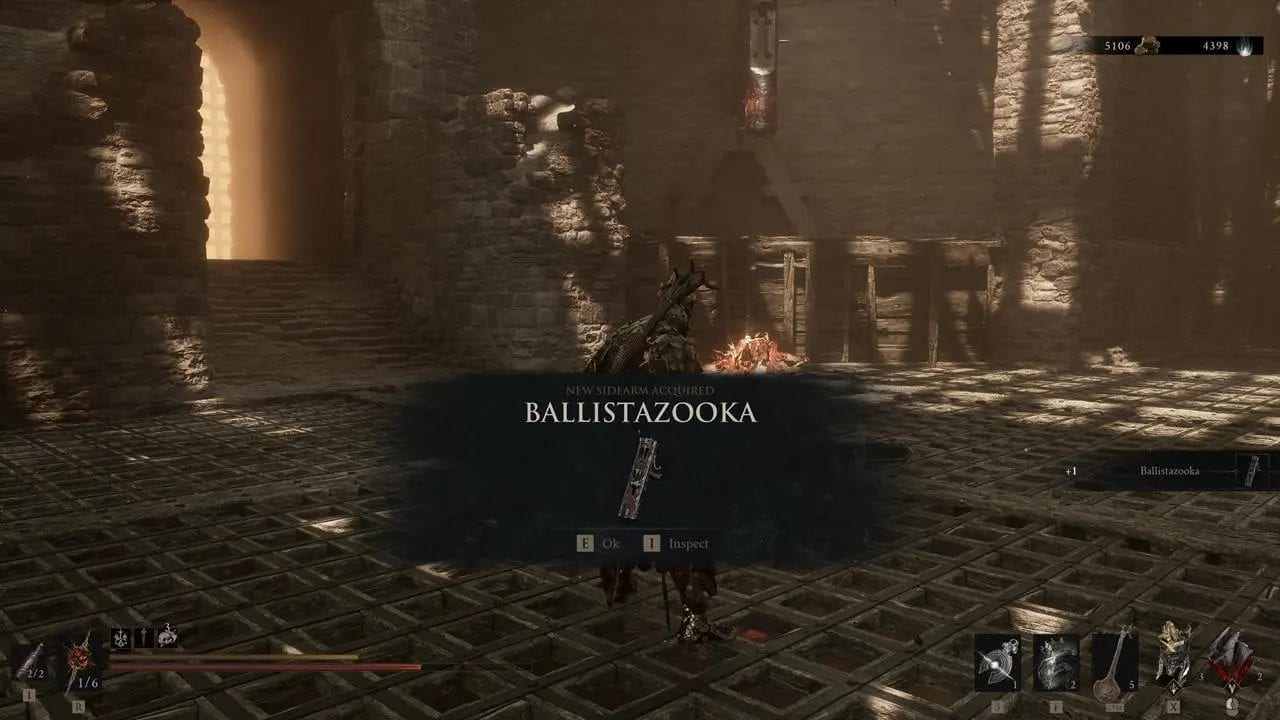
Ballistazooka
The Ballistazooka drops automatically from the Subjugated Guardian miniboss at the end of Sentry’s Grave, the dungeon inside the Lonesome Spire in Mammon. There is no pickup to spot, so the whole task is surviving the room.
- Go northwest up the first flight of stairs from the Gate of Mammon beacon to reach the first level of the building.
- Follow that level clockwise to the indoor area with the stairs leading down into Sentry’s Grave.
- Break line of sight between pushes, because the Ballista Heads inside skewer you from range.
- Close the distance on the Subjugated Guardian to stop its explosive volleys and force head-slam attacks instead.
- Block and parry the slams. They are slow and readable, and the Ballistazooka lands in your inventory on the kill.
3.7. Cursed Child
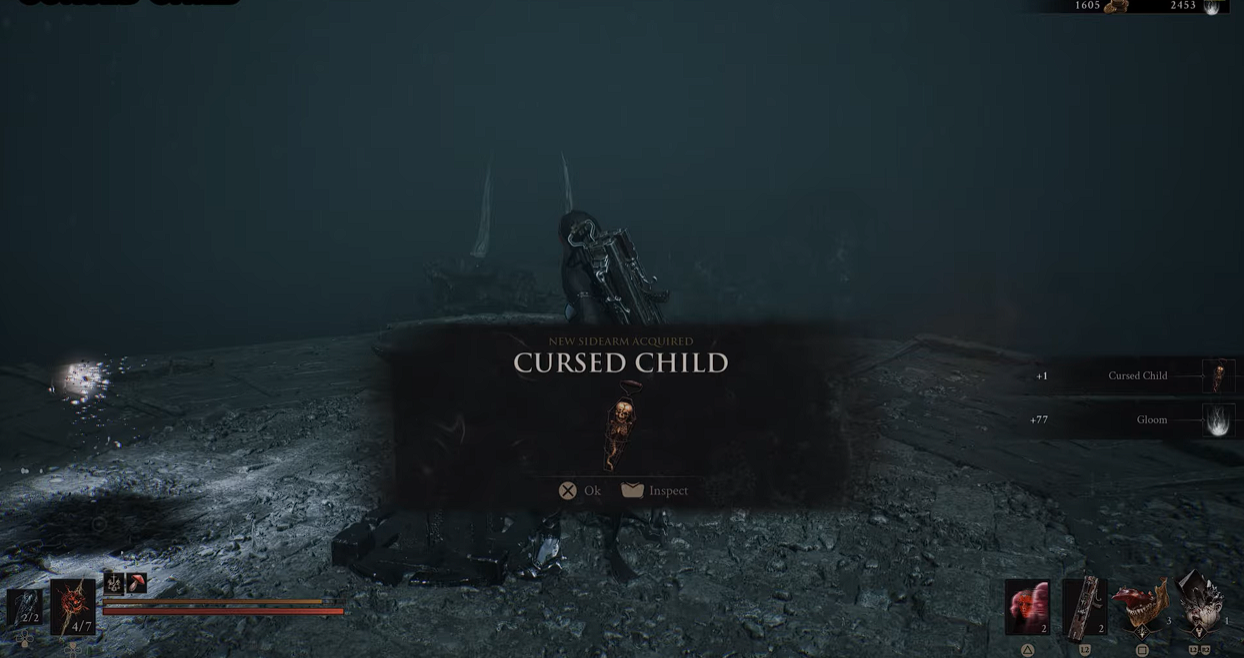
Cursed Child
The Cursed Child is at the top of the tower inside the Revered Beacon dungeon, in the Sester’s Abbey area of Mammon. A golden light sweeps the whole space from that tower and burns your health down steadily once it locks on, so this route is about cover rather than combat.
- From the Sester’s Gate beacon, go up the north-western stairs to the courtyard with the rolling enemy.
- Move onto the western platform and drop to the ledge below with the Bone Gate.
- Follow the path north past the hammer enemy. The dungeon door is on the right.
- Break line of sight the moment the golden light finds you, and let it burn nearby enemies while you move.
- Work anticlockwise up the hill towards the tower at the center of the area.
- Attack the central pillar to kill the light, then pick up the Cursed Child.
3.8. Caged Hystrix
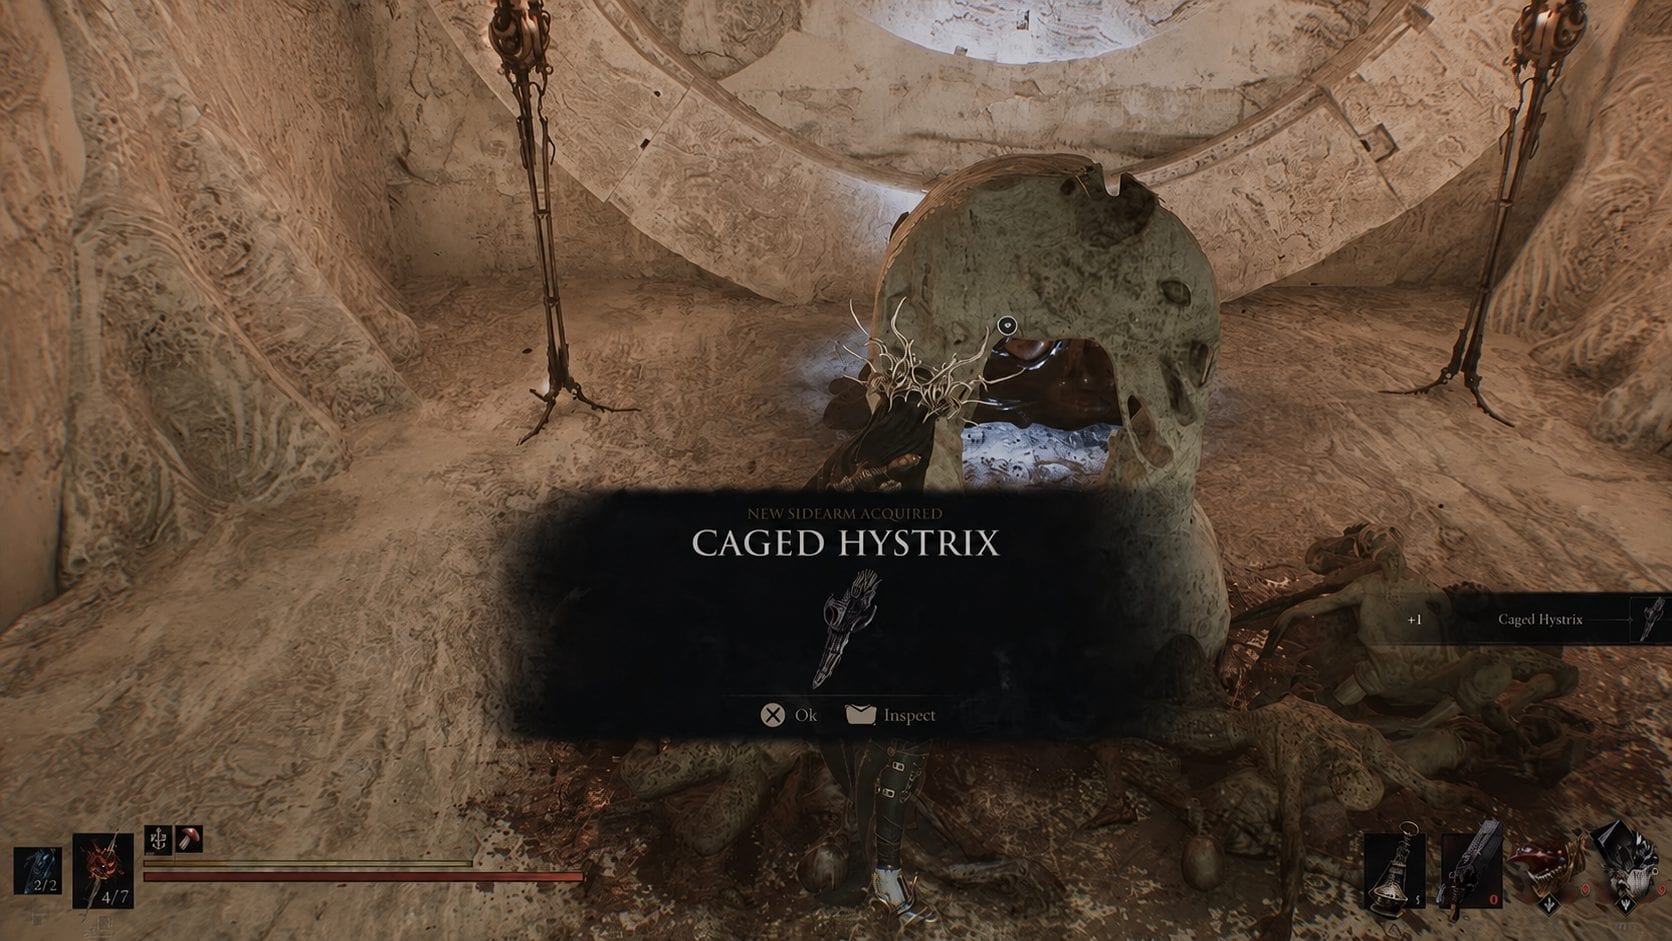
Caged Hysterix
The Caged Hystrix waits near the exit of the Chamber of Becoming, and it only appears once Sariel, the Endless, has been beaten twice. He lives up to the name in the second fight, reviving repeatedly until the tombstones around the room are broken.
- Head southeast from the Silent Steps beacon to the large stone platform where Sariel ambushes you.
- Follow him south once his health drops. He phases through the wall, opening the Chamber of Becoming.
- Push through the dungeon to the rematch arena at the end.
- Break all four tombstones before committing to the kill. Each one left standing revives him.
- Climb the stairs at the back of the area and take the sidearm near the dungeon exit.
The same encounter hands over the Clockwork Scythe and unlocks Sariel as a playable Shell, which makes this the most rewarding fight in the region.
4. How to Upgrade Sidearms at the Tarforge
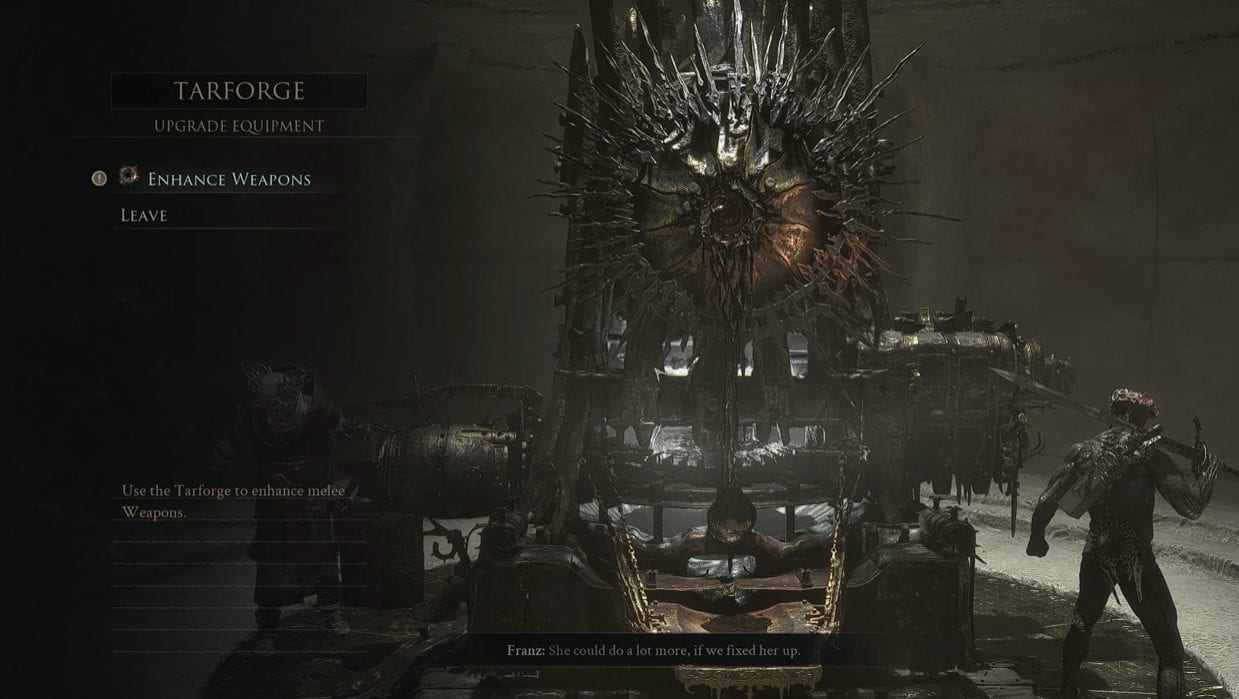
Tarforge
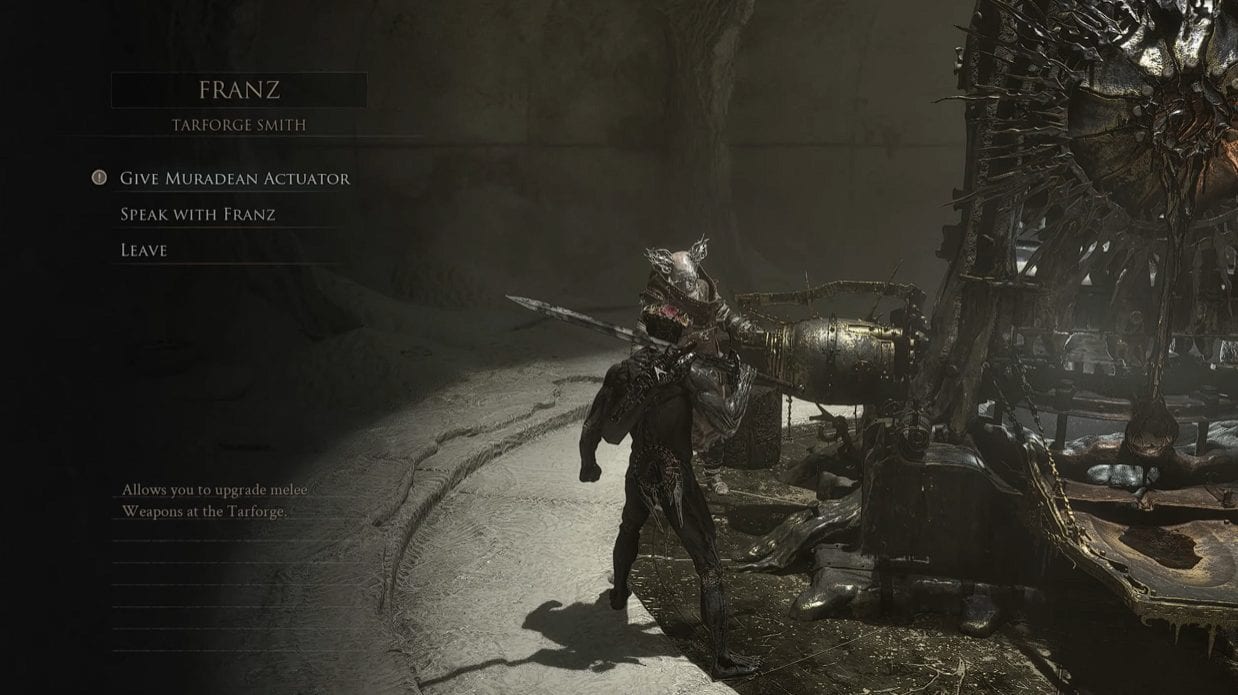
Sidearm upgrades run on a separate unlock from melee upgrades at the Tarforge in Marrow Keep. Handing Franz the Muradean Actuator switches on weapon enhancement only. Sidearms stay locked until he receives the Obsidian Lathe as well.
- Go to the Tarforge in Marrow Keep.
- Speak to Franz.
- Deliver the Muradean Actuator and the Obsidian Lathe.
- Select the sidearm upgrade and spend the required Coins and smithing stones.
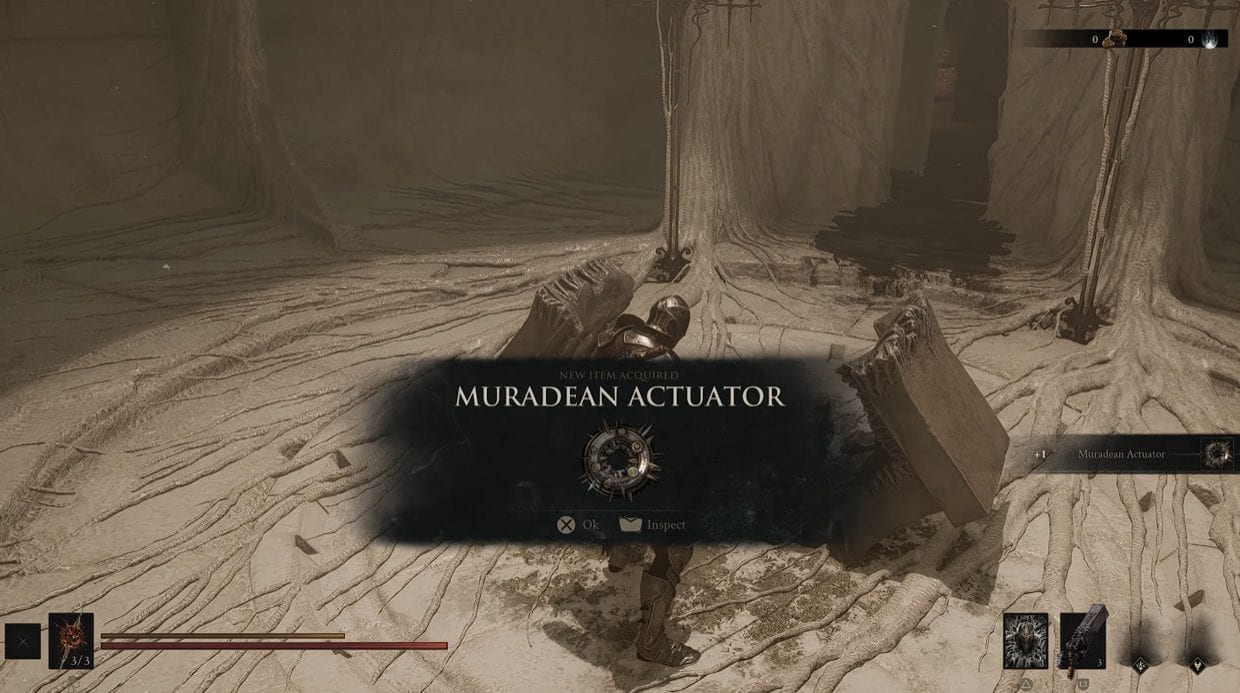
Muradean Actuator
The Obsidian Lathe is inside the Martyr’s Tomb dungeon, due south of the Widow’s Overlook beacon in Fainweald and right beside the grave where the Tiel shell is found. Fight through to the final room and open the chest by the sarcophagus. A Parasitic Stone Tarstone comes with it.
The exit seals behind you the moment you enter that room, which strands a lot of players. Shoot the target above the gate with your sidearm, and it opens again.
Once the Lathe is delivered, upgrades cost Coins plus smithing stones such as Ventrium, Laterite, Dorsalite, Thoracium, and Ossinite. A late-campaign item called the Endless Core removes the upgrade cap entirely, and it installs through the Tarforge menu rather than through Franz.
5. How to Unlock the Guns. Lots of Guns Trophy
Franz
Guns. Lots of Guns is a silver trophy that pops the moment your eighth sidearm enters the inventory. It sits alongside Lord of War, the matching silver for collecting all eight melee weapons, and both are covered by a single thorough playthrough.
Nothing on this list is missable, and no difficulty setting is involved. If you reach the final boss short of a few, free roam stays available afterward, and every dungeon above can still be cleared before you choose to enter New Game+.
- Trophy name: Guns. Lots of Guns
- Type: Silver
- Requirement: Unlock all sidearms
- Missable: None
- Individual trophies: One bronze per sidearm
- Cleanup: Post-final-boss free roam
Related posts:


 Windrose – Best Clay Farming Locations and Routes

 How To Farm Coins in ARC Raiders – Best Money-Making Methods, Routes & Events


