The eight Shells required for the full collection are Tiel, Proxima, Eredrim, Smert, Gragu, Genessa, Lazlo, and Sariel. Finding all eight also unlocks the Shell Seeker trophy/achievement.
After claiming a Shell, complete its initial Memory sequence to permanently add it to your collection, then use Marrow Keep to switch between the Shells you have unlocked. If you’re looking for sidearms, check our detailed guide.
1. All Shell Locations in Mortal Shell II
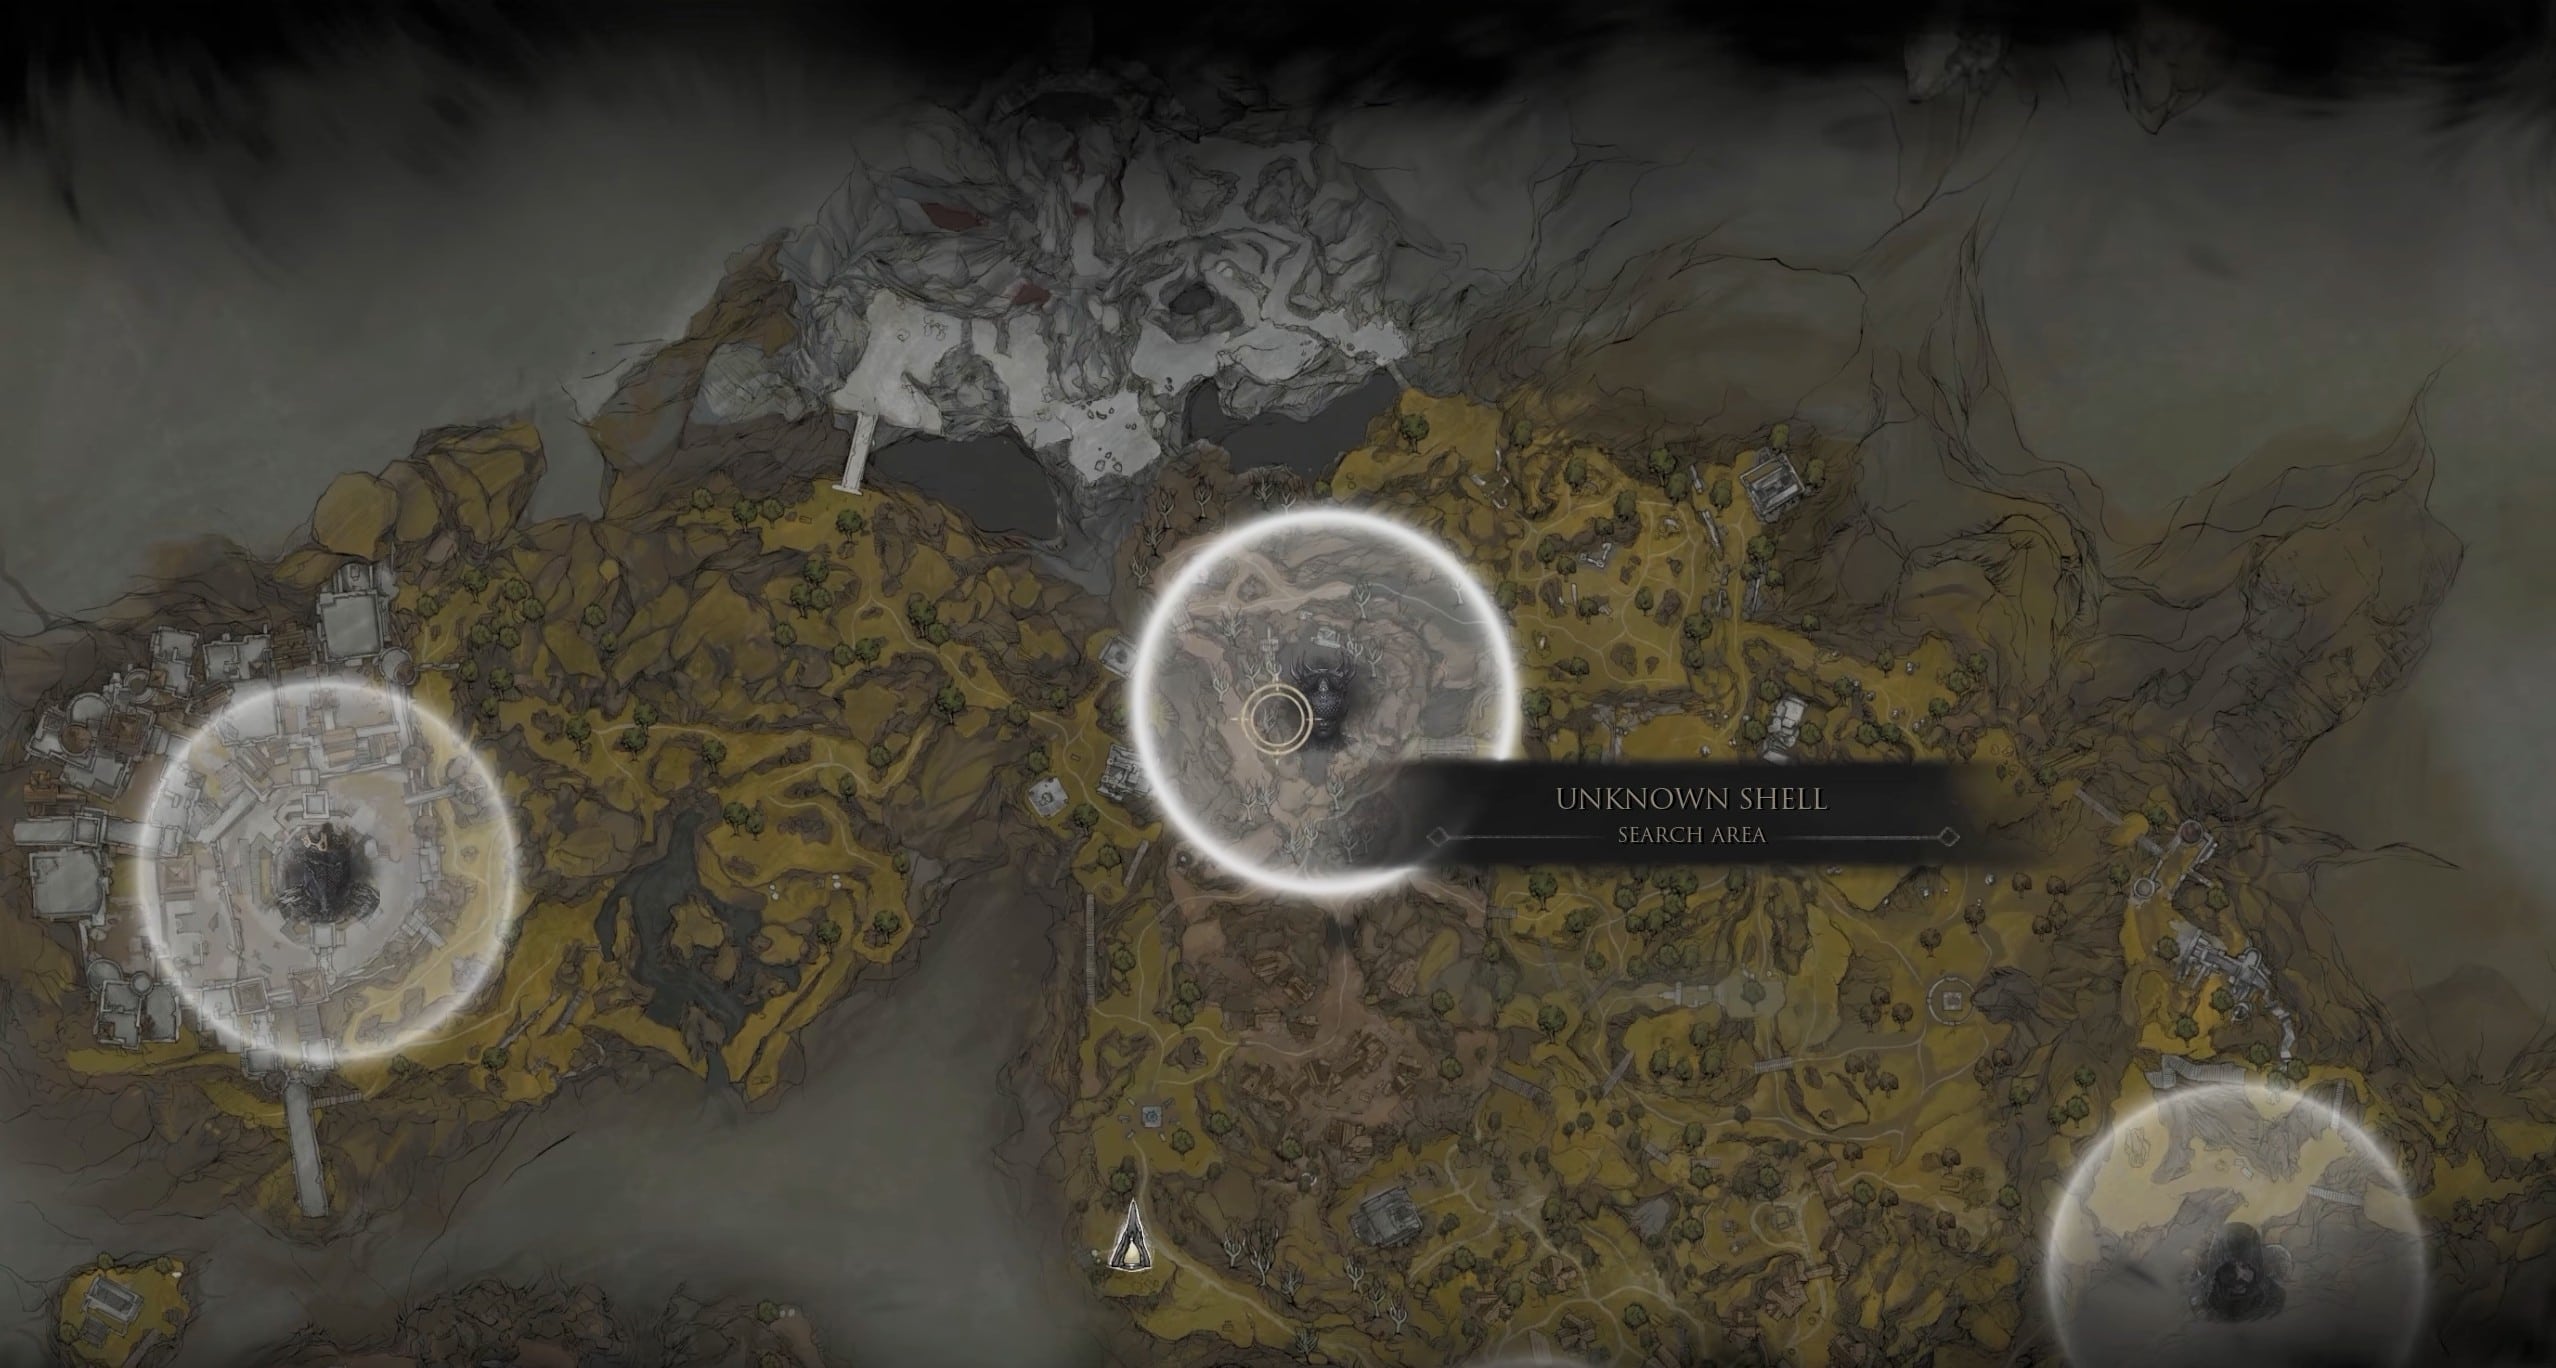
Shell Locations
The eight collectible Shells are divided mainly between Fainweald and the Ruins of Mammon. Tiel and Proxima are the easiest early-game options, while Lazlo, Sariel, and Genessa require reaching the later Mammon region.
| Shell | Location | Unlock Requirement |
|---|---|---|
| Tiel | Near Widow’s Overlook / Mushroom Village | Interact with his body in a shallow grave |
| Proxima | Shattered Beacon, northeast of Blackridge Pass | Enter and cleanse the Shattered Beacon |
| Eredrim | Citadel of Penance | Reach the central arena and defeat The Warden |
| Smert | Prophet’s Rest, Outskirts of Nochte | Complete the Blood Offering ritual |
| Gragu | One-Legged Wolf Tavern | Bring him the Heart of Vatra |
| Genessa | Marrow Keep / Revenant Graves | Defeat Sester Secundus and return the Sester’s Censer |
| Lazlo | Royal Crypt / High Lord’s Courtyard | Defeat Vellen, High Lord of Mammon |
| Sariel | Chamber of Becoming | Defeat Sariel, the Endless |
2. Tiel Shell Location
Tiel Shell Location
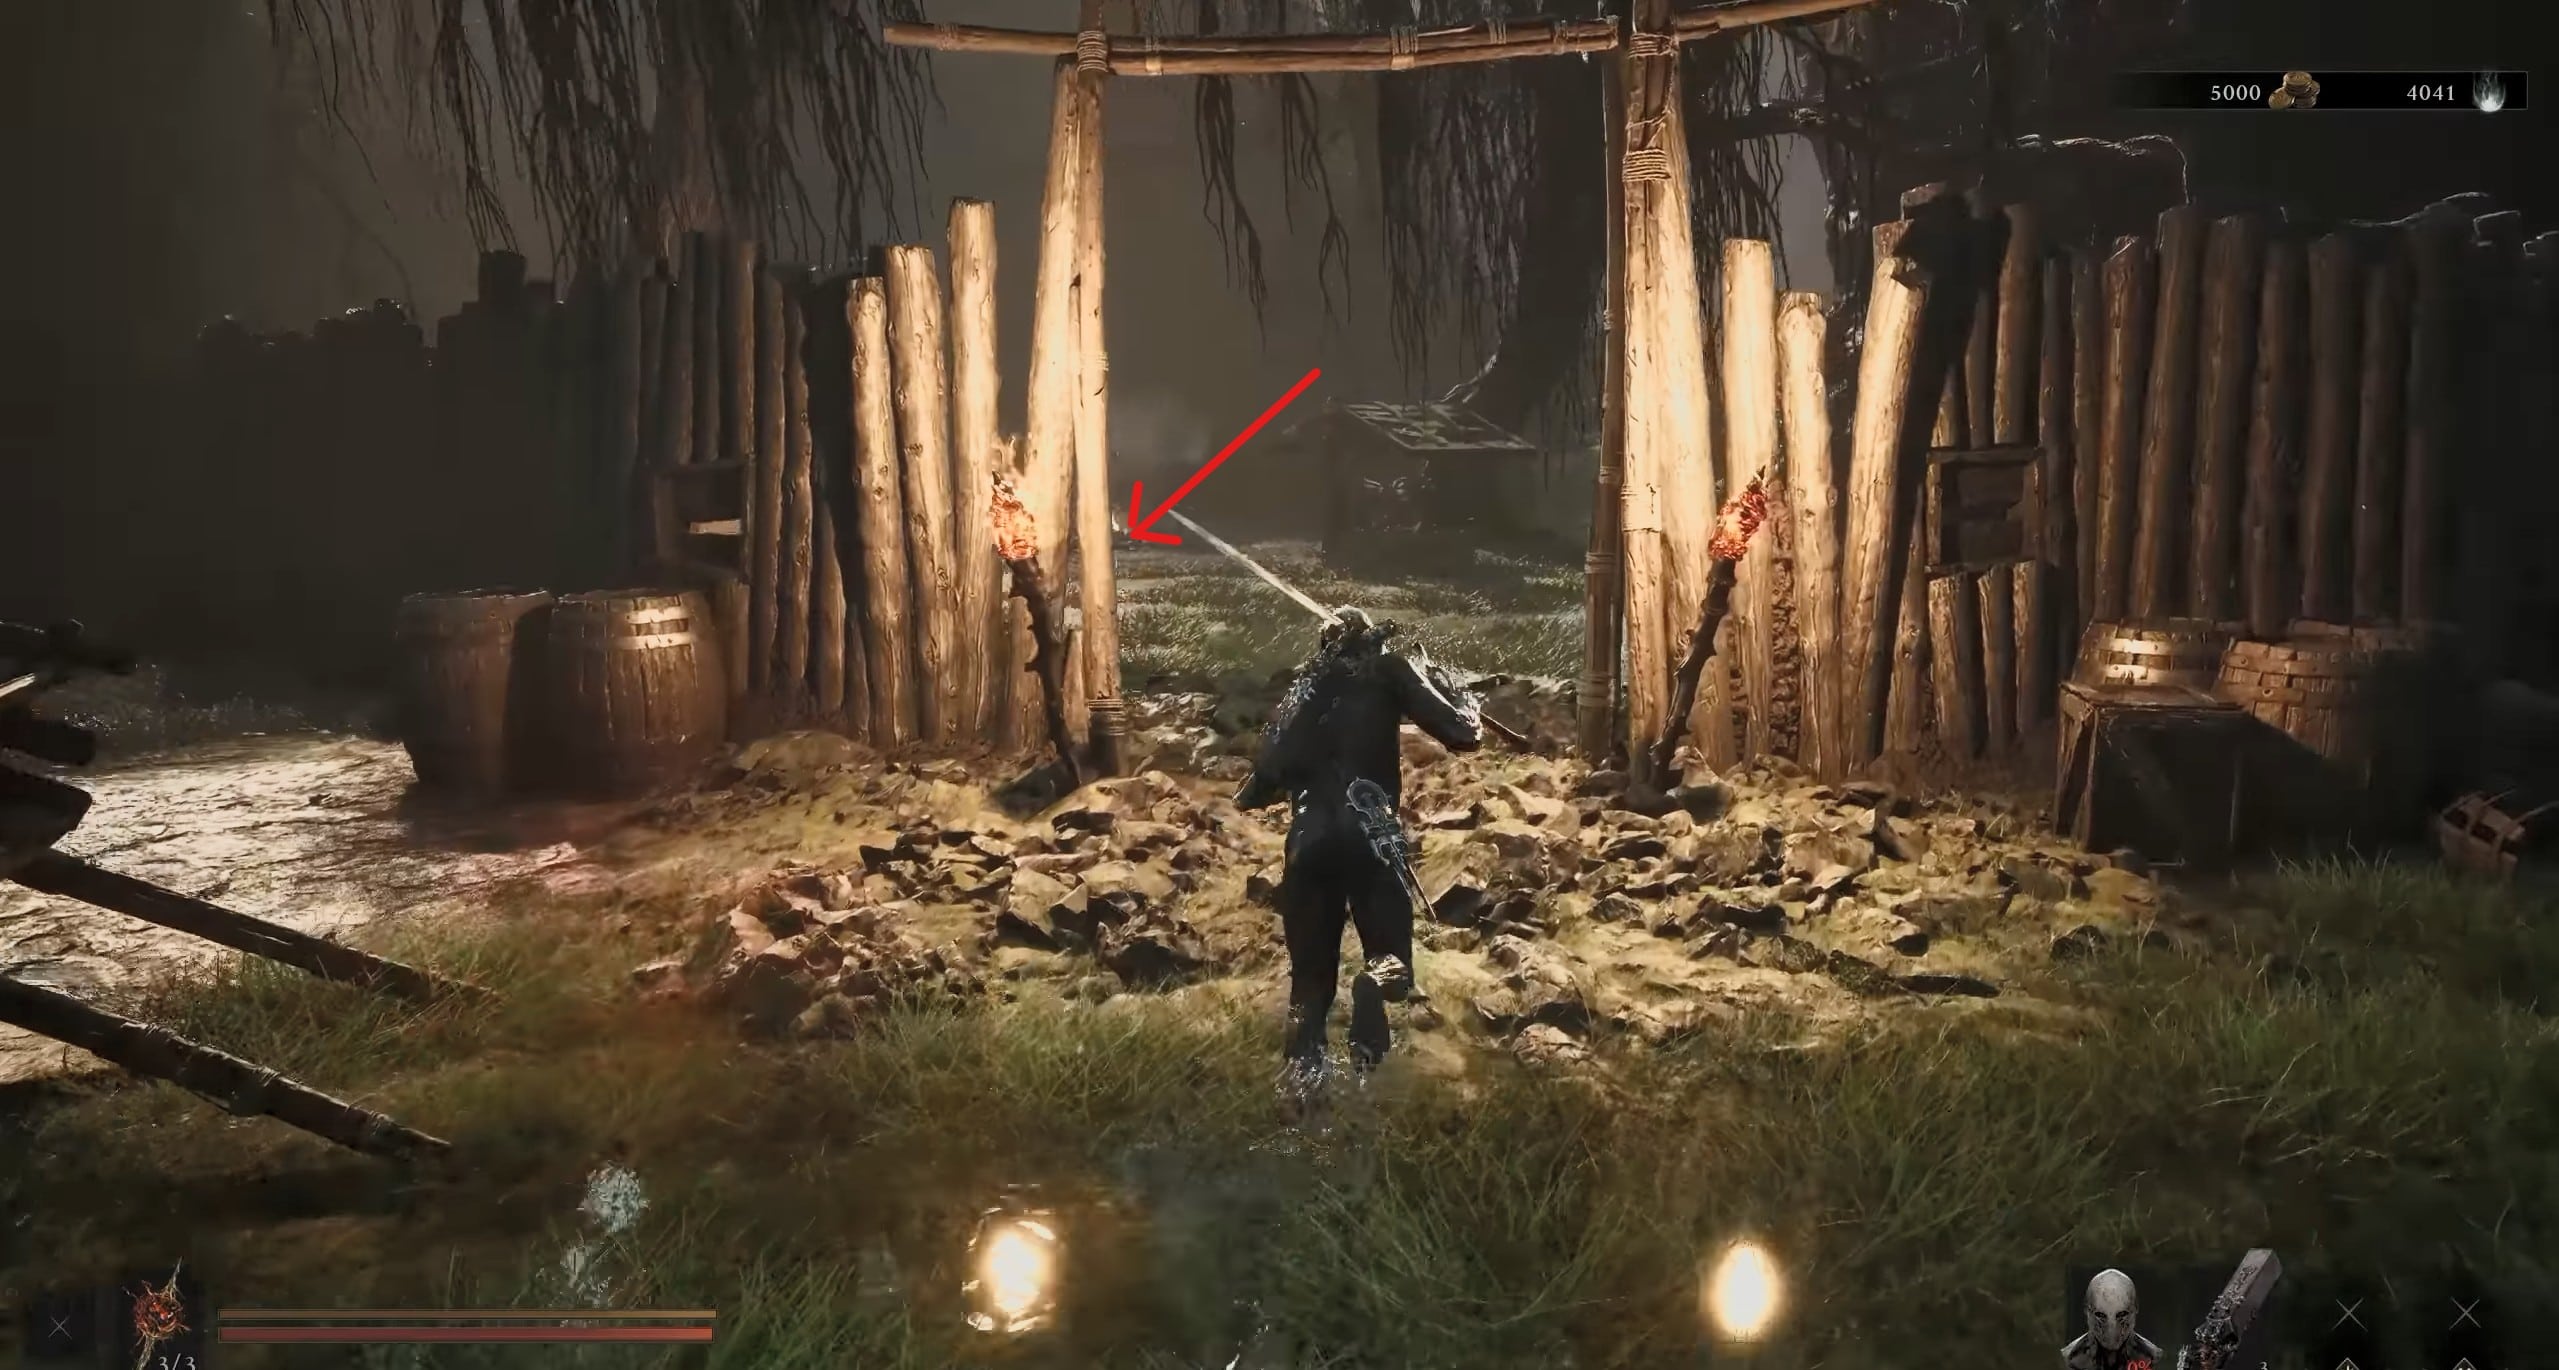
Tiel is the easiest Shell to unlock and makes a good first target after reaching Fainweald. His body is buried in a shallow grave near the Mushroom Village and Widow’s Overlook area, and there is no boss or quest requirement attached to the unlock.
- Fast travel to the Widow’s Overlook Beacon.
- Turn around from the Beacon.
- Follow the dirt path toward the nearby yard.
- Look for the shallow grave surrounded by the village structures.
- Interact with the body inside the grave.
- Complete Tiel’s Memory sequence to permanently unlock him.
The same location can also be approached from Mushroom Village. Stay outside the main village and continue toward the torch-lit enclosure containing the grave.
3. Proxima Shell Location
Proxima Shell
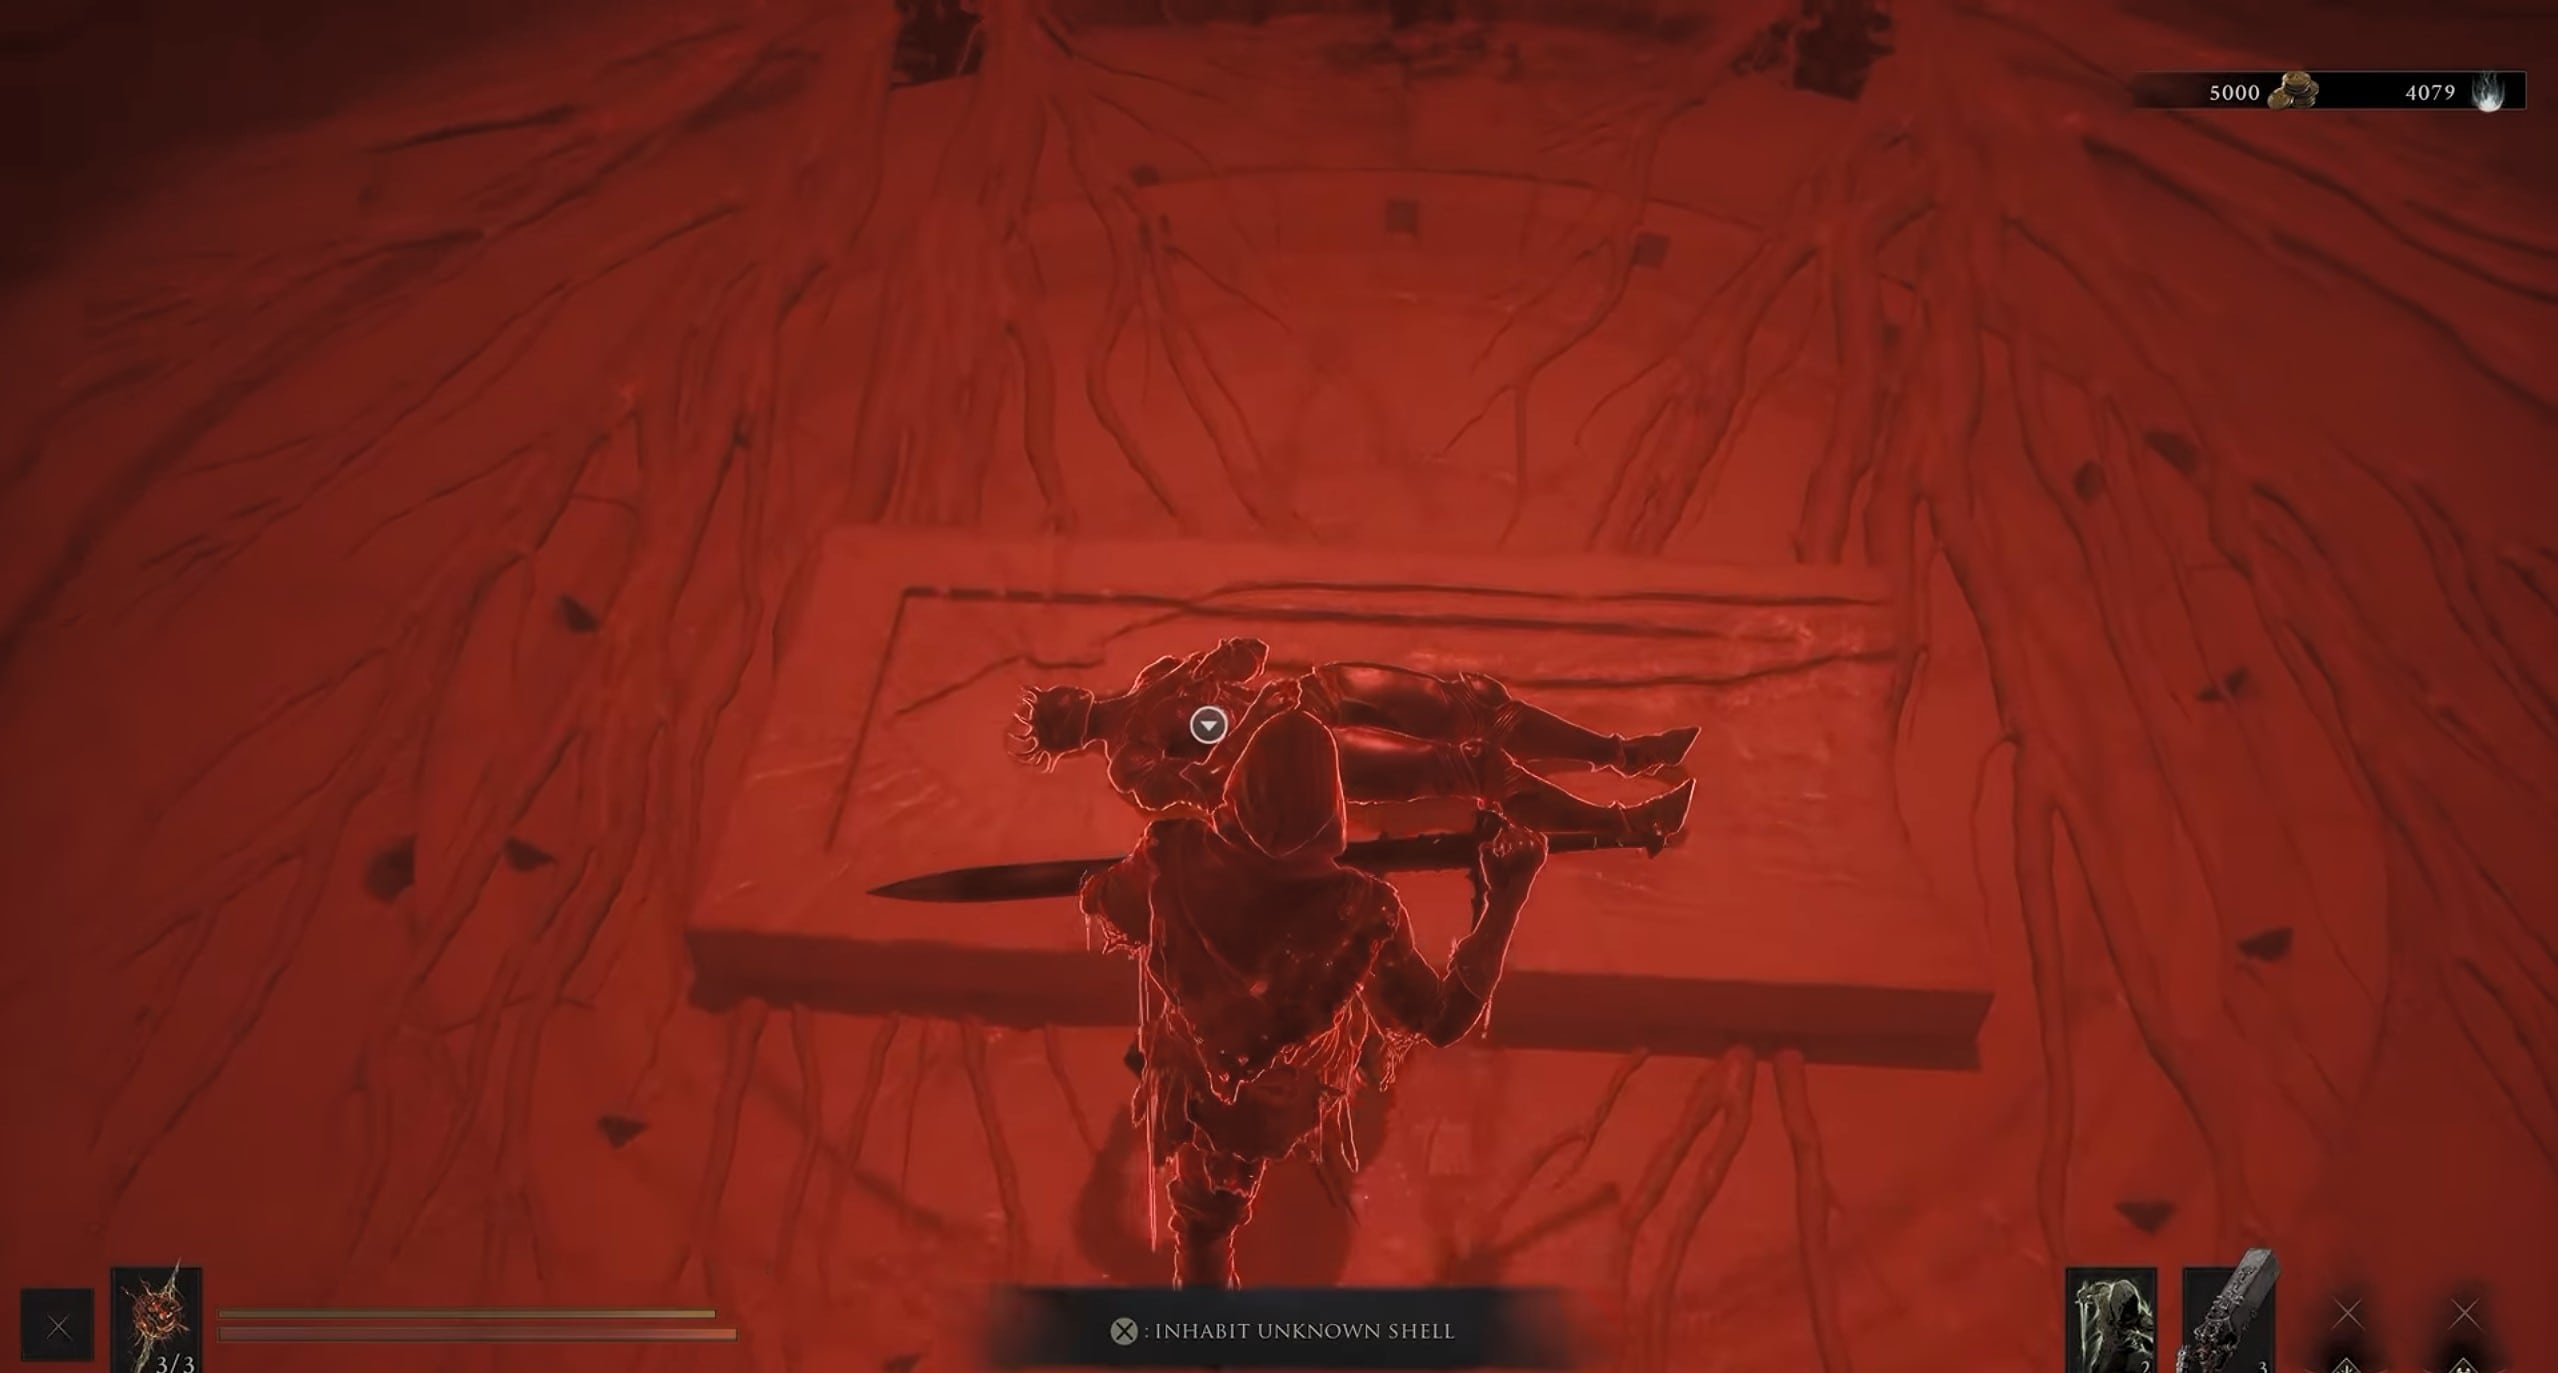
Proxima is another early Fainweald Shell and is found inside the Shattered Beacon, northeast of Blackridge Pass. Unlike Tiel, you need to enter the Beacon structure before you can claim her remains.
- Start from the Widow’s Overlook Beacon.
- Follow the upward path and cross the ravine toward Blackridge Pass.
- Activate the Blackridge Pass Beacon if you have not already done so.
- Head northeast/right from the Beacon.
- Run past the enemies fighting around the large Treant.
- Look for a structure resembling another glowing Beacon.
- Enter the Shattered Beacon Dungeon.
- Cleanse/progress through the Beacon and interact with Proxima’s remains.
4. Eredrim Shell Location
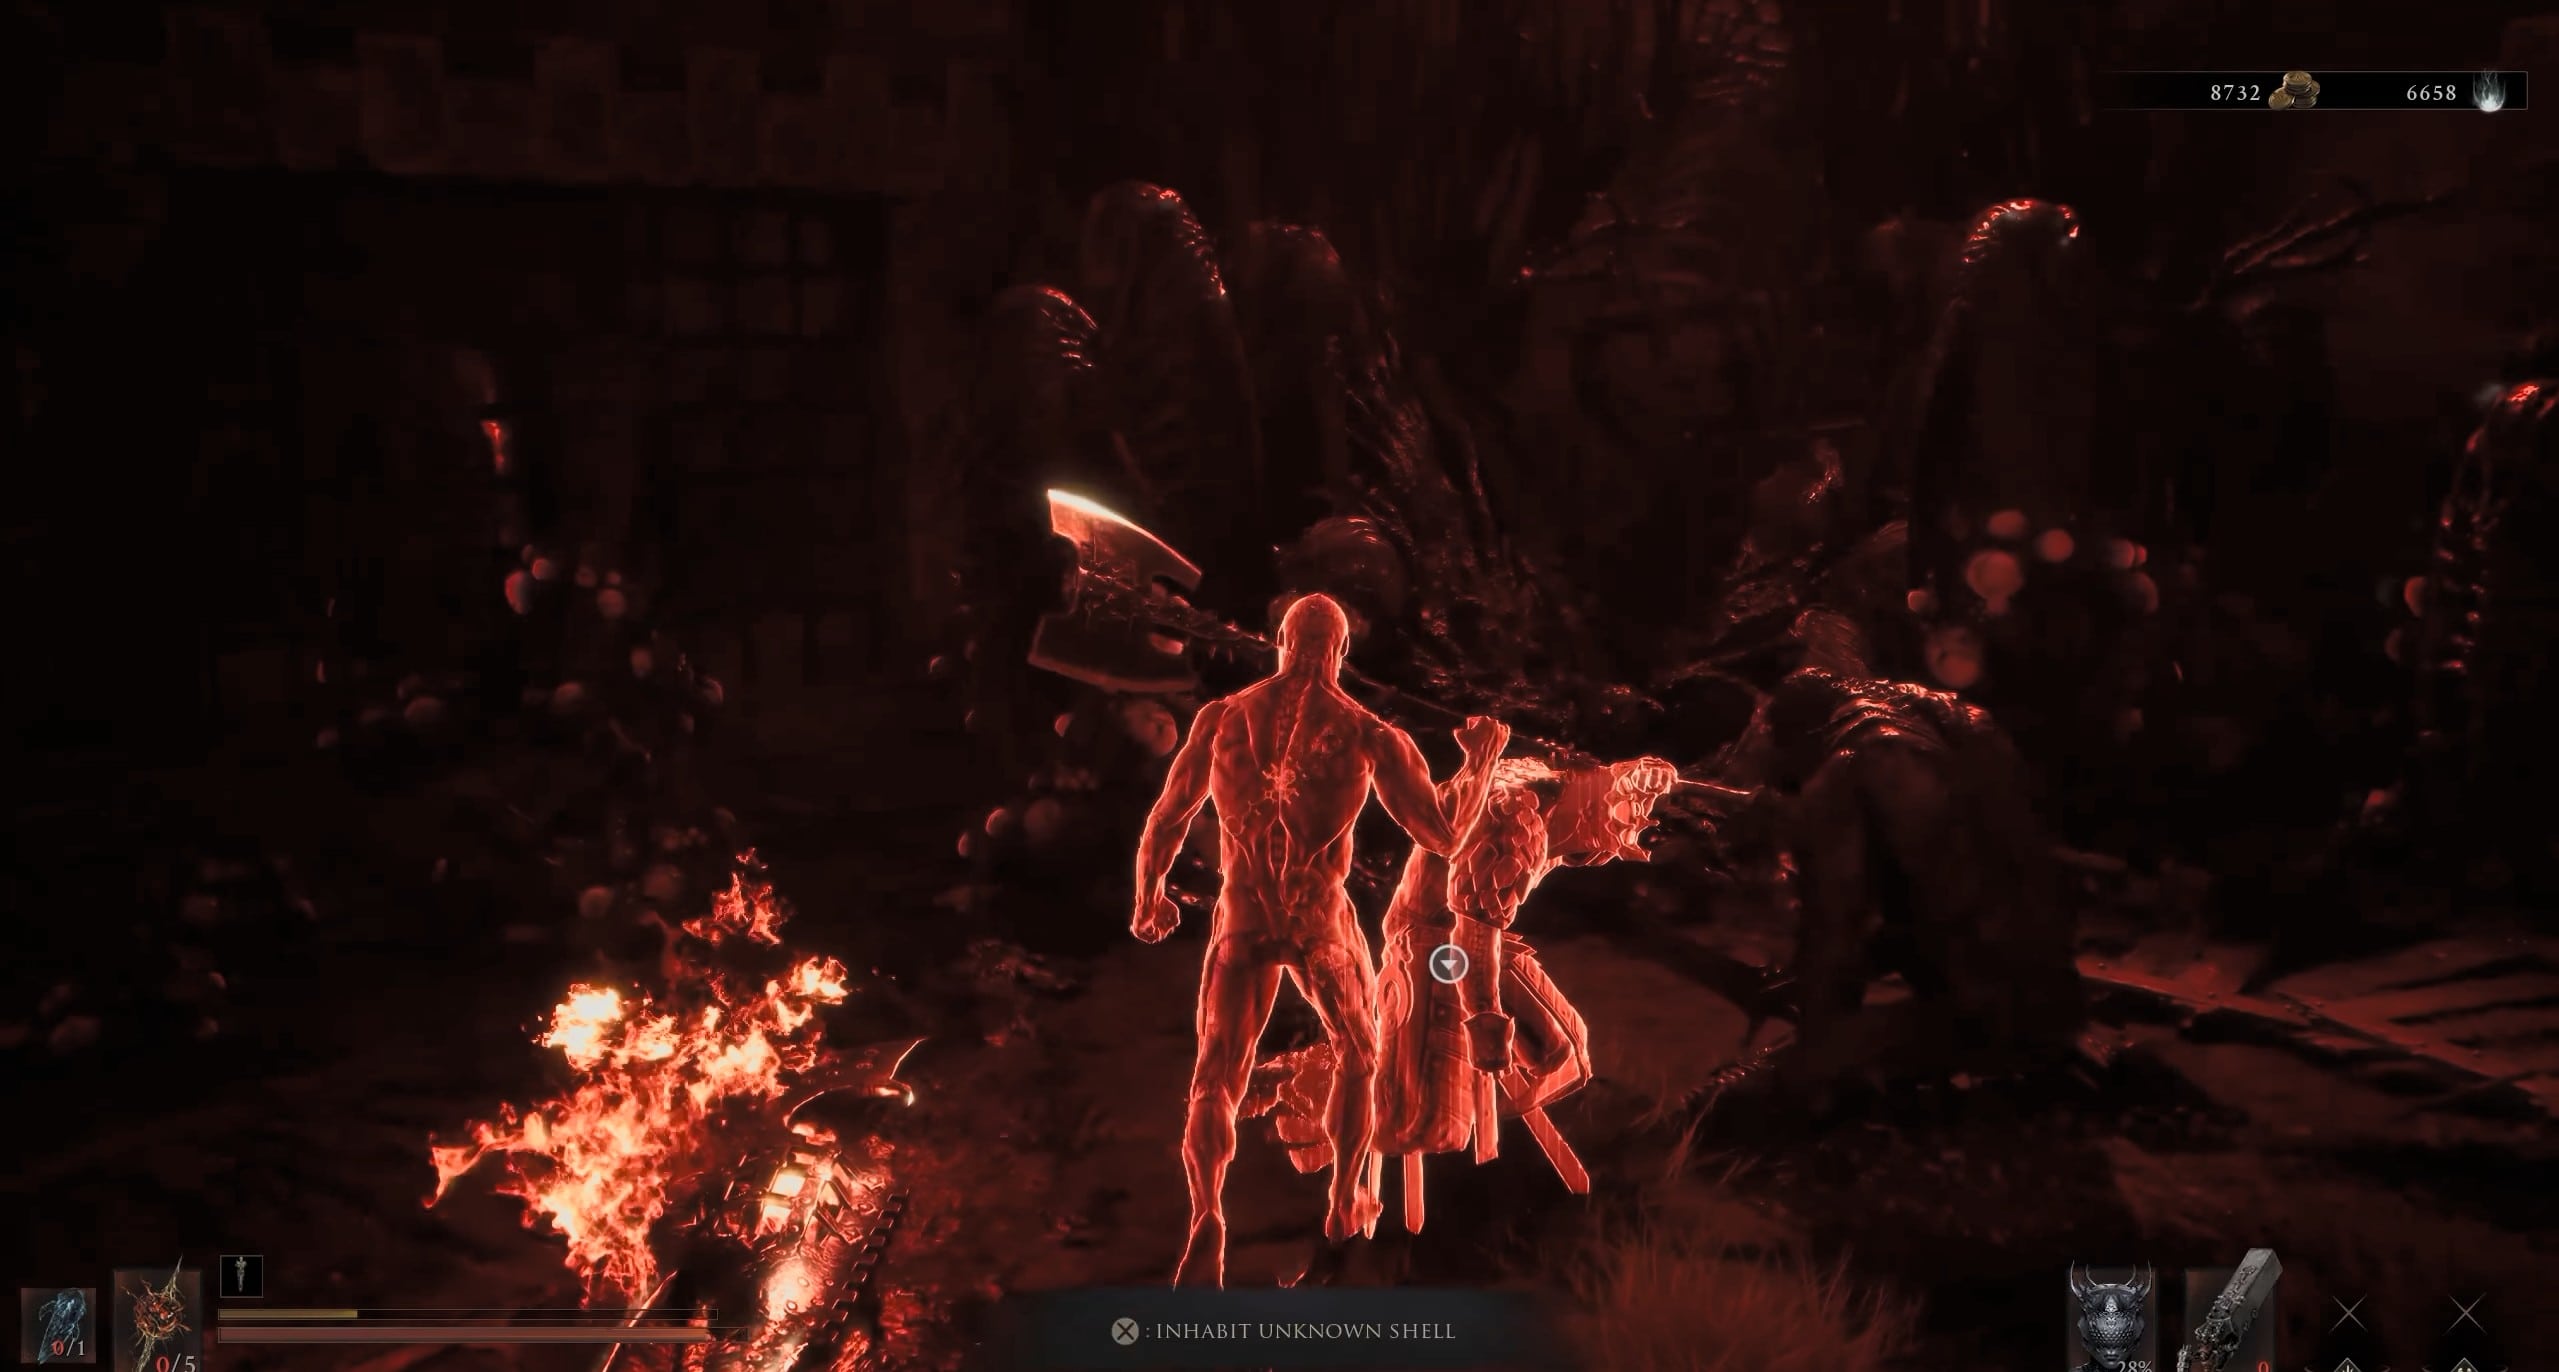
Eredrim Shell location
Eredrim is hidden inside the Citadel of Penance in northwestern Fainweald. This is a more dangerous unlock than Tiel or Proxima because reaching his body requires navigating the fortress and dealing with an arena encounter. The easiest route begins from the Citadel of Penance Beacon:
- Enter the Citadel and move toward its central courtyard.
- Drop into the lower section of the fortress.
- Continue through the dungeon level until you reach the locked arena.
- Find the nearby elevator/lift.
- Activate it and ride upward.
- Prepare for an ambush from The Warden.
- Defeat The Warden.
- Find Eredrim’s corpse in the arena and interact with it.
Another route into the Citadel involves a mysterious bag near the Overrun Quarry area that transports you directly into the fortress, making it possible to reach Eredrim earlier if you know where to go.
5. Smert Shell Location
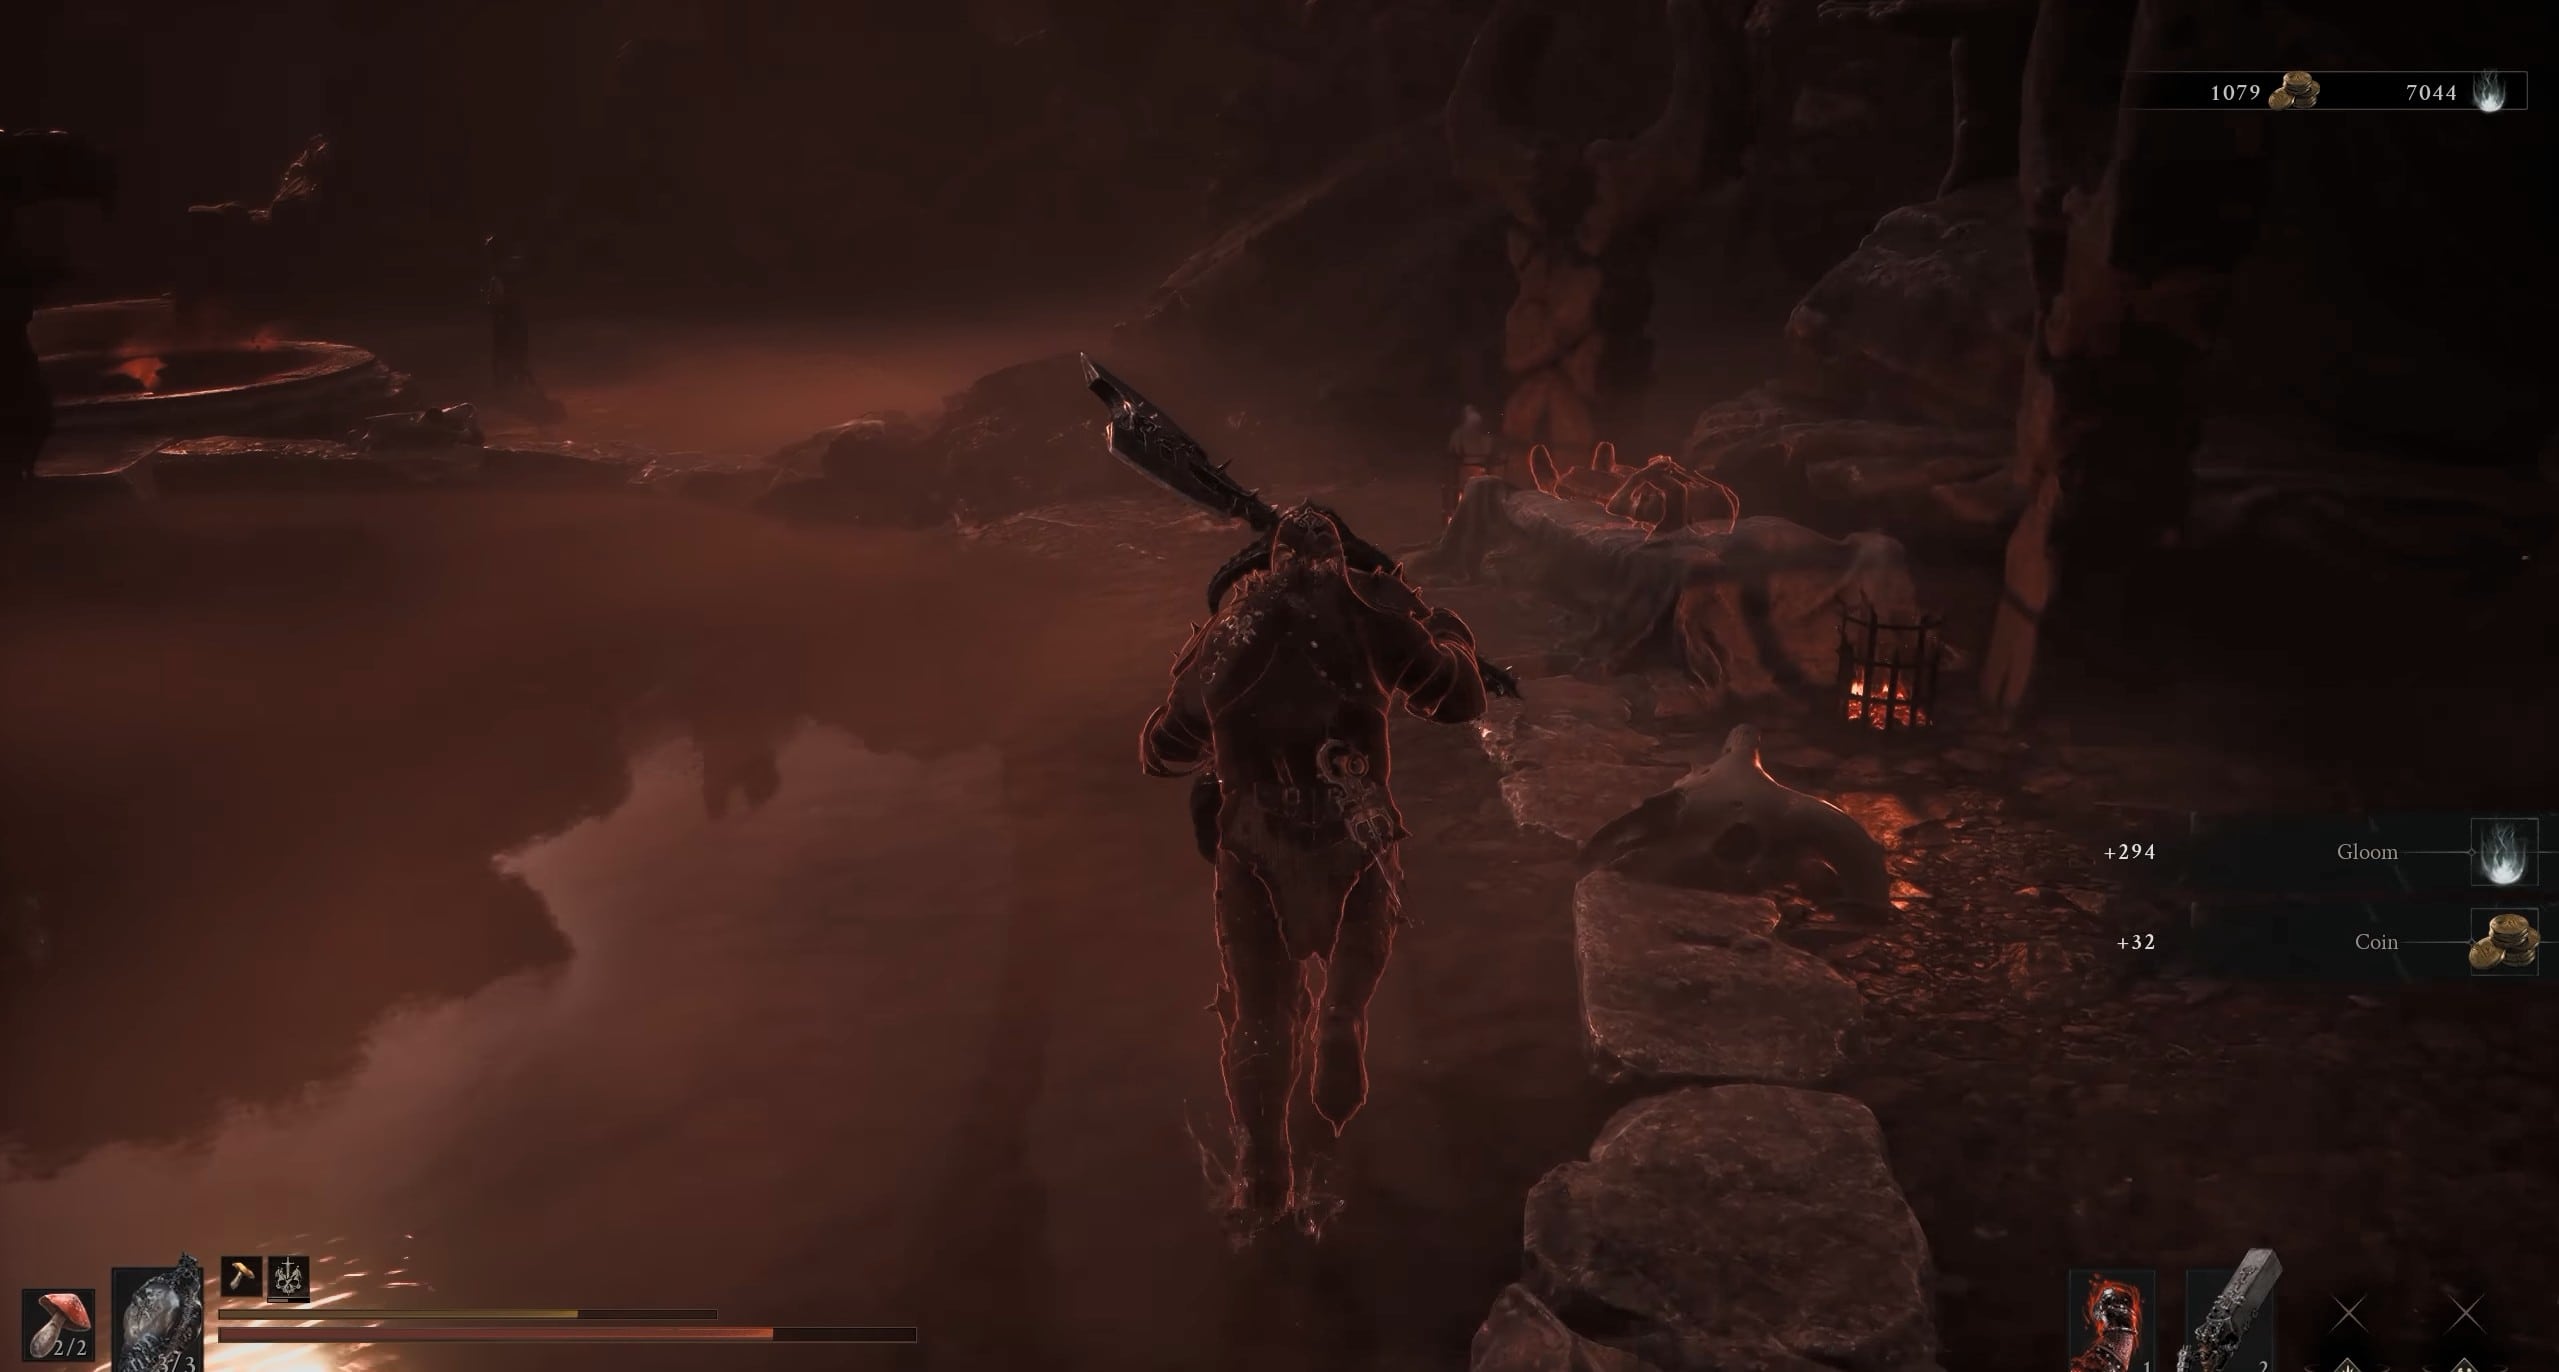
Smert Shell
Smert is found at Prophet’s Rest near the Outskirts of Nochte in western Fainweald. His Shell cannot simply be collected from the ground; you need to complete a blood ritual involving the circular pools surrounding his body. Start from the Outskirts of Nochte Beacon.
- Head toward the nearby slope leading to Prophet’s Rest.
- Look for the cultists gathered around Smert and the large circular pools.
- Clear enough enemies that you can interact with the ritual safely.
- Approach an empty circle and select Make Blood Offering.
- The offering knocks you out of your current Shell and leaves you in Harbinger form.
- Reclaim your Shell before making another offering.
- Fill the remaining Blood Offering circle or circles.
- Once the ritual is complete, interact with Smert’s body.
6. Gragu Shell Location
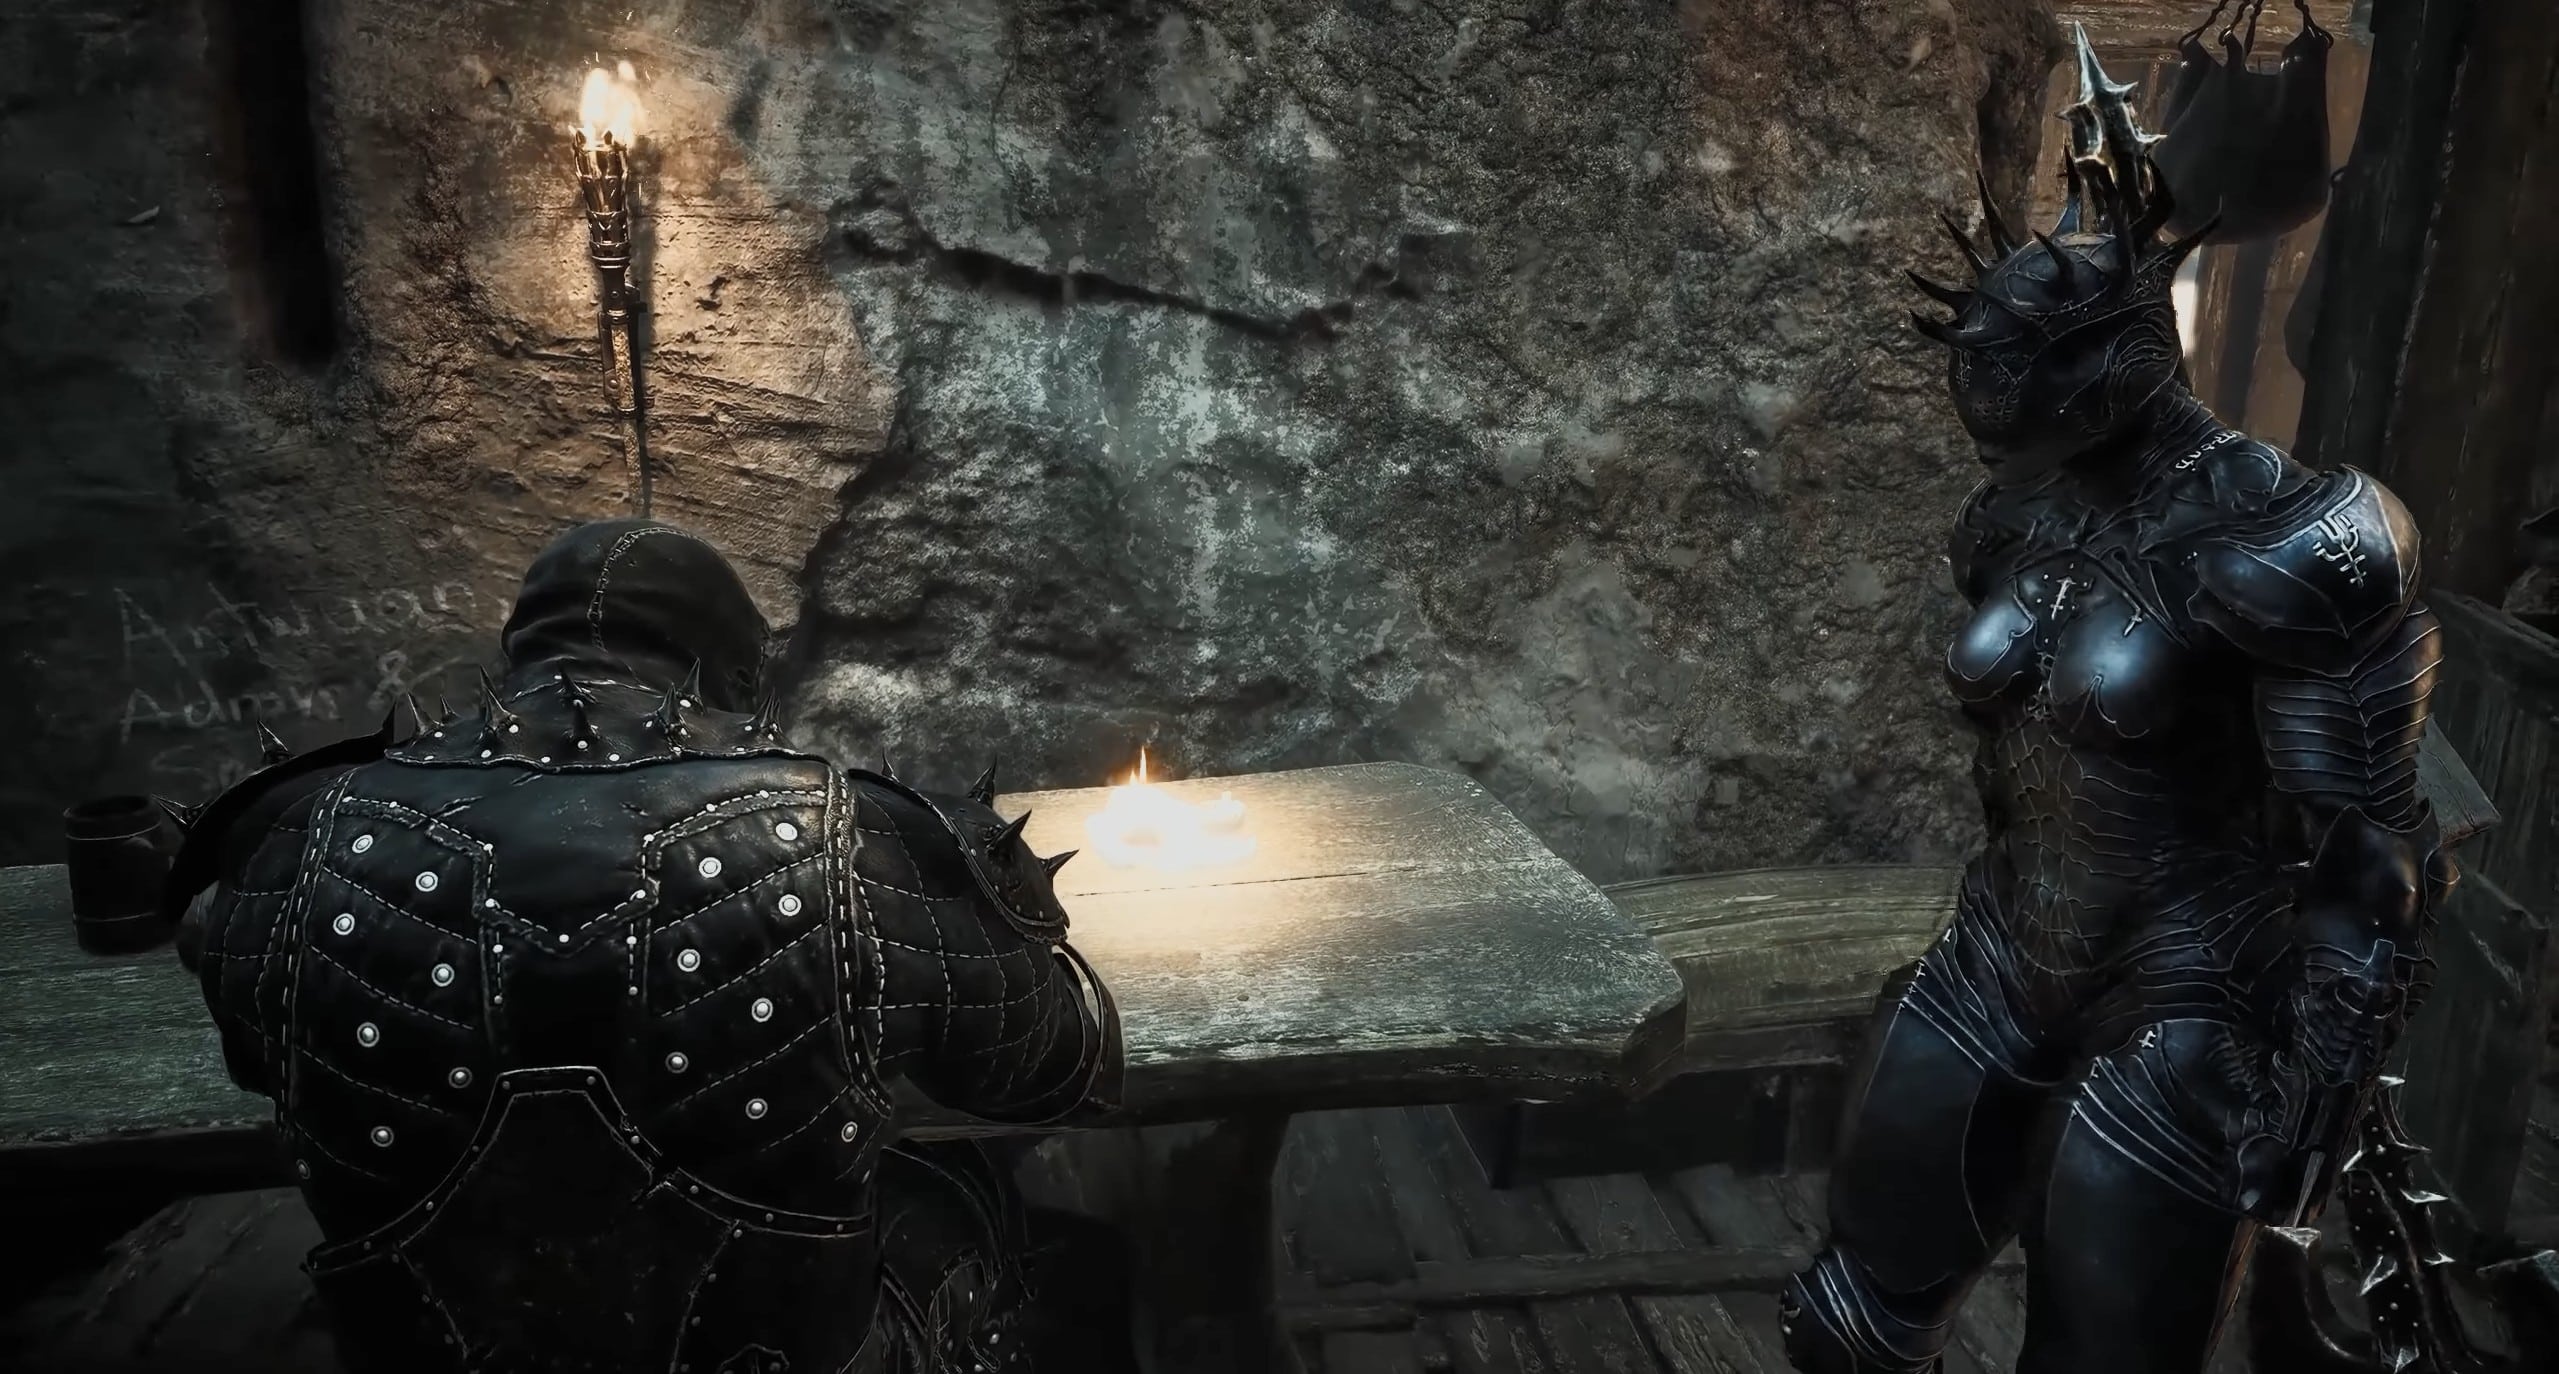
Gragu Shell
Gragu is different from most Shells because he is still alive when you first meet him. He sits inside the One-Legged Wolf Tavern in eastern Fainweald and only becomes available after you complete his request for the Heart of Vatra.
You first need access to the eastern area. Progress far enough to collect roughly five additional Ova, siphon them at Marrow Keep, and obtain Mether’s Breath, which allows you to remove the corrupted growth blocking the route.
How to Get the Heart of Vatra
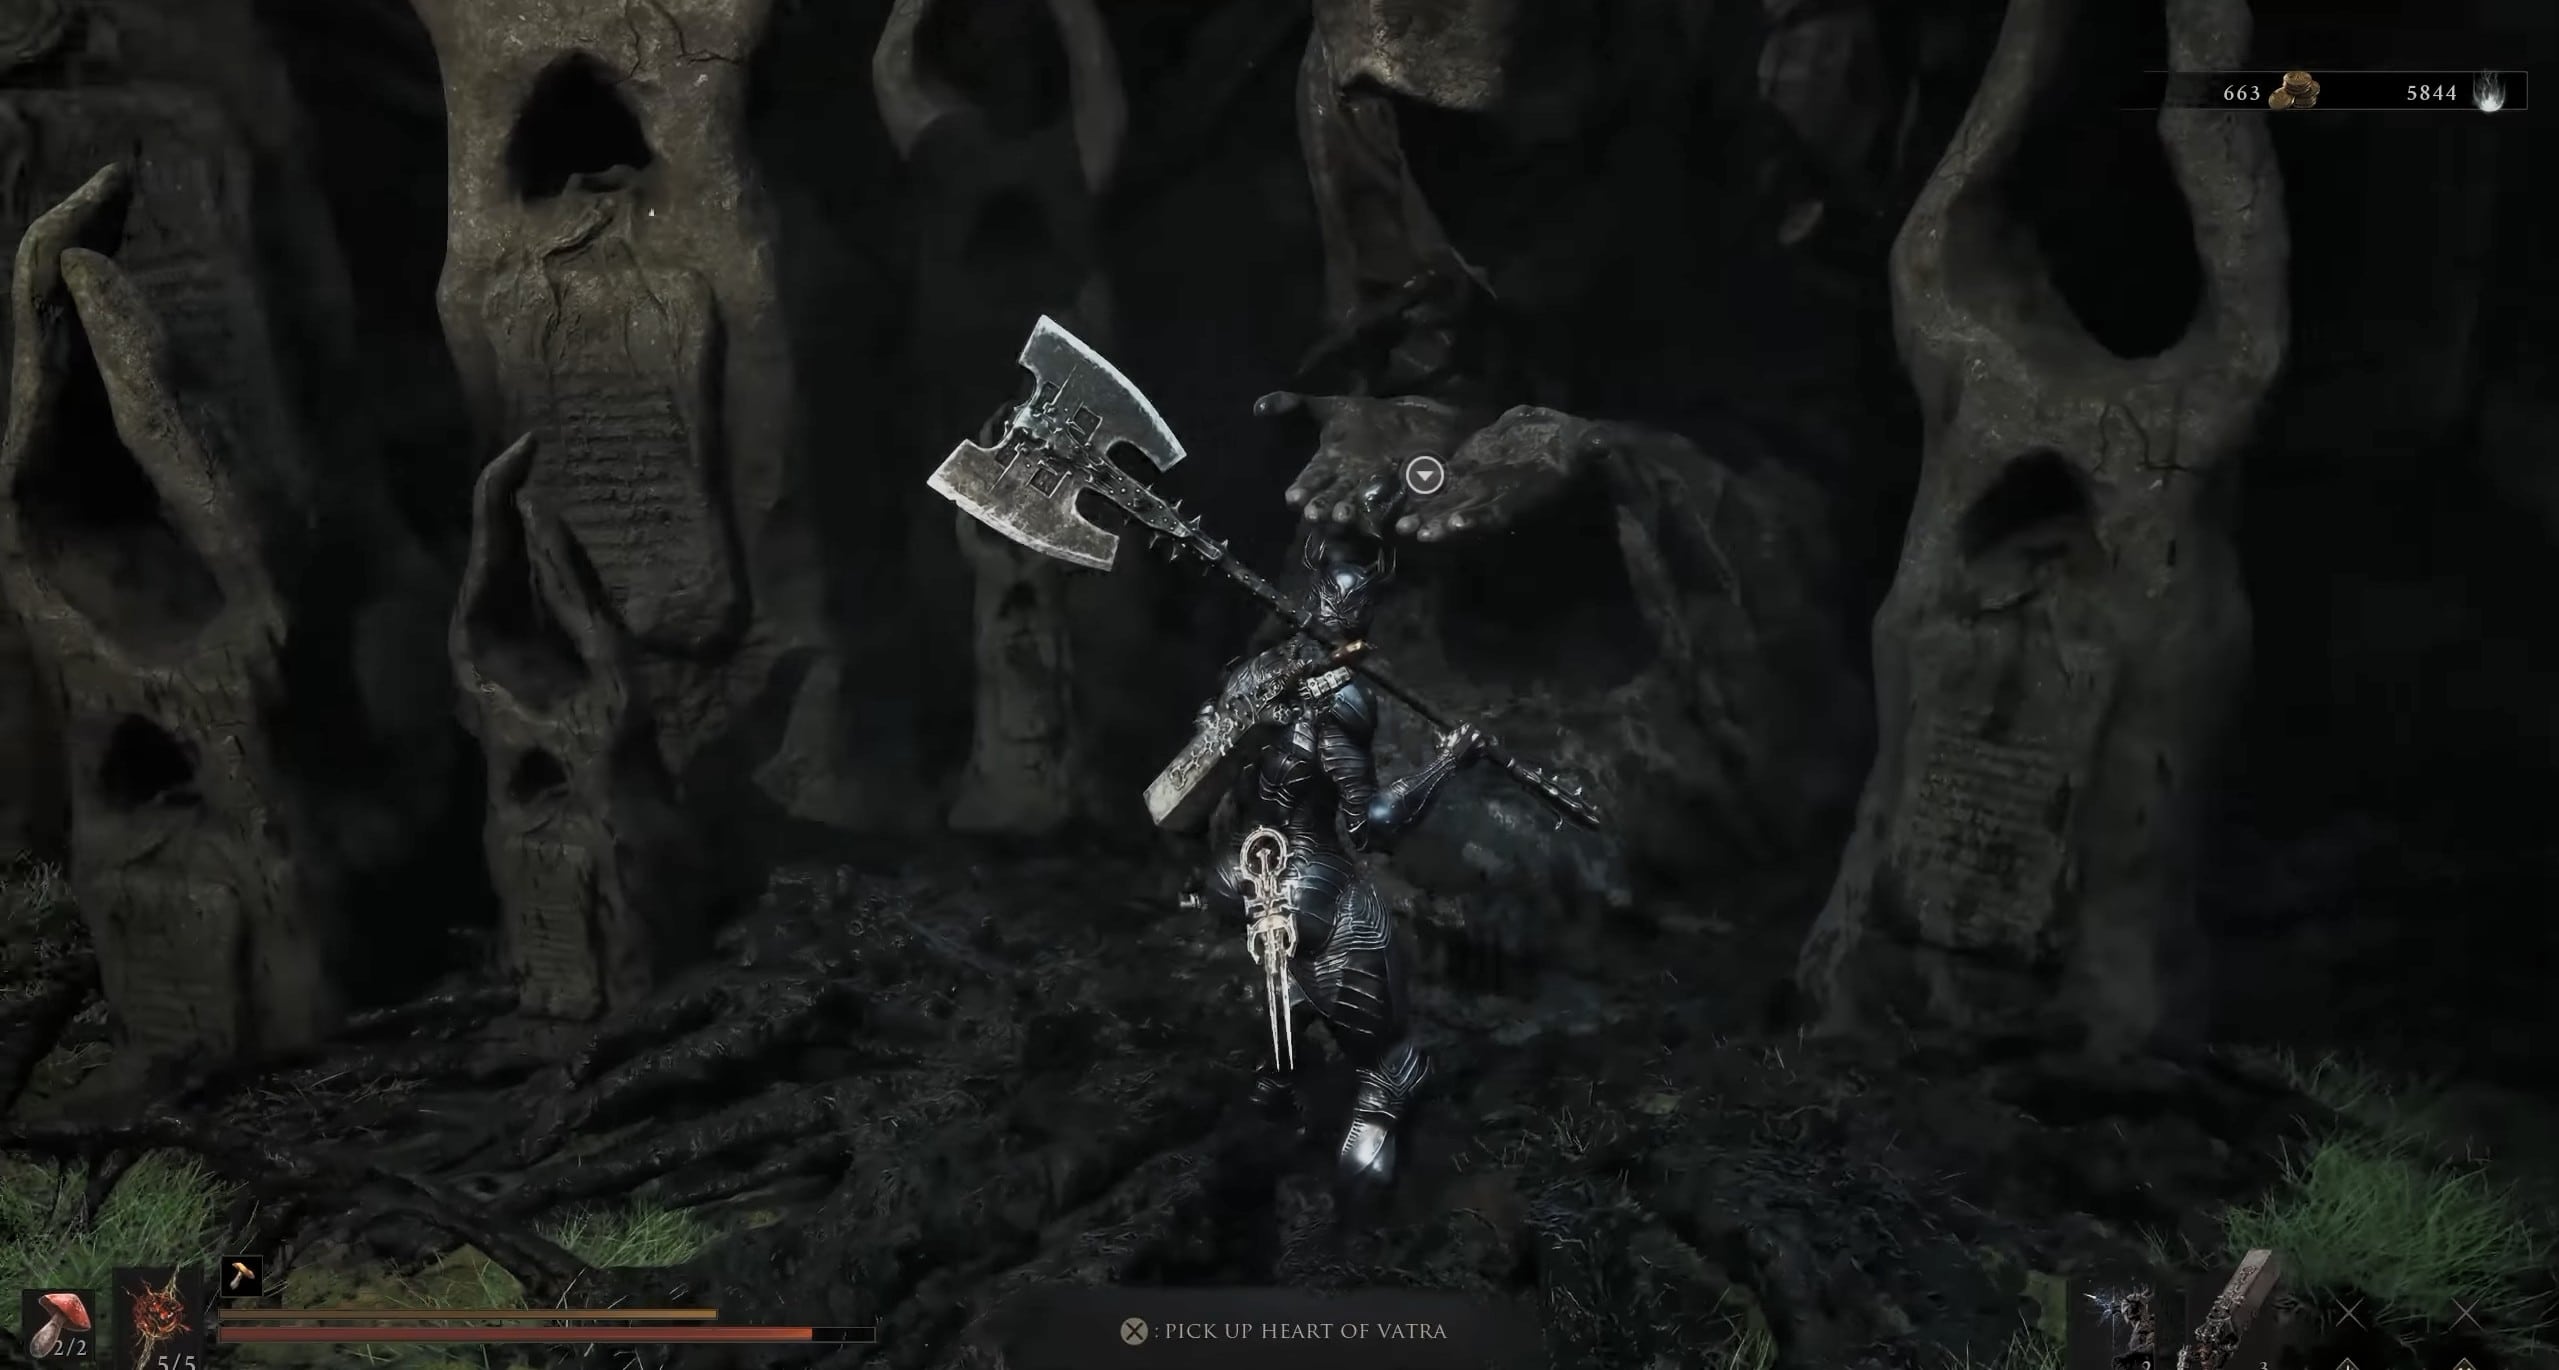
Heart of Vatra location
The Heart of Vatra is found in the temple complex east of the One-Legged Wolf Tavern. Once Gragu asks for it, follow the cliffside route rather than searching inside the tavern area.
- Speak to Gragu inside the tavern.
- Leave and head east along the cliffside path.
- Cross the chasm using the available gateway/rope bridge route.
- Continue through the temple grounds.
- Climb toward the highest section of the temple.
- Find the corrupted statue holding the Heart of Vatra.
- Take the Heart.
- When the petrified enemies awaken, either fight them or run back out.
- Return to the One-Legged Wolf Tavern.
- Give the Heart of Vatra to Gragu.
Gragu dies after receiving the Heart, allowing you to interact with his body and claim him as a playable Shell.
7. Genessa Shell Location
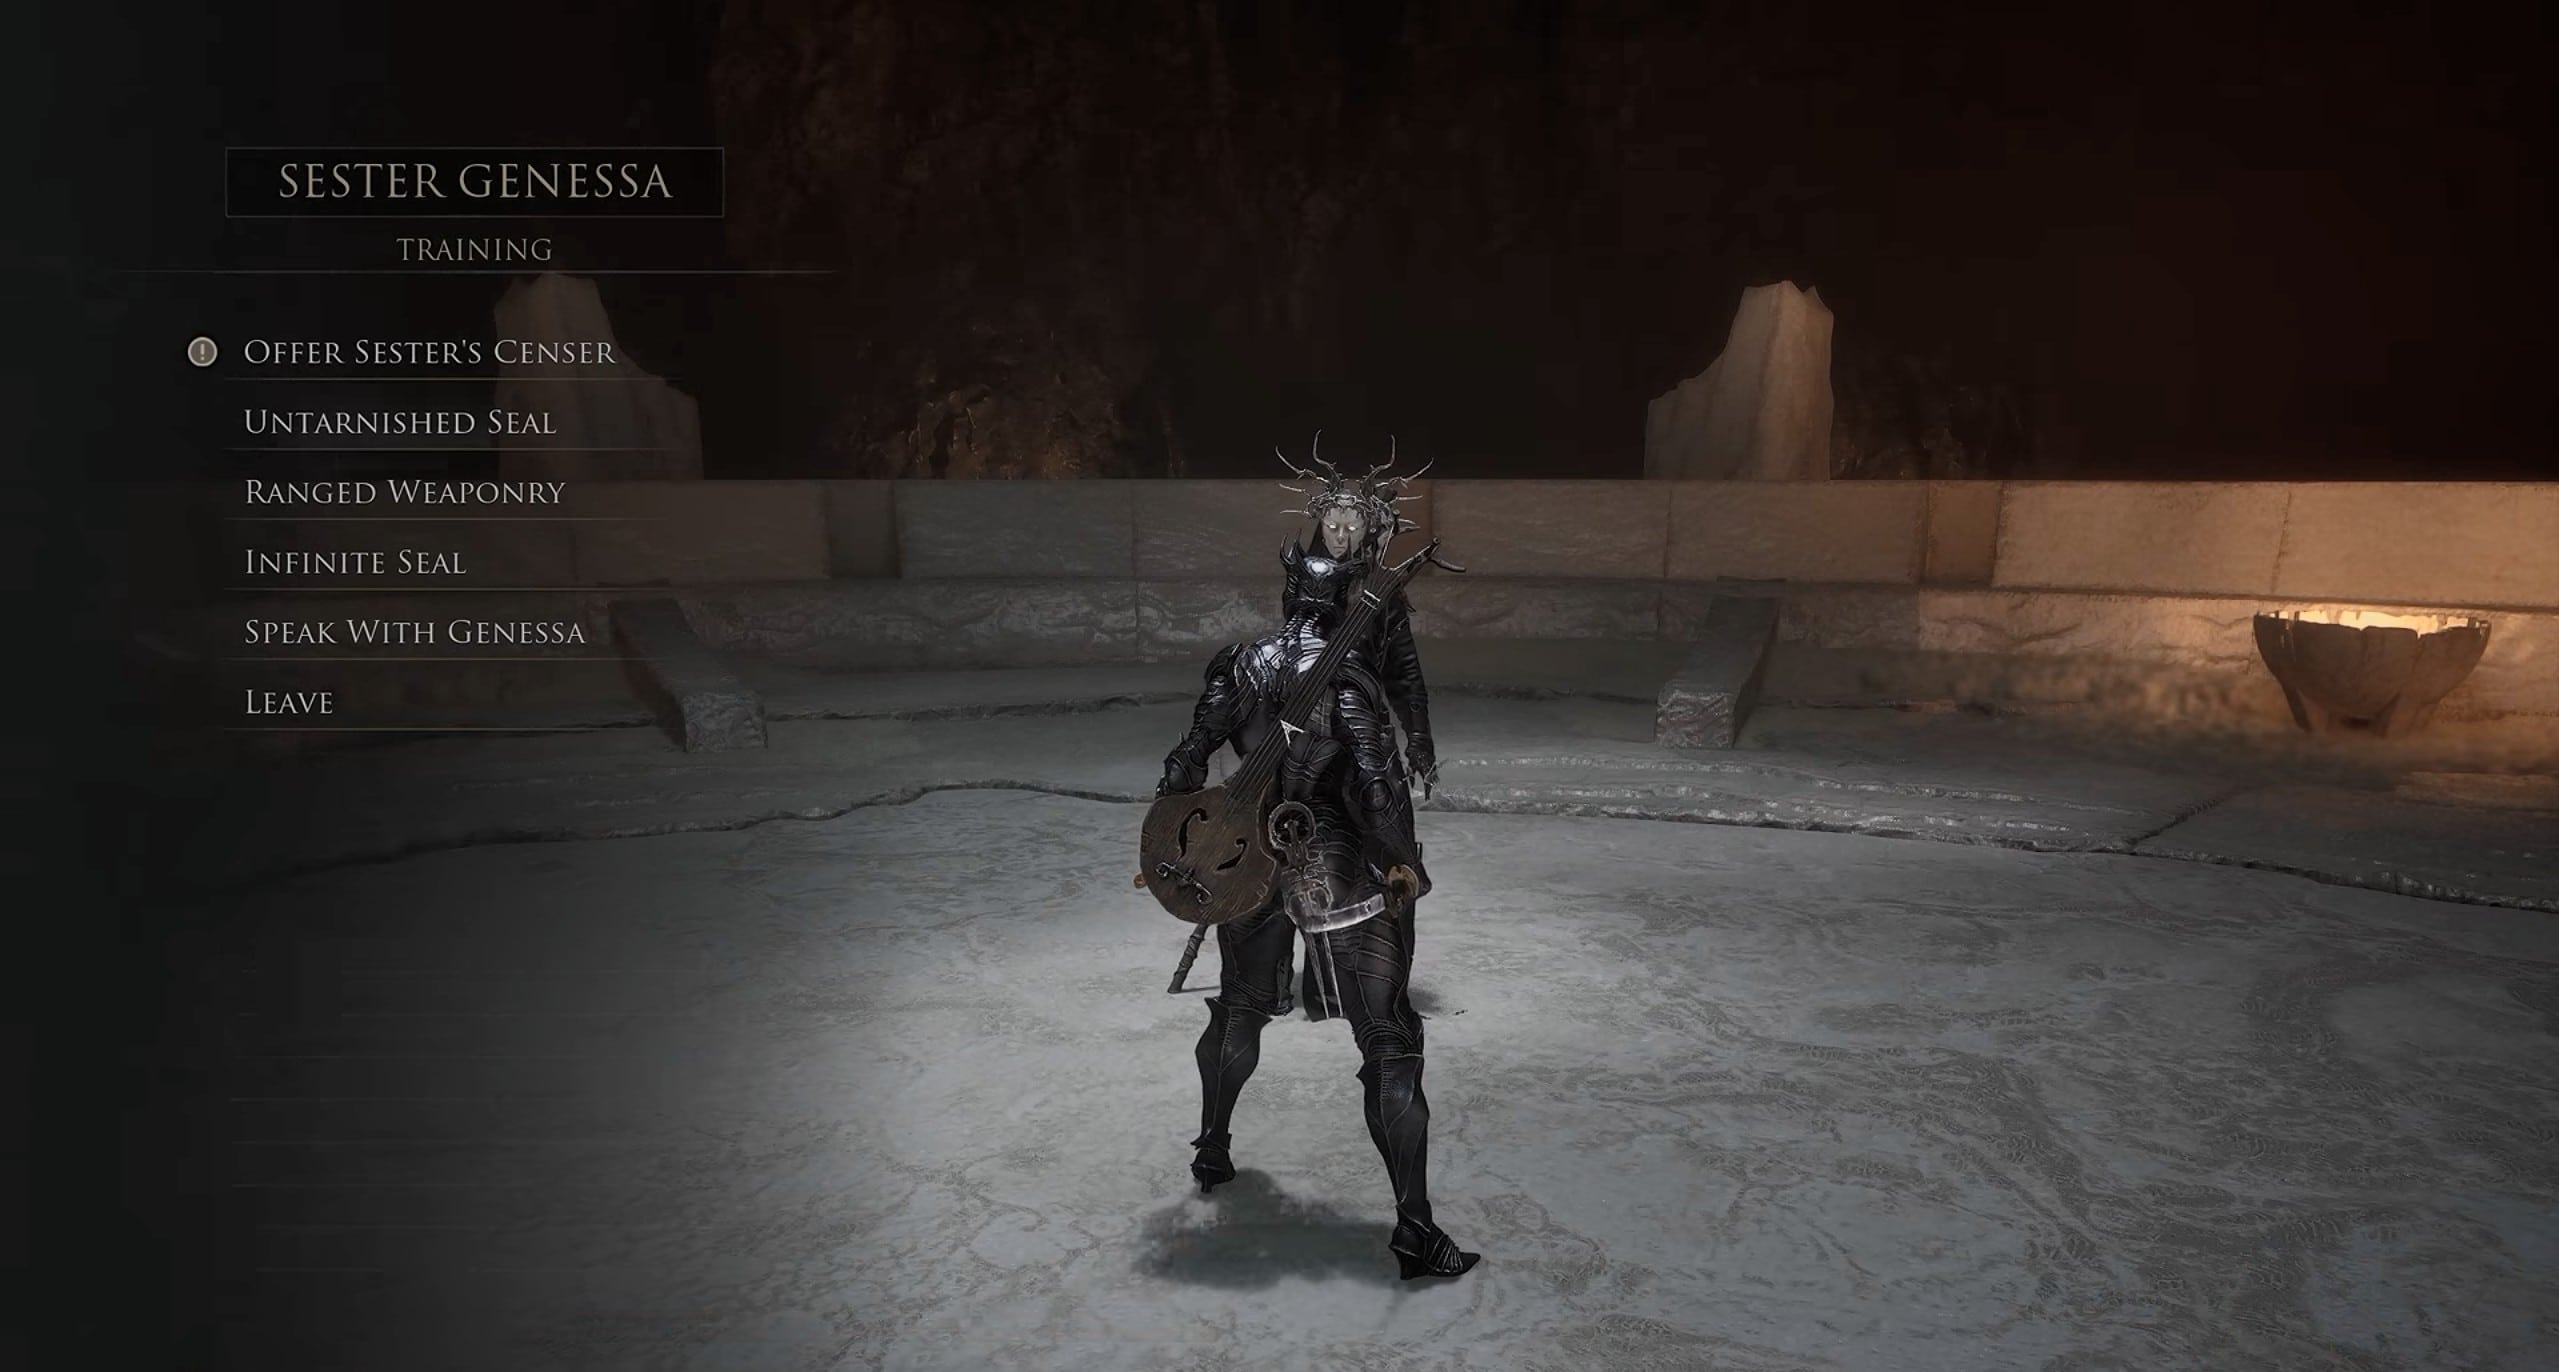
Offering Sester’s Censer
Sester Genessa is the secret Shell in Mortal Shell II. Unlike the others, her physical body is not waiting somewhere for you to inhabit. Instead, you need to obtain Sester’s Censer by defeating Sester Secundus in the Revenant Graves and then return the item to Genessa in Marrow Keep.
The relevant area is in the eastern Ruins of Mammon, close to the Abbey Entrance and Revenant Graves.
- Travel to the Outskirts of Mammon Beacon.
- Head toward the southeastern jump point to reach the eastern landmass.
- Make your way toward Revenant Graves and the Abbey Entrance area.
- Look for the field filled with red, flickering specters.
- Find the interactable point among the specters.
- Interact with it to enter the separate boss arena.
- Defeat Sester Secundus.
- Collect the Sester’s Censer.
- Fast travel back to Marrow Keep.
- Give the Censer to Sester Genessa.
- Complete the resulting Memory sequence to unlock her playable Shell.
Her Bond progression is handled by speaking directly to Genessa rather than using the normal Shellkeeper. This is especially important for trophy hunters because all five of her Shell Memories count toward Seeking the Past.
8. Lazlo Shell Location
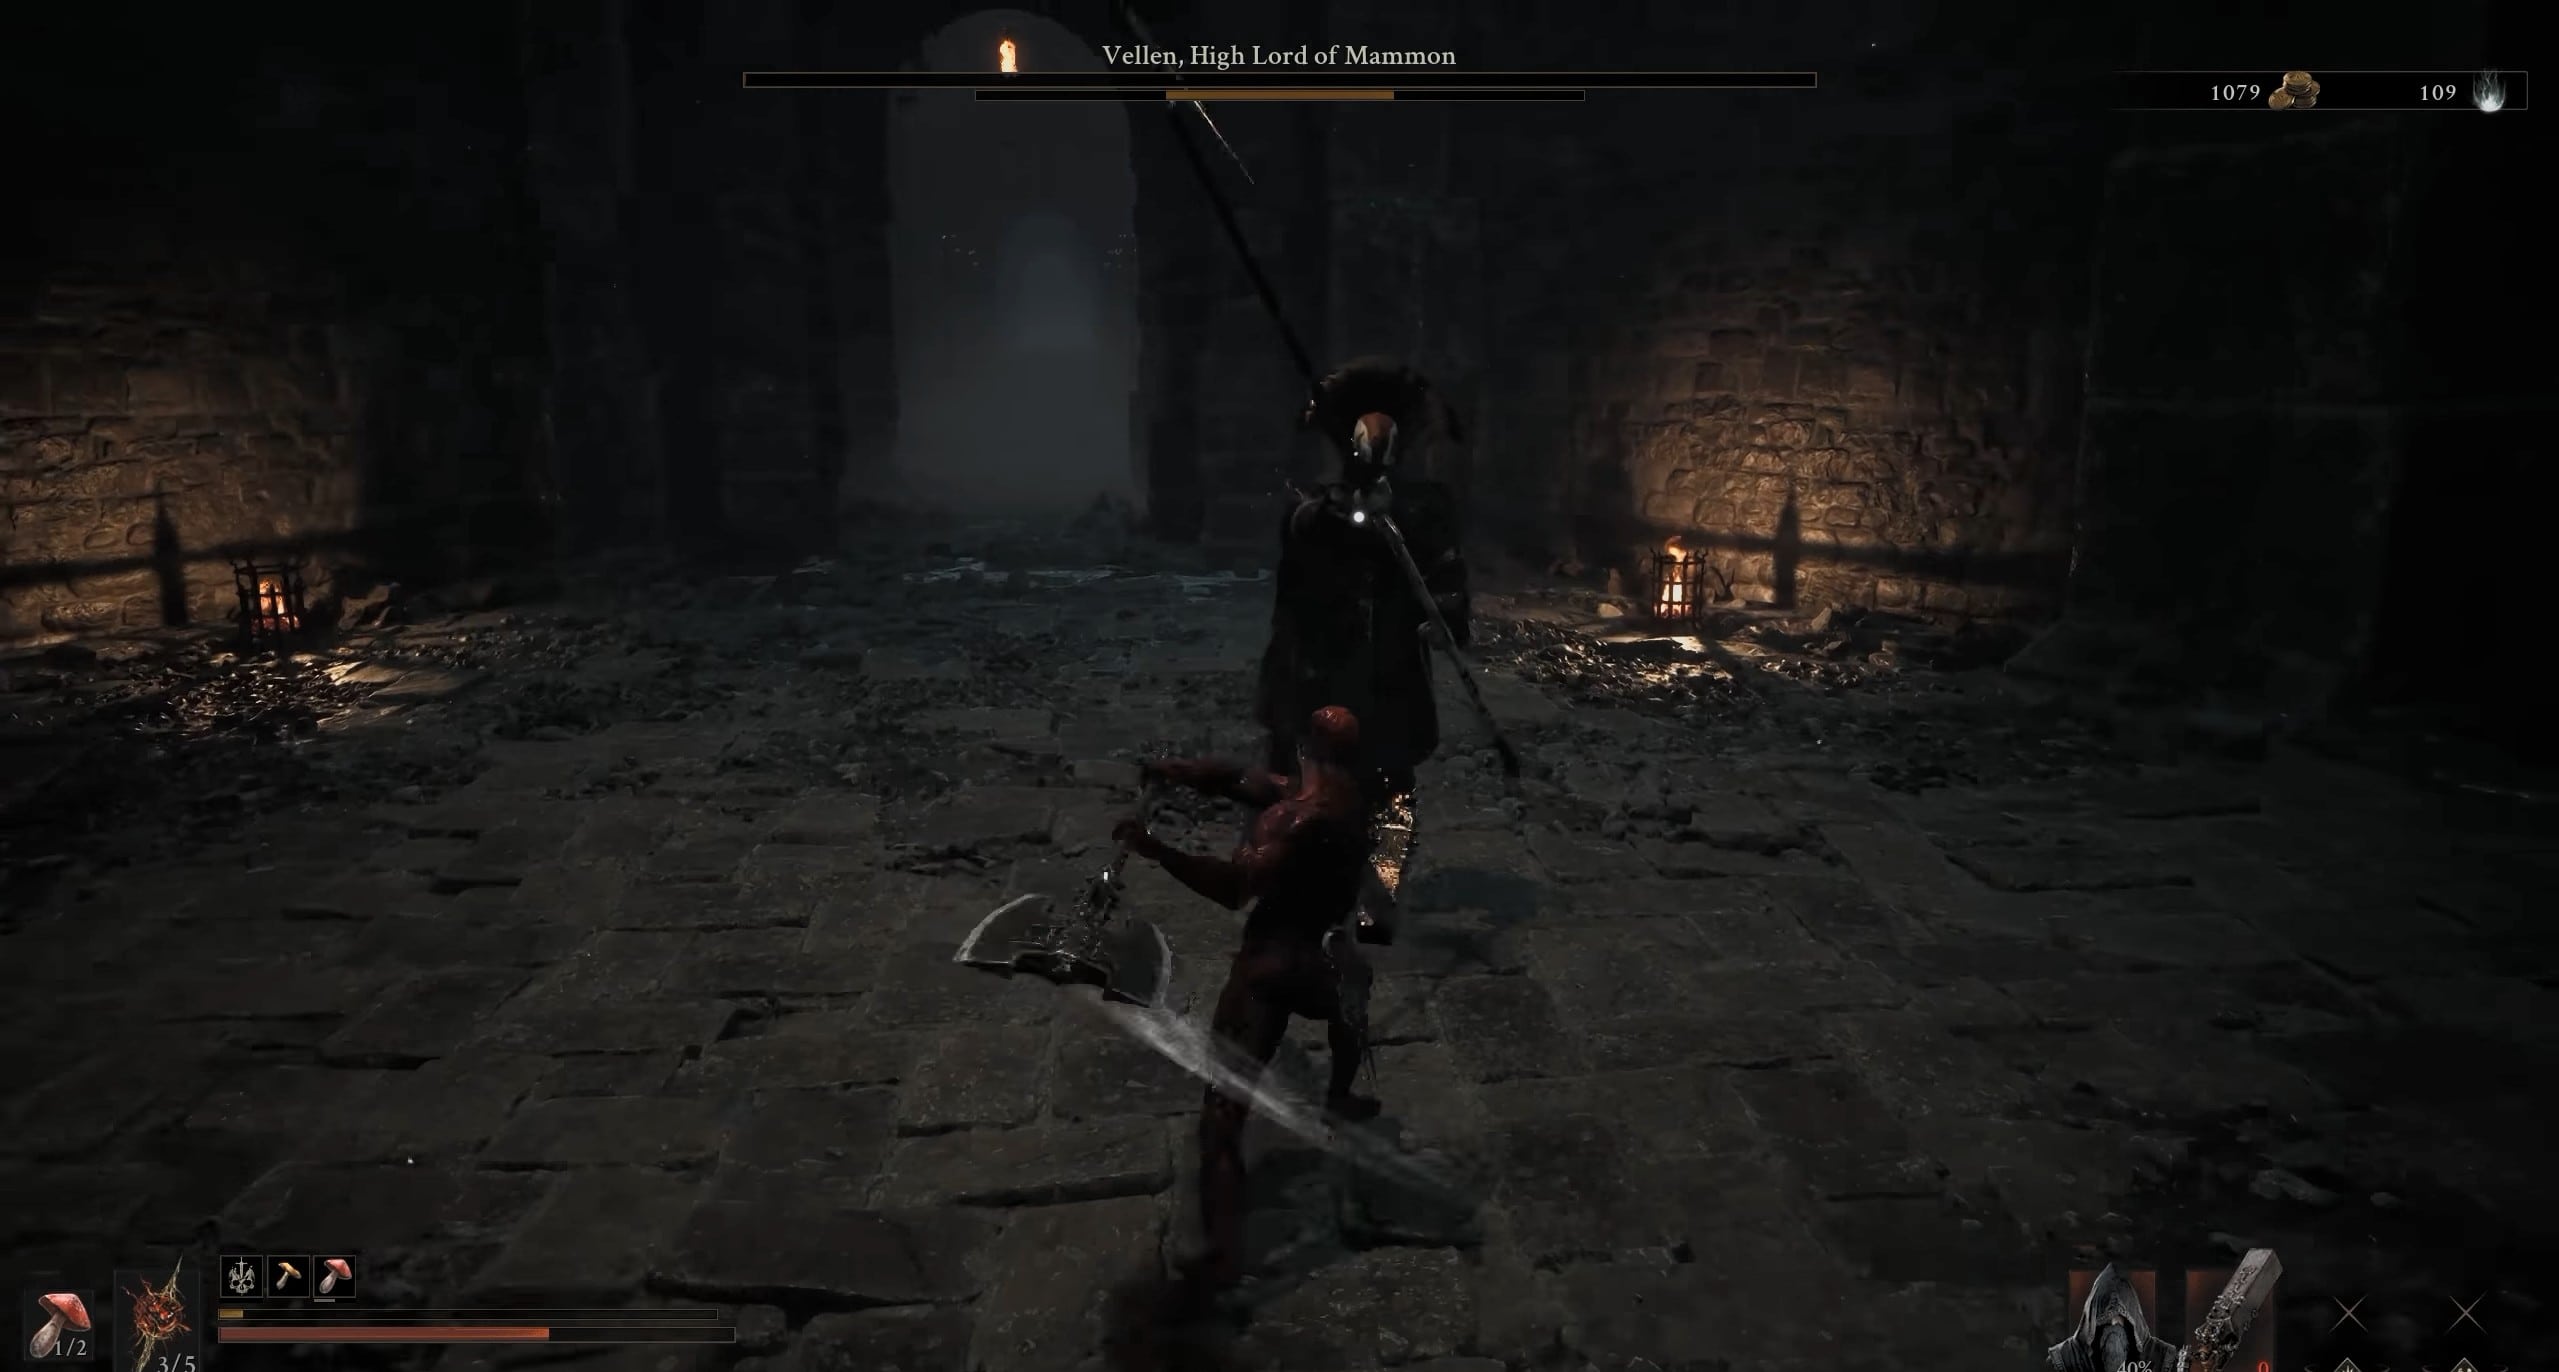
Defeating Vellen
Lazlo is located inside the Royal Crypt in the western Ruins of Mammon and is guarded by Vellen, High Lord of Mammon. You cannot simply run to the body and claim it without completing the boss encounter first. The most direct route begins from the Outskirts of Mammon Beacon:
- Travel west toward the High Lord’s Courtyard.
- Activate the High Lord’s Courtyard Beacon for an easier return point.
- Enter the keep beyond the courtyard.
- Descend toward the dark underground crypt.
- Continue through the Royal Crypt until you encounter Vellen, High Lord of Mammon.
- Defeat Vellen.
- Enter the chamber immediately behind the boss arena.
- Find Lazlo’s corpse inside the crypt.
- Interact with the body to claim the Shell.
9. Sariel Shell Location
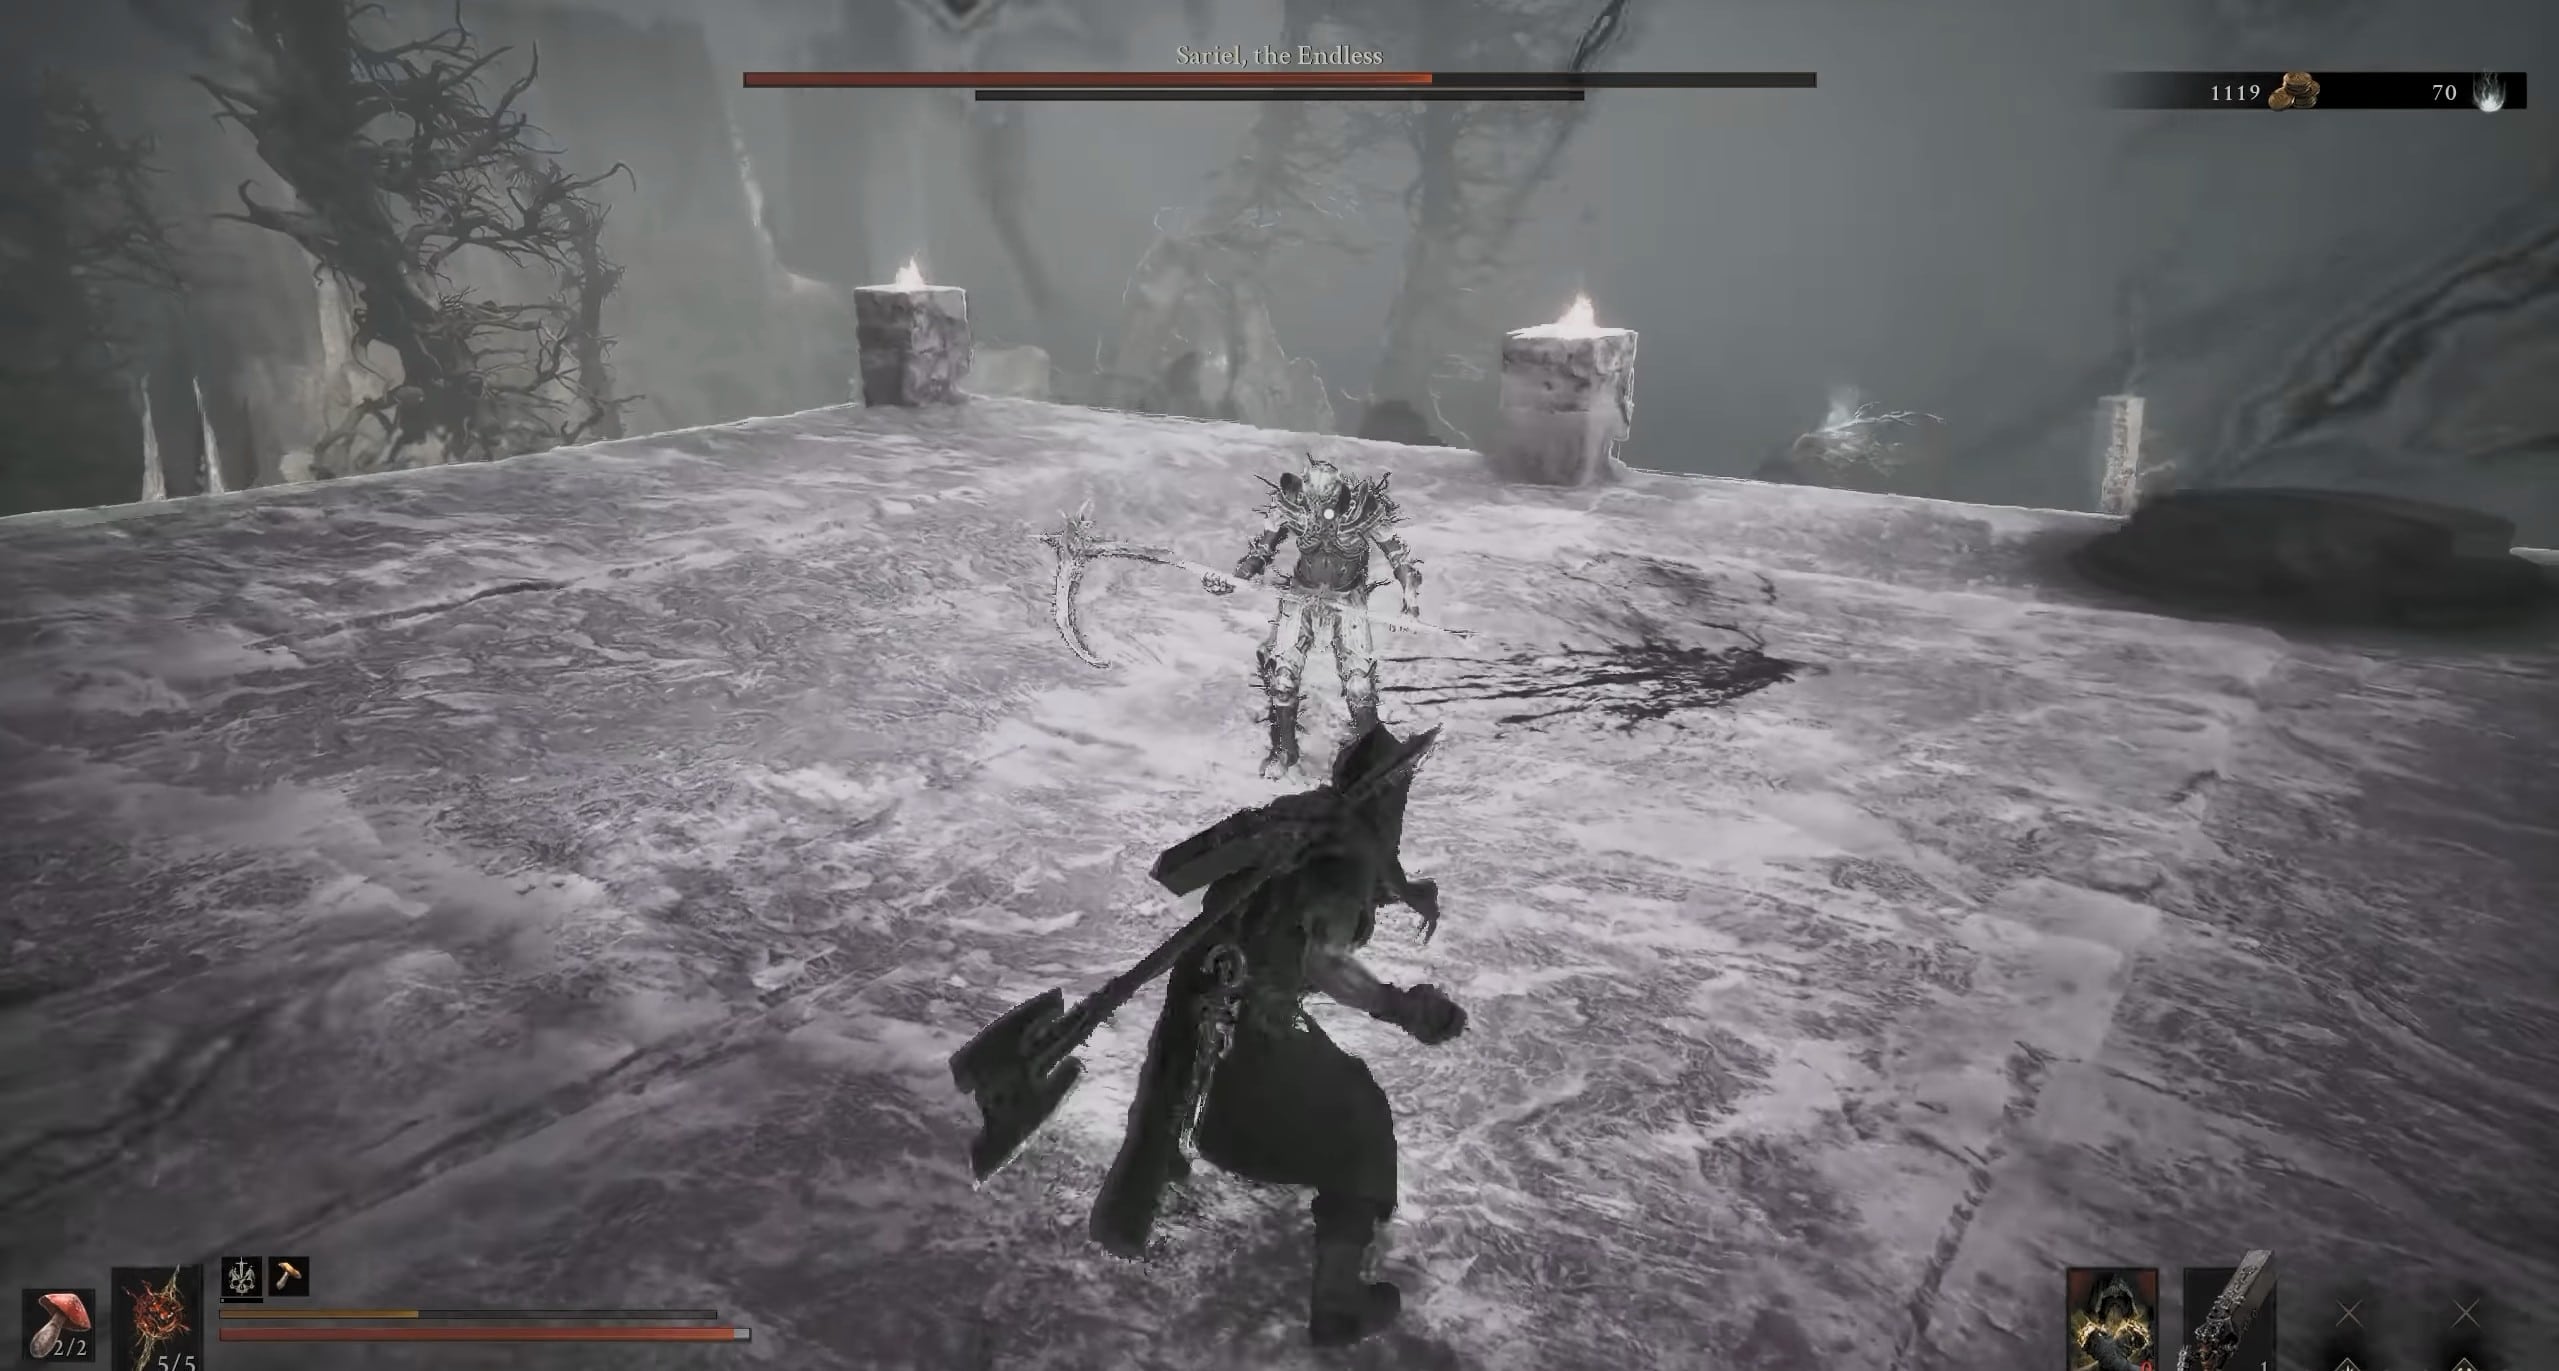
Defeating Sariel
Sariel is one of the most involved Shell unlocks because you fight him twice before obtaining his body. He is located around the Silent Steps and Chamber of Becoming in southeastern Mammon. Start by activating The Silent Steps Beacon.
- Use the nearby jump gate to reach the elevated ledges.
- Enter the large open area ahead.
- Sariel attacks you here for the first time.
- Deal enough damage to force him to retreat.
- Follow him up the steps.
- Enter the Chamber of Becoming.
- Continue until you reach the inner boss chamber.
- Fight Sariel, the Endless.
- Destroy the lightning rods during the fight.
- Kill Sariel once the resurrection mechanic has been disabled.
- Interact with his remains to claim the Shell.
10. How to Unlock the Shell Seeker Trophy
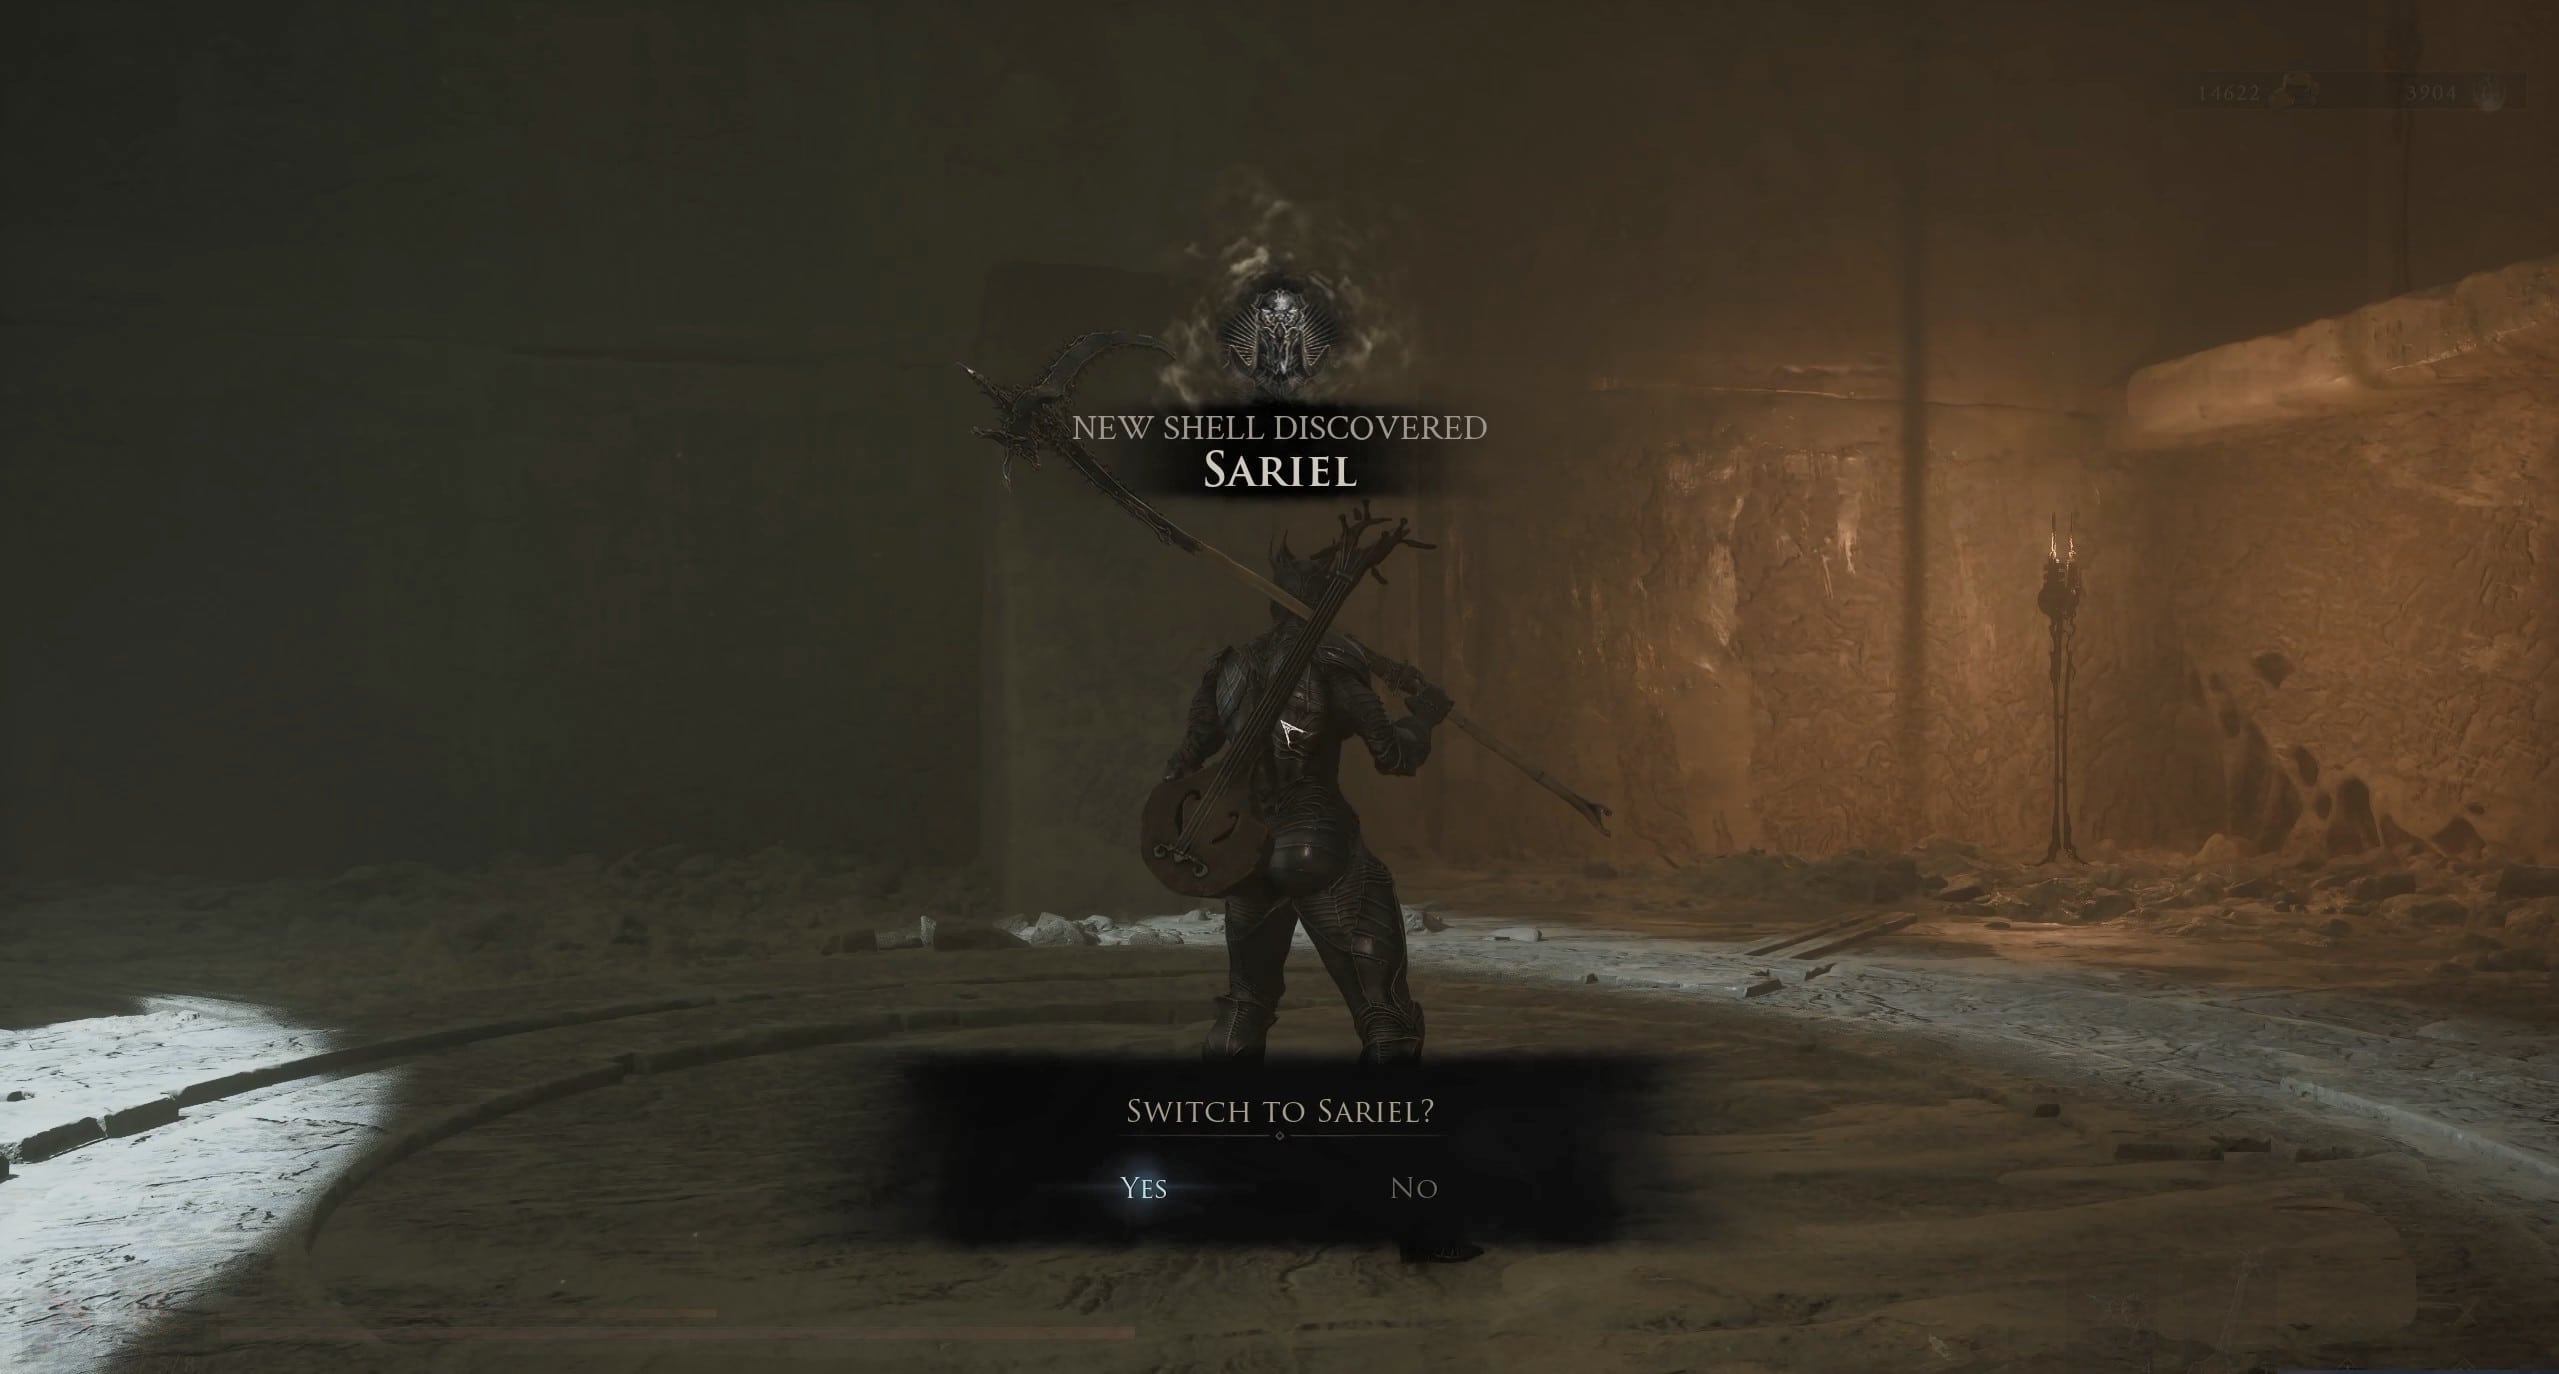
Sariel Shell
Shell Seeker unlocks after obtaining all eight permanent Shells. Harros does not need to be recovered because his loss is part of the prologue and he is not included among the eight Shells used for the completion requirement.
| Region | Shells |
|---|---|
| Fainweald | Tiel, Proxima, Eredrim, Smert, Gragu |
| Mammon / Marrow Keep | Lazlo, Sariel, Genessa |
Related posts:


 Marathon Beginner’s Guide: Runner Shells, Factions, and Survival Tips