The collection starts automatically with The Iconoclast during the prologue, while the remaining seven are found in dungeons across Fainweald and the Ruins of Mammon.
Some weapons are simply picked up at the end of a dungeon, while others require a key, puzzle, miniboss, or major boss. You can return for missed weapons later, so focus on activating nearby Beacons whenever you enter a new region.
1. All Weapon Locations in Mortal Shell II
Weapon Locations
There are eight weapons counted toward Lord of War. The table gives you the location and main requirement for each one before the detailed routes below.
Finding the final missing weapon unlocks Lord of War – Unlock all Weapons. Several weapons also have their own individual trophies, including Deep Cuts, Big Boi, Cut You Down to Size, Stop – Hammer Time, Dual Wielding, Just the Tip, and Like Clockwork.
| Weapon | Location | How to Get |
|---|---|---|
| The Iconoclast | Prologue | Obtained automatically with Harros |
| Axe & Dagger | Shrine of Trials, Fainweald | Get the Chapel Key and clear the dungeon |
| Veteran’s Battle Axe | King’s Crypt, Blackridge Cliffs | Reach the end of King’s Crypt |
| Great Martyr’s Blade | Martyr’s Prison, Gloomshade Grove | Clear Martyr’s Prison |
| Obsidian Hammer | Obsidianite Mines, Mammon | Defeat Prophet of Profane Infinites |
| Axatana | Forgotten Tower, Mammon | Defeat the Dagger Sester and loot the weapon |
| Black Needle | Sester’s Bastion, Mammon | Defeat Twin Sesters and Stray Sester |
| Clockwork Scythe | Chamber of Becoming, Mammon | Defeat Sariel, the Endless |
2. The Iconoclast Location
The Iconoclast
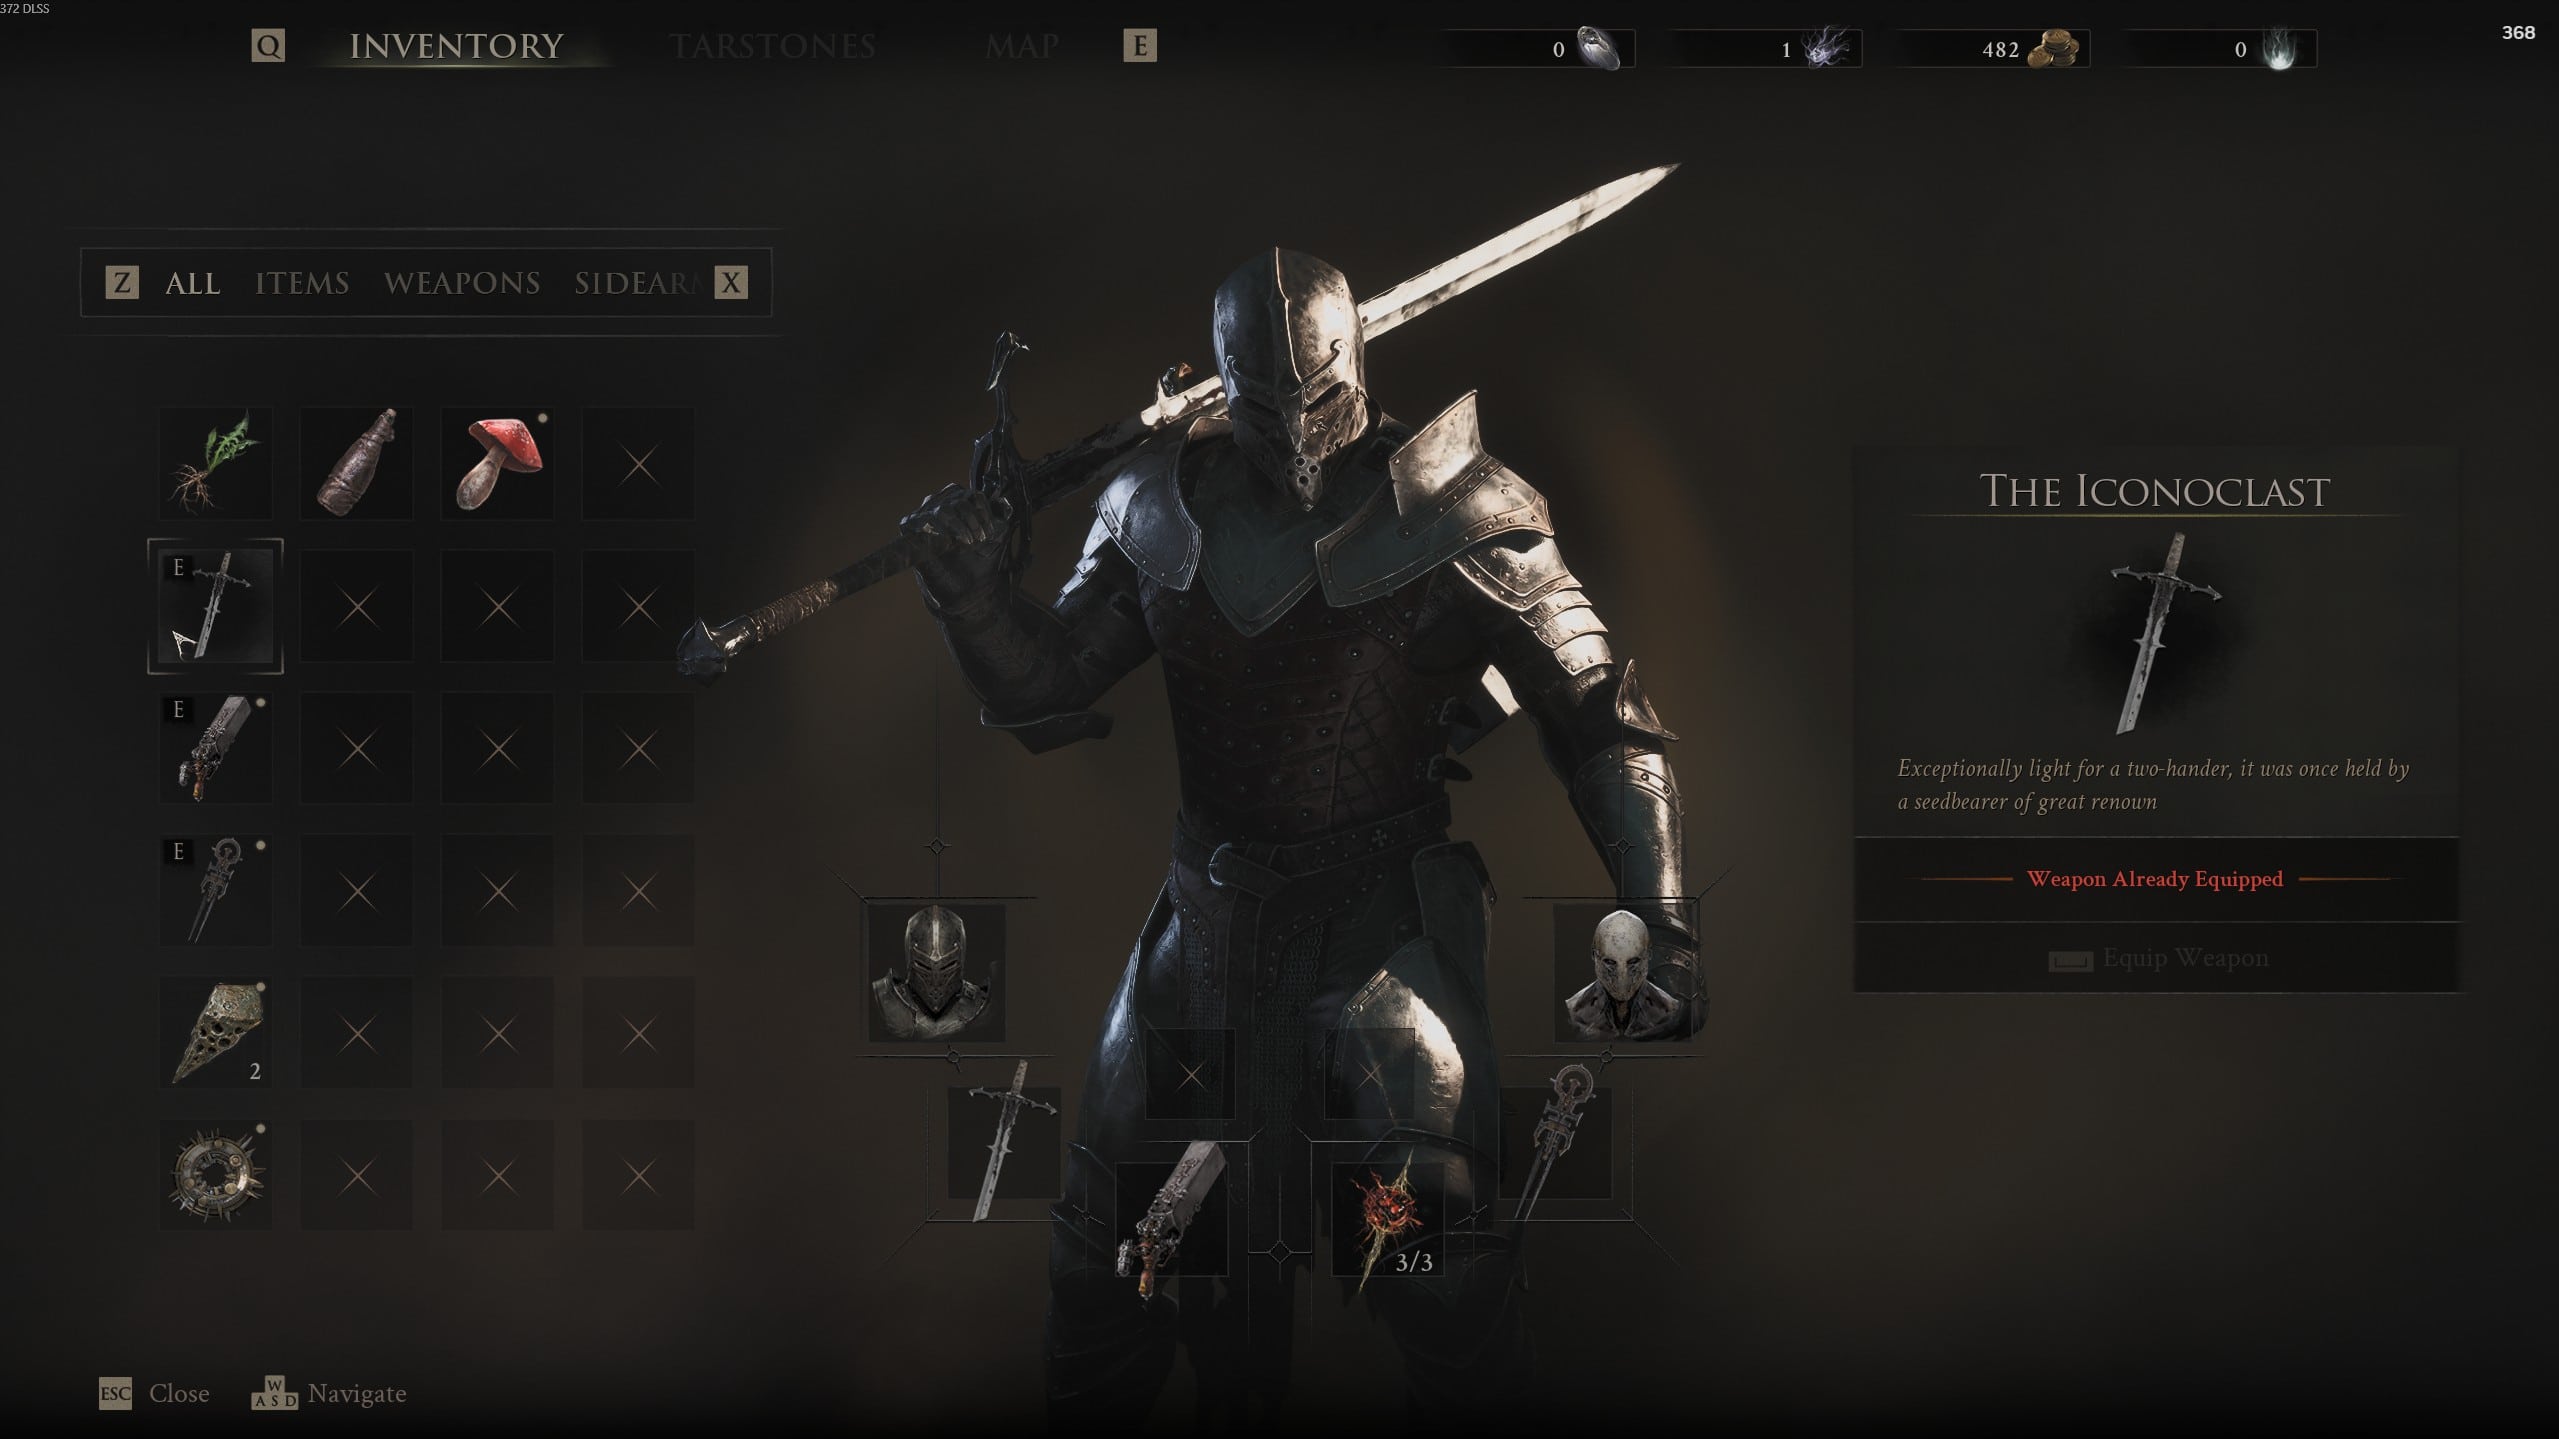
The Iconoclast is impossible to miss because it is given to you during the opening section of the game. It serves as your first main melee weapon while you are using Harros, the Vassal.
- Progress normally through the prologue.
- Reach the section where you obtain Harros.
- Claim the Shell when prompted.
You automatically receive The Iconoclast alongside the Naylshotte Sidearm and Untarnished Seal.
3. Axe & Dagger Location
Axe & Dagger
The Axe & Dagger is found inside the Shrine of Trials near Mushroom Village. The entrance is locked when you first reach it, so you need to collect the Chapel Key before you can enter.
How to Get the Chapel Key
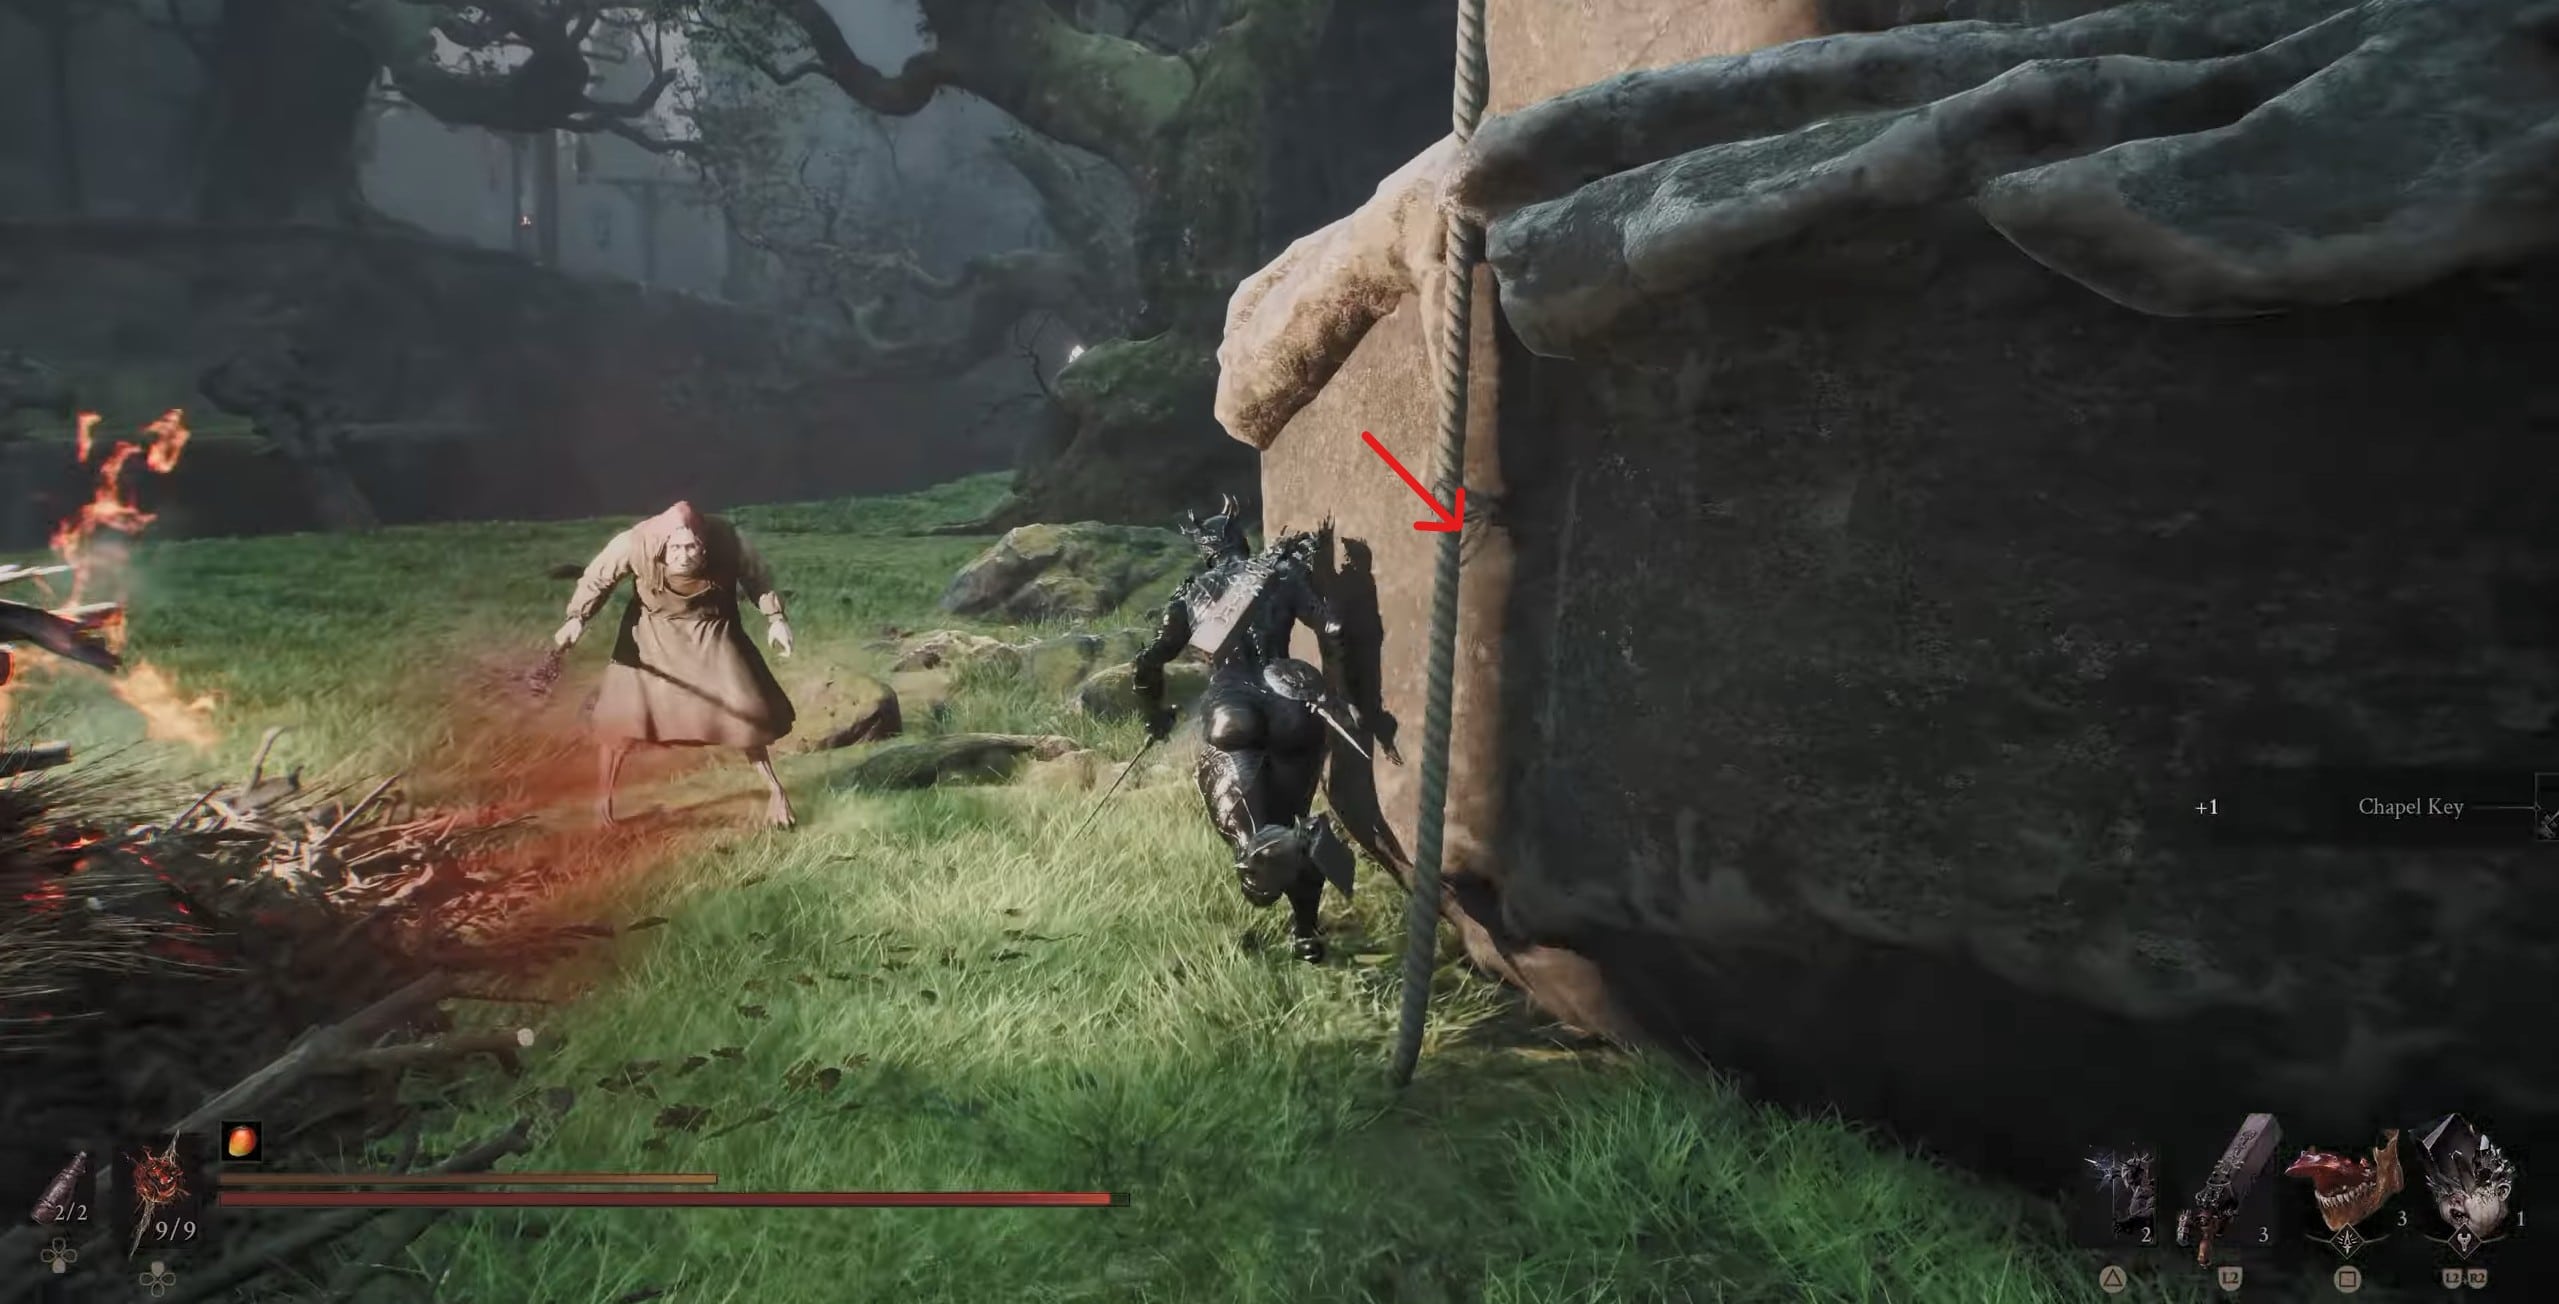
Chapel Key
The Chapel Key is found on a plateau near the Mushroom Village Beacon. Once you have it, return toward the village and look for the Grisha Hunter encampment beside the locked tower. With the key collected:
- Return to the Mushroom Village Beacon.
- Head toward the nearby Grisha Hunter camp.
- Use the Chapel Key on the locked entrance to the Shrine of Trials.
- Enter the dungeon.
How to Complete the Shrine of Trials
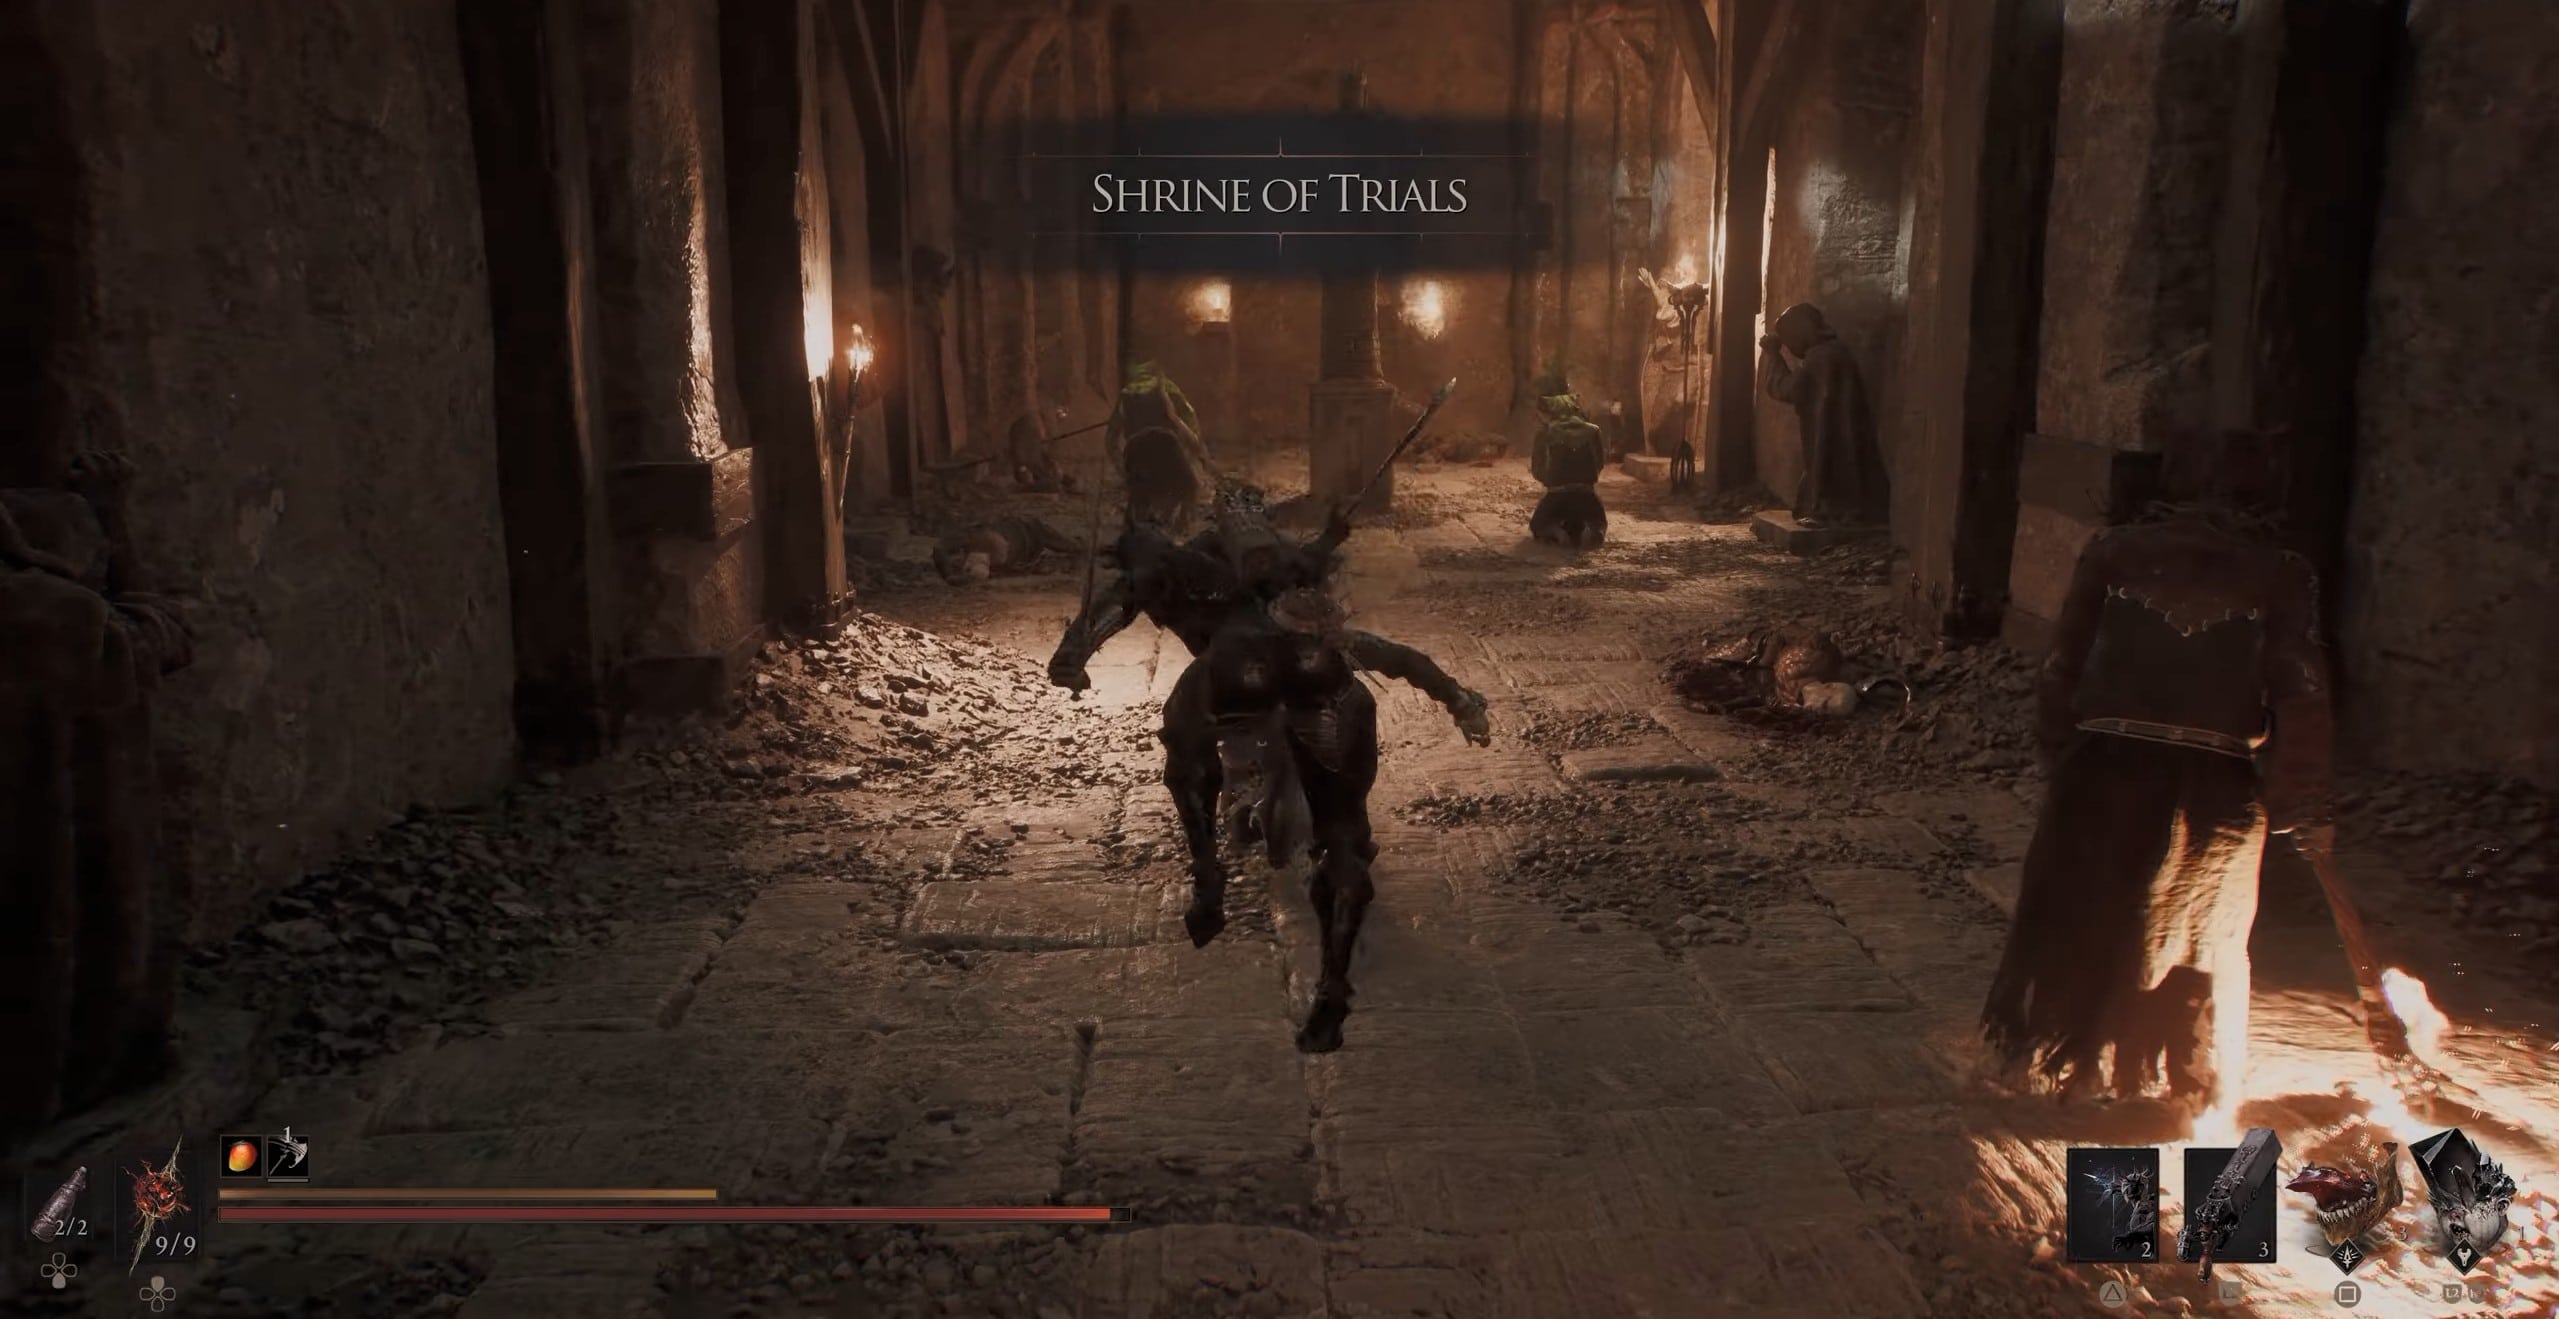
Shrine of Trials
The Shrine contains several small puzzles before the weapon room. None are particularly complicated once you know their solutions.
- Room 1: Face the king pillar and walk backward. This causes the false wall blocking the route to disappear.
- Room 2: Hit the movable stone blocks until both are positioned over the two pressure plates.
- Room 3: Defeat the Armored Knight guarding the final section.
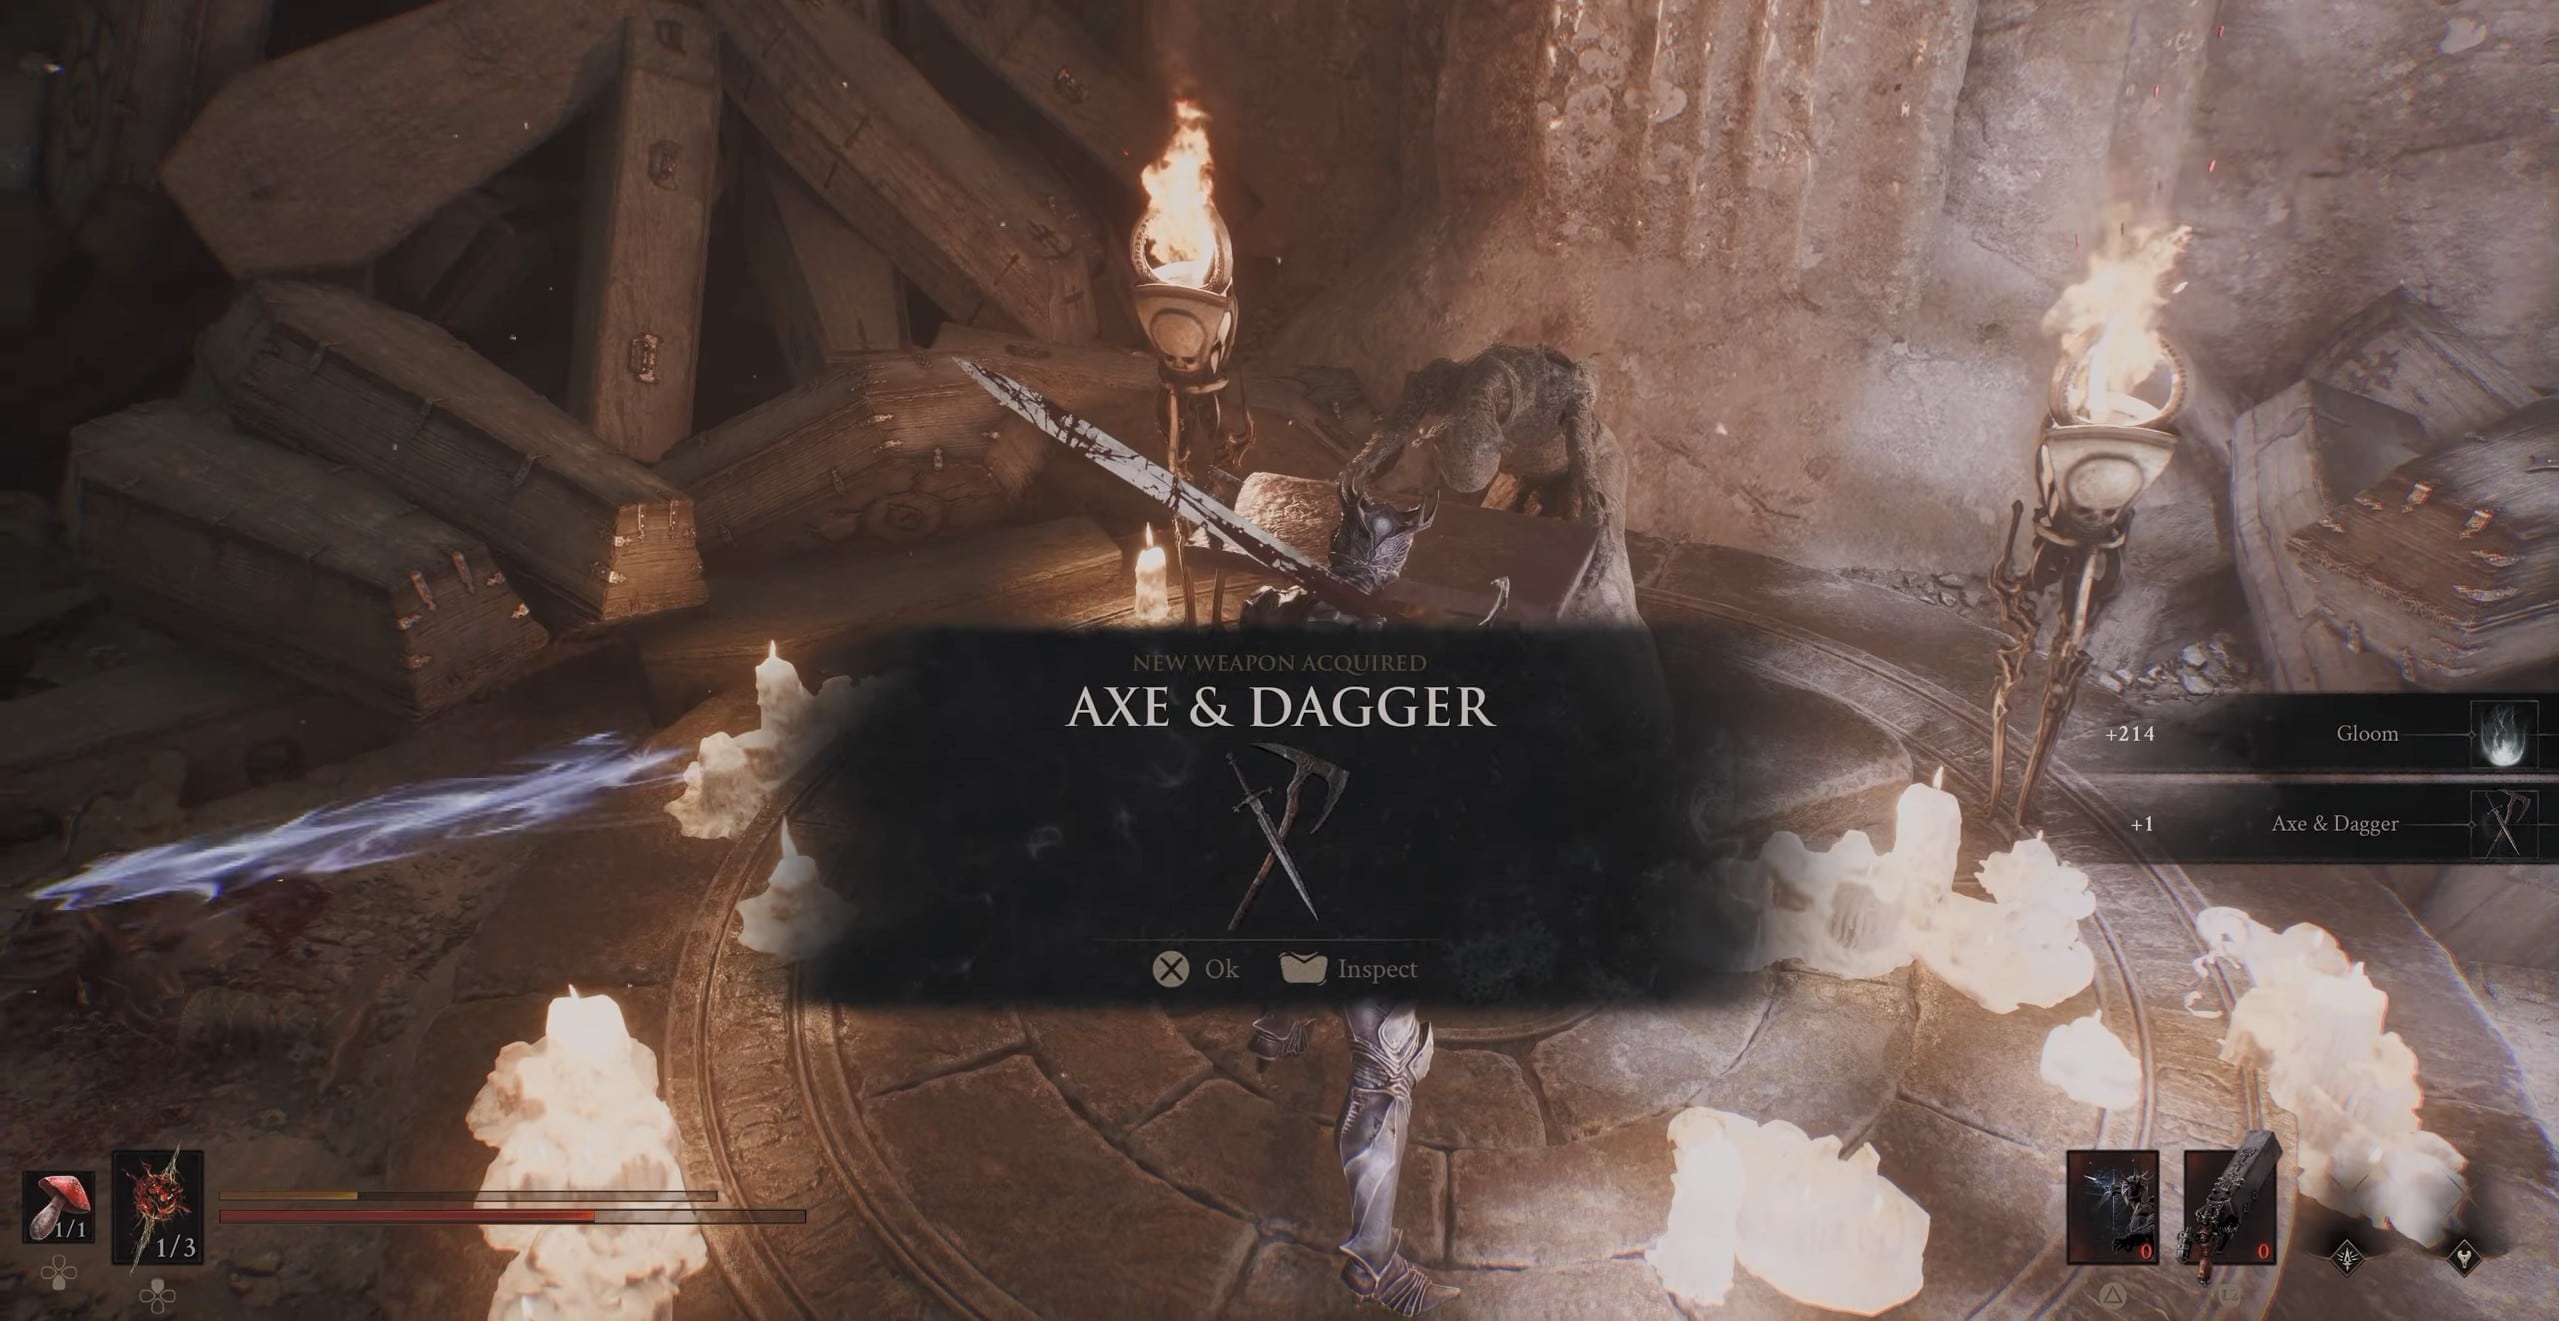
After defeating the knight, collect the Axe & Dagger from the reward area. Doing so also unlocks the Deep Cuts trophy/achievement.
4. Veteran’s Battle Axe Location
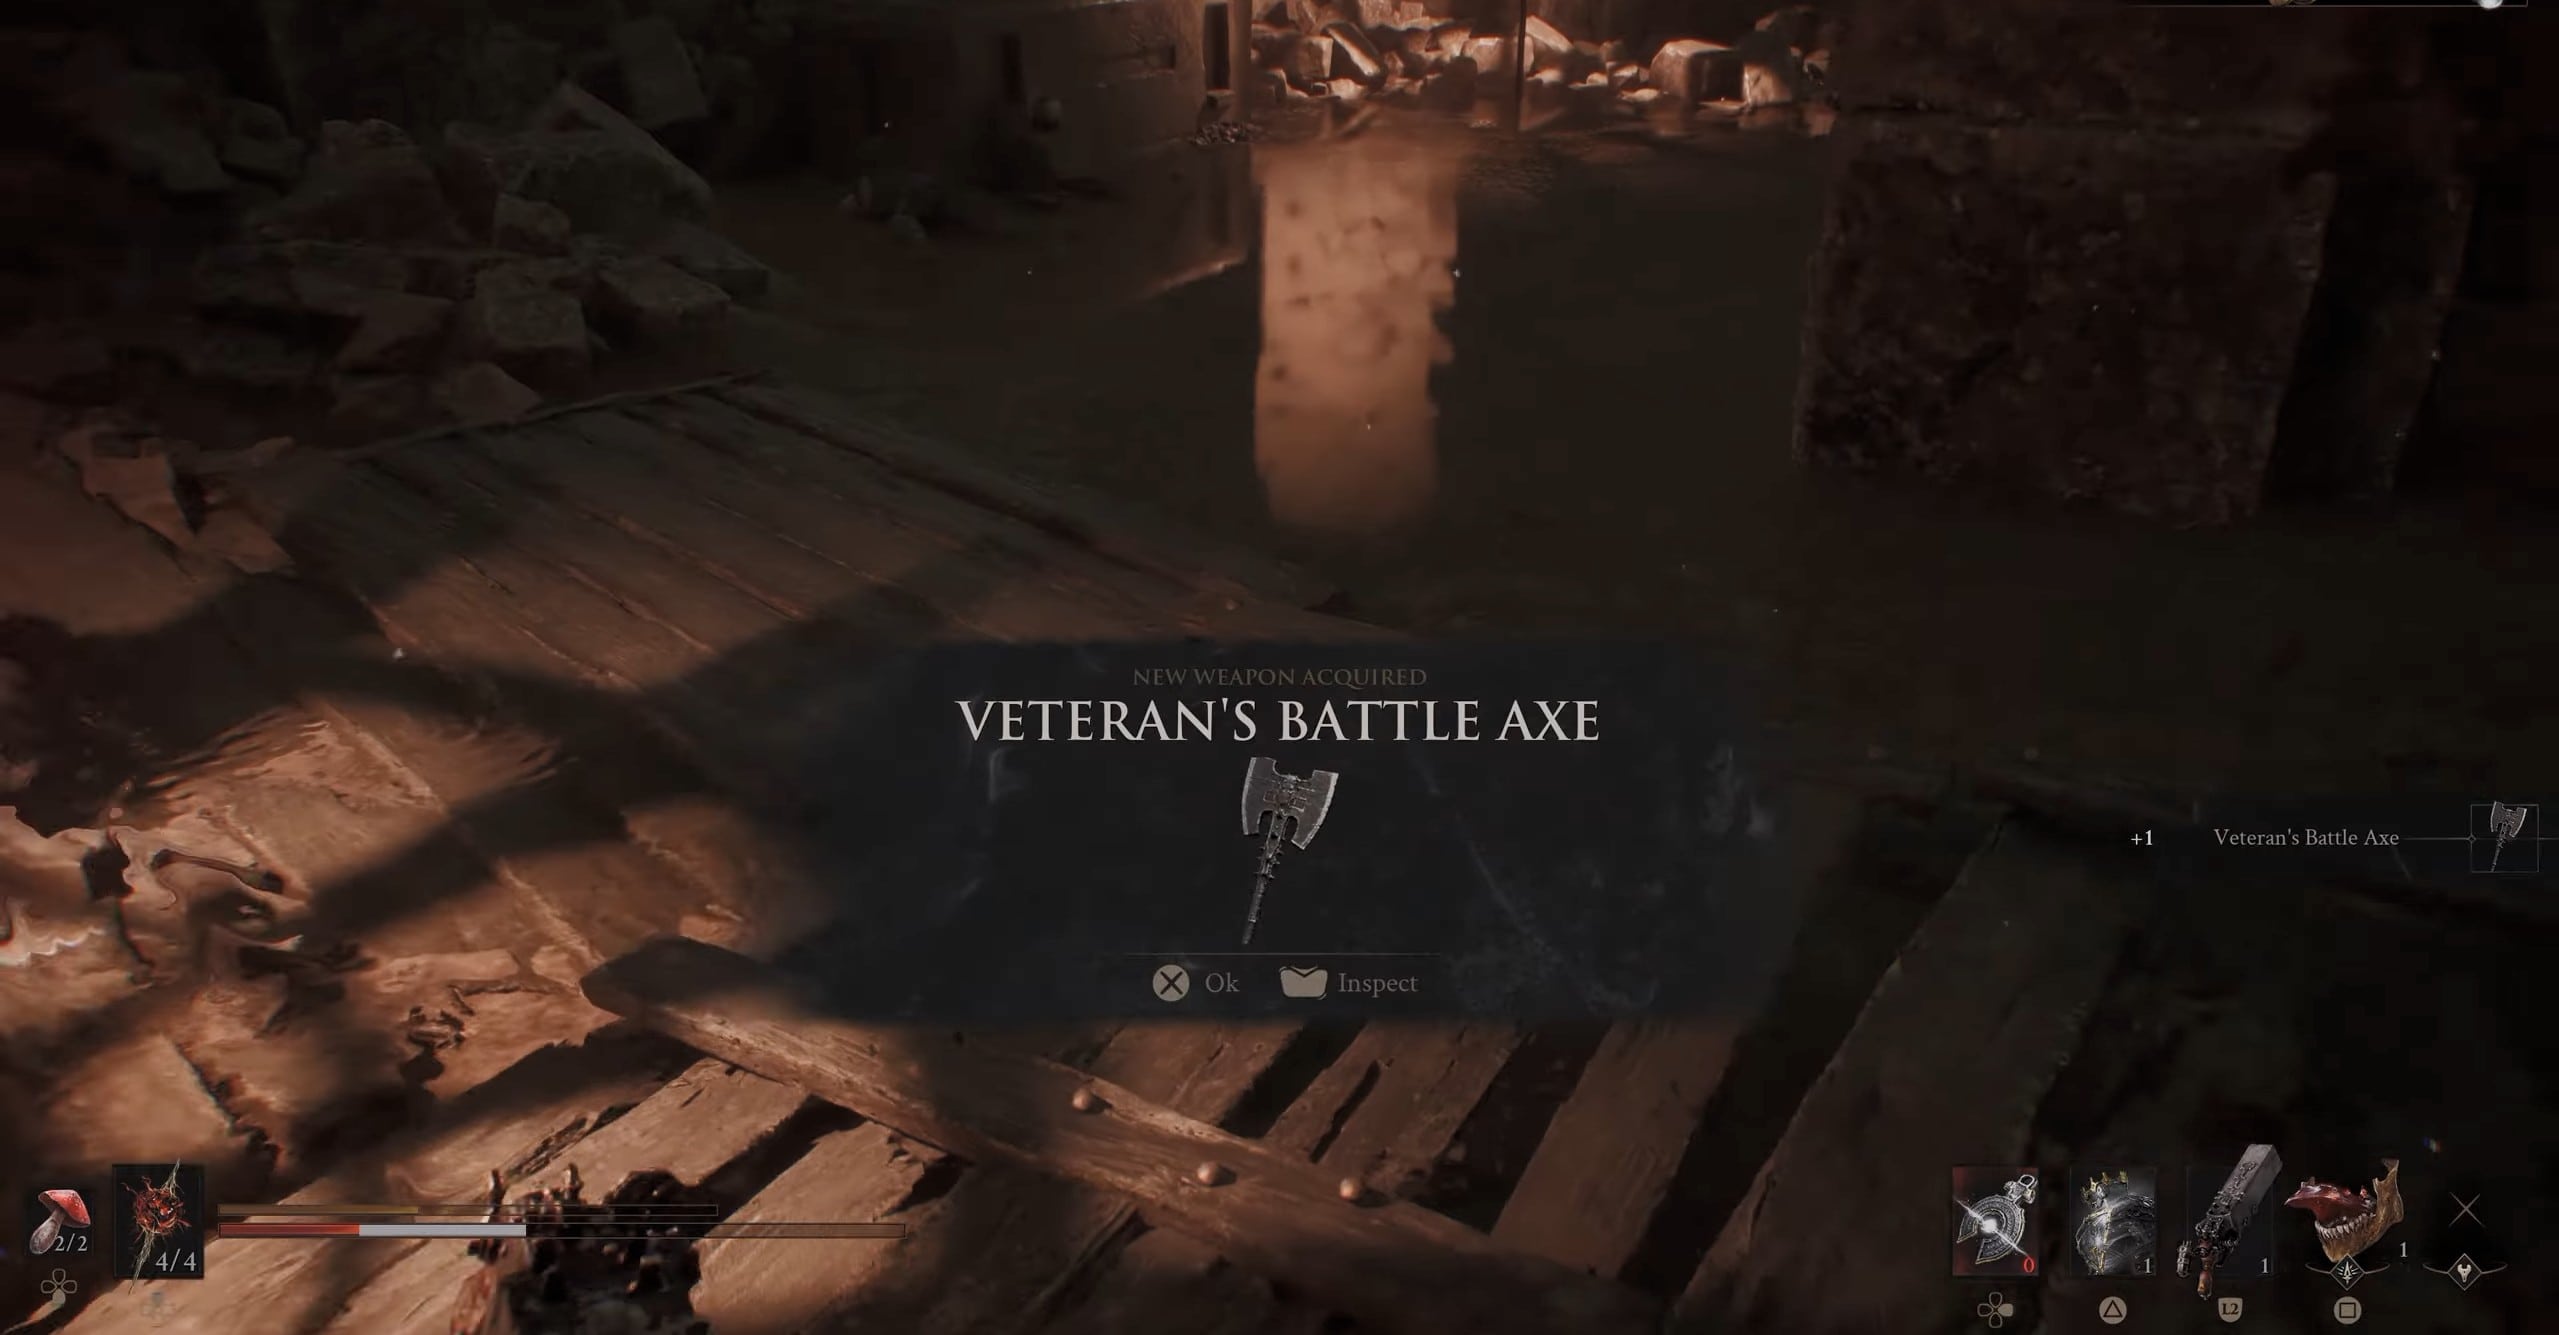
Veteran’s Battle Axe
The Veteran’s Battle Axe is hidden inside The King’s Crypt in the Blackridge Cliffs. It is one of the easier weapons to collect because there is no major boss attached to it. The easiest reference point is the area around the Shattered Beacon, where you can also find the Proxima Shell.
- Travel to Blackridge Pass and head toward the Shattered Beacon.
- Look northwest of the Shattered Beacon for the entrance to The King’s Crypt.
- Enter the cave and work your way through its traps and enemies.
- Continue until you reach the large square opening near the end.
- Drop down and kill the enemy waiting below.
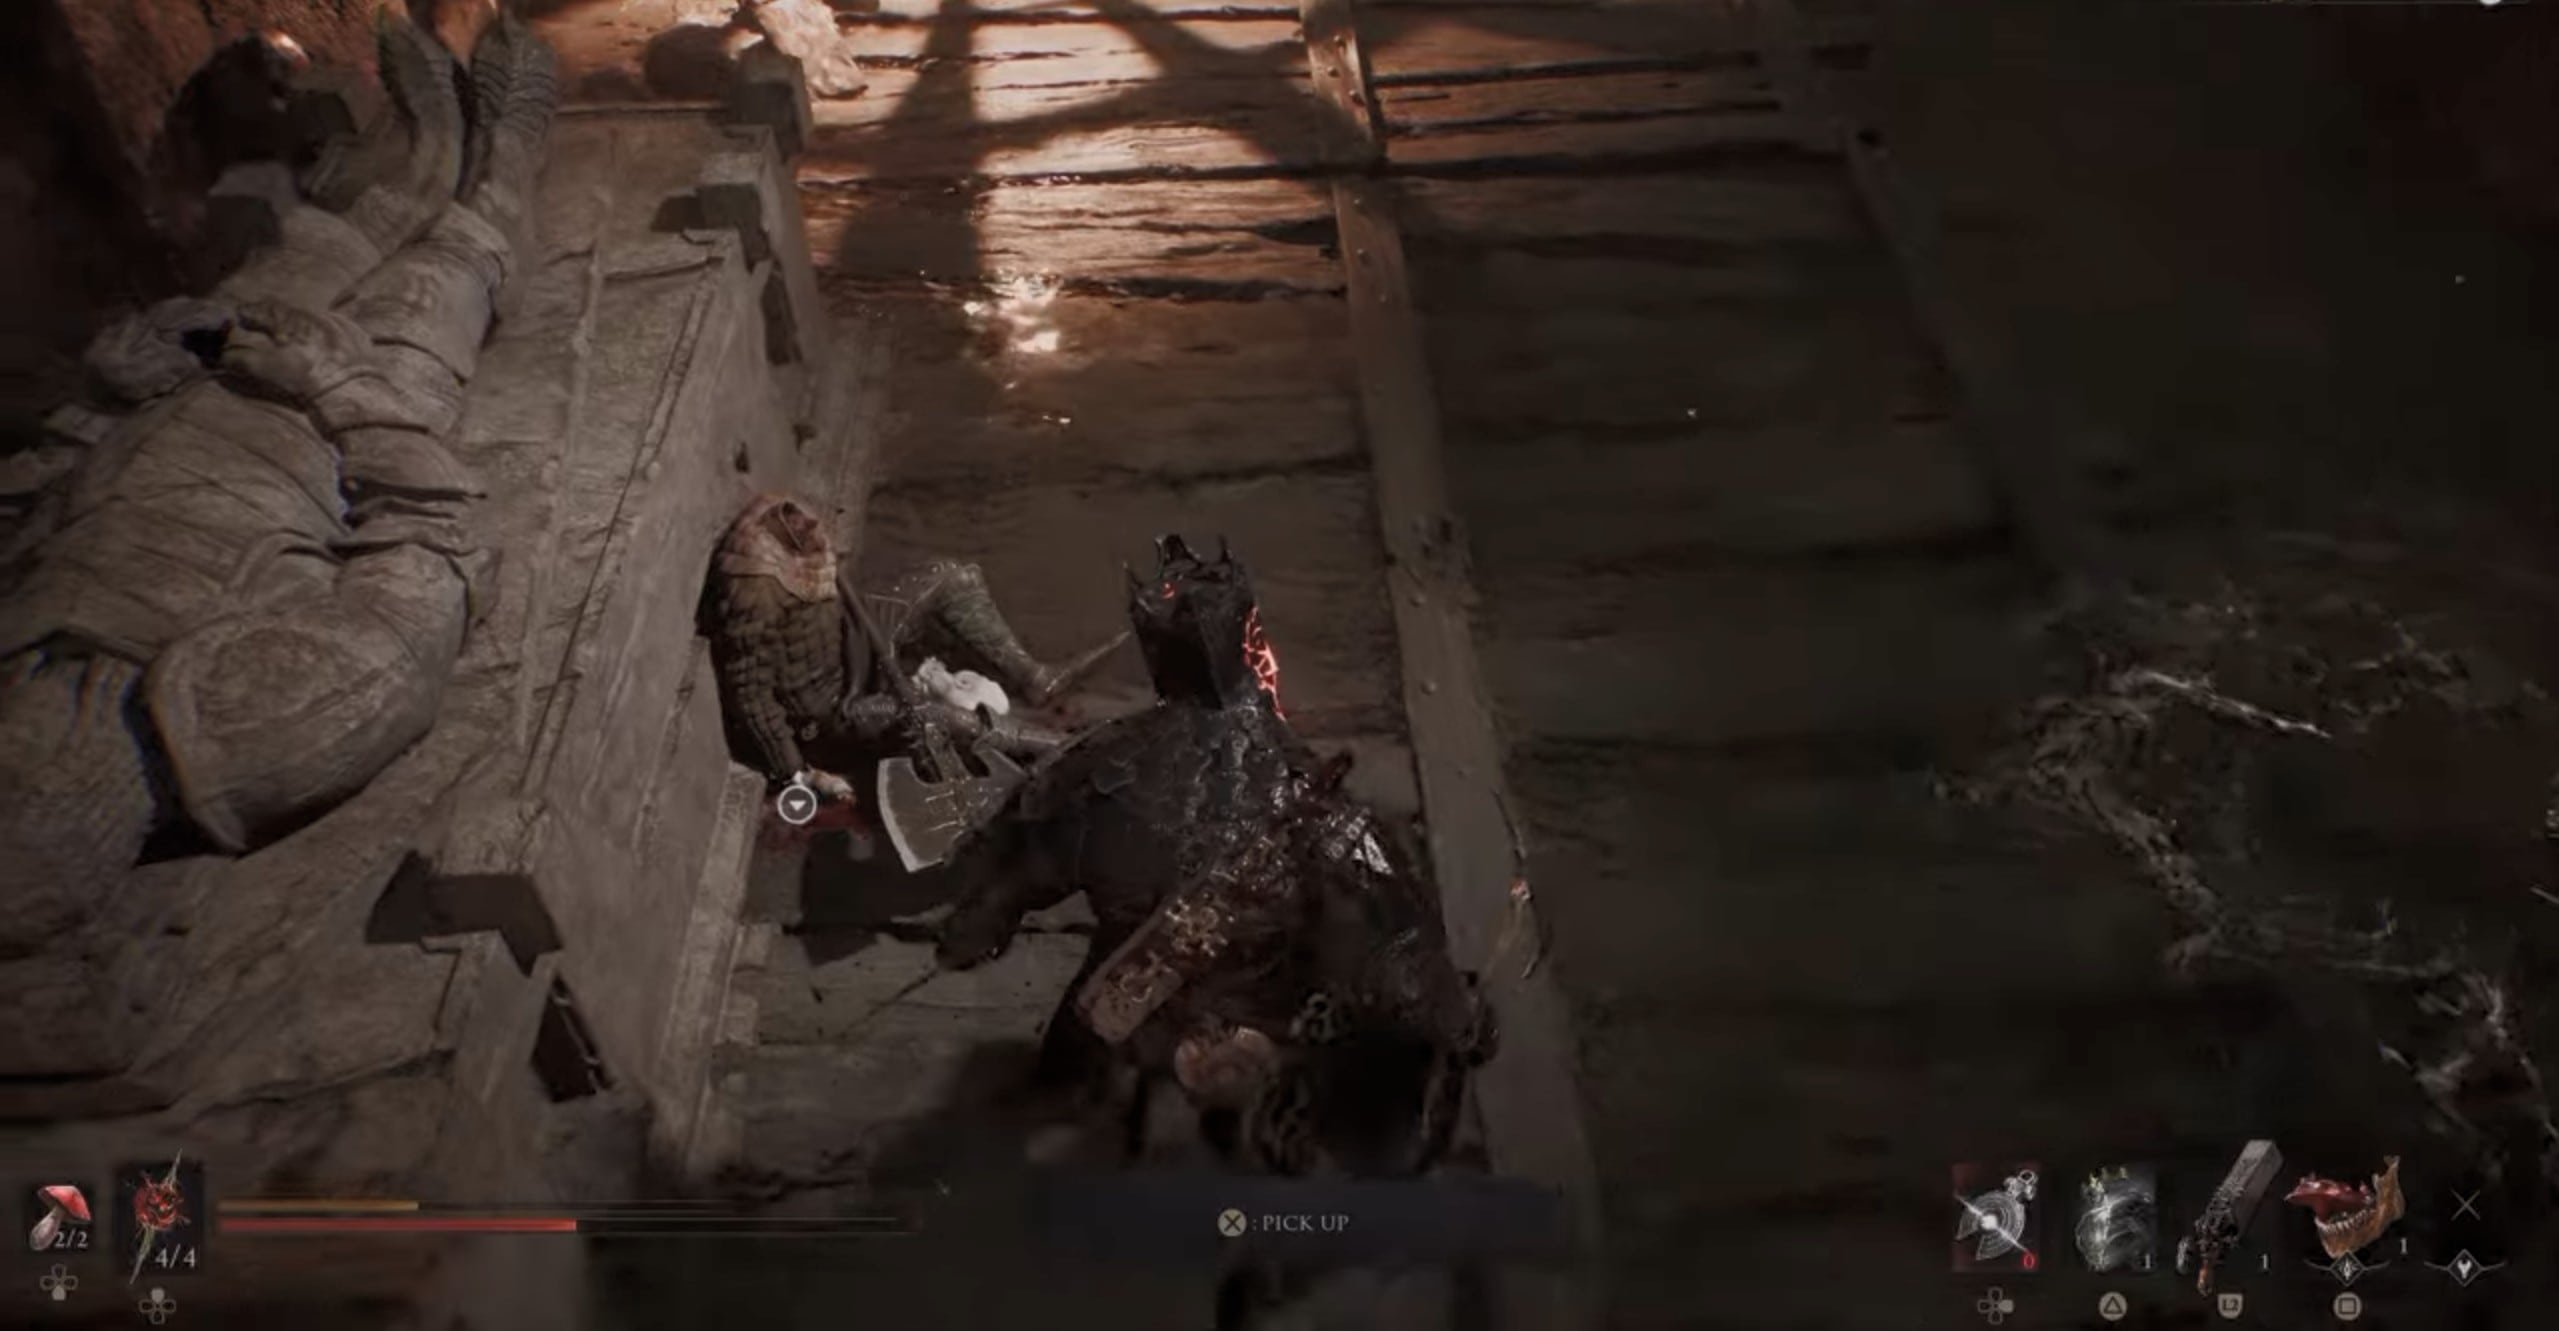
- Pick up the Veteran’s Battle Axe from the nearby dead soldier.
5. Great Martyr’s Blade Location
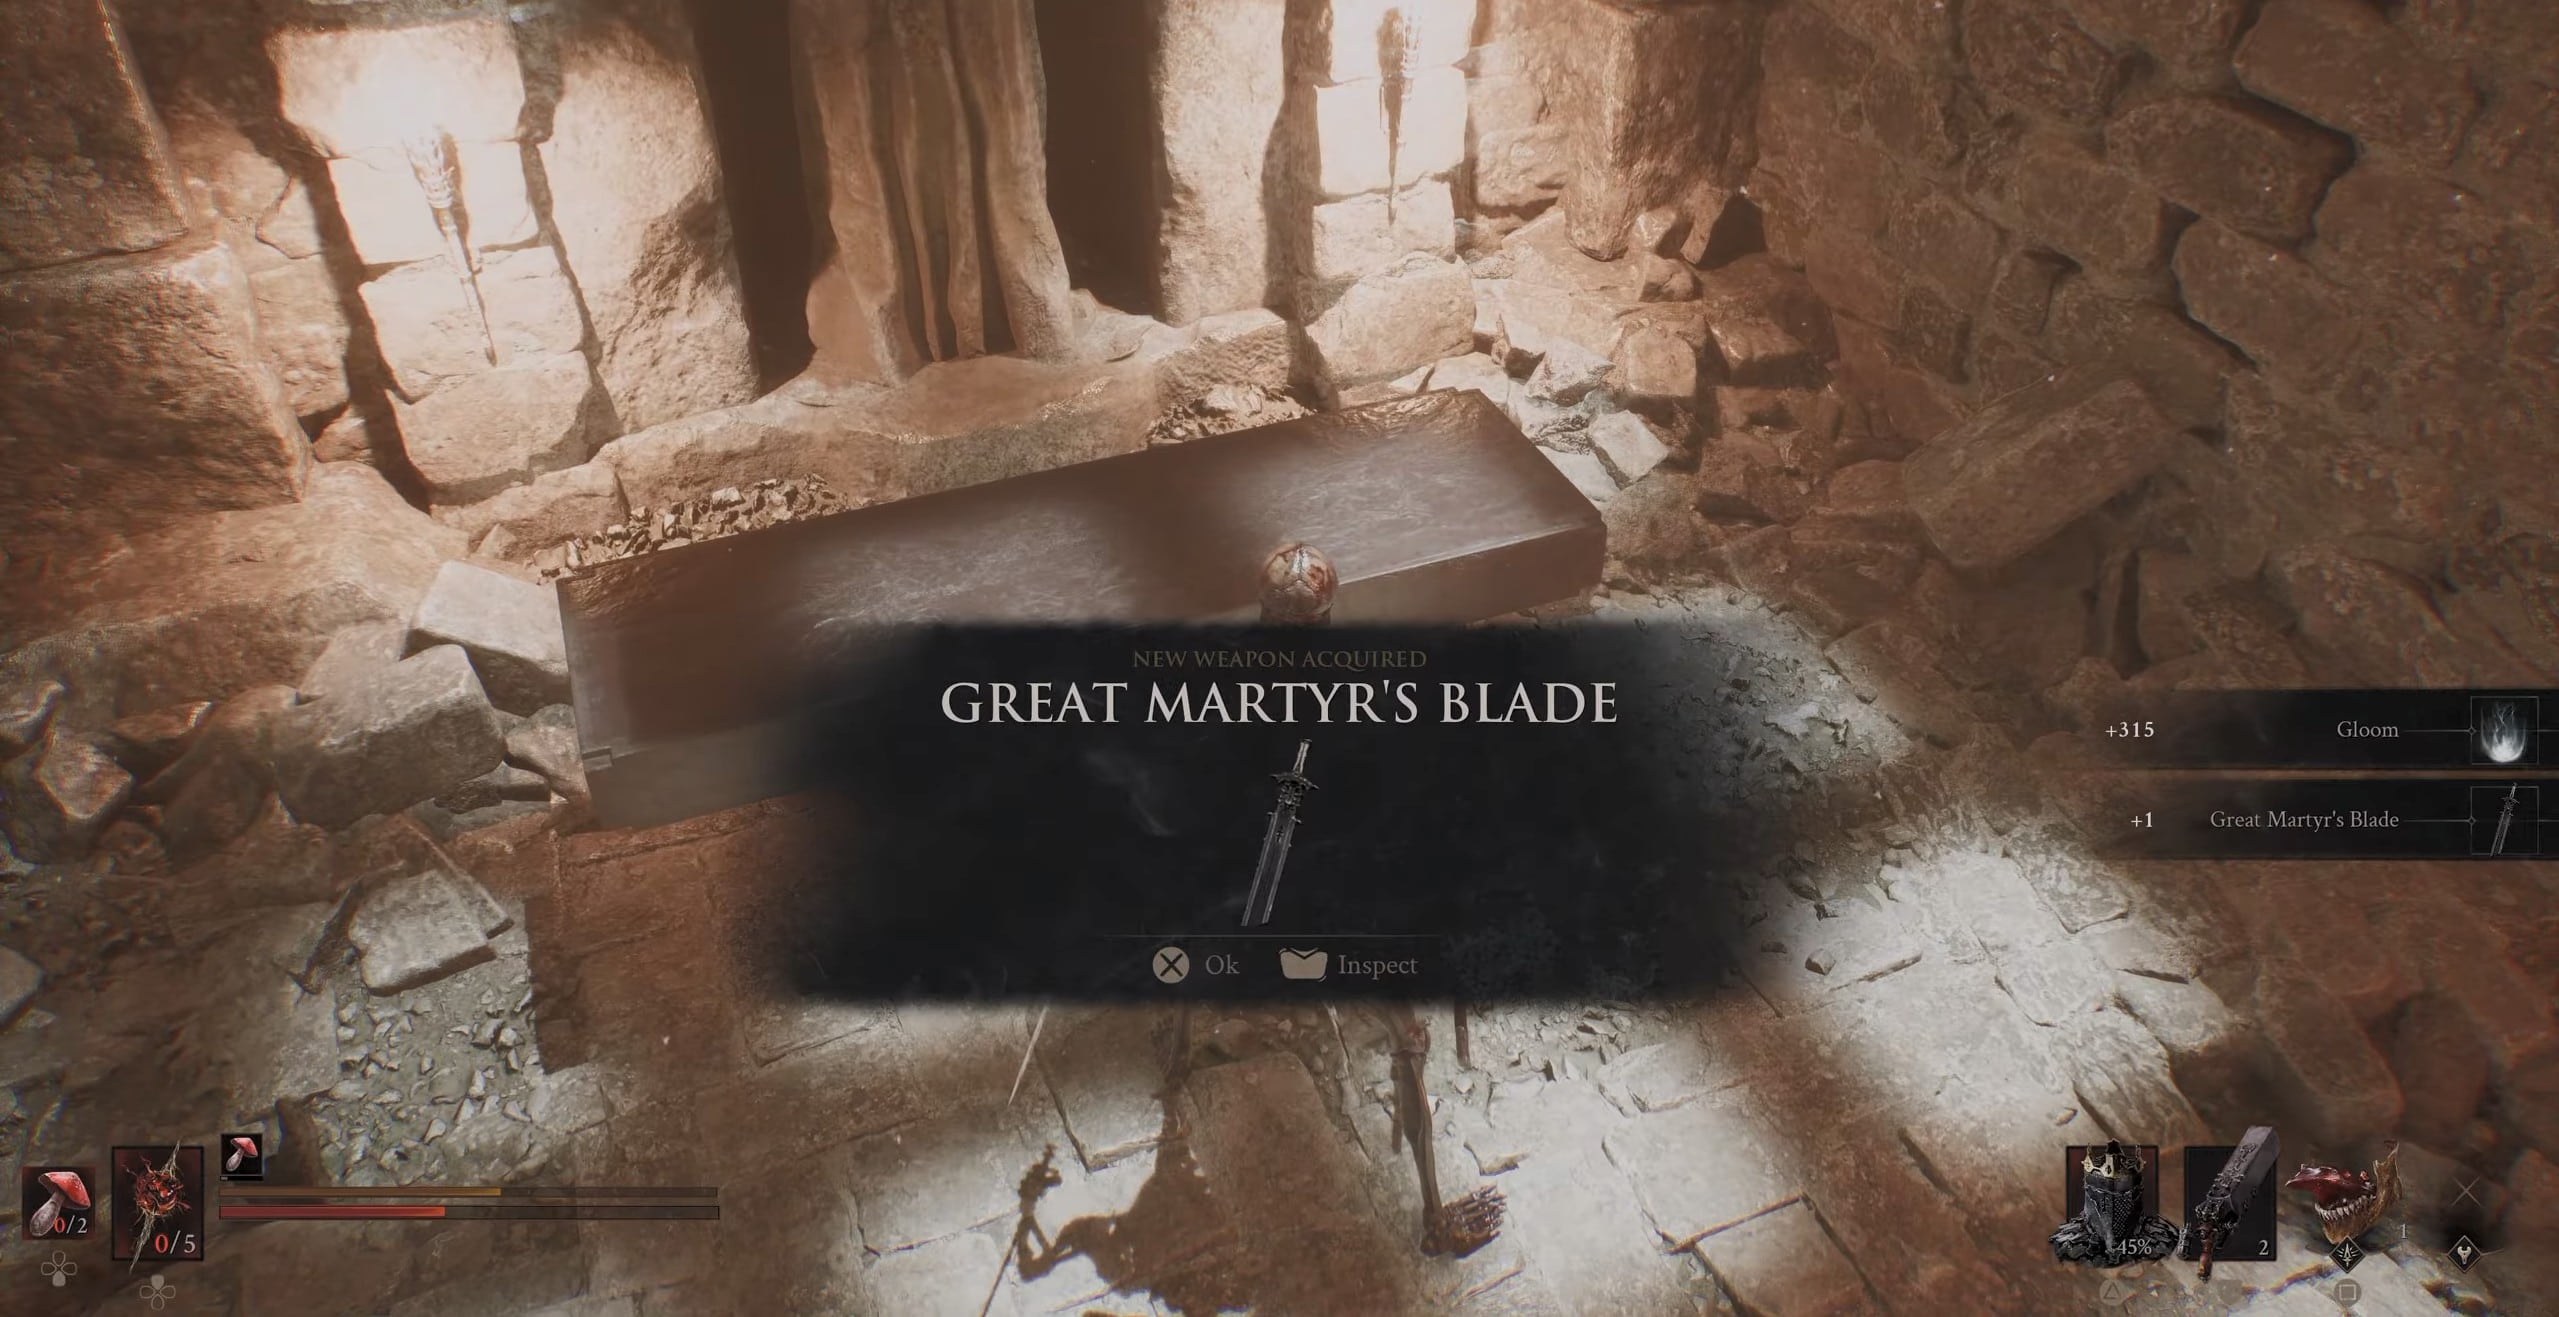
Great Martyr’s Blade
The Great Martyr’s Blade is found inside Martyr’s Prison, a dungeon around the Gloomshade Grove and Citadel of Penance region. It is an excellent weapon to pick up while working through the Citadel-related progression.
- Travel toward the Citadel of Penance in Gloomshade Grove.
- Locate the entrance to Martyr’s Prison outside the Citadel’s eastern side and enter the dungeon.
- Interact with the strange coin pouch inside to be transported deeper into the prison.
- Fight through the narrow corridors and prison rooms.
- Reach the final section and collect the Great Martyr’s Blade.
6. Obsidian Hammer Location
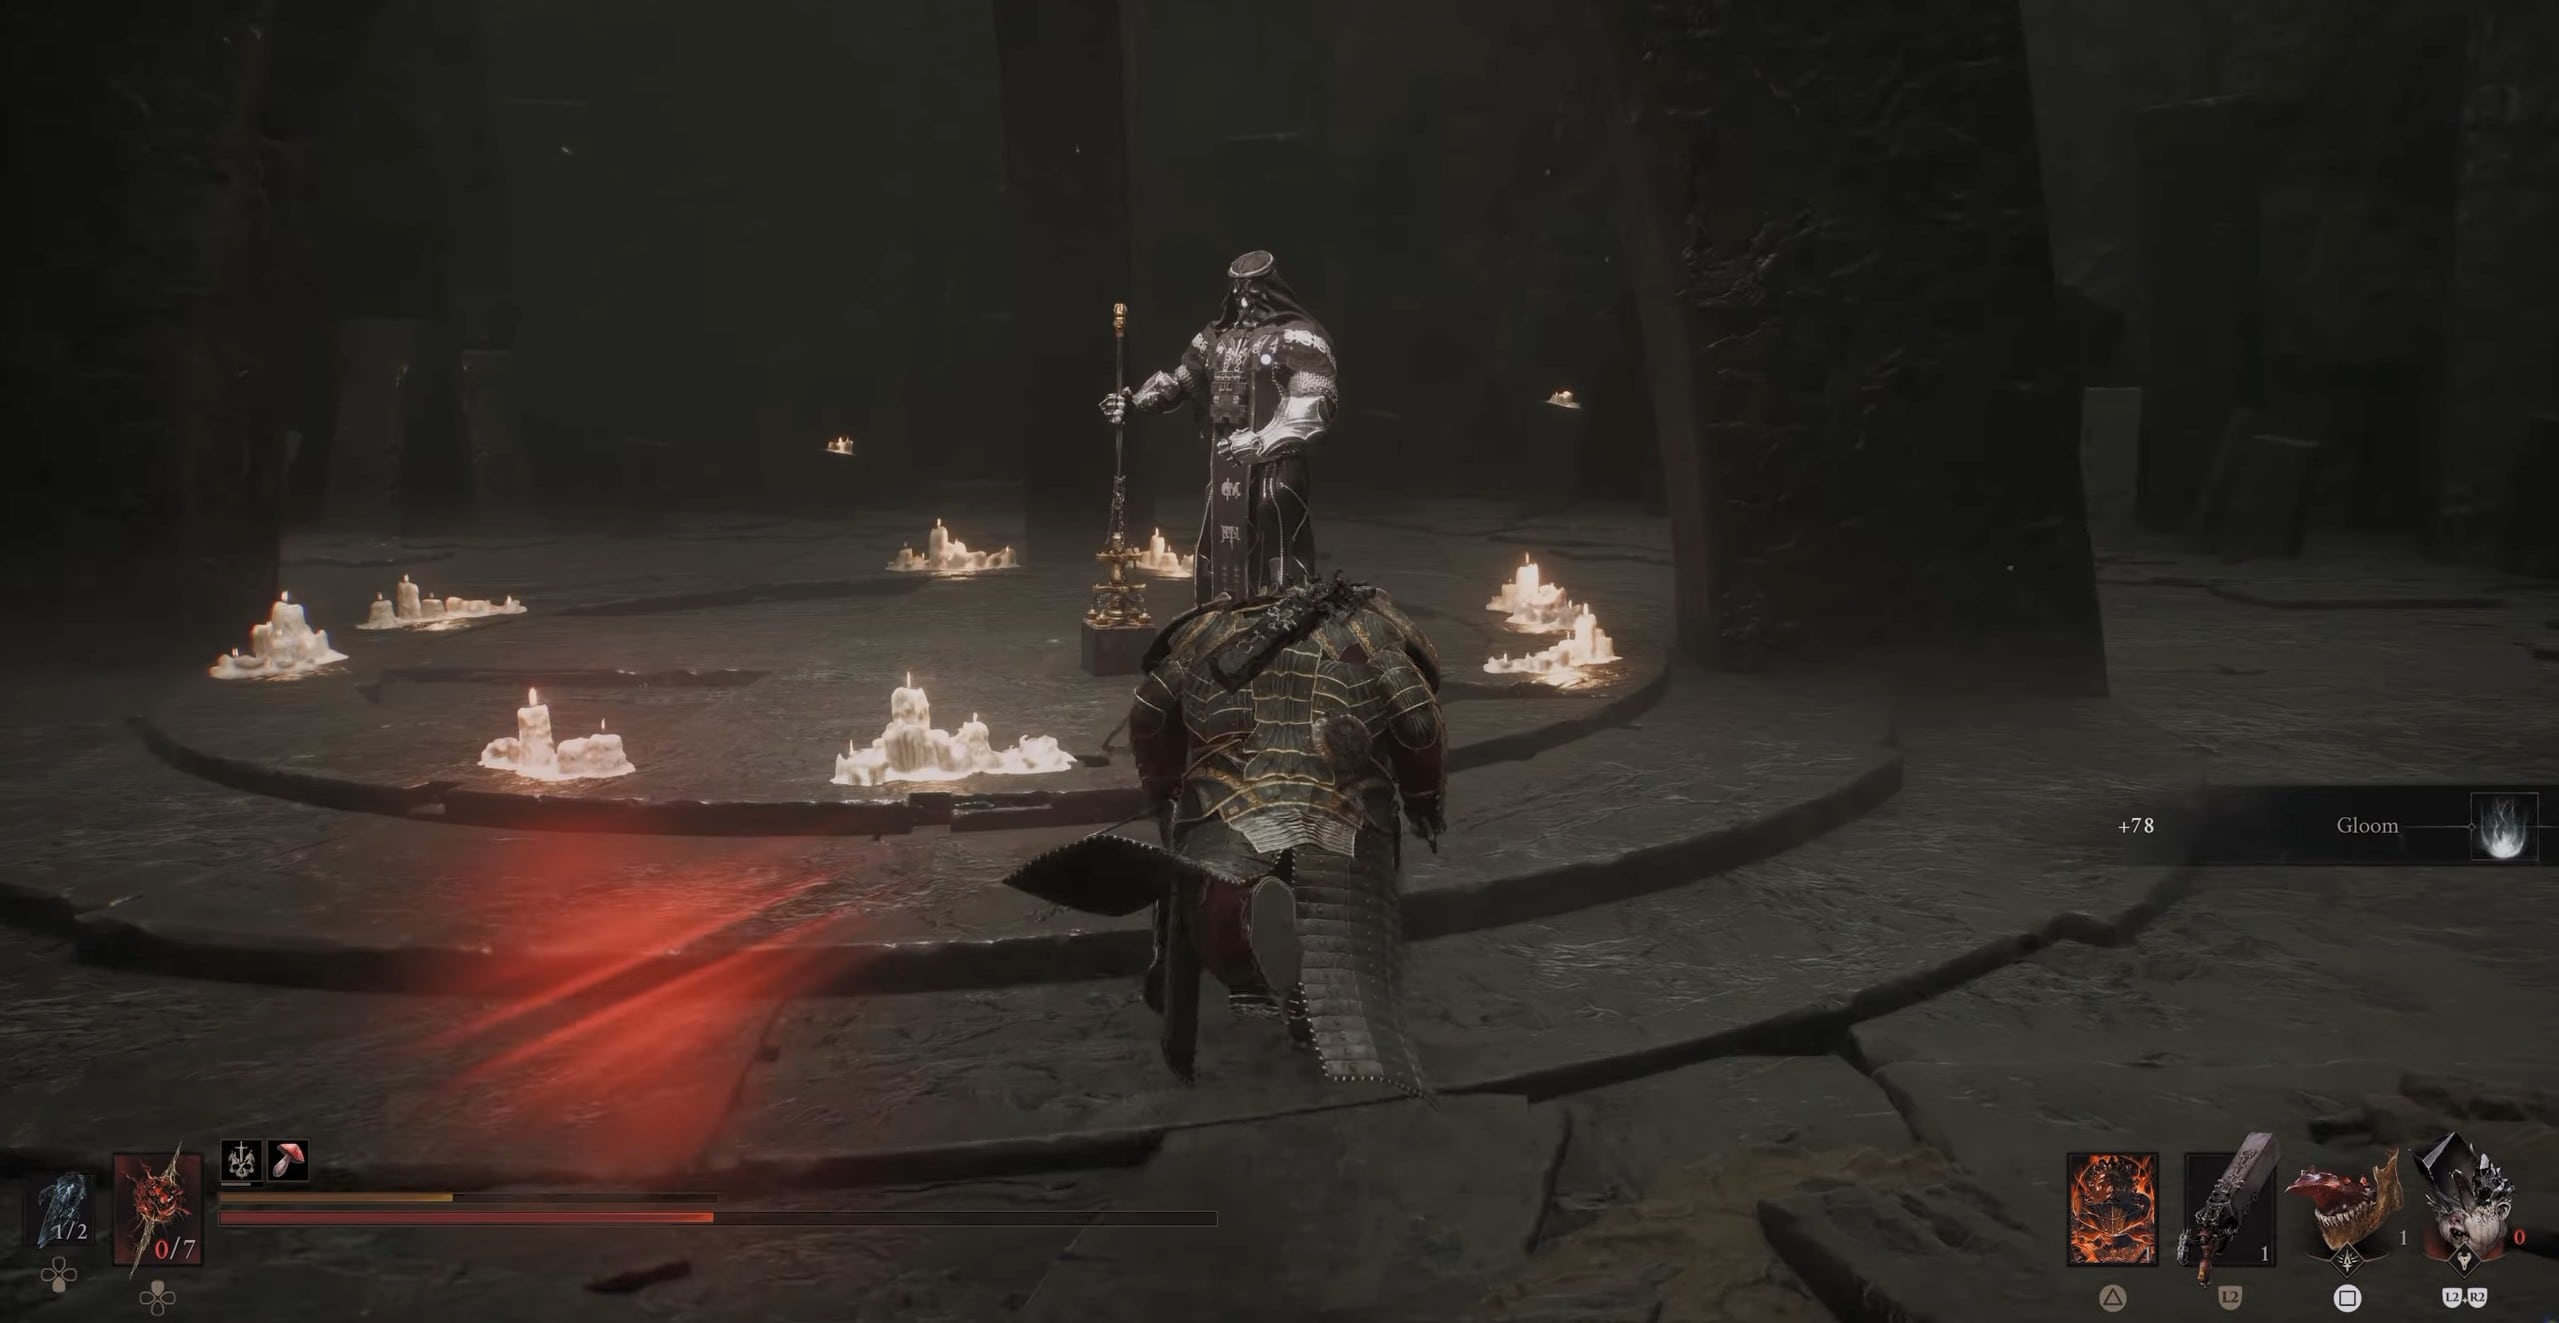
Defeating Prophet Boss
The Obsidian Hammer is found in the Obsidianite Mines in the Ruins of Mammon. Unlike the previous weapons, you have to defeat a miniboss at the bottom of the mines to obtain it. From the Outskirts of Mammon Beacon, travel west until you reach a quarry containing a large pool.
- Start at Outskirts of Mammon and travel west.
- Find the large quarry and flooded pit.
- Drop into the water to enter the Obsidianite Mines.
- Progress through the mine until you reach the large vertical chasm.
- Carefully drop from ledge to ledge instead of falling directly to the bottom.
- Defeat the Prophet of Profane Infinites miniboss at the end.
The Prophet drops the Obsidian Hammer when defeated.
7. Axatana Location
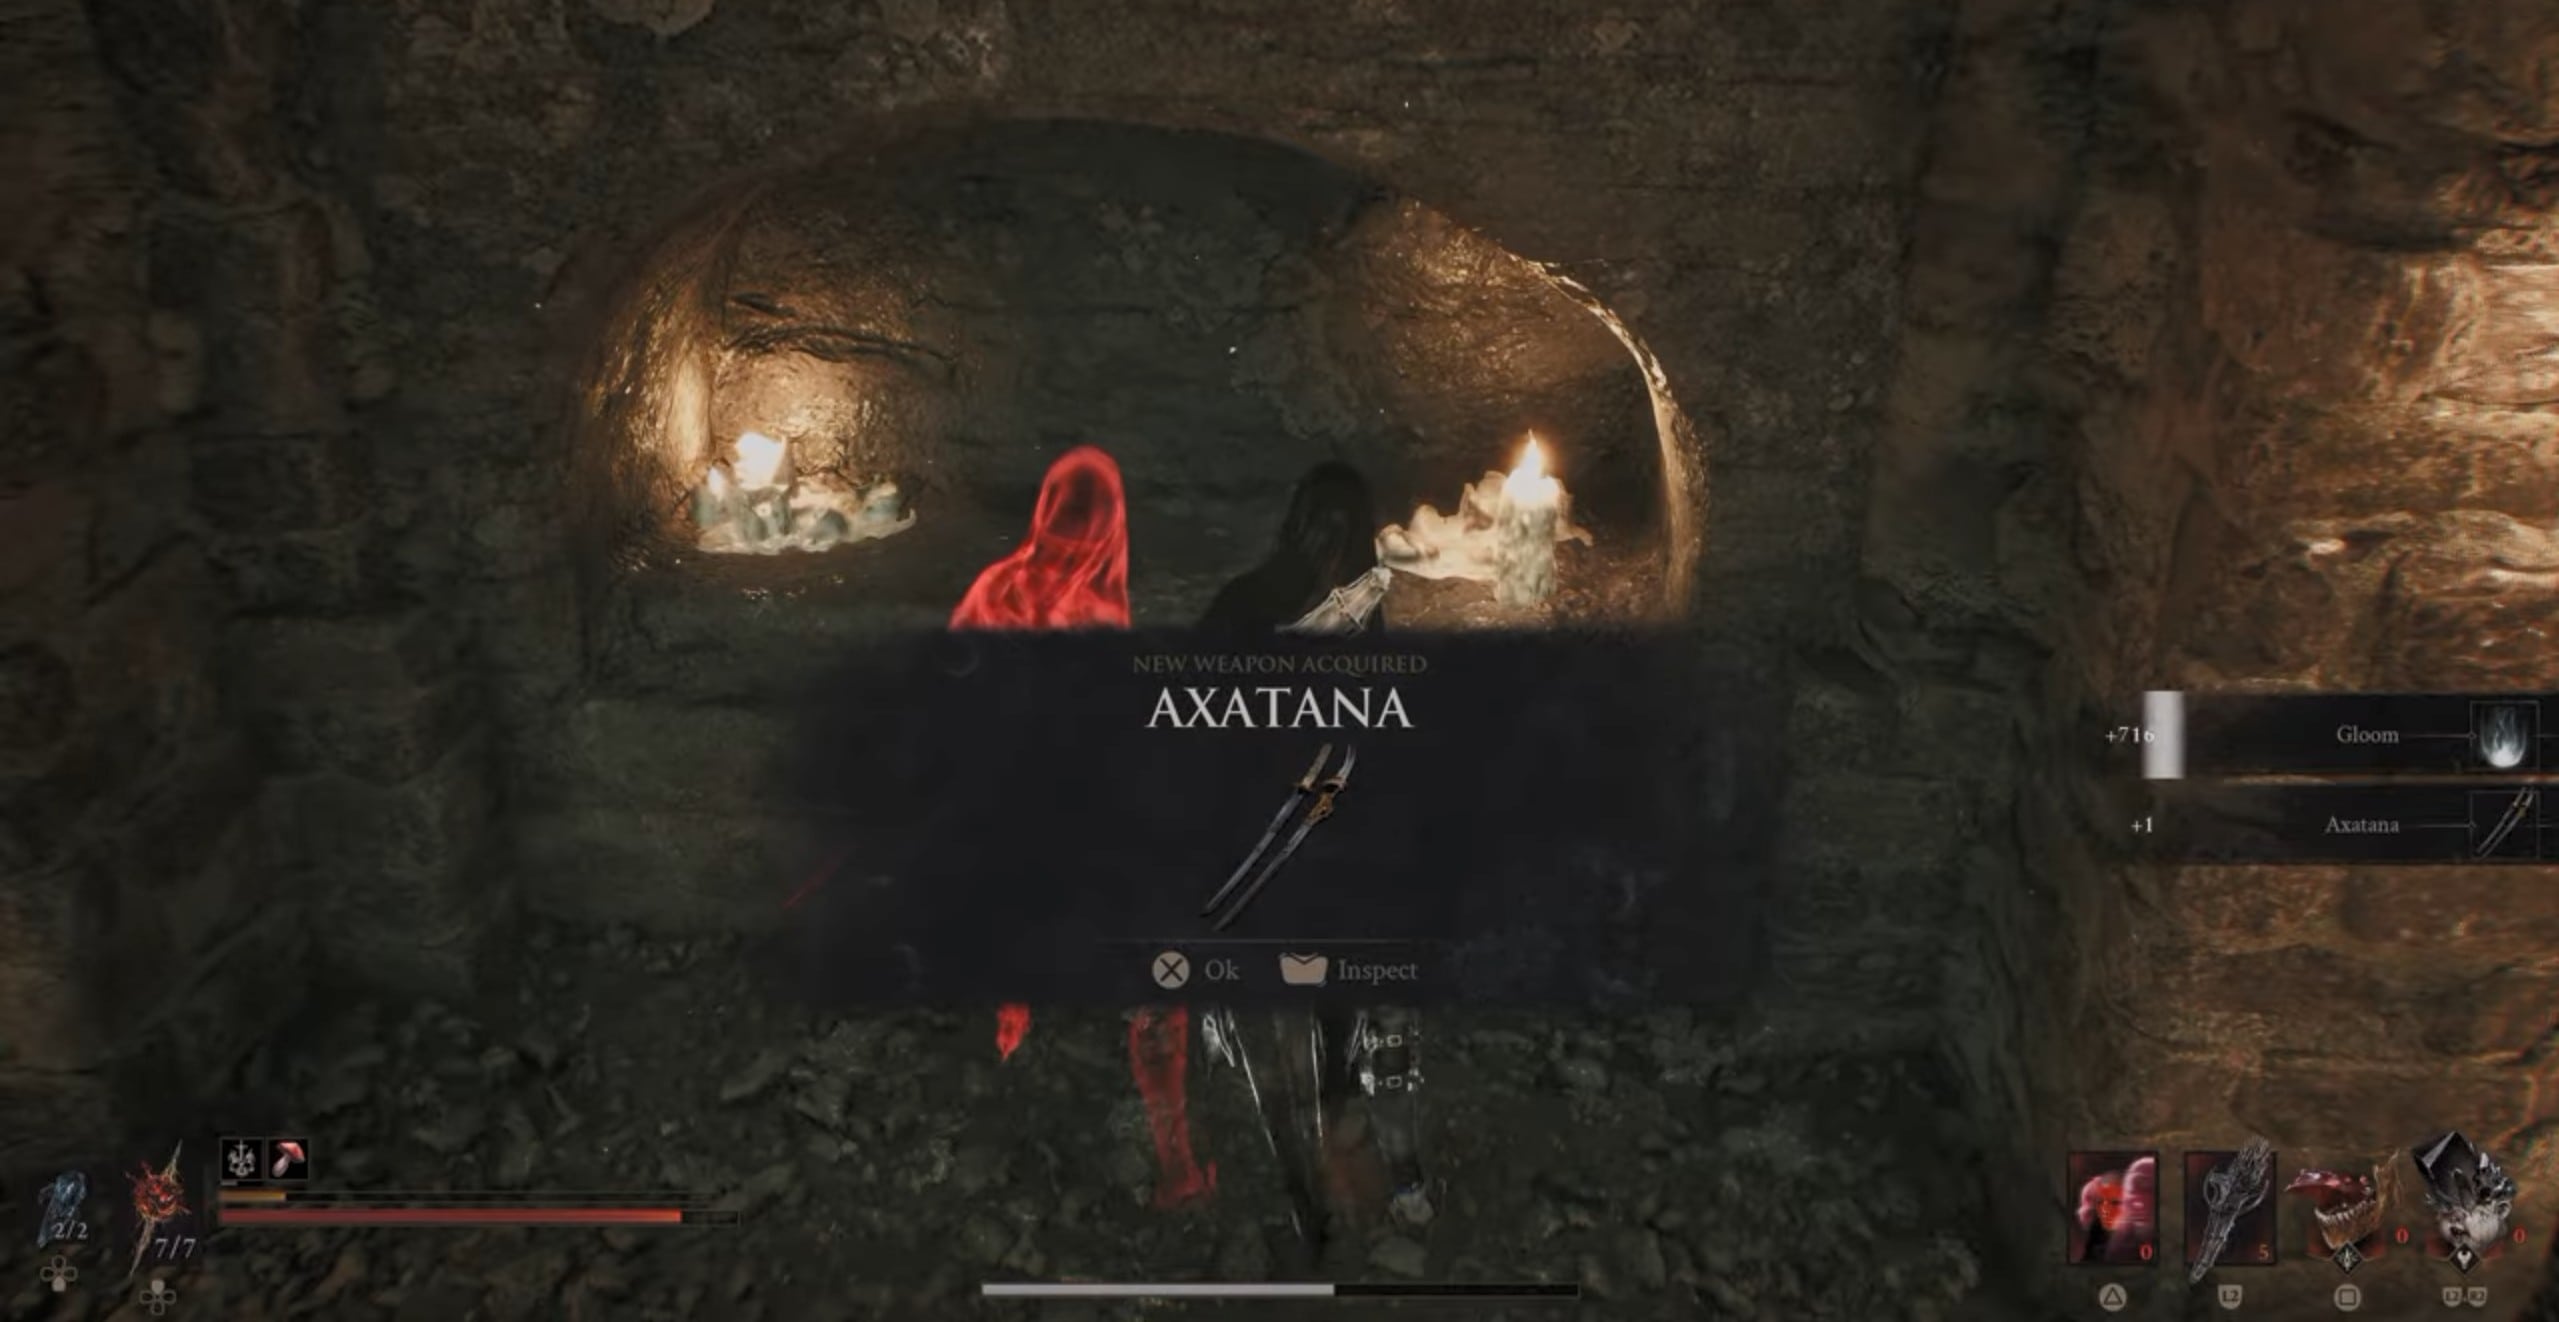
Axatana
The Axatana is hidden inside the Forgotten Tower in Mammon. Start from the Sester’s Gate area, where a lower ledge and jump gates provide access to the tower. The route is easy to confuse with the nearby path to the Revered Beacon, so pay attention after dropping from the Sester’s Gate courtyard.
- Travel to the Sester’s Gate Beacon.
- Enter the courtyard containing the Rollerball enemy.
- Look over the edge and drop onto the lower ledge.
- Instead of continuing toward the abbey, turn left.
- Use the jump gate to cross the ravine into the Forgotten Tower.
- Continue through the tower and use another jump gate to reach the opposite side.
- Step on the plate beside the metal door.
- Defeat the Dagger Sester inside.
- Collect the Axatana from the nearby niche.
Picking it up unlocks the Dual Wielding trophy/achievement.
8. Black Needle Location
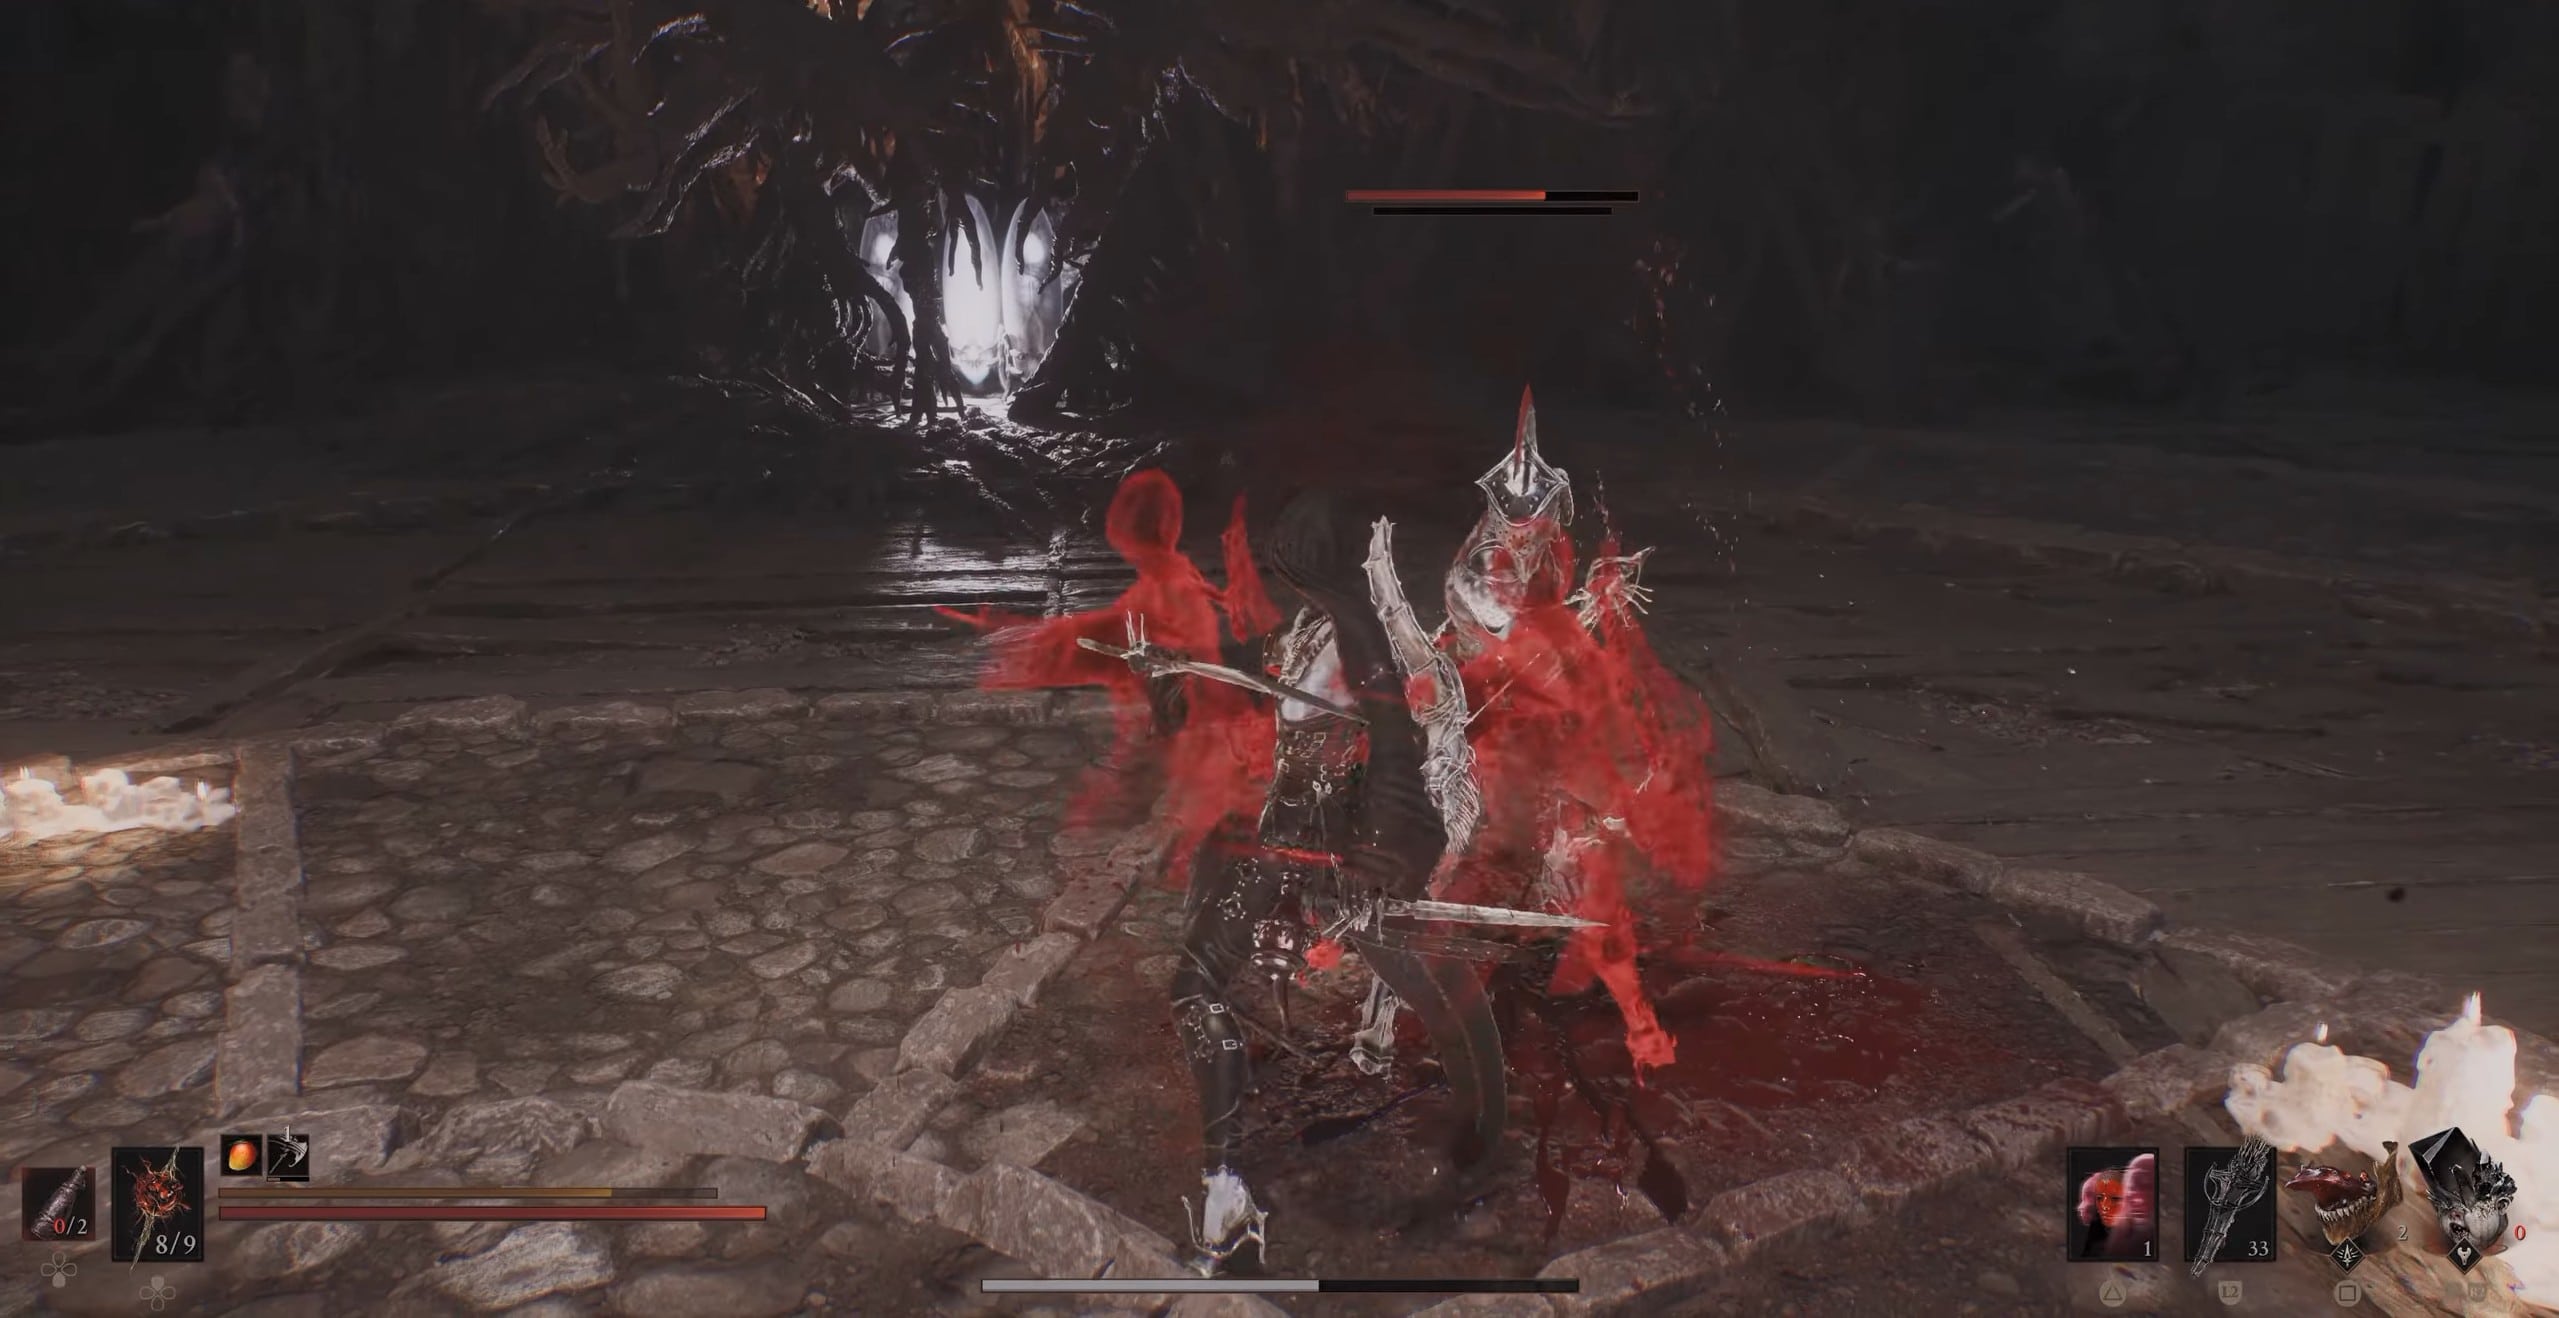
Defeating Twin Sesters
The Black Needle comes from the Sester’s Bastion/Sester’s Gate progression in Mammon. Unlike the Axatana, you cannot simply loot it from a room—you need to defeat a sequence of Sester enemies first. Start from the Sester’s Gate Beacon and proceed through its associated dungeon.
- Enter the dungeon from Sester’s Gate.
- Progress normally through the interior.
- Shoot the bells you encounter to make new ledges and routes appear.
- Continue until you reach the large arena.
- Defeat the Twin Sesters, consisting of two different Sester opponents.
- Defeat the Stray Sester that follows.
- Collect the Black Needle dropped after the fight.
9. Clockwork Scythe Location
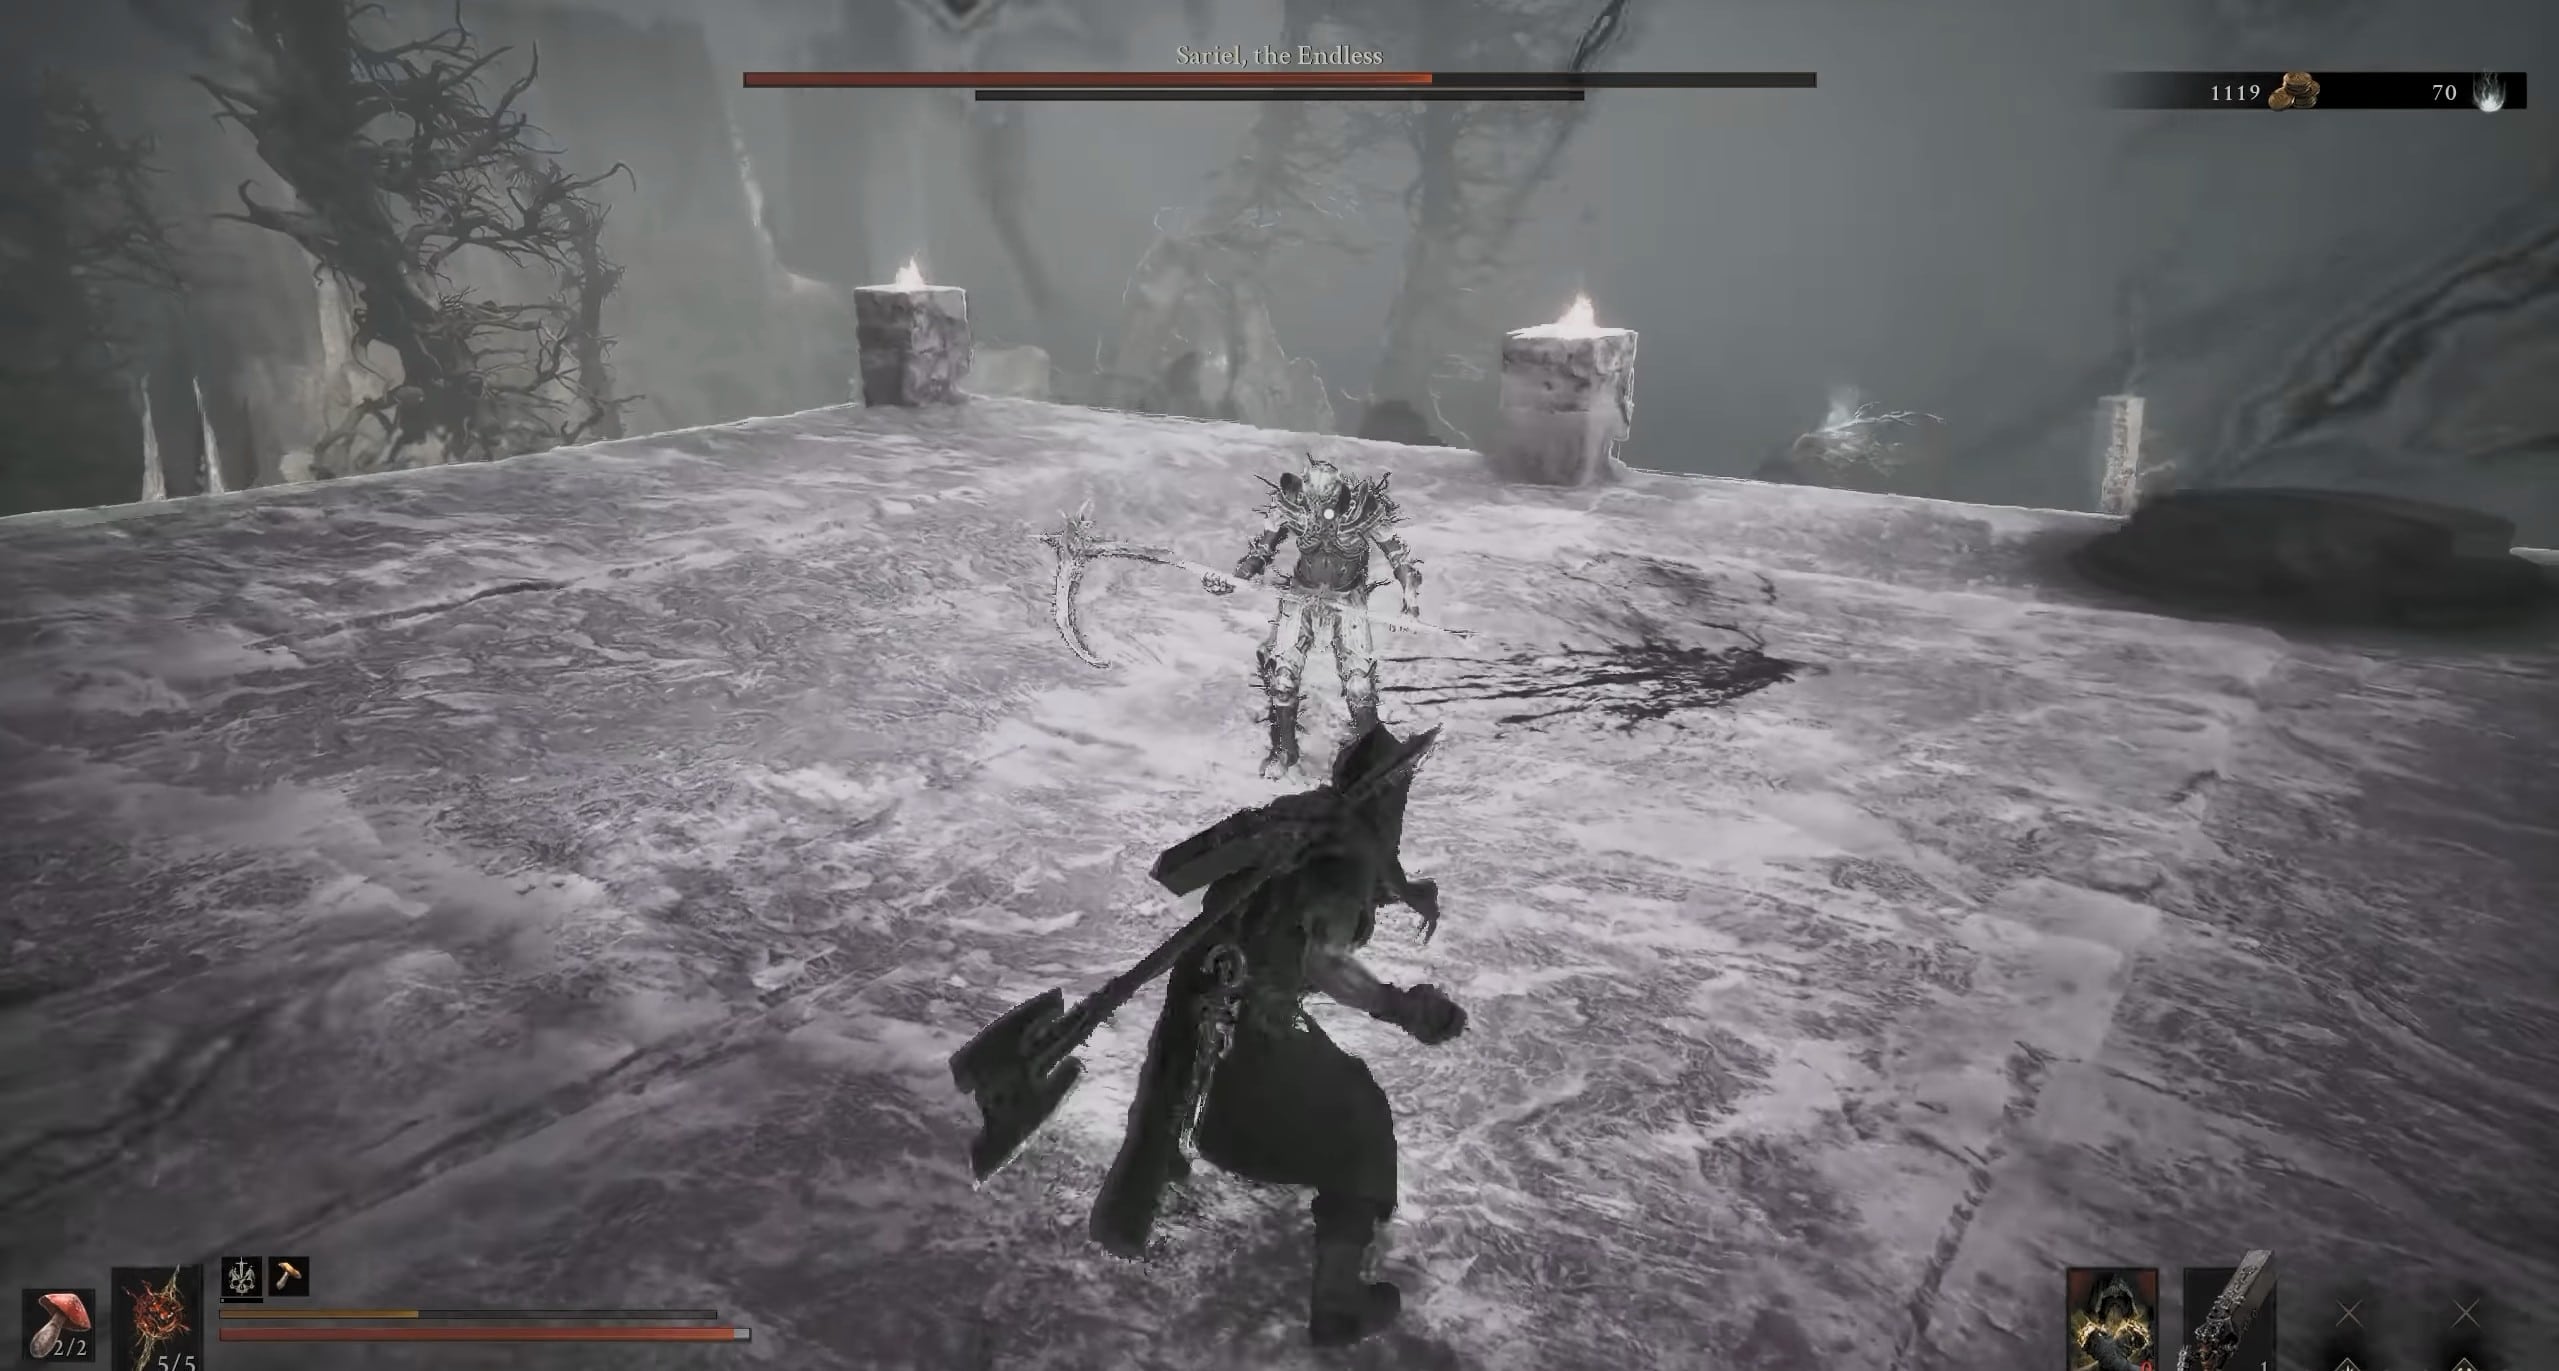
Defeating Sariel
The Clockwork Scythe is obtained by defeating Sariel, the Endless in the Chamber of Becoming. This makes it one of the most progression-heavy weapons in the collection, since the route is also tied to unlocking Sariel as a Shell. The route begins around The Silent Steps Beacon in southeastern Mammon.
- Travel to The Silent Steps.
- Head southeast toward the large stone platform.
- Use the nearby jump gate to reach Sariel’s area.
- Fight Sariel until he loses enough health and retreats.
- Follow him up the steps into the Chamber of Becoming.
- Progress through the dungeon to his second encounter.
- Defeat Sariel, the Endless.
- Collect the Clockwork Scythe after the fight.
10. How to Unlock the Lord of War Trophy
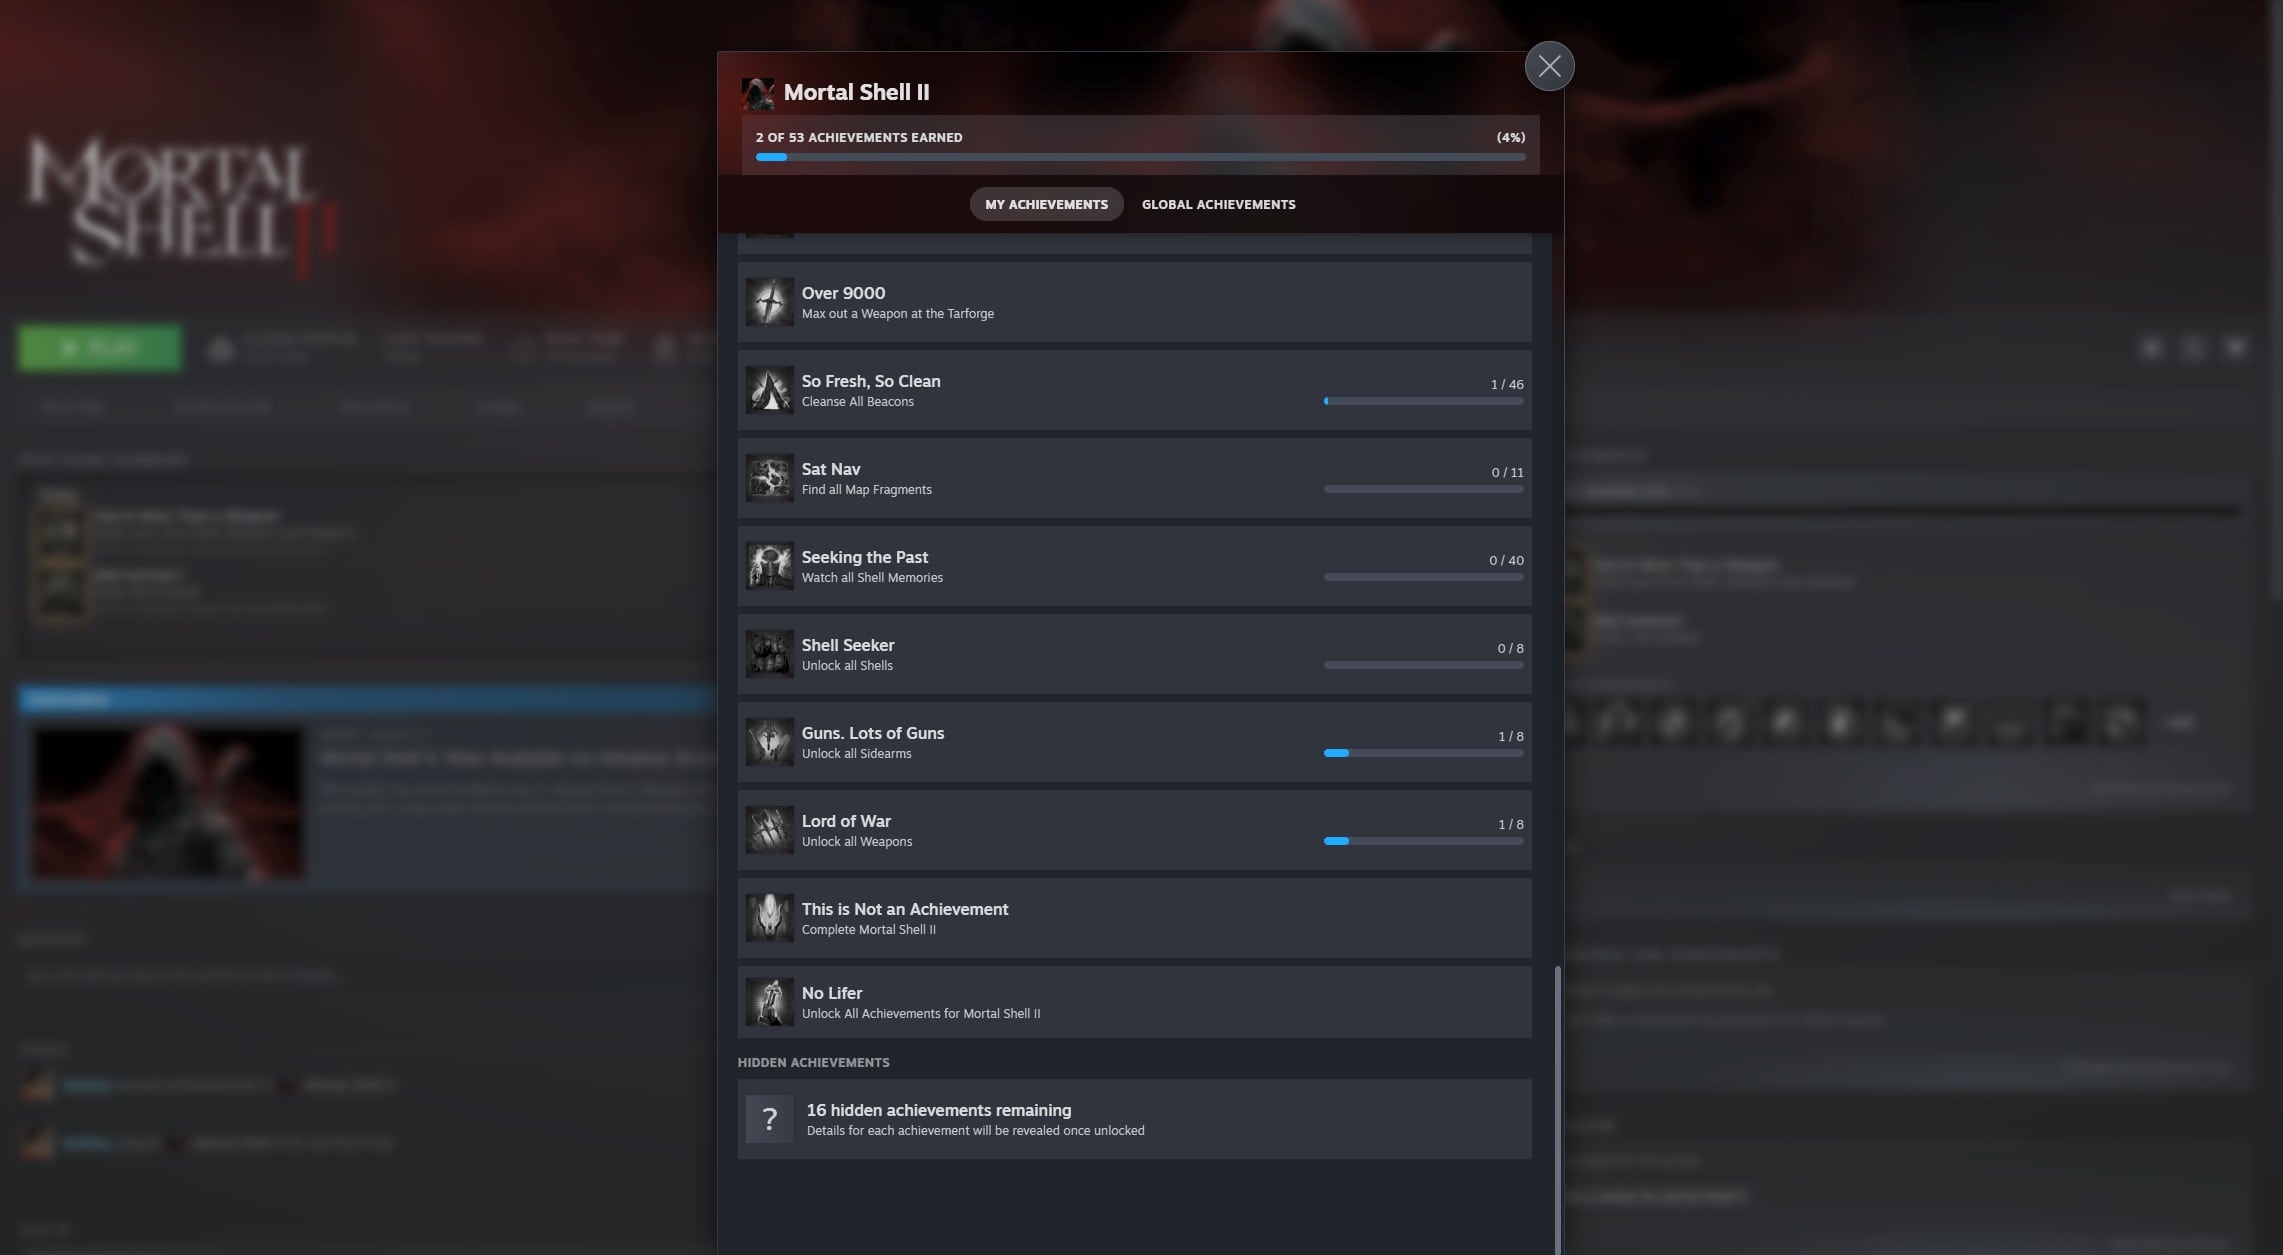
Lord of War Trophy
Lord of War is a Silver trophy on PS5 and requires you to unlock all eight Weapons. Sidearms do not count toward it; those are tracked separately by Guns. Lots of Guns. The trophy tracker itself lists 0/8, confirming that these eight collectible melee weapons form the Lord of War requirement.
11. How to Upgrade Weapons
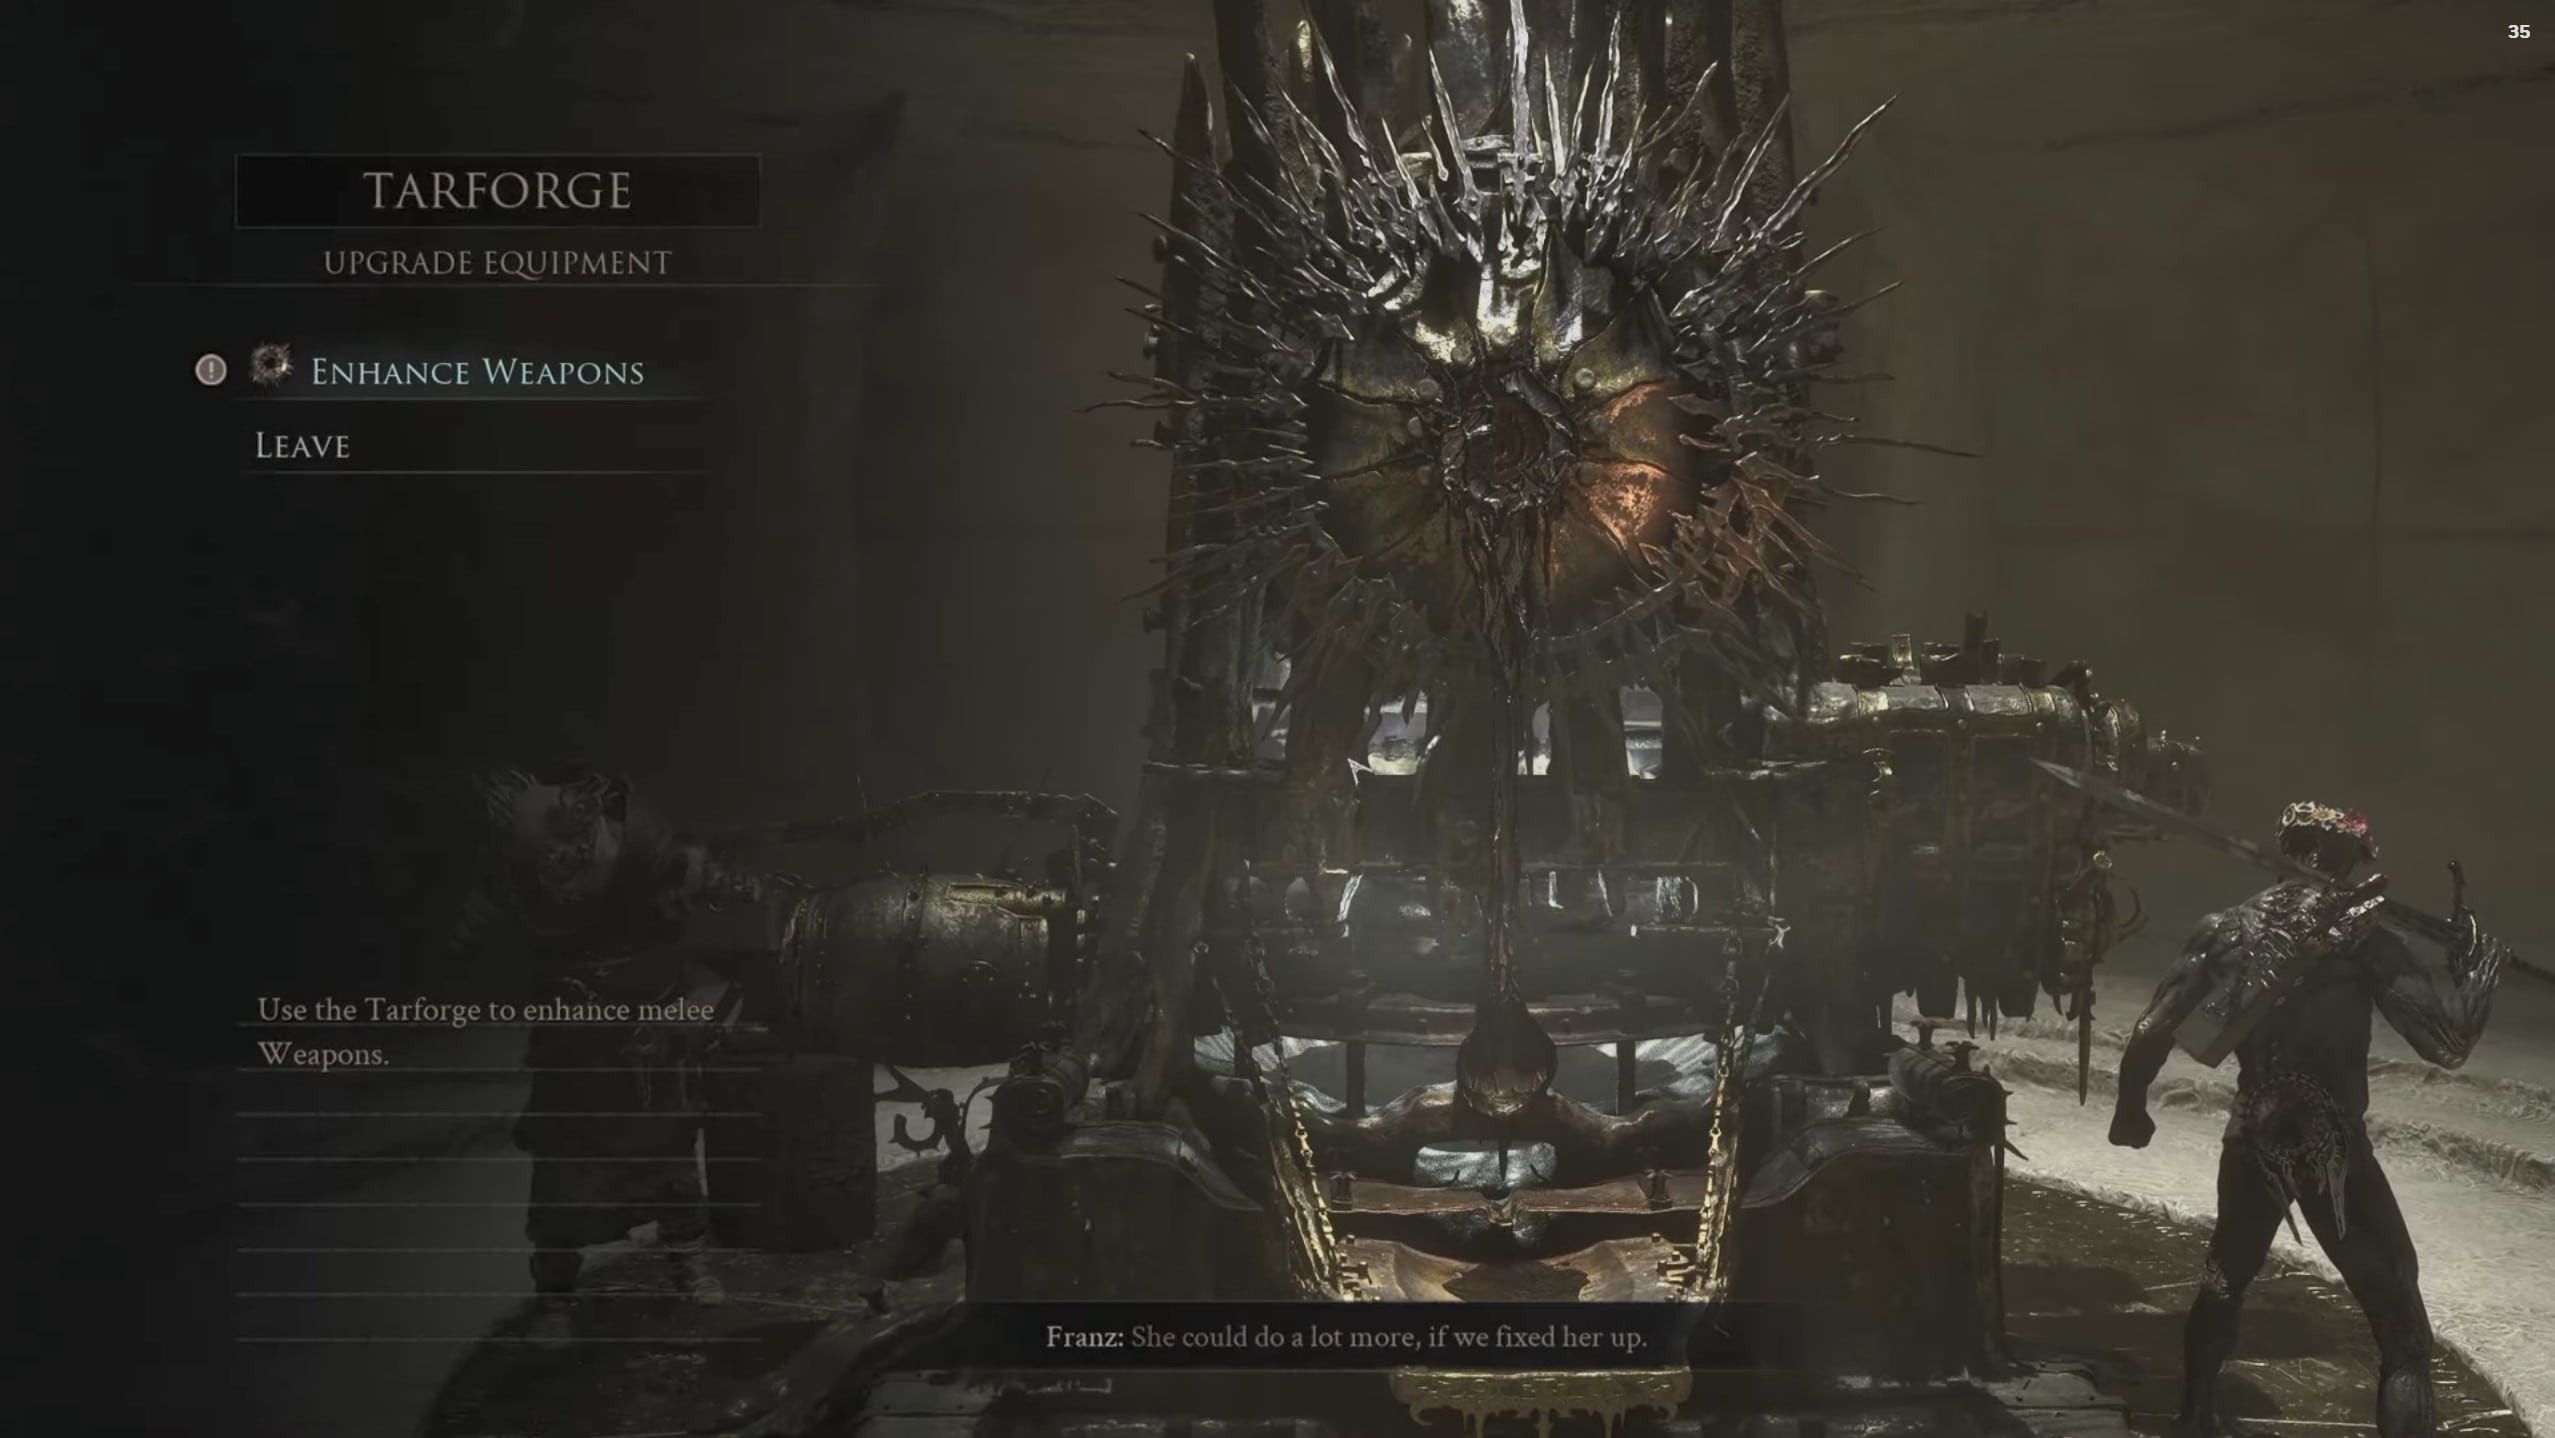
Tarforge Weapon upgrades
Once a weapon is unlocked, take it to the Tarforge in Marrow Keep if you plan to build around it. Weapons can be strengthened using Coins and upgrade materials, while Tarstones further modify their attacks and effects.
Do not spread your upgrade materials across every weapon purely because you are collecting them. The trophy only requires you to unlock all eight.
For Over 9000, focus your materials on a single favorite weapon and raise that weapon to the required maximum Tarforge level rather than attempting to upgrade the entire collection at once.