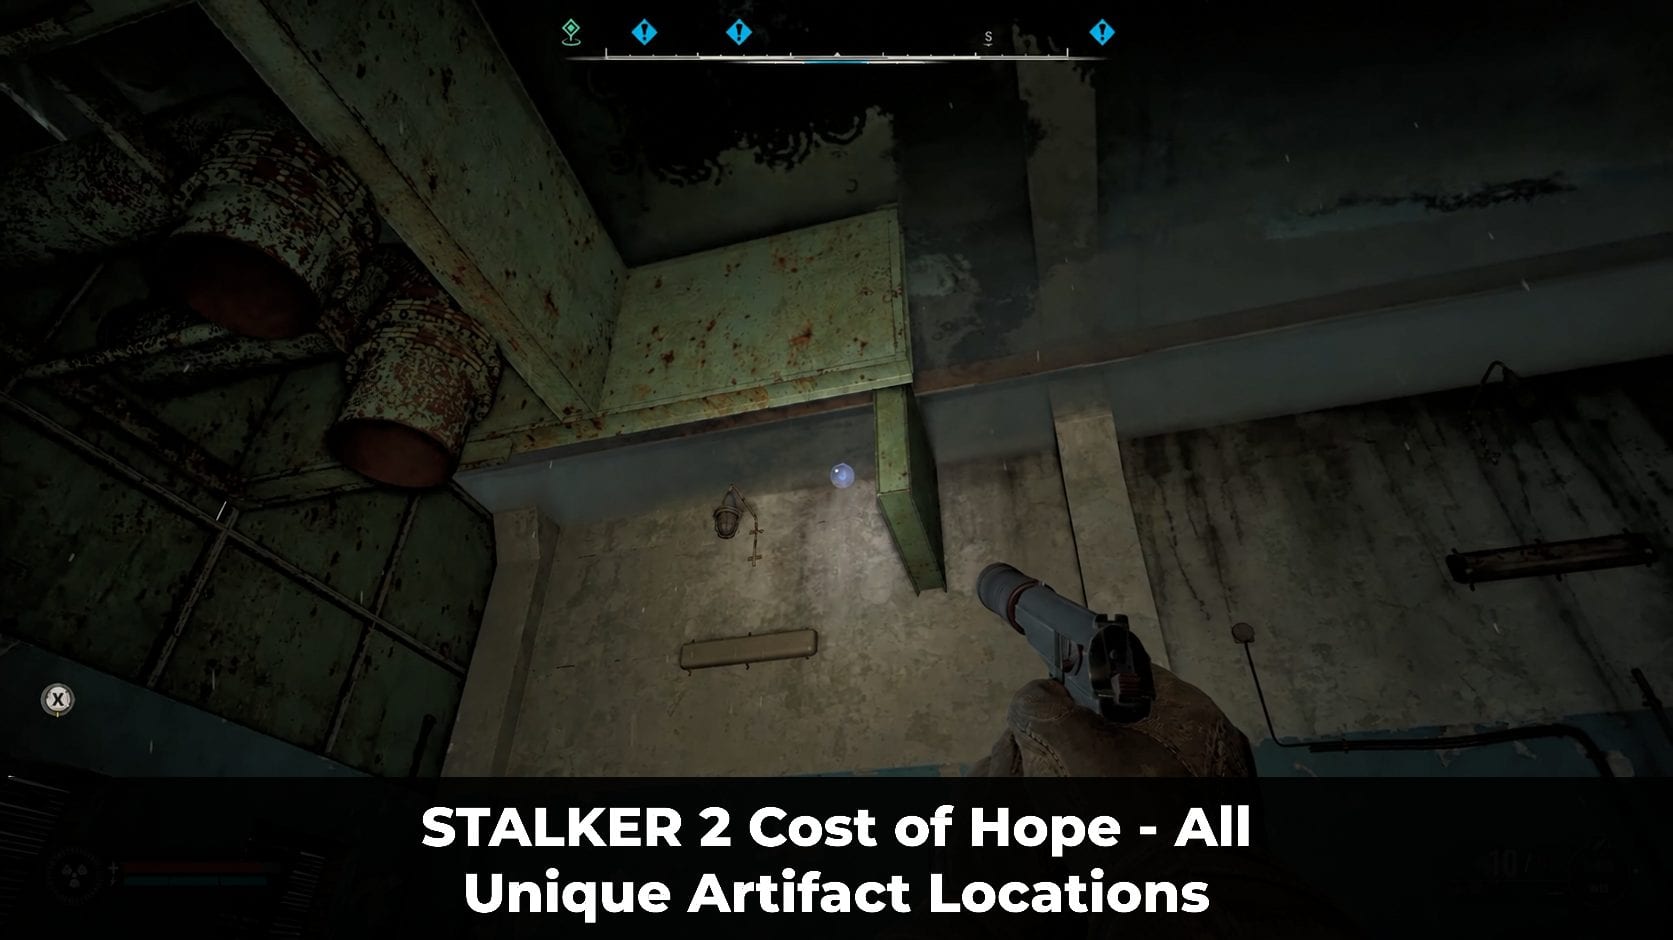
STALKER 2: Cost of Hope adds four new collectible artifact types across the Iron Forest and CNPP: Heart of a Shadow Chimera, Water Drop, Flickering Flare, and Flare Light. Three are treated as Arch-Artifacts, while Flickering Flare is a special artifact tied heavily to the DLC’s Flare Anomaly questline.
There is also a Flare Time artifact sequence during The Forgotten. Flare Time is used as part of that mission and ultimately leads to obtaining Flare Light, so it is covered separately rather than counted as another normal permanent collectible. Also, check out our unique weapon locations for DLC.
1. All Unique Artifacts in STALKER 2 Cost of Hope
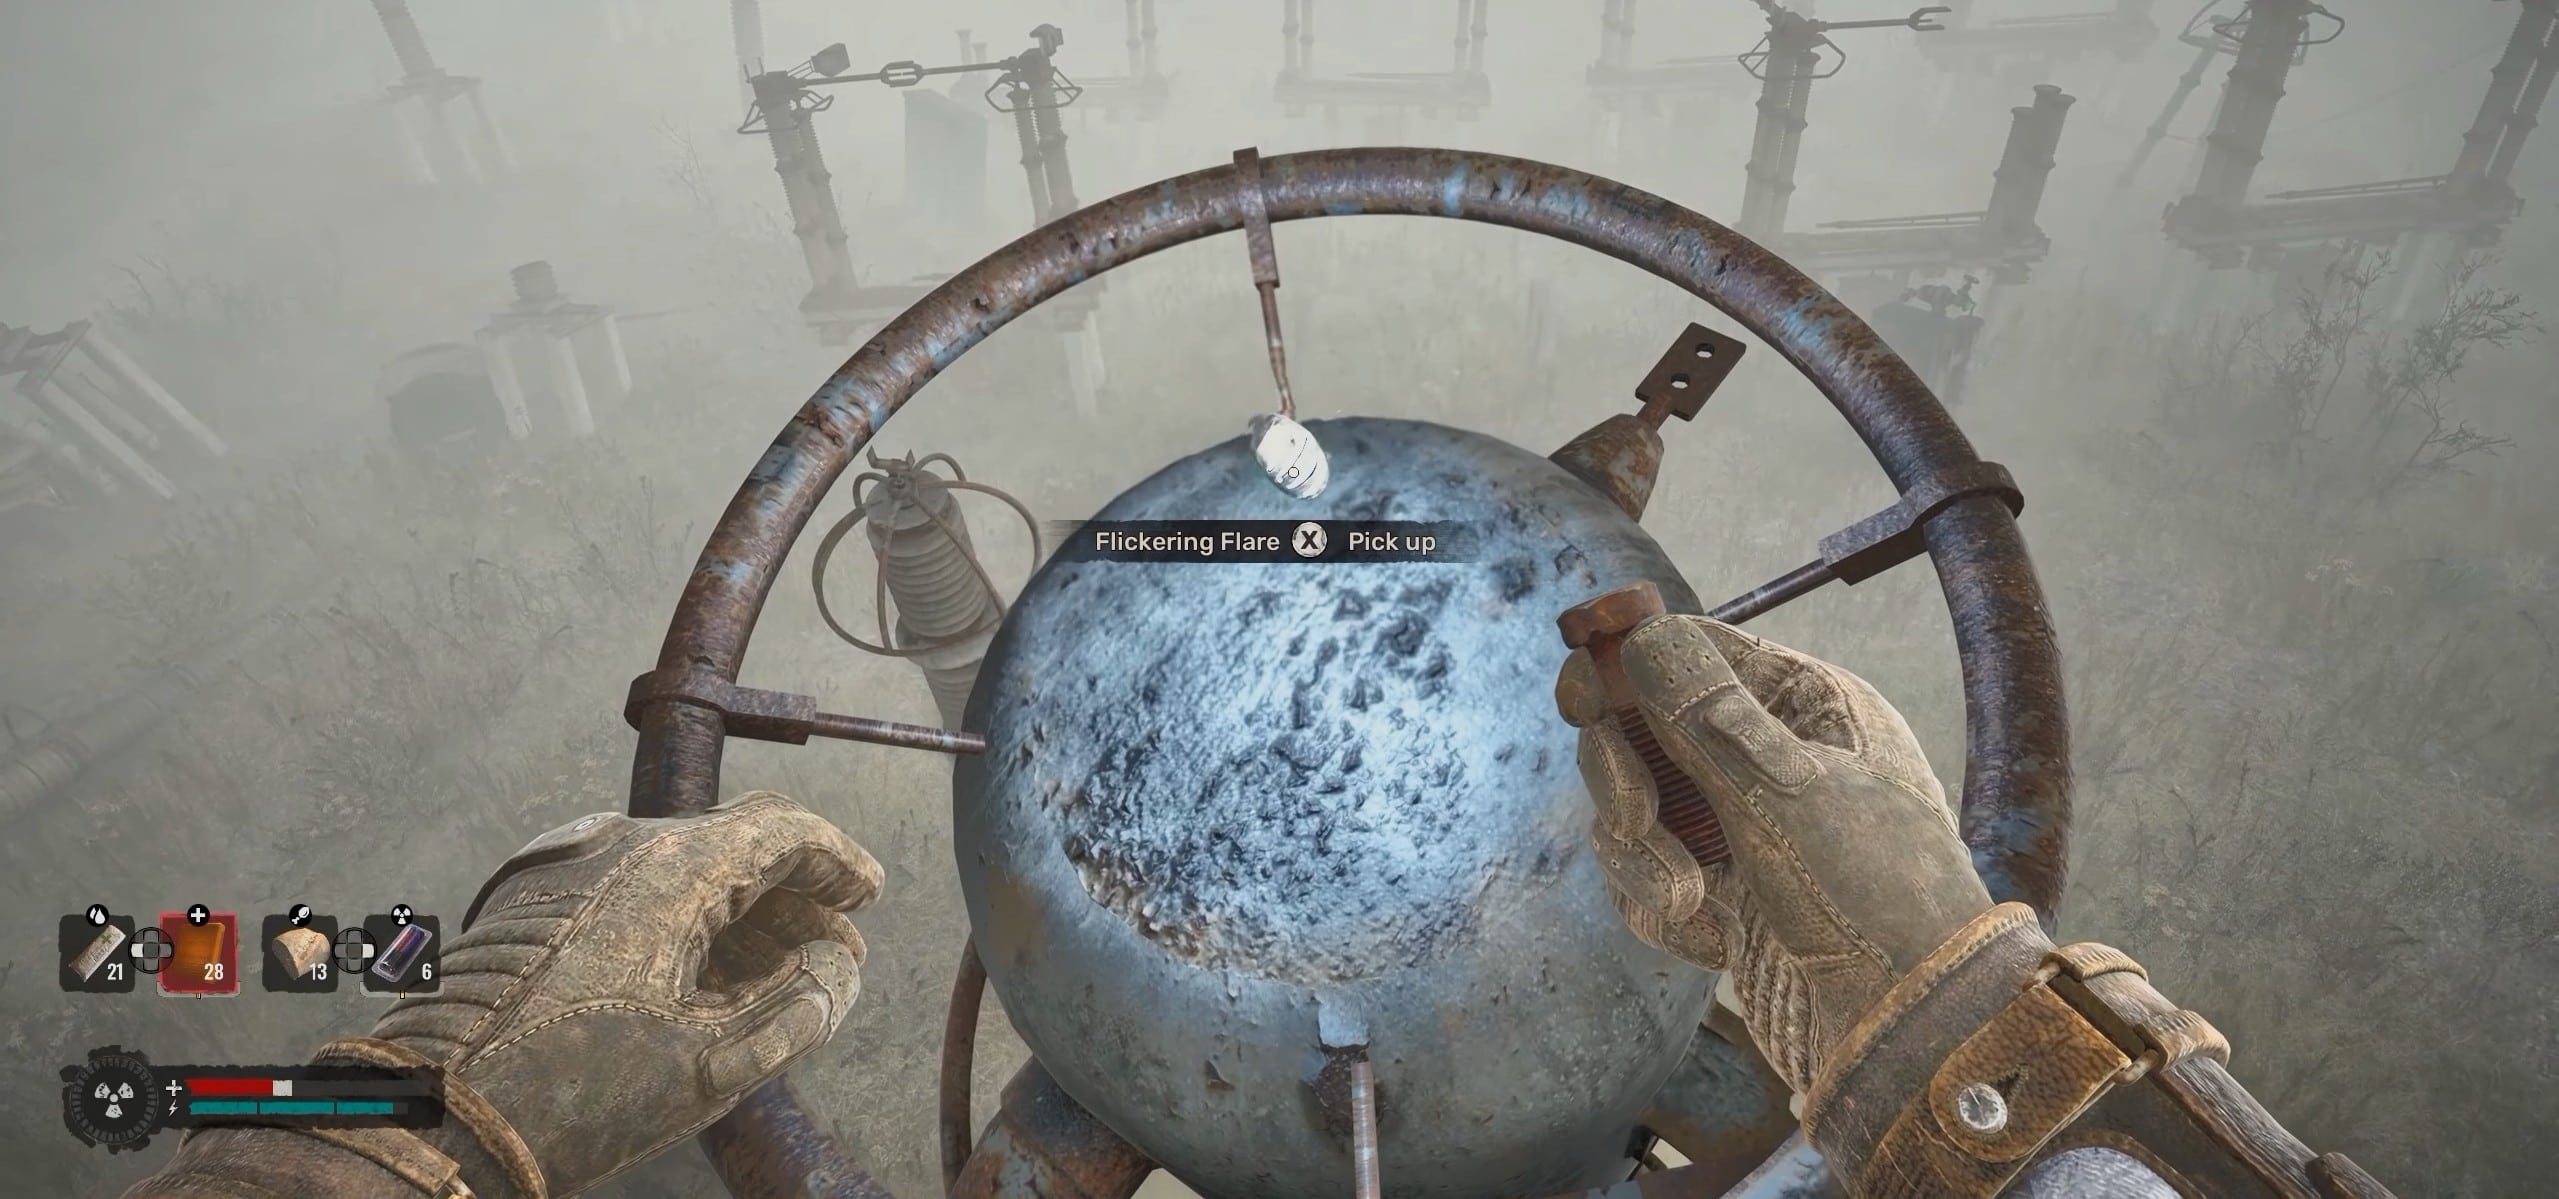
Flickering Flare
Some of the artifacts are impossible to miss while following specific story missions, while others require you to explore dangerous anomaly fields or complete The Forgotten side quest.
The Flickering Flare is different from the other artifacts because there are five copies available and all five are required to progress through The Forgotten.
| Artifact | Location | Main Effect |
|---|---|---|
| Heart of a Shadow Chimera | Shadows of the Past | Multiple defensive protections |
| Water Drop | DPP-2 / Dangerous Way | Carry Weight and Endurance |
| Flickering Flare | Iron Forest and CNPP | Psi-Protection |
| Flare Light | The Forgotten | Maximum Psi-Protection |
2. Heart of a Shadow Chimera
Heart of a Shadow Chimera
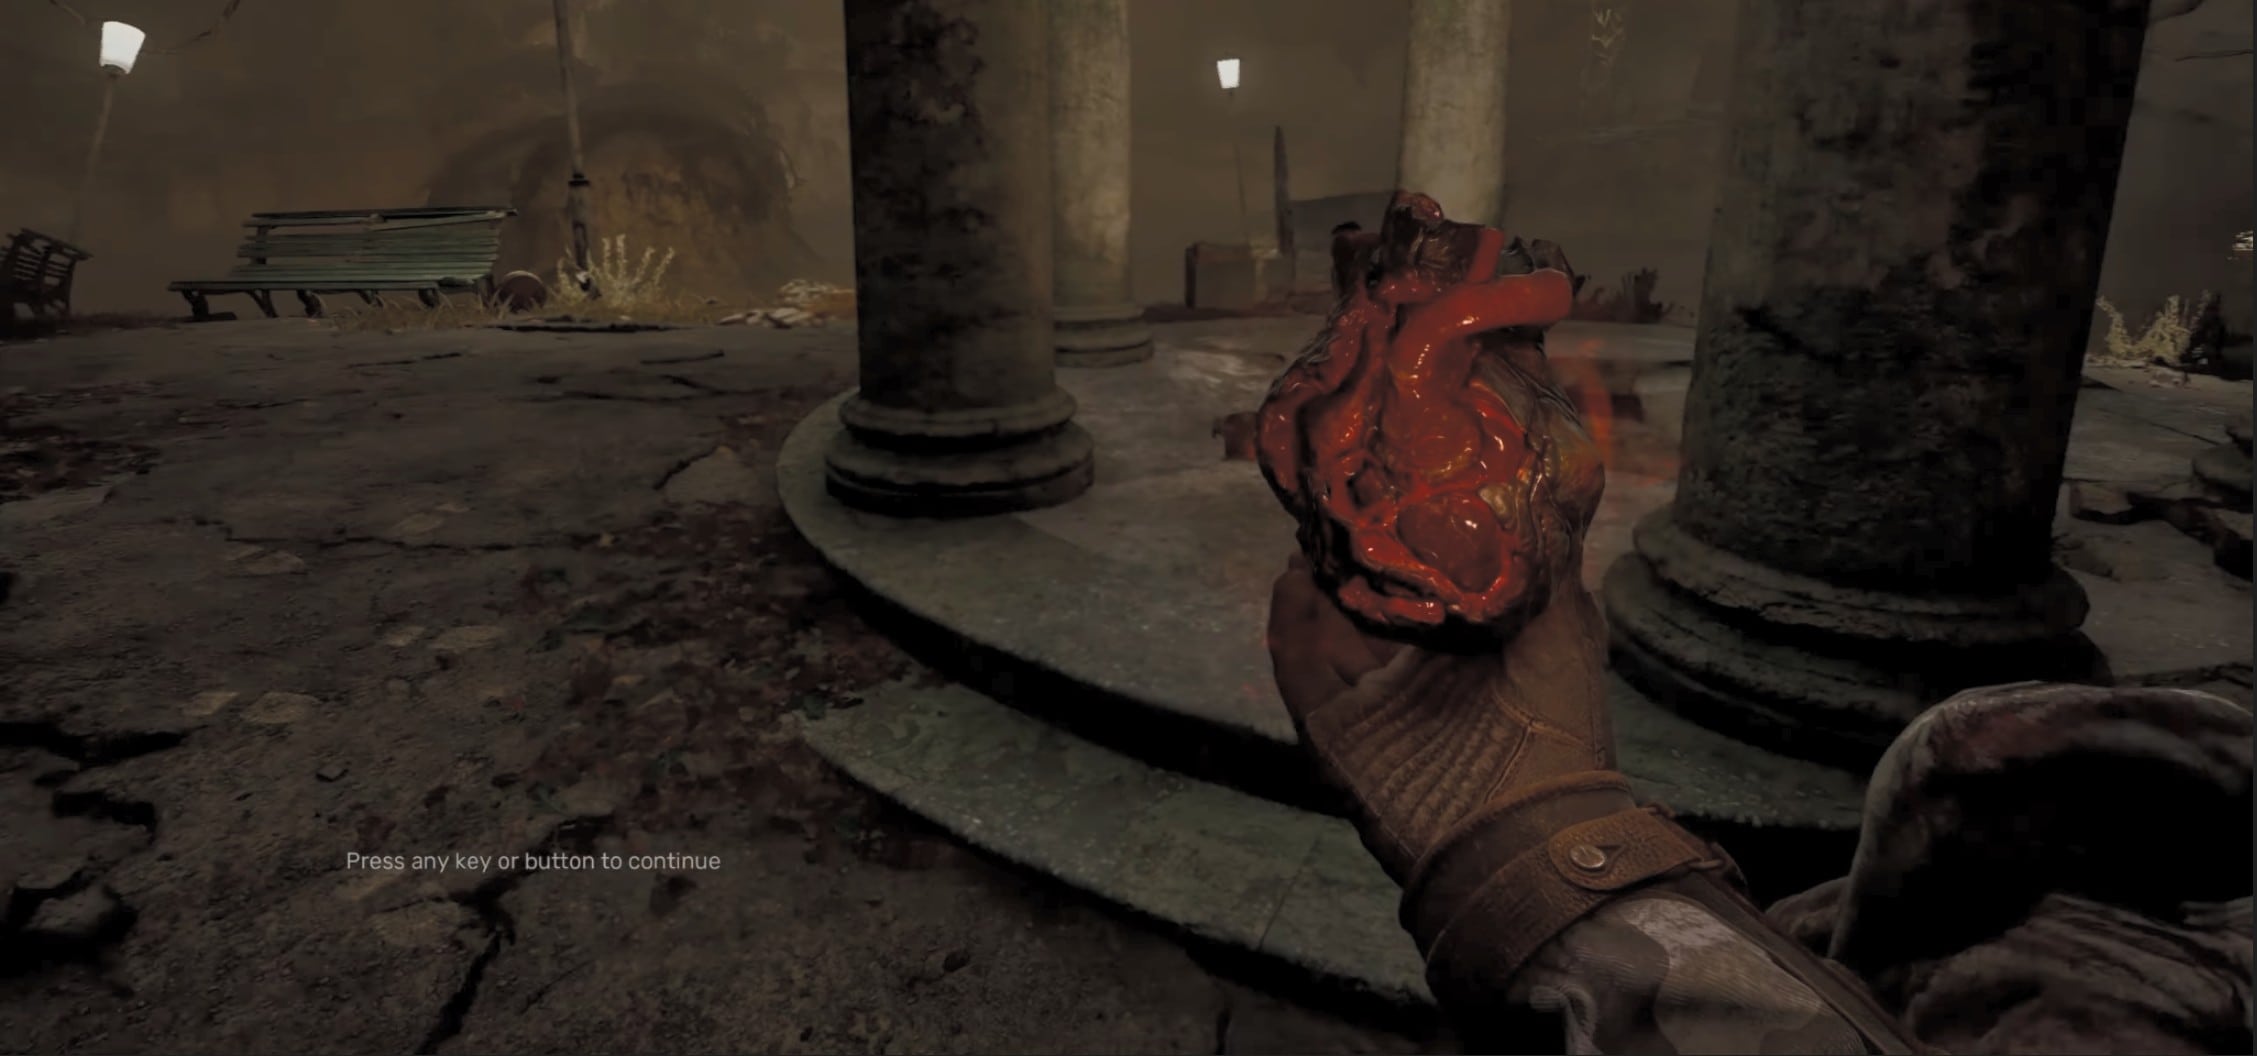
The Heart of a Shadow Chimera is obtained during the main mission Shadows of the Past. It drops from the unique Shadow Chimera encountered near the end of the mission, so make sure you loot the mutant before continuing.
- Progress through Shadows of the Past until you reach the hospital section.
- Continue through the hospital and find Tachenko’s body.
- Pick up Tachenko’s PDA beside his corpse.
- Enter the room located behind Tachenko’s body.
- Prepare for the Shadow Chimera boss fight.
- Destroy the Chimera’s duplicate whenever it appears, then attack the real mutant when it reveals itself.
- Continue until the Shadow Chimera is killed.
- Search the mutant’s body and collect the Heart of a Shadow Chimera.
The artifact is obtained directly by looting the Shadow Chimera, so defeating the boss alone is not enough.
2.1. Heart of a Shadow Chimera Stats
The Heart of a Shadow Chimera provides several defensive bonuses at once, making it one of the strongest general-purpose defensive artifacts added by the expansion.
Its main drawback is the high Radiation output, so use another artifact or equipment capable of reducing radiation if you plan to keep it equipped.
| Chimera Heart Effect | Value |
|---|---|
| Thermal Protection | 2 |
| Bleeding Resistance | 2 |
| Electrical Protection | 2 |
| Chemical Protection | 2 |
| Physical Protection | 3 |
| Radiation | 4 |
3. Water Drop Artifact Location
Water Drop Artifact location
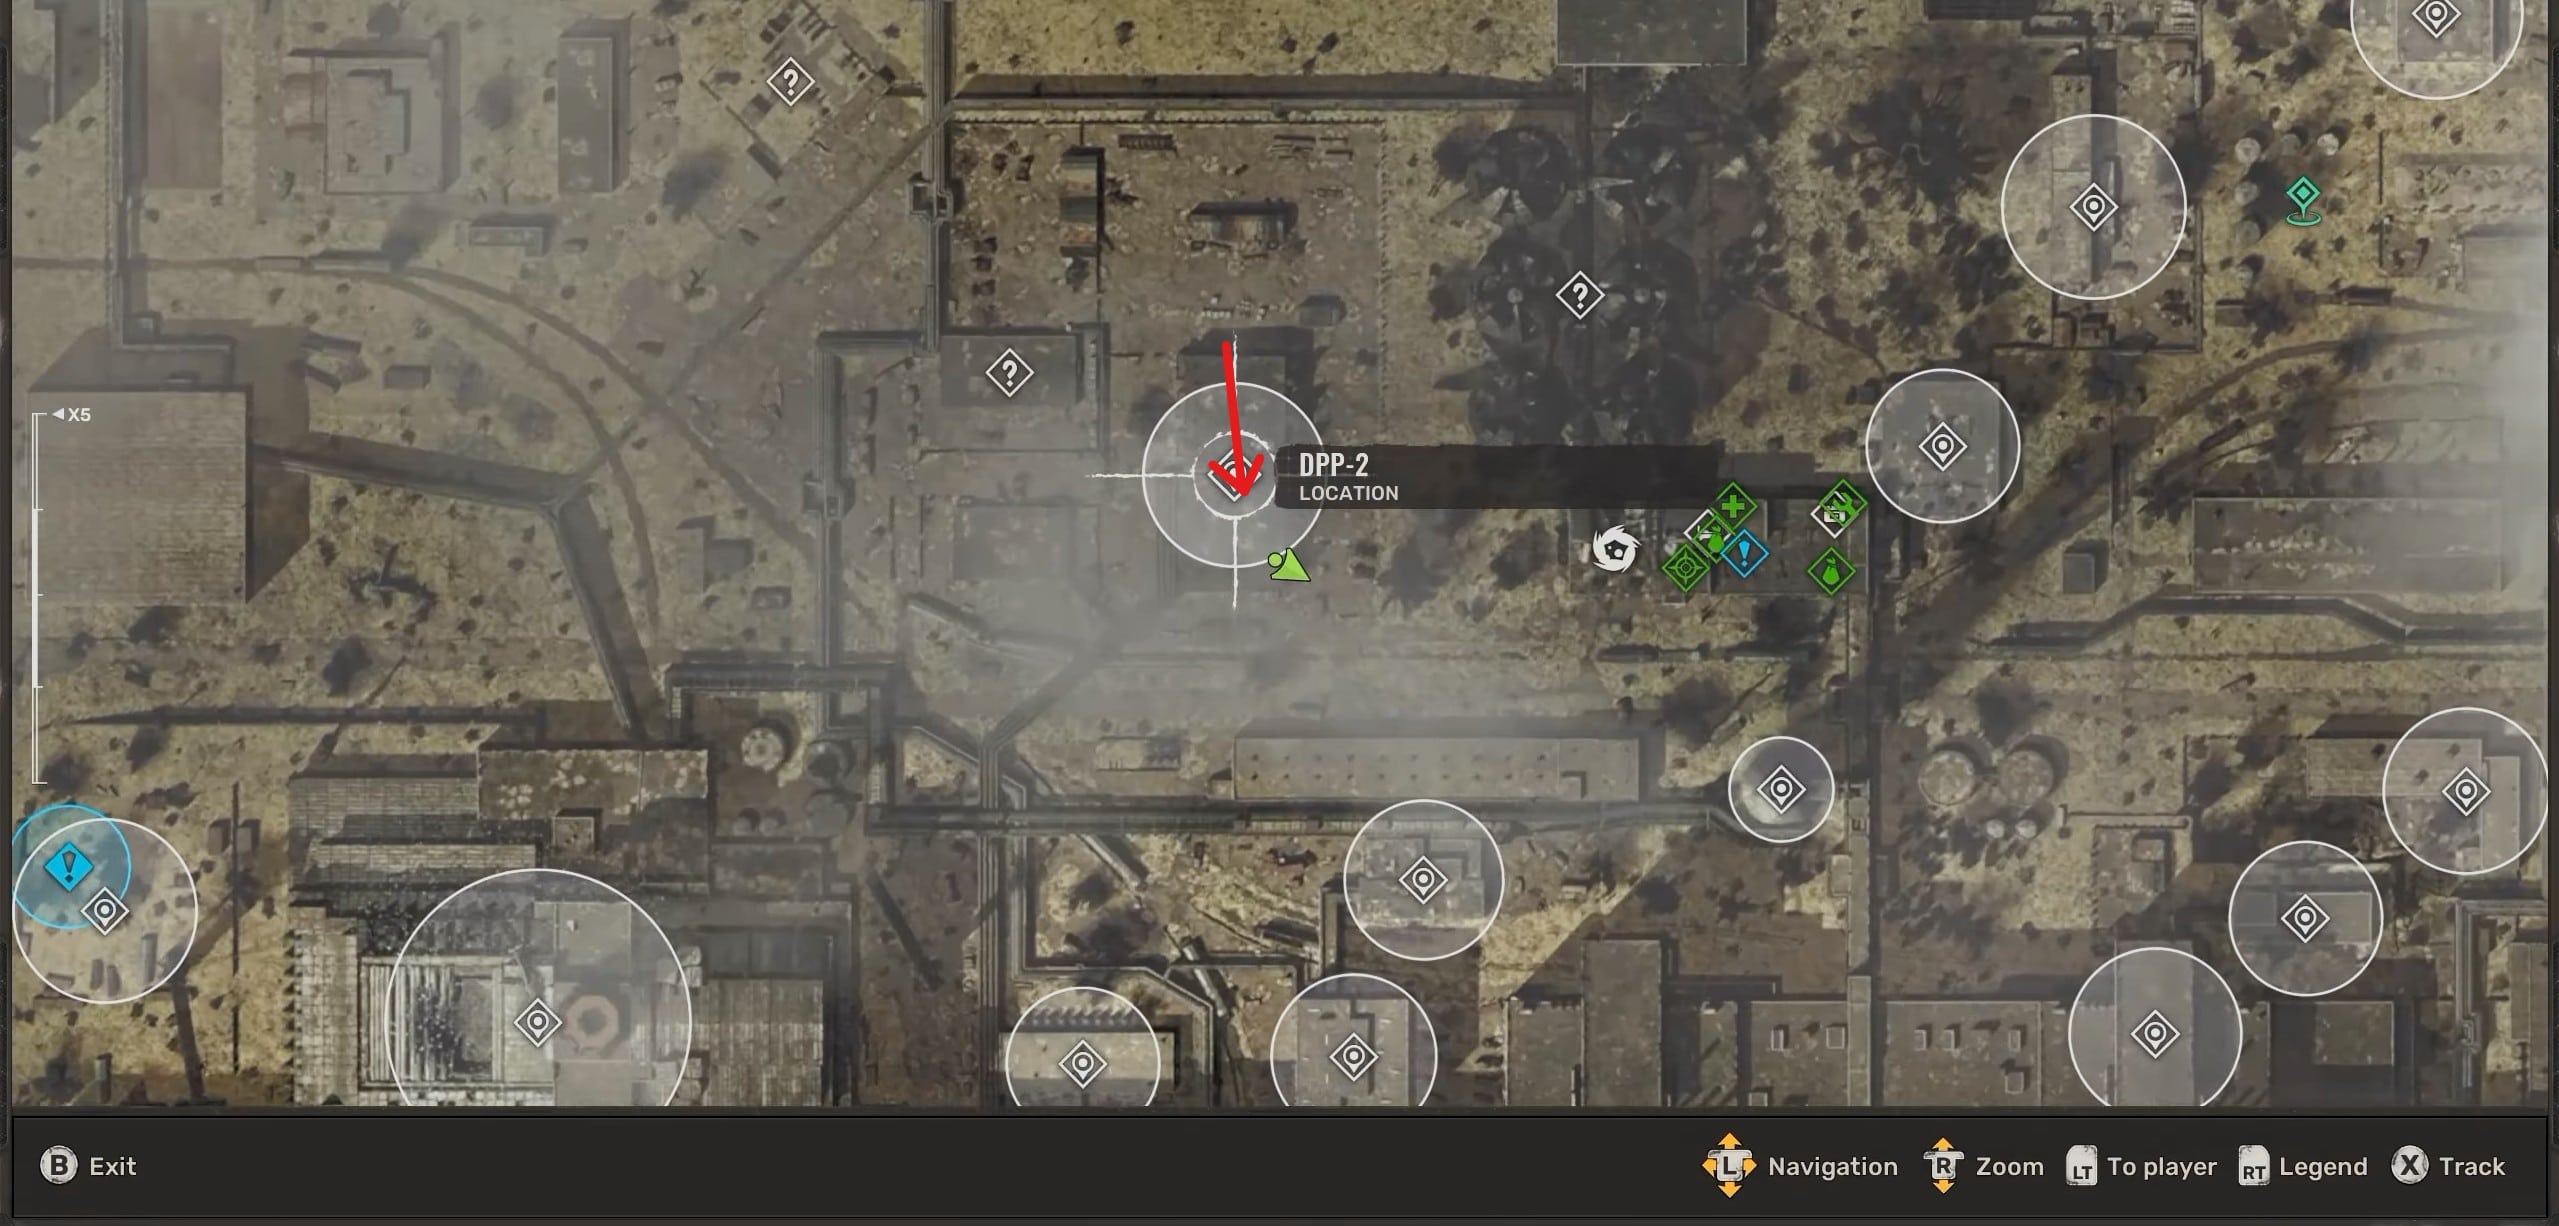
The Water Drop is found around DPP-2 and is especially important because it lets Skif pass through the unusual Mercury anomaly blocking certain areas. Freedom players naturally encounter it during the main mission Dangerous Way.
- Progress through Dangerous Way until you enter the underground complex.
- Continue until you find the trapped Freedom squad behind the cracked wall.
- Speak with the squad and receive the storeroom key.
- Go downstairs and find the barred door in the shooting range.
- Unlock the storeroom using the key.
- Climb the ladder inside.
- Use the stacked crates to reach the rusty pipes.
- Cross the pipes and jump onto the platform on the left.
- Look toward the ceiling to find the floating Water Drop.
- Shoot the Water Drop to force it to move around the room.
- Keep shooting and following it until it moves near the stack of equipment cases.
- Climb onto the cases and jump toward the artifact to collect it.
3.1. Water Drop Stats
Water Drop focuses on movement and inventory capacity rather than direct protection.
| Water Drop Effect | Value |
|---|---|
| Weight Effect | 3 |
| Endurance | 3 |
| Radiation | 3 |
4. How to Get All Five Flickering Flares
Flickering Flare is a new Psi-Protection artifact connected directly to the giant Flare Anomaly at the CNPP. You need five Flickering Flares equipped simultaneously to safely progress through the later stages of The Forgotten.
| Flickering Flare No. | Location | Where to Find It |
|---|---|---|
| 1 | Flare Fragment, Iron Forest | On a valve beneath a hanging backpack |
| 2 | Bridge to CNPP | Beside a damaged vehicle on the CNPP side |
| 3 | Sentry Building | Upper floor beside a bookshelf |
| 4 | Industrial Site | On a trailer beside a tree |
| 5 | Ventilation Stack | Given by Otter |
4.1. Flickering Flare Stats
Each Flickering Flare provides:
- Psi-Protection – 2
- Value – 12,000 Coupons
The important reason for collecting all five is not their individual stats. The five artifacts are required together to survive the Flare Anomaly during The Forgotten.
4.2. Flickering Flare #1 – Iron Forest Flare Fragment
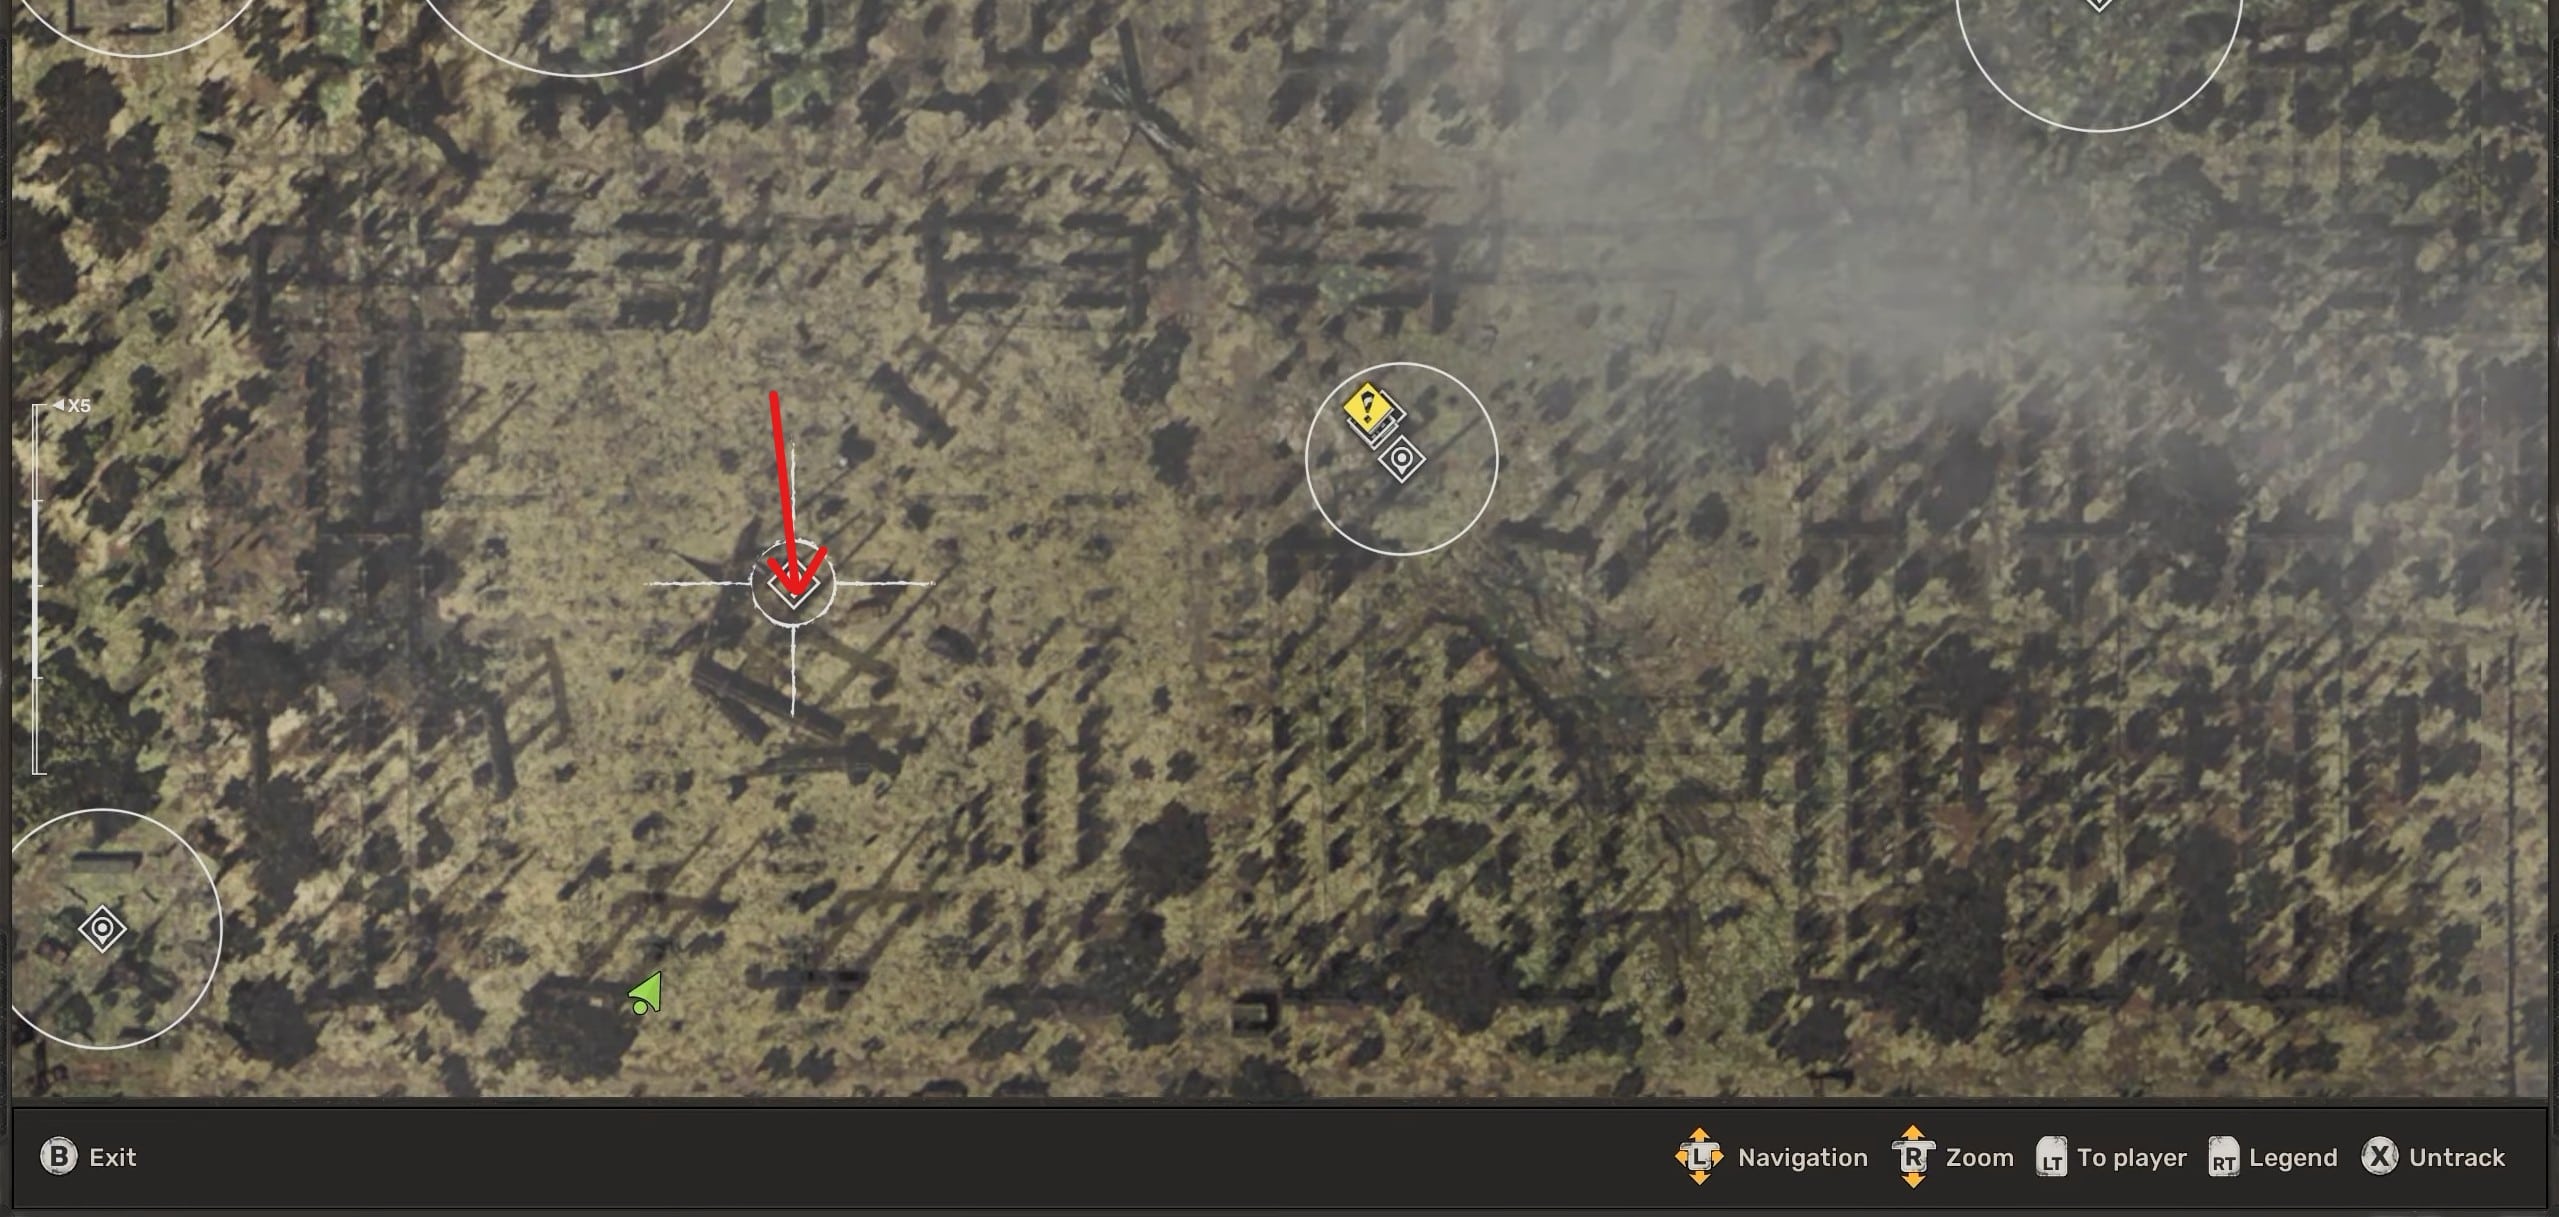
Flickering Flare 1 location
The first freely collectible Flickering Flare is located at the Flare Fragment anomaly in the Iron Forest. The anomaly attacks anything remaining in its line of sight, so use the surrounding objects as cover while approaching the artifact.
- Travel to the Flare Fragment in the Iron Forest.
- Approach the anomaly and sprint toward the nearby electrical box.
- Use the box and surrounding structures to break the Flare’s line of sight.
- Shoot the electrical hazards when necessary before advancing.
- Move onto the railing and keep the electrical coil between Skif and the Flare.
- Continue along the railing while throwing bolts ahead to trigger nearby anomalies.
- Drop down into the lower section.
- Look underneath the backpack hanging from the tree.
- Collect the Flickering Flare sitting on the valve.
A gravitational anomaly nearby can be used to return safely to the lower ground after collecting it.
4.3. Flickering Flare #2 – Bridge to CNPP
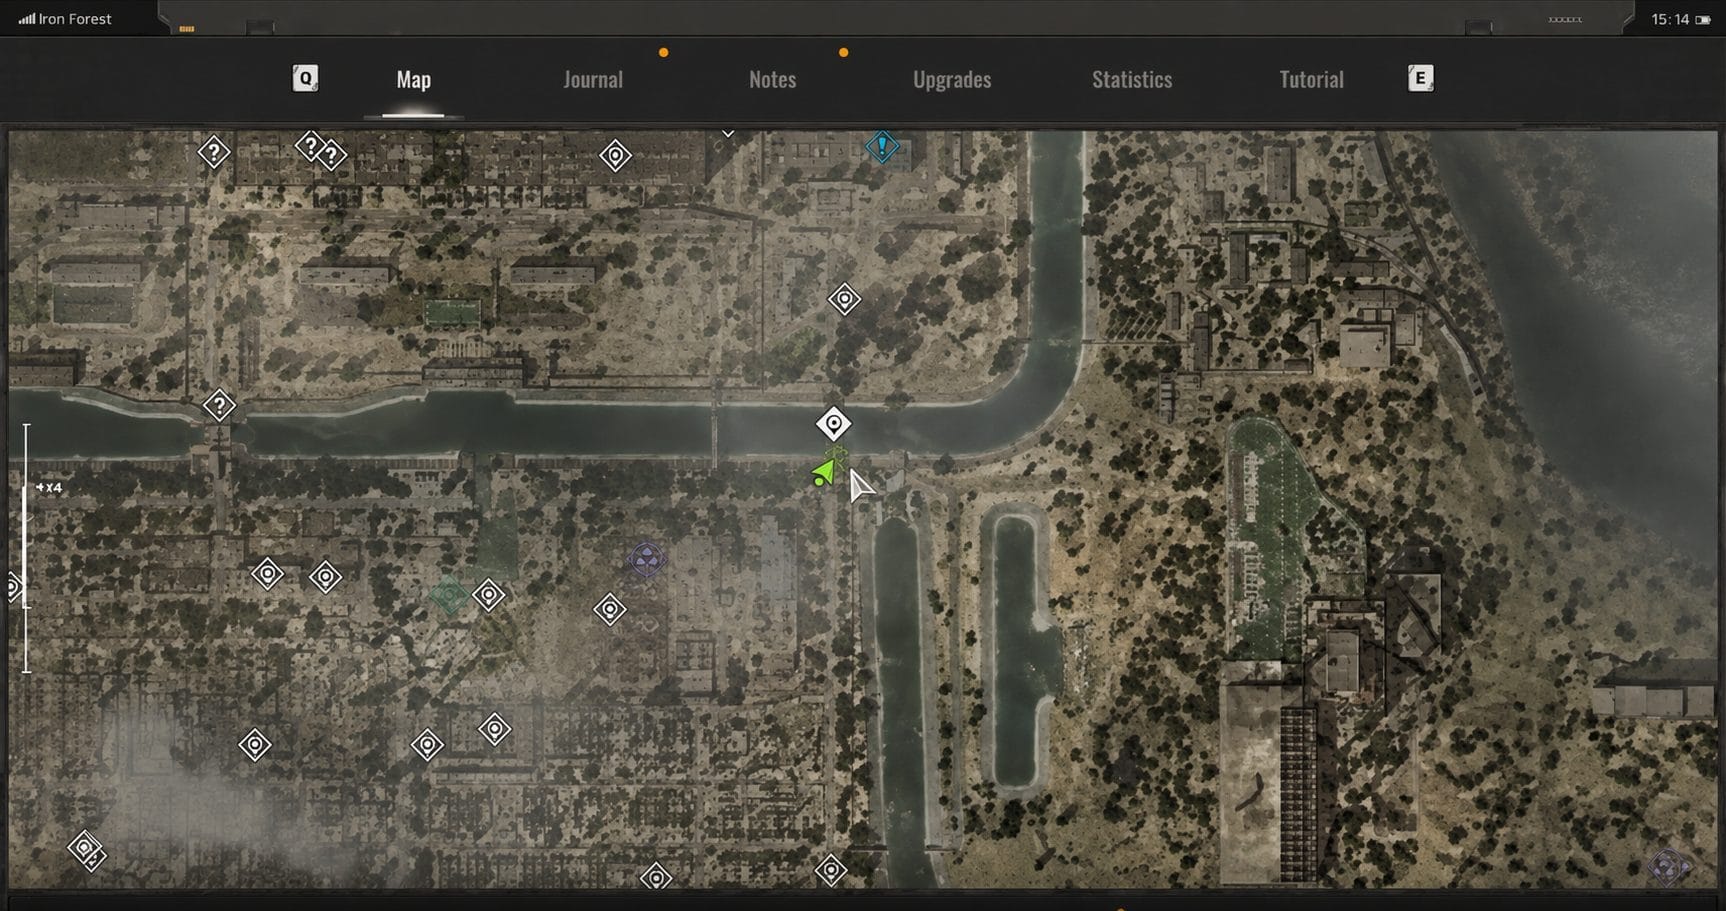
CNPP Bridge Flickering Flare
The second Flickering Flare is located on the bridge connecting the Iron Forest to the CNPP. The bridge is heavily affected by the Flare, so use the abandoned vehicles as cover instead of attempting to run directly across.
- Approach the bridge from the Iron Forest side.
- Move toward the closest available cover.
- Drop onto the floating car on the right.
- Jump between the vehicles while moving toward the CNPP.
- Keep the cars between Skif and the Flare whenever possible.
- Reach the CNPP side of the bridge.
- Climb along the car leaning over the broken section.
- Look beside the toppled truck.
- Pick up the Flickering Flare.
4.4. Flickering Flare #3 – Sentry Building
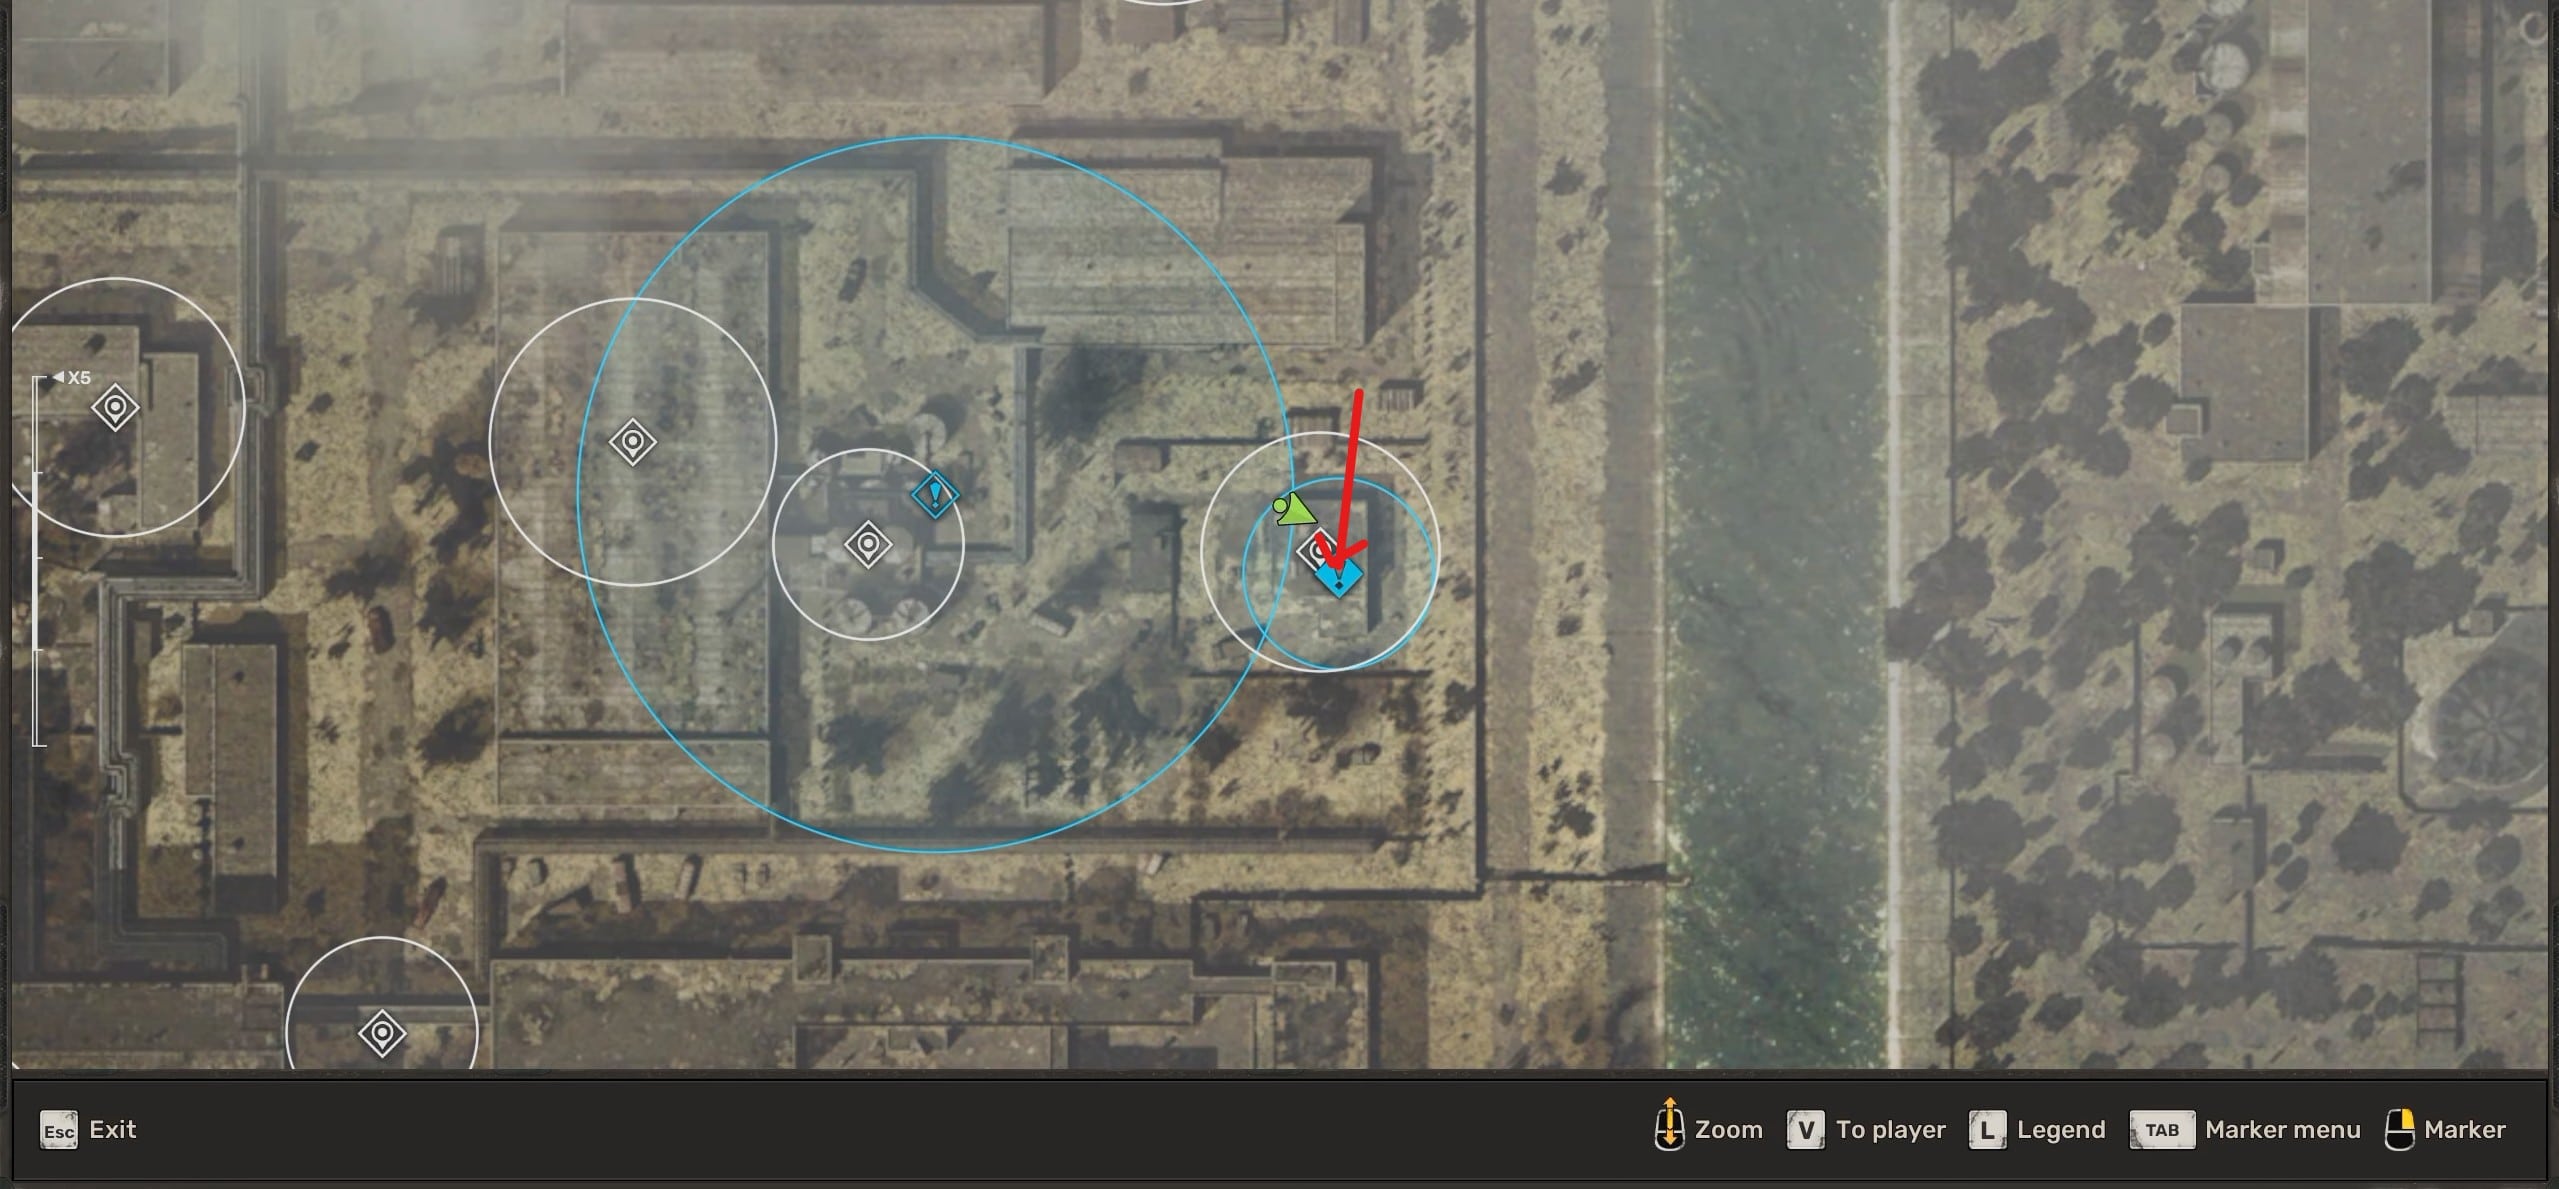
Sentry Building Flickering Flare
The Sentry Building contains another Flickering Flare on its upper floor. This is also the artifact involved in the side mission Where Hope Leads, where Castro asks Skif to retrieve it.
- Enter the Sentry Building in the CNPP.
- Take the staircase on the right.
- Reach the second floor and turn right.
- Turn right again, followed by a left.
- Continue through the broken wall.
- Enter the room containing several clinical beds.
- Pass through the next damaged section of wall.
- Enter the room affected by the Flare anomaly.
- Move behind the bookshelf to stay out of the anomaly’s direct line of sight.
- Pick up the Flickering Flare beside the bookshelf.
4.5. Flickering Flare #4 – Industrial Site
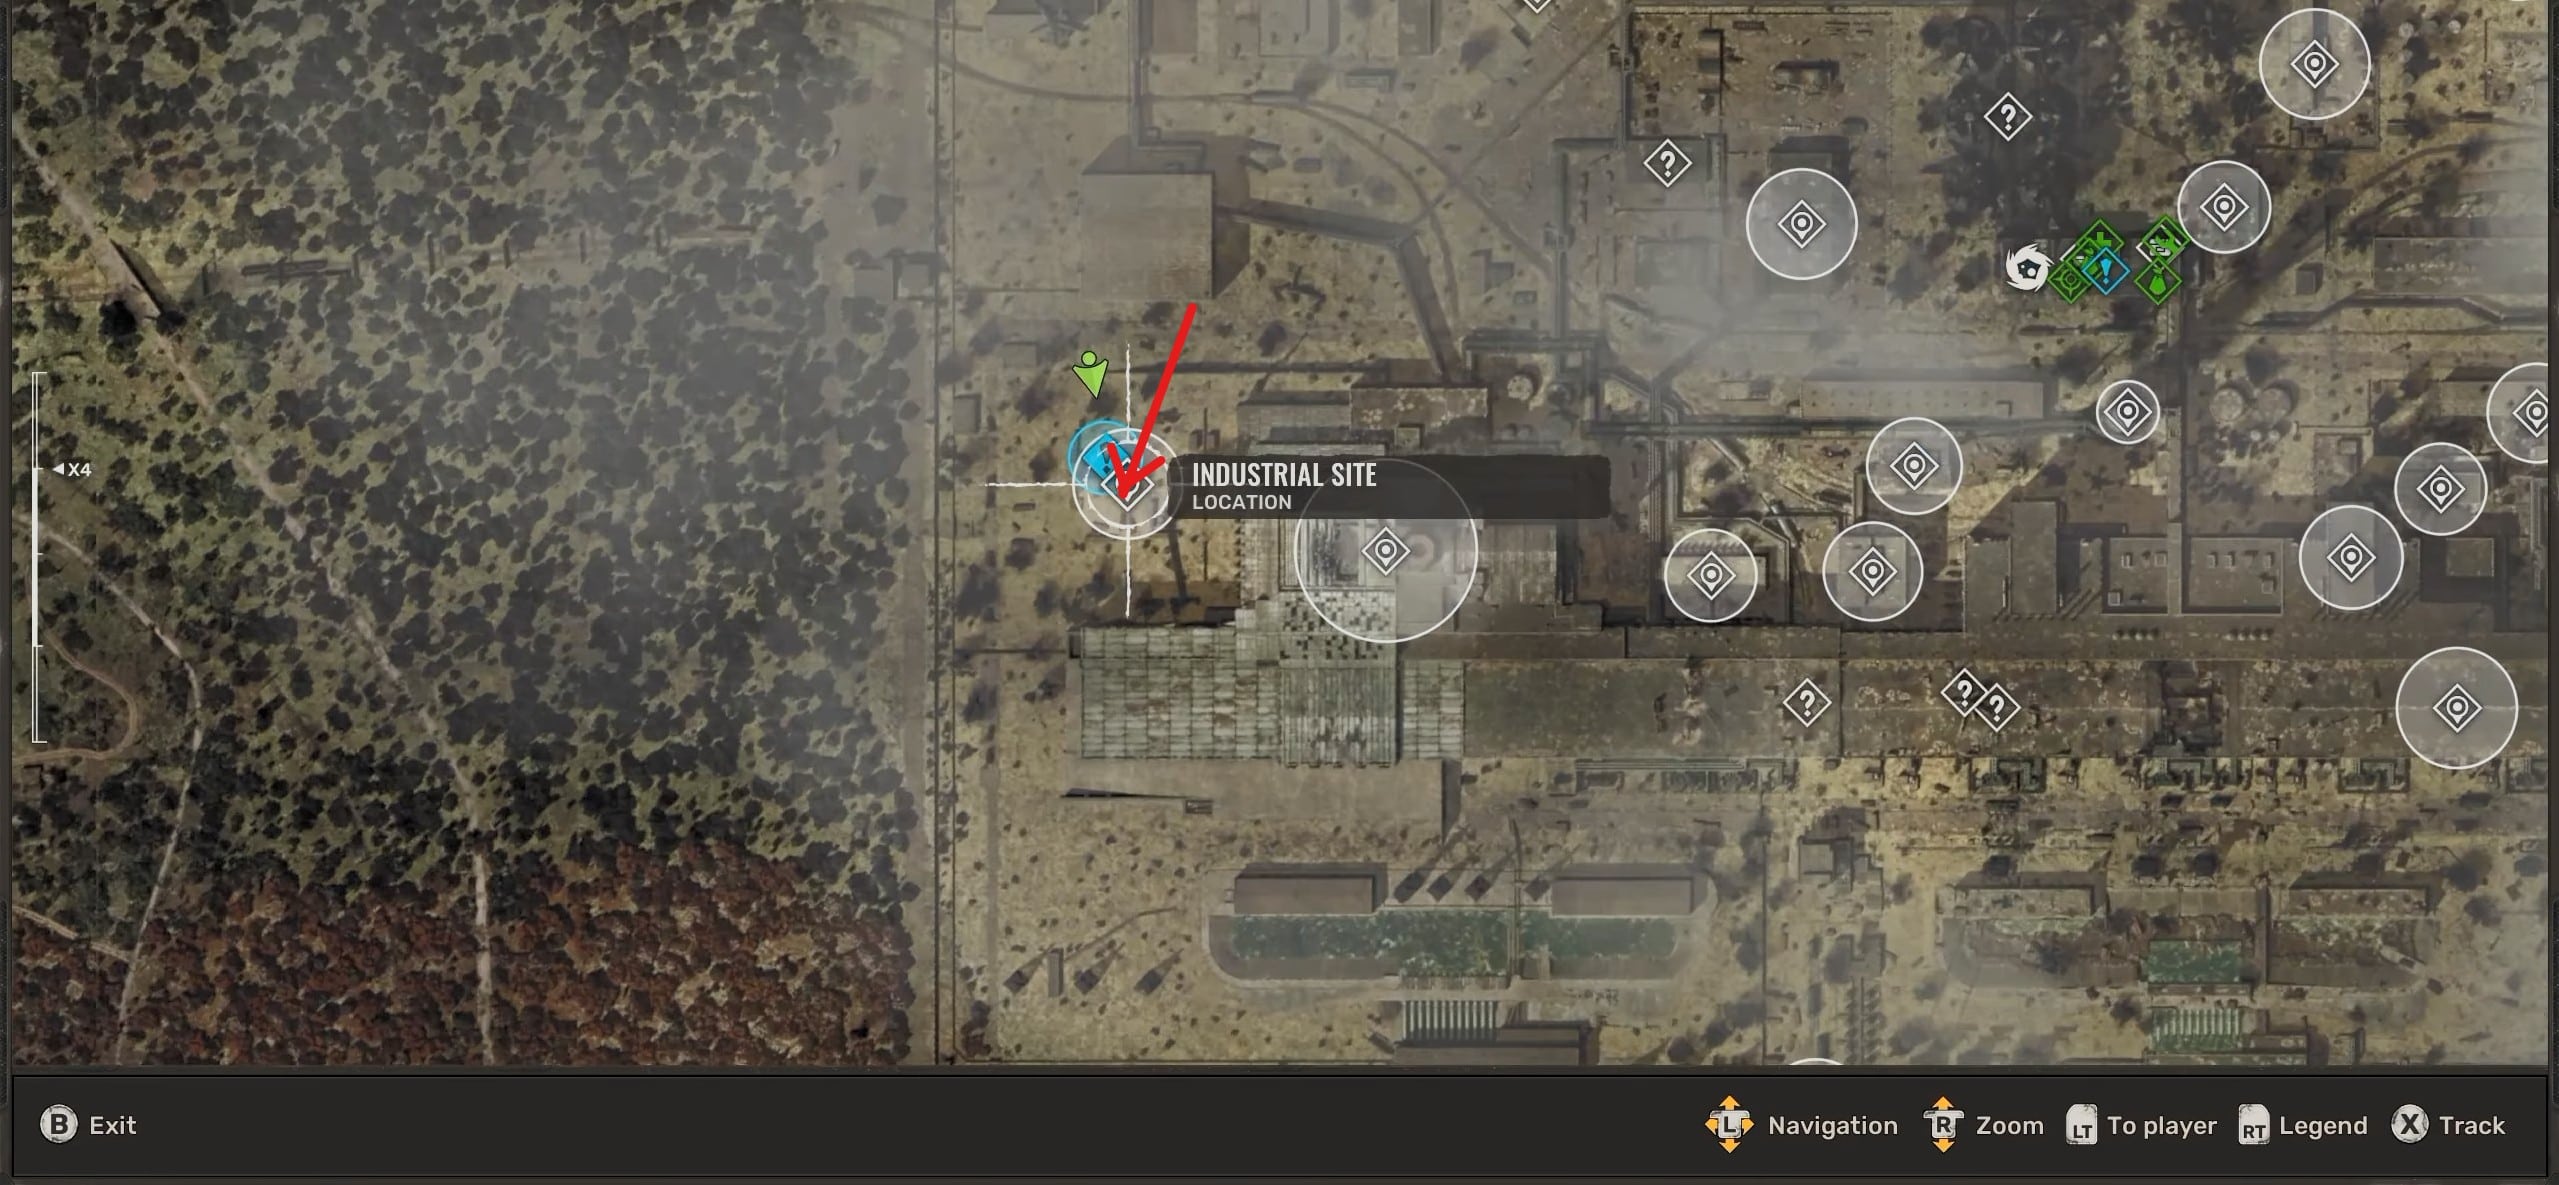
Industrial Site Flickering Flare
The fourth Flickering Flare is found at the Industrial Site in the CNPP. The area contains another Flare anomaly, so your route revolves around keeping large objects between Skif and the anomaly.
- Travel to the Industrial Site.
- Approach the Flare and sprint toward the nearby truck.
- Use the truck as cover.
- Climb on top of it.
- Position yourself so the nearby tree blocks the Flare’s line of sight.
- Jump toward the next truck.
- Move toward the crane railing and use it as additional cover.
- Cross toward the trailer beside the tree.
- Look beside the tree for the floating artifact.
- Collect the Flickering Flare.
4.6. Flickering Flare #5 – Get It From Otter
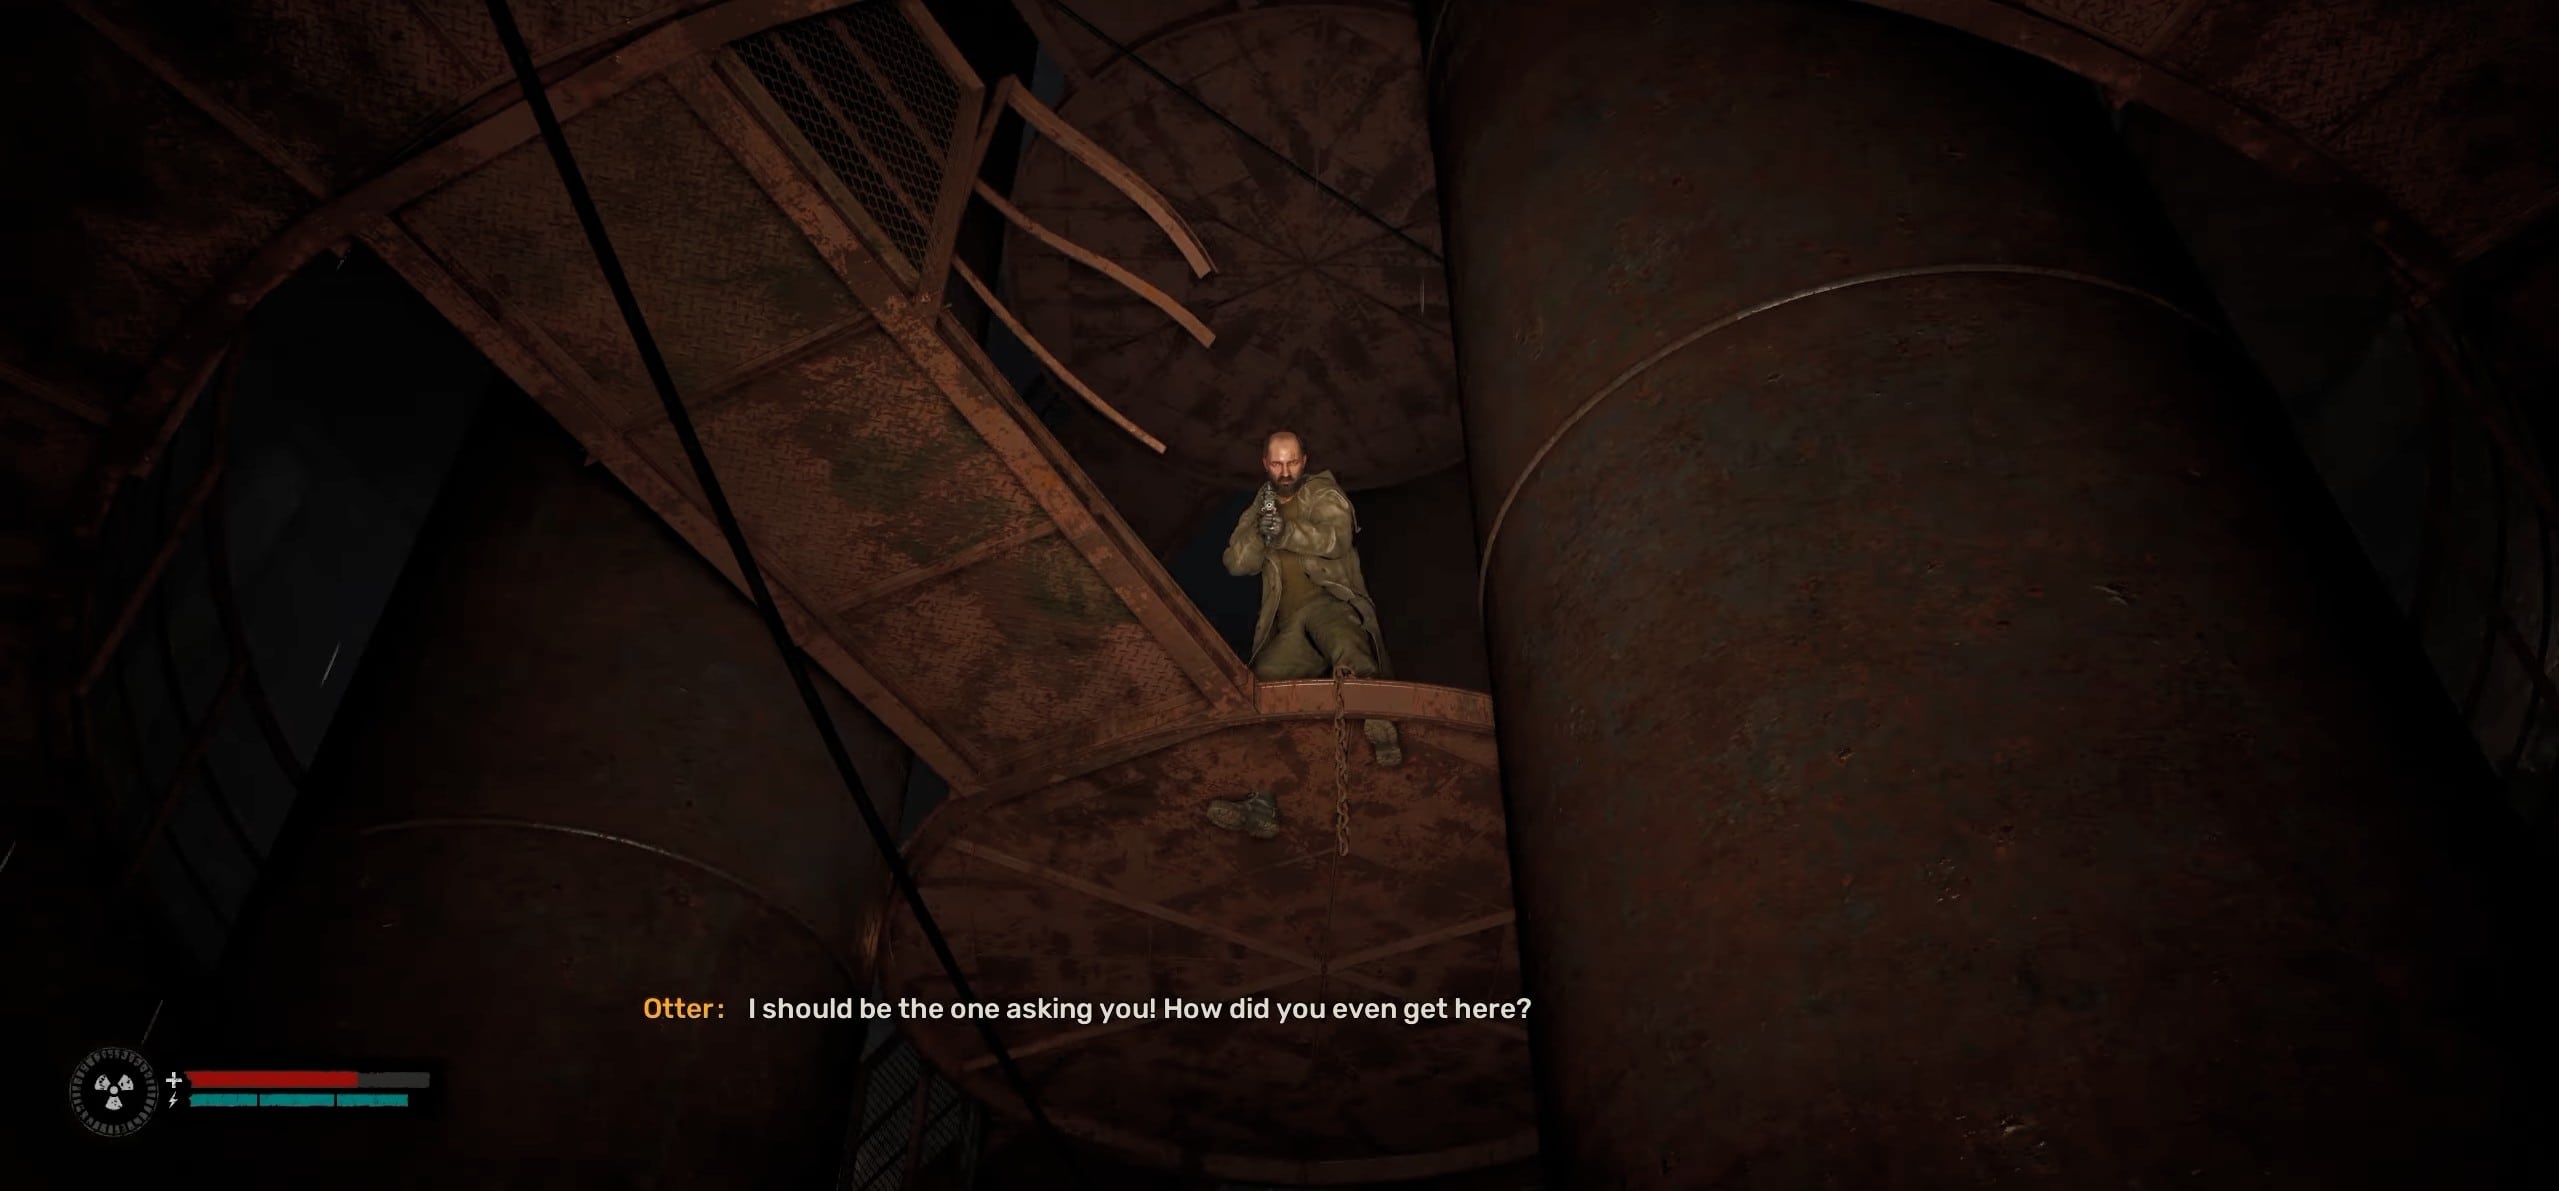
Talking to Otter
The final Flickering Flare does not require navigating another anomaly field. Otter gives it directly to Skif after you find him during The Forgotten.
- Unlock The Forgotten after securing the Water Treatment Facility.
- Investigate the Loner’s Hideout around the Garage and Car Wash.
- Continue until the quest sends you toward the Auxiliary Boiler.
- Circle around to the southwestern side near the smokestack.
- Use the wooden ladder to reach the platform.
- Enter the portal, and it transports you to the Ventilation Stack.
- Speak with Otter.
- Choose peaceful dialogue options and agree to help him.
- Otter gives you one Flickering Flare.
5. How to Get Flare Light
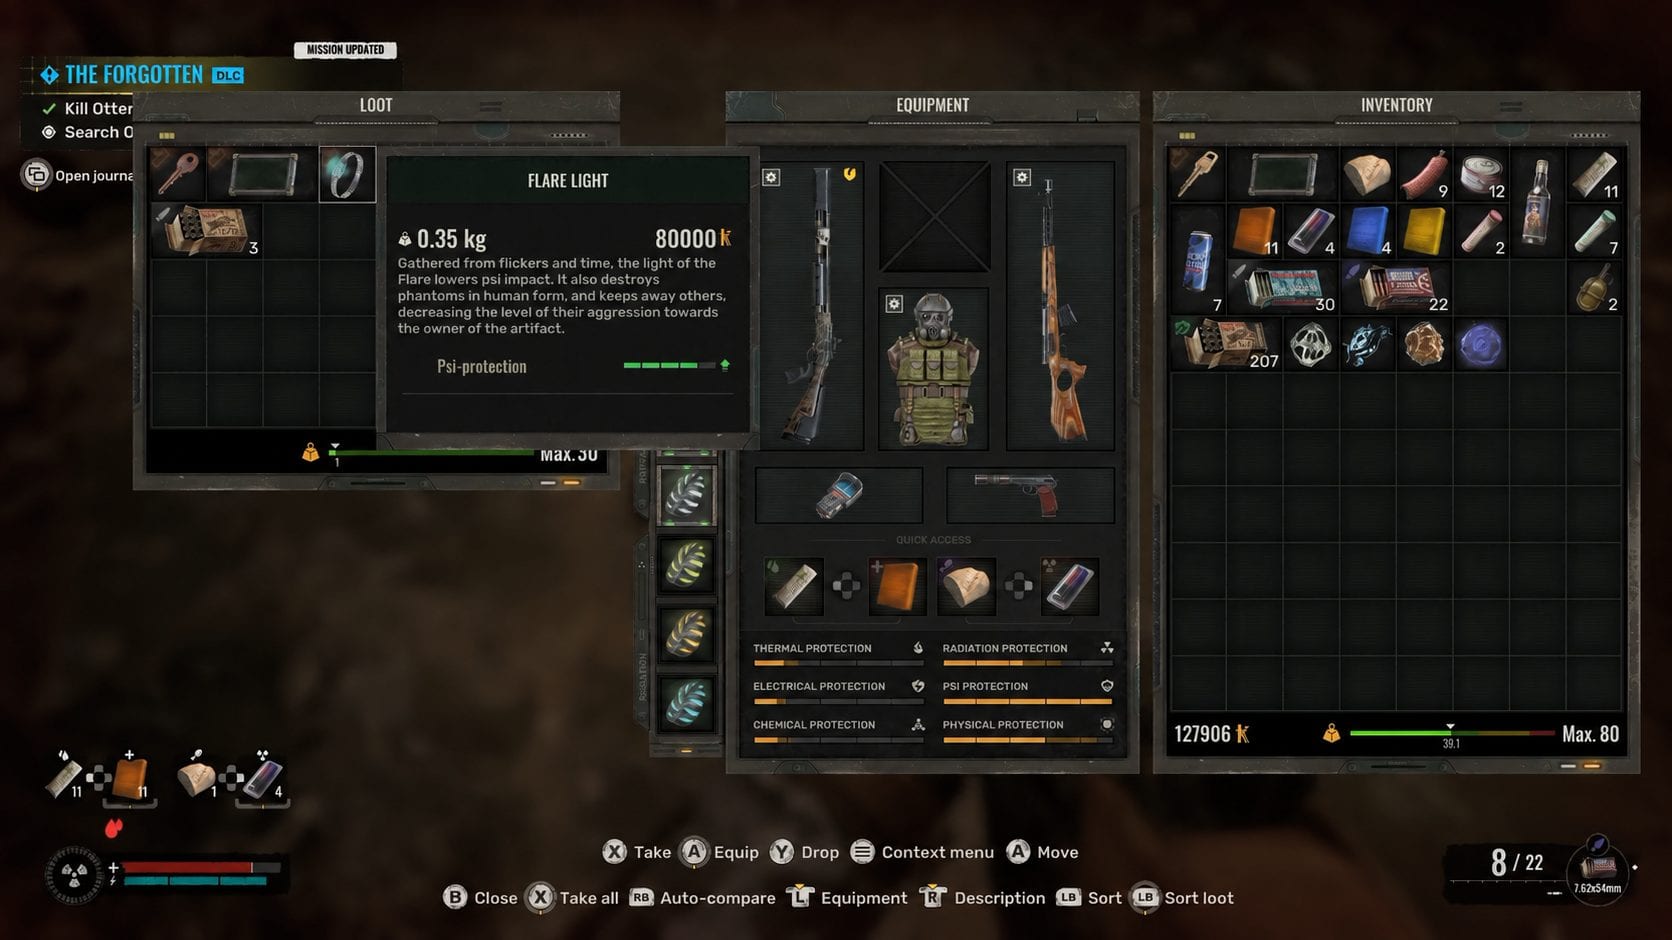
Flare Light
Flare Light is the final Arch-Artifact obtained during The Forgotten. You need all five Flickering Flares equipped to survive the Flare Anomaly, then reach the Destroyed Generators and complete the Flare Time sequence.
- Collect and equip all five Flickering Flares, then travel to the Water Treatment Facility.
- Enter the water channel and cross the Flare Anomaly until you reach the ladder on the opposite side.
- Climb through the facility, drink the Vodka near the corpse to remove the anomalous wall, and continue upward through the damaged floors and ventilation shafts.
- Follow the route to the roof until you reach the Destroyed Generators.
- Move across the rotating structures and collect all the required Flare Time pieces while avoiding the anomaly distortions.
- Complete the Flare Time sequence to obtain the artifact required for the final part of The Forgotten.
- Continue the quest and eventually defeat Otter, then loot his body to obtain Flare Light.
Related posts:


 Stalker 2 Receives First Major Patch
 6 Ways to Fix Stalker 2 Crashing with the LowLevelFatalError on Windows PCs