

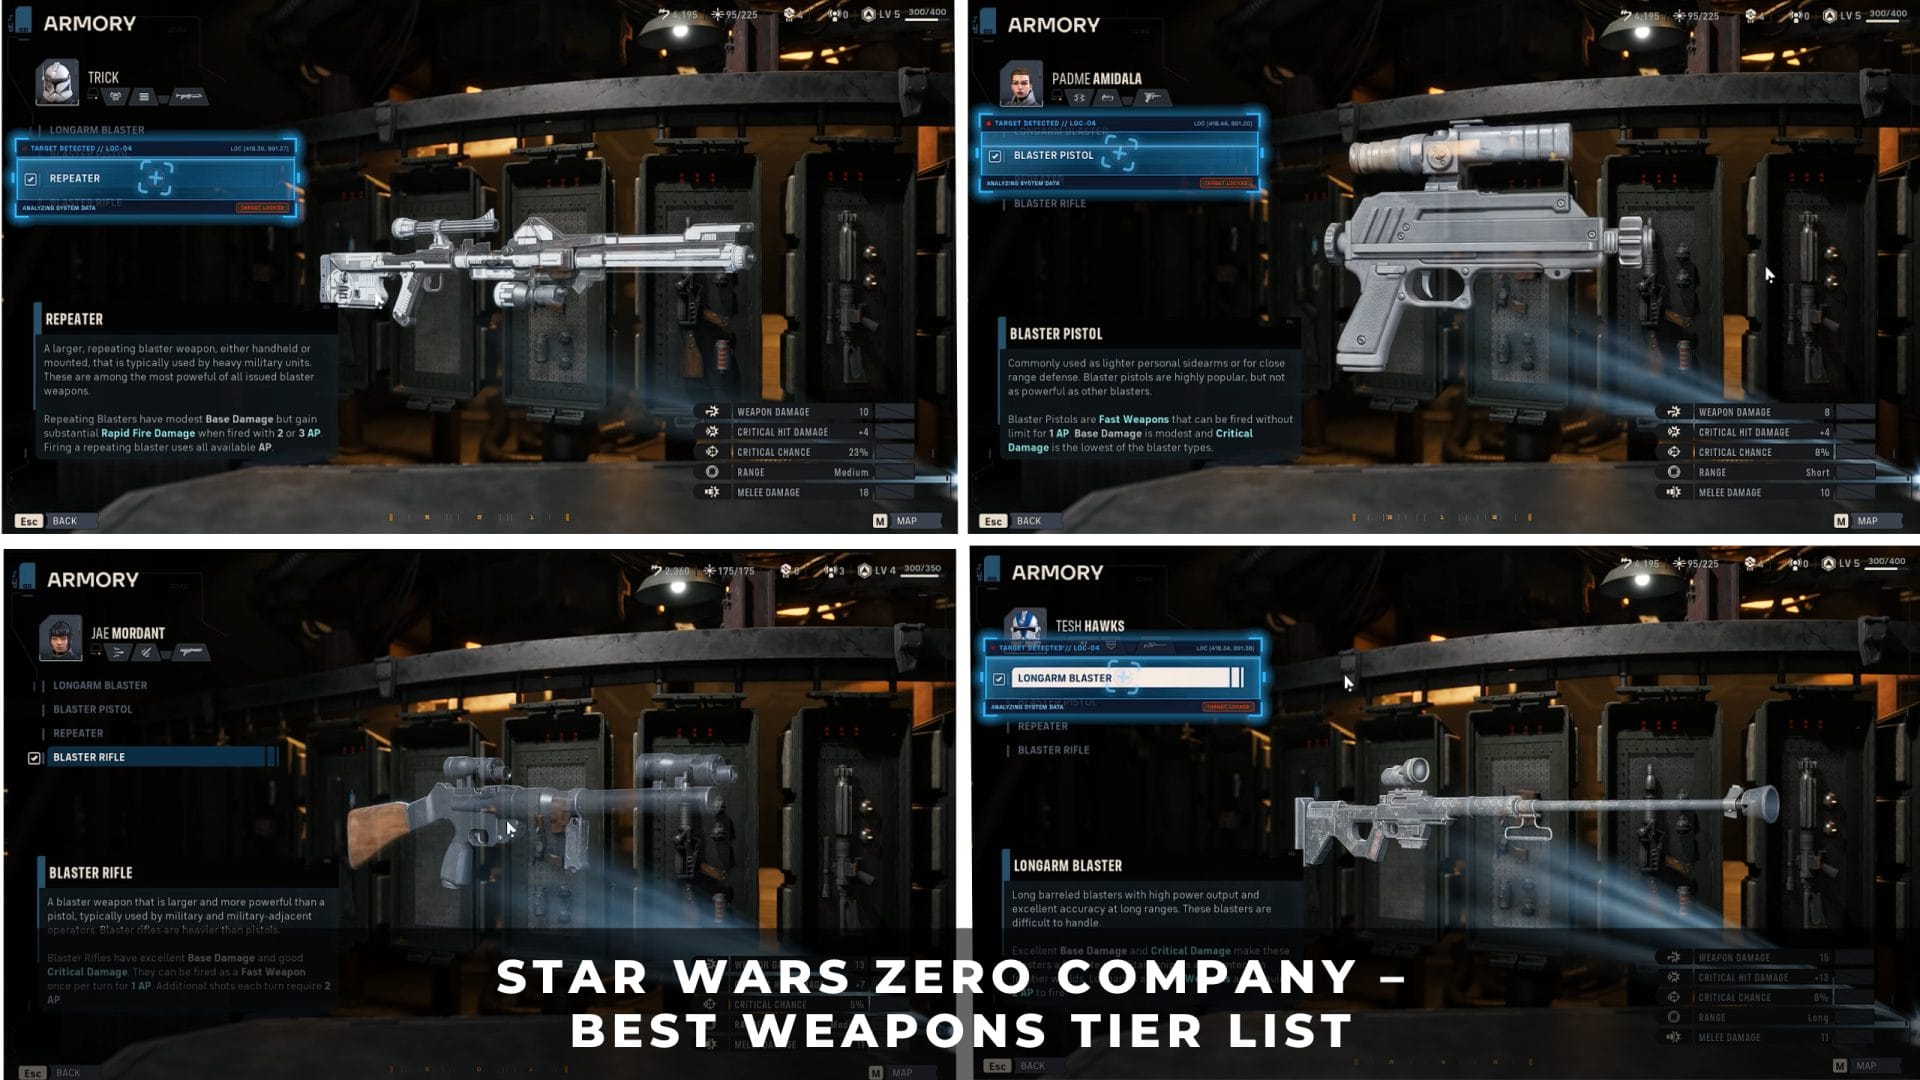
The Blaster Rifle is the strongest general-purpose weapon in Star Wars Zero Company and the safest default for Hawks. Its first shot each turn costs 1 Action Point and deals 10 damage, the best fixed opening efficiency among the four weapon classes. That leaves 2 AP for movement, an ability, or another shot.
That does not make it the best pick on every Specialization: Gunslinger, Scout, and Heavy often want the extra hits of a Pistol, and Sharpshooter and Scoundrel often want the Longarm’s critical packet.
1. Weapon Tier List and Stat Comparison
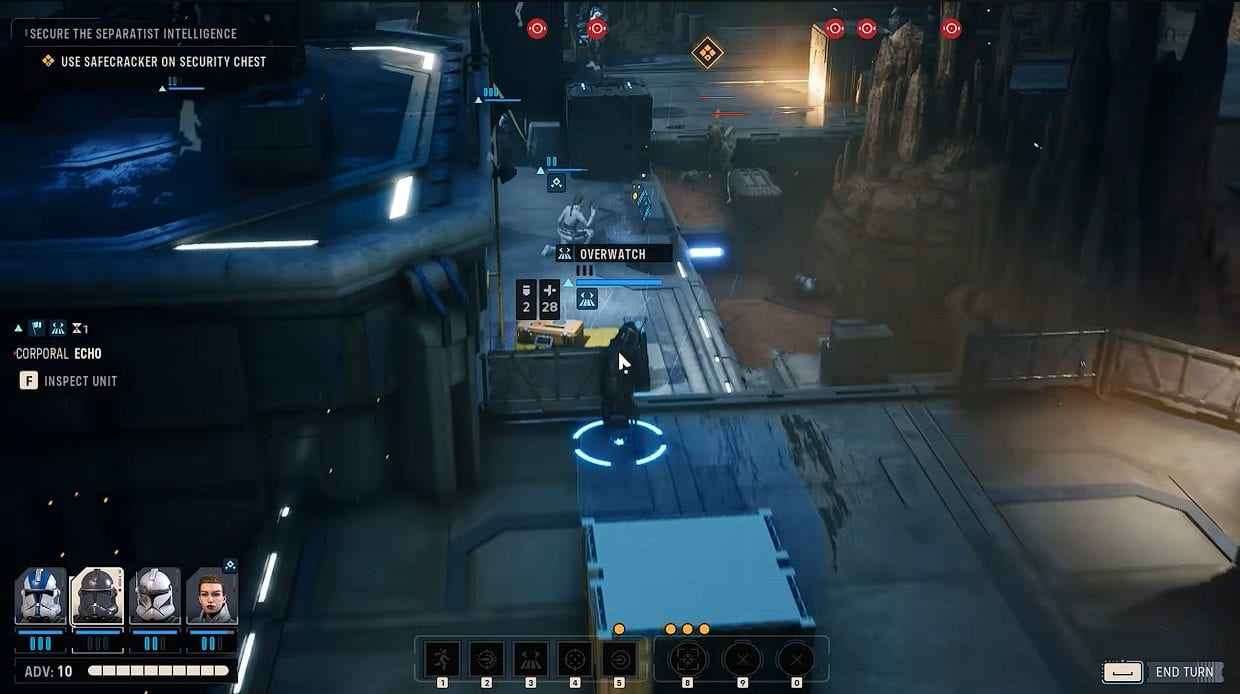
Overwatch with Longarm Blaster
The Blaster Rifle earns S Tier as the best all-purpose primary: highest fixed first-shot efficiency, medium range, and a flexible action sequence.
Pistol and Longarm sit in A Tier because they win on specific Specializations rather than on raw opening damage. The Repeater falls into B Tier because its Final Action cost restricts movement and ability use, even though a full three-point dump can out-burst the others.
The table compares unmodified weapon stats before Operator passives, Focus upgrades, critical hits, and weapon mods change the result.
| Weapon | Tier | AP Cost | Damage Profile | Crit / Range |
|---|---|---|---|---|
| Blaster Rifle | S | 1 first shot, 2 after | 10 damage | +6 crit, Medium |
| Blaster Pistol | A | 1 per shot, no cap | 6 damage | +4 crit, Short |
| Longarm Blaster | A | 2 per shot | 12 damage | +12 crit, Long |
| Repeater | B | All remaining AP | 8 plus Rapid Fire | +4 crit, Medium |
All four weapons start at 11% critical chance. Defense is subtracted from each hit separately, so three Pistol packets lose more to armor than two Rifle shots or one Longarm shot.
Damage per AP is the starting point, not the ranking: range, crit packets, repeated-hit passives, and leftover AP decide the Specialization fit.
2. S Tier: Blaster Rifle
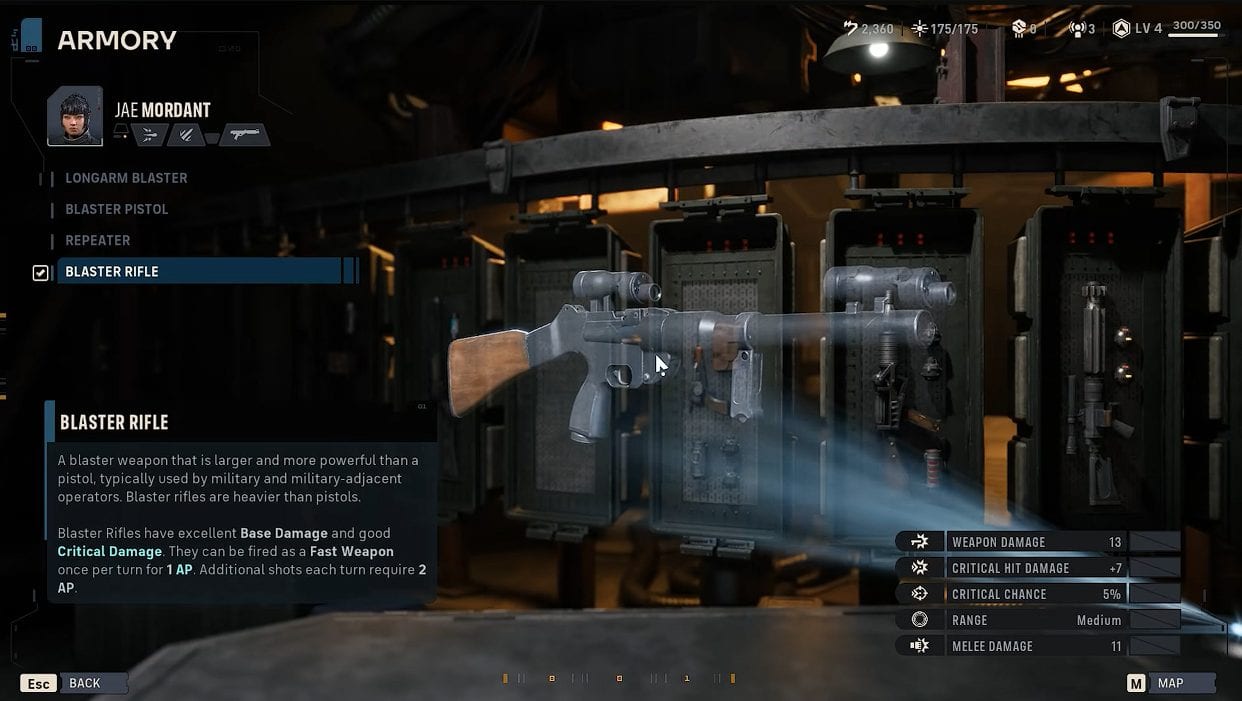
Blaster Rifle
The Blaster Rifle is the safest weapon for Hawks and the strongest general-purpose choice for a new Operator. It combines medium range with an efficient first shot:
- Base Damage: 10
- Critical Damage: +6
- Optimal Range: Medium
- AP Cost: 1 for the first shot, then 2 for each additional shot
The first attack delivers 10 damage per AP, the best fixed rate among the four weapon classes. Spending the full three-point pool on two Rifle shots produces 20 base damage, or 6.67 damage per AP across the turn. The second shot costs 2 AP, so the weapon is less efficient when fired twice.
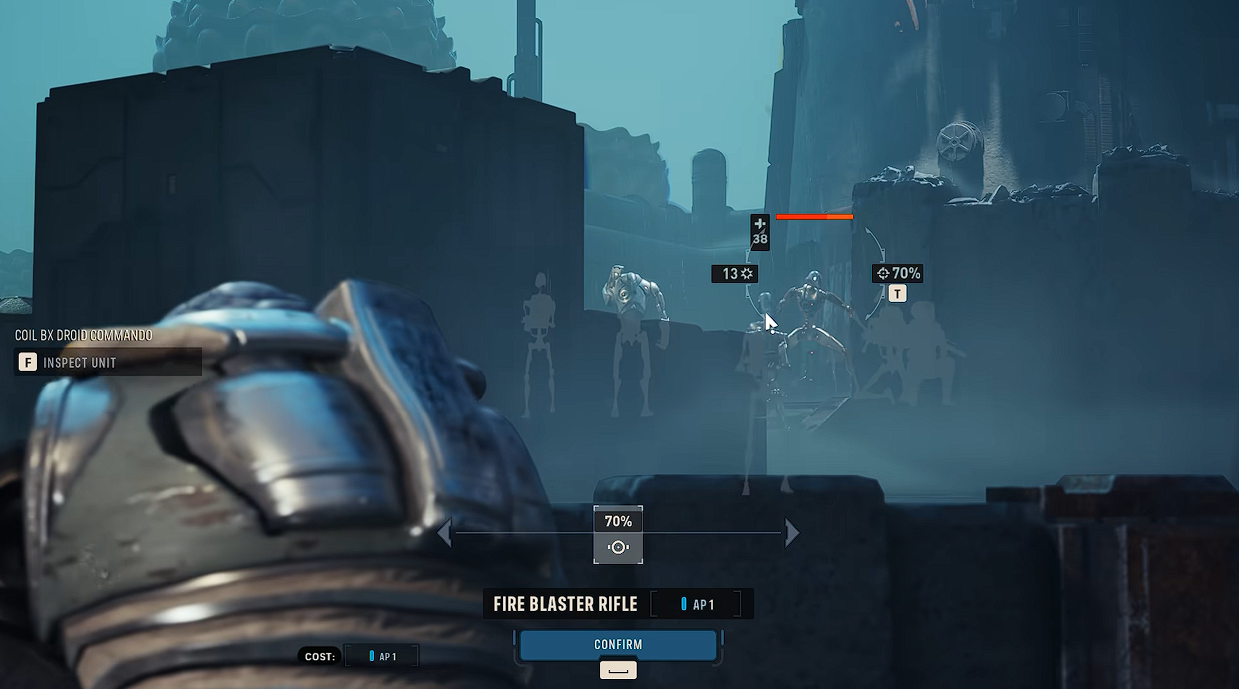
Firing Blaster Rifle
On raw totals, the Rifle still edges the Pistol’s 18 base damage across three unmodified attacks. It also loses less to flat Defense because the damage arrives in two packets instead of three. The Pistol can pull ahead once Onslaught, Spotted, or Taunt enters the calculation.
The Rifle’s real advantage is choice. Its first shot costs little enough to fit into several useful turn plans:
- Full damage: Fire twice for 20 base damage at a total cost of 3 AP.
- Mobile attack: Move for 1 AP, fire for 1 AP, then use the final point on an ability or short Overwatch cone.
- Flexible opening: Fire first, check the result, then choose between a second shot and another tactical action.
Soldier, Medic, and utility-focused builds gain the most from that freedom. Pick the Rifle when the Operator needs to attack every turn without sacrificing the rest of their kit.
3. A Tier: Blaster Pistol and Longarm Blaster
The two A-Tier weapons sacrifice the Rifle’s all-purpose efficiency for stronger class synergy. The Blaster Pistol creates more separate attacks, while the Longarm places more damage into one high-value shot.
Blaster Pistol
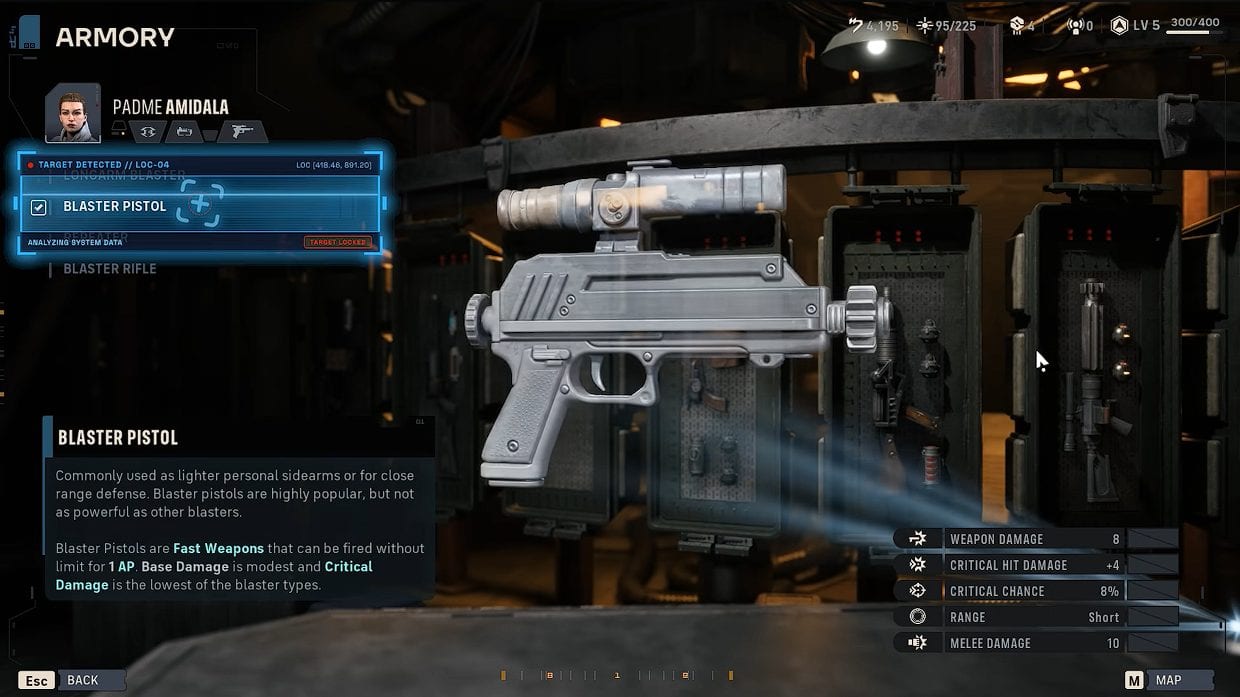
Blaster Pistol
The Blaster Pistol trades range and per-hit damage for the highest number of primary attacks in one turn.
- Base Damage: 6
- Critical Damage: +4
- Optimal Range: Short
- AP Cost: 1 per shot
- Three-shot total: 18 base damage for 3 AP
Three separate hits become more valuable when an ability or passive triggers on every primary attack. The Pistol has three strong class interactions.
- Gunslinger: Onslaught grants +1 Blaster Damage for each primary blaster attack already made that turn, making the second and third shots stronger.
- Heavy: Intimidating Posture Taunts every enemy hit by a primary blaster attack, allowing one Operator to draw fire from several targets.
- Scout: Damaging separate enemies applies Spotted across the field rather than concentrating it on a single target.
The tradeoff is 6 base damage and short optimal range. The Pistol performs best on mobile Operators, against lighter enemies, and in builds that earn more value from the number of attacks than the size of a single hit.
Longarm Blaster
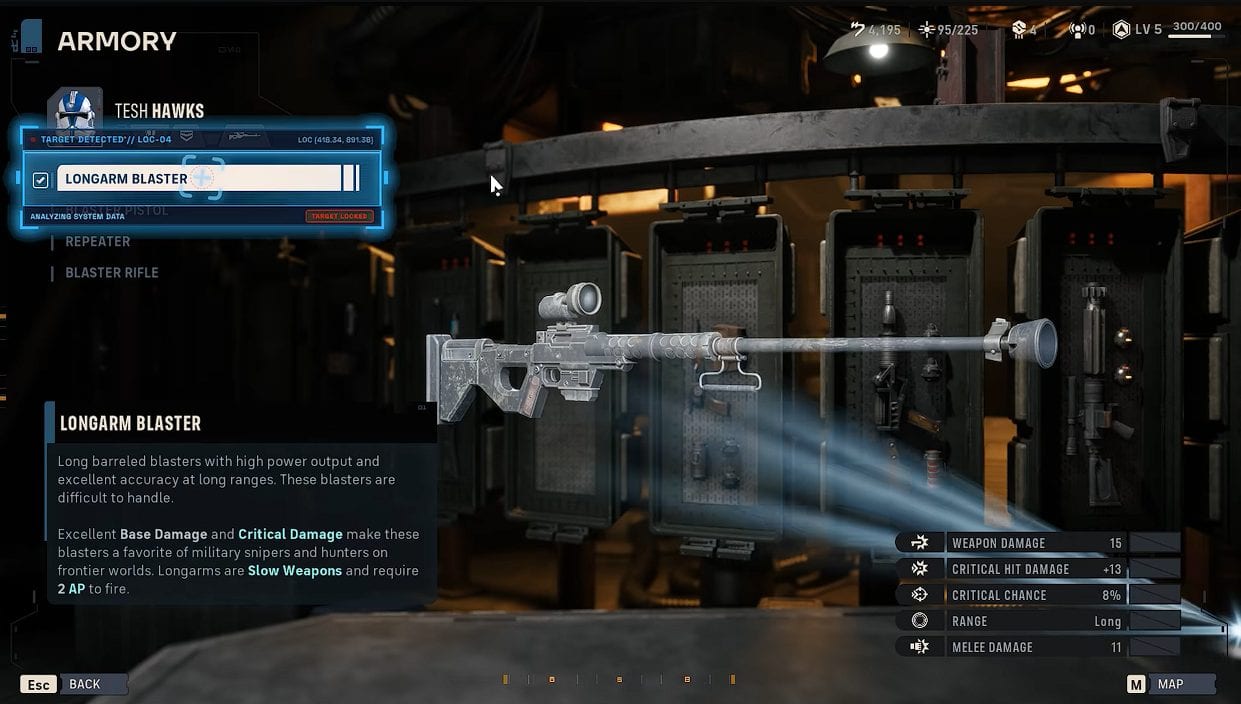
Longarm Blaster
The Longarm concentrates its damage into one long-range attack. Its fixed efficiency matches the Pistol, but the entire hit is delivered from a safer position.
- Base Damage: 12
- Critical Damage: +12
- Base Critical Chance: 11%
- Optimal Range: Long
- AP Cost: 2 per shot
- Damage per AP: 6
The Longarm’s large critical bonus creates two clear Specialization pairings.
- Sharpshooter: Zero In rewards holding position, while Lethal stacks improve accuracy and critical performance until the Operator moves.
- Scoundrel: Identify Weakness is a 1 AP Fast Action that applies the Vulnerable condition. The next attack against that enemy becomes a critical hit, increasing to two attacks at maximum rank.
A Longarm shot during that Vulnerable window can add the full +12 critical damage instead of rolling the 11% base chance. The attack still has to connect unless the Operator also spends Advantage on Precision Shot.
Long range also reduces the AP spent closing the distance. Establish the firing lane early, then reserve 1 AP for Identify Weakness, movement, or another setup action before taking the 2 AP shot.
4. B Tier: Repeater
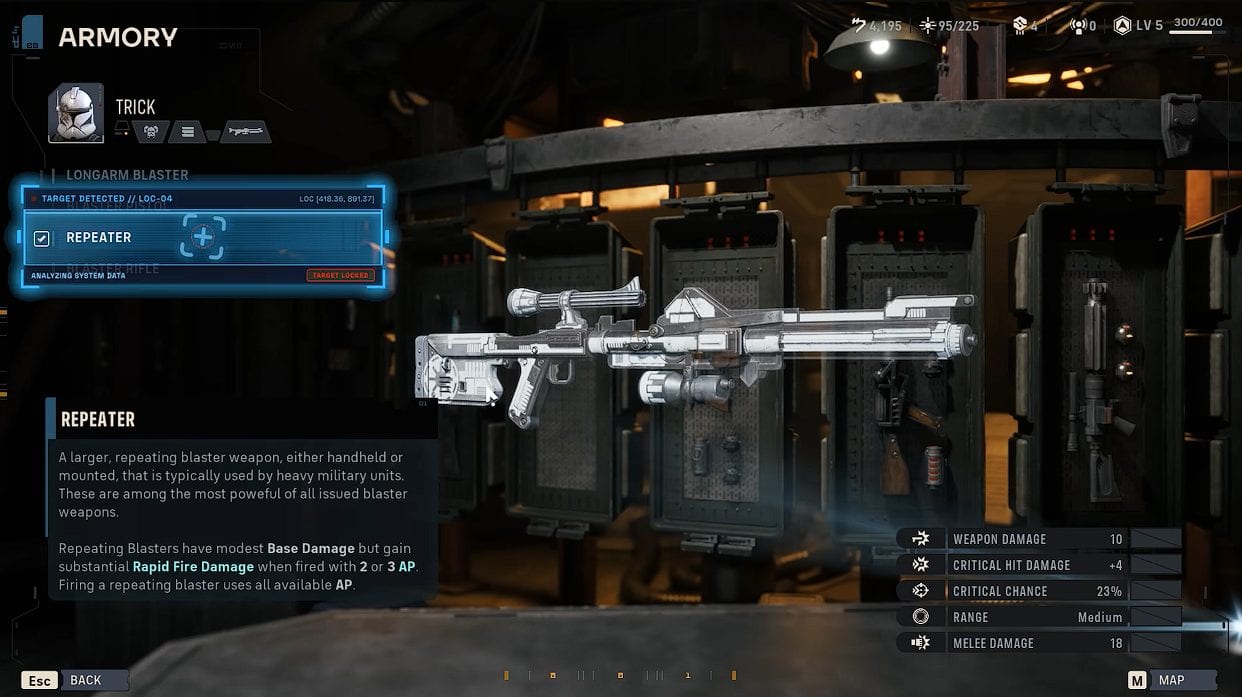
Repeater
The Repeater is the most restrictive weapon, but it is not a weak damage option. It starts at 8 weapon damage and adds Rapid Fire damage based on the AP consumed. Firing uses every remaining Action Point and immediately ends the Operator’s turn.
- Base Damage: 8 before Rapid Fire damage
- Critical Damage: +4
- Optimal Range: Medium
- AP Cost: All remaining Action Points
- Damage scaling: Rapid Fire damage increases when the shot consumes 2 or 3 AP
The Operator’s remaining AP determines the attack’s damage tier.
- 3 AP: Receives the largest Rapid Fire bonus and uses the Repeater at full strength.
- 2 AP: Retains a smaller Rapid Fire bonus after one point is spent on movement or another action.
- 1 AP: Produces the weakest version after two points have already been spent.
Pick it when the Operator starts in medium range with 3 AP ready; after movement or spending AP on setup, the shot loses much of its value and ends the turn.
5. Best Weapon for Every Specialization
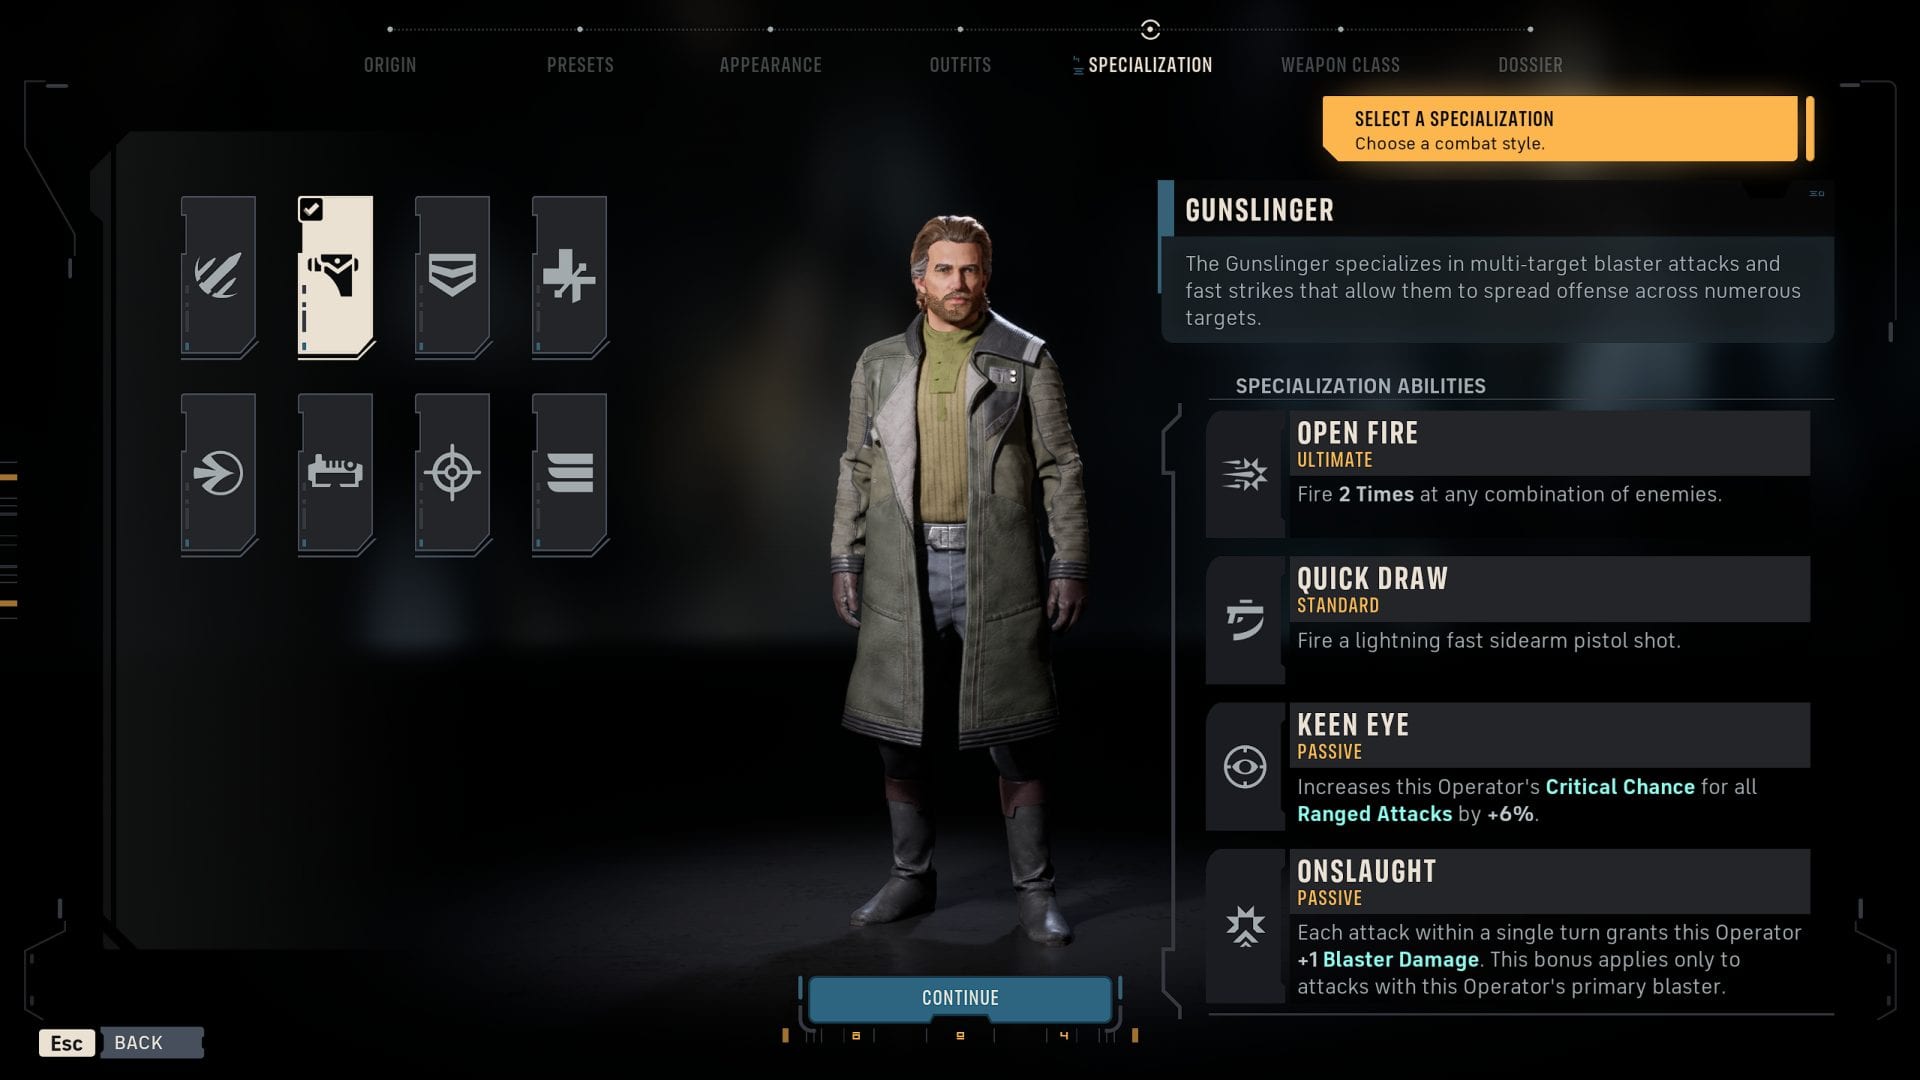
Gunslinger Specialization
Use this table after choosing a Specialization: mobility, repeated-hit passives, critical effects, and AP-hungry abilities change which weapon gives that role the most value. If you have not chosen a Custom Operator role yet, check our class tier list first.
These are first picks, not locks. Any Specialization can equip any of the four weapons from the Armory in the Den, and a second Specialization later in the campaign can flip the pairing.
| Specialization | Best Weapon | Alternative | Core Synergy |
|---|---|---|---|
| Assault | Blaster Rifle | Blaster Pistol | 1 AP first shot leaves AP for Bull Rush and repositioning; Pistol is better if you want extra hits after the charge. |
| Gunslinger | Blaster Pistol | Blaster Rifle | Onslaught stacks +1 damage on each later primary shot in the same turn. |
| Heavy | Blaster Pistol | Repeater | Multiple hits spread Intimidating Posture taunts. |
| Medic | Blaster Rifle | Blaster Pistol | A 1 AP opening shot leaves AP for support actions. |
| Scoundrel | Longarm Blaster | Blaster Rifle | Identify Weakness sets up Vulnerable so the Longarm's +12 crit packet can land. |
| Scout | Blaster Pistol | Blaster Rifle | Separate hits can apply Spotted to several enemies. |
| Sharpshooter | Longarm Blaster | Blaster Rifle | Long range and critical damage fit Zero In. |
| Soldier | Blaster Rifle | Repeater | Flexible AP supports blaster, melee, and grenade turns. |
Related posts:


 Star Wars: Zero Company | Respawn and Bit Reactor Join Forces for a Strategy Game
 Star Wars Zero Company – Announce Trailer


