

The Tarforge sits inside Marrow Keep and handles every weapon, sidearm, and Tarstone upgrade in Mortal Shell 2, but it arrives switched off. Five key items bring the machine fully online, and four of them sit behind detours that are easy to walk straight past on a first run.
1. How the Tarforge Works in Mortal Shell 2
Tarforge
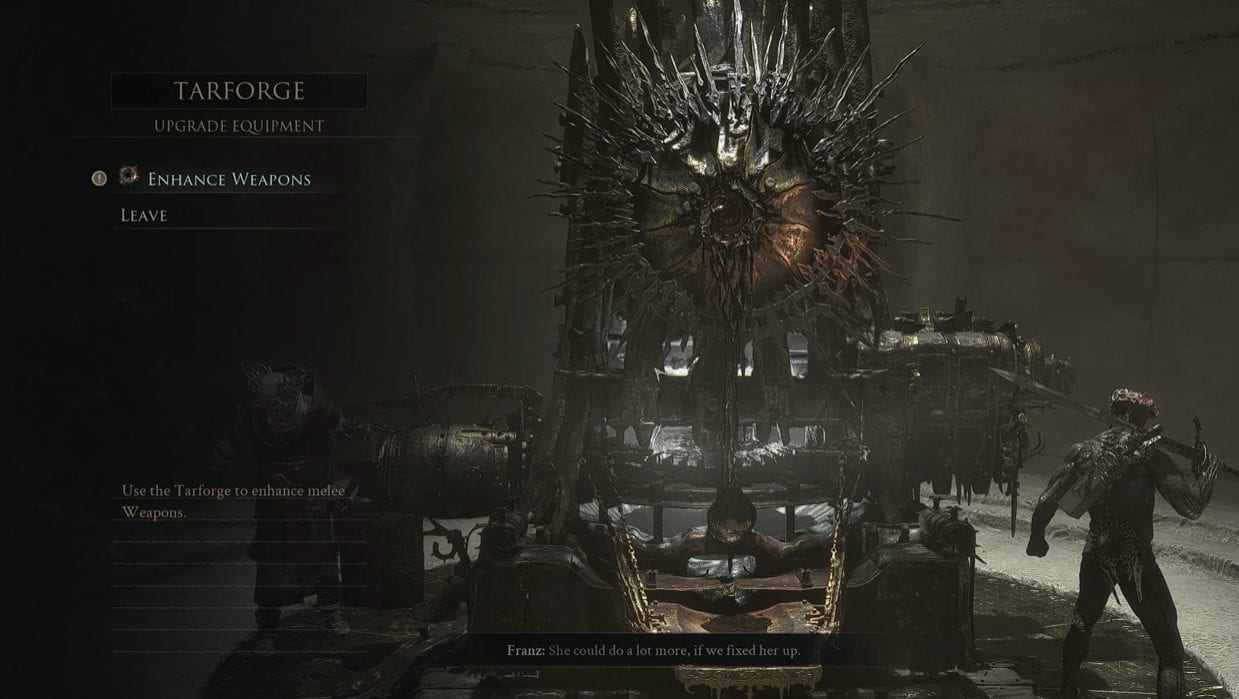
Fully powering up the Tarforge requires five specific components: the Muradean Actuator, Obsidian Lathe, Etching Needles, Foundry Stone, and Endless Core. Hand the first four to Franz, the blacksmith stationed next to the forge. The Endless Core is the only one installed directly from the Tarforge interface.
Each delivery switches on one function. A function is live once its option appears in the Tarforge menu, so Enhance Weapons, Enhance Sidearms, Temper Tarstones, and Smelt Equipment fill in one at a time as you hand items over. A greyed-out option means the matching item is still out there.
None of the five items are missable. All of them remain reachable in free roam after the final boss, before you commit to New Game Plus.
| Item | Function Unlocked | Area |
|---|---|---|
| Muradean Actuator | Enhance Weapons | Village Outskirts |
| Obsidian Lathe | Enhance Sidearms | Martyr’s Tomb |
| Etching Needles | Temper Tarstones | Glutted Mire |
| Foundry Stone | Smelt Equipment | Outskirts of Mammon |
| Endless Core | Raises the level cap | The Unfound Path |
2. Where to Find Every Tarforge Upgrade Item
The five items are spread from the prologue to the final dungeon, and only one of them sits on the critical path. This section gives the exact chest location for each item, the route to reach it, and the order you will realistically pick them up during a normal playthrough.
2.1. Where to Find the Muradean Actuator
Muradean Actuator
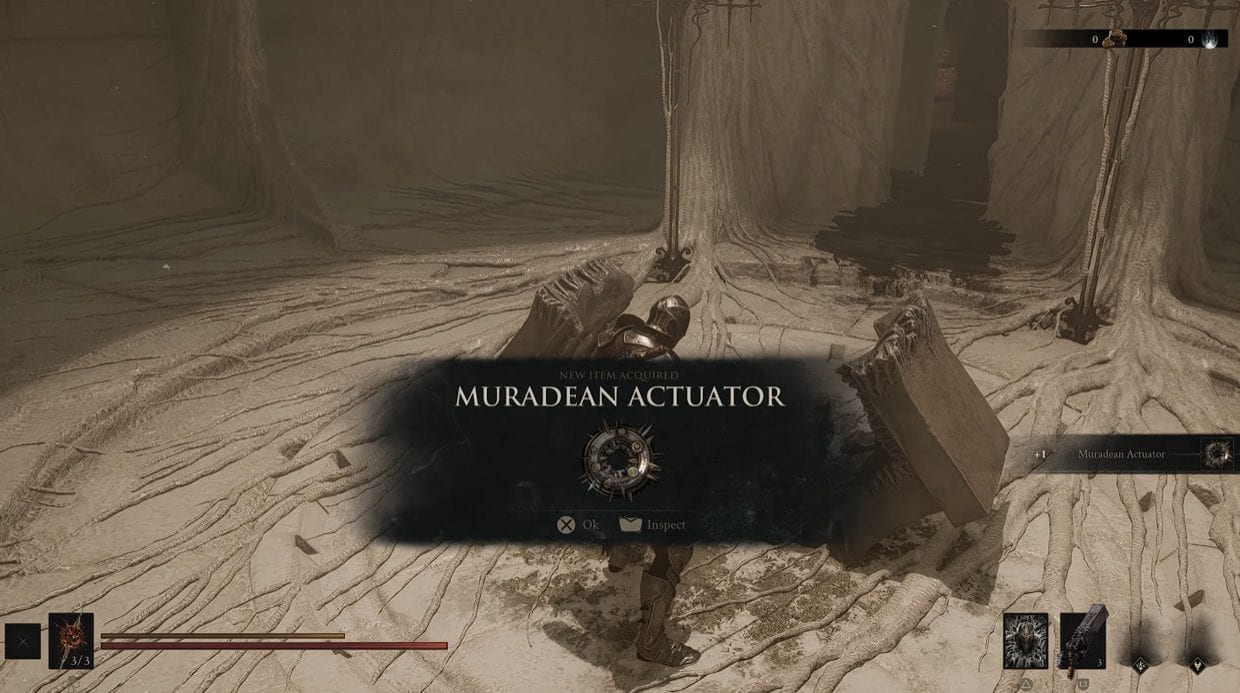
The Muradean Actuator is in a chest inside the Village Outskirts beacon’s cleanse dungeon, in the Disciple’s Path area during the prologue. The chest sits in the first room you enter, before the elevator that drops into the dungeon proper.
Cleansing that beacon is required to leave the tutorial, but the chest itself is optional, so you can walk past it. Players who skipped the tutorial using a beta save start with the Actuator already in their inventory at Marrow Keep.
2.2. Where to Find the Obsidian Lathe
-

- Martyr’s Tomb

-

- Obsidian Lathe

The Obsidian Lathe is in a chest in the back room of Martyr’s Tomb, the dungeon south of the Widow’s Overlook beacon in Fainweald. It sits beside the grave that unlocks the Tiel shell, covered in our Mortal Shell 2 shell locations guide, so most players reach it while chasing that unlock.
The exit gate stays shut until you shoot the device mounted above it. There is also a Tarstone inside the same dungeon, which pairs directly with the Etching Needles later on.
2.3. Where to Find the Etching Needles
-

- Corrupted Gate

-
- Etching Needles

The Etching Needles are in a chest in the Glutted Mire, the Corrupted Gate in the southeast of Fainweald, just before the Magdalena boss arena. Clear the route in one push, because the gap you squeeze through is a one-way section that drops you into the run-up to a major fight.
- Tag the Sunken Village beacon. Progress through the Glutted Mire normally until the beacon activates.
- Cross the rope bridge. The path narrows here and funnels you toward the arena.
- Defeat the Tarblighted Shepherd. This boss summons sheep that transform mid-fight, so clear the adds before committing to damage.
- Squeeze through the wooden boards. The gap sits behind the arena once the Shepherd falls.
- Follow the bridges to Ruk. He perches on an arch overhead and warns you about Magdalena, Lady of the Woods.
- Open the chest below Ruk. The Etching Needles are directly past his position.
2.4. Where to Find the Foundry Stone
-
- Outskirts of Mammon

-

- Foundry Stone

The Foundry Stone is in a chest against the wall fortifications south of the Outskirts of Mammon beacon, which is already unlocked from the start of the game. From the beacon, look south for the slope dropping into a battlefield.
That battlefield holds a dozen soldiers and elite knights. None of them need to die for the pickup, so run straight south to the wall, grab the chest, and leave. Fighting through the whole group first is the slower route to the same item.
2.5. Where to Find the Endless Core
-
- The Hidden Nave Beacon

-
- Endless Core

The Endless Core is in a chest inside the Hidden Nave beacon’s cleanse dungeon, in The Unfound Path. This is the final major dungeon, and the beacon unlocks after you clear the corrupted tendrils, immediately before the last boss. Everything in this area carries heavy ending spoilers.
- Clear the corrupted tendrils. Working through The Unfound Path unlocks the Hidden Nave beacon in the middle of the zone.
- Find the first bonfire. It sits just inside the entrance to the cleanse dungeon.
- Run to the second bonfire. Cross to the far end of the tunnel, then turn back.
- Collect the torch. It spawns at the first bonfire once you return to it.
- Push through the fog. The torch reveals an entirely different area behind it.
- Follow the sloping path down. The Endless Core chest waits at the bottom.
- Before looting the nearby Gloom chests, interact with the doorway. It takes all the Gloom you are carrying, so trigger it before collecting more.
3. All Tarforge Functions and What Each One Unlocks
Enhance Weapons Function
The Tarforge runs four separate functions plus one cap increase, and each one covers a different slice of your loadout. Knowing which item feeds which function tells you what to chase first based on how you actually fight.
3.1. Enhance Weapons
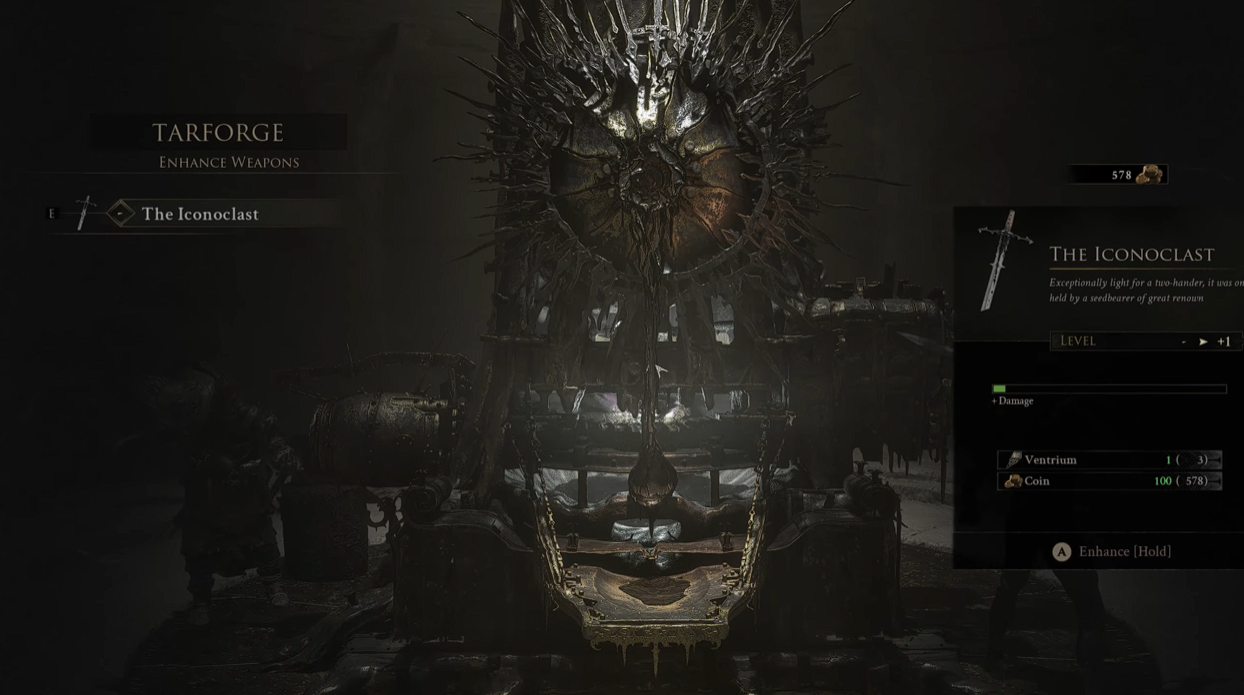
Unlocked by the Muradean Actuator, this function raises the level of melee armaments using Coin and smithing stones. Prioritize it the moment the Actuator is in hand. Pushing your main weapon to +3 or +4 early takes a large chunk of pressure out of the mid-game.
3.2. Enhance Sidearms
Unlocked by the Obsidian Lathe, this function upgrades sidearms on the same Coin and stone ladder as melee weapons. Treat it as a secondary investment unless your build leans on ranged damage, since materials spent here are materials not going into your primary weapon.
3.3. Temper Tarstones
Unlocked by the Etching Needles, this function levels Tarstones once they have banked enough XP. Tarstones change how the Harbinger’s actions behave, so this is the function that reshapes a build rather than simply raising its numbers.
3.4. Smelt Equipment
Unlocked by the Foundry Stone, smelting reverts a weapon or sidearm to +0 and refunds every smithing stone spent on it. That makes it the safety net for anyone who over-invested in a weapon before settling on a final loadout, and it is worth unlocking before you commit heavy materials anywhere.
4. How Killing Franz Unlocks the Four Main Tarforge Functions
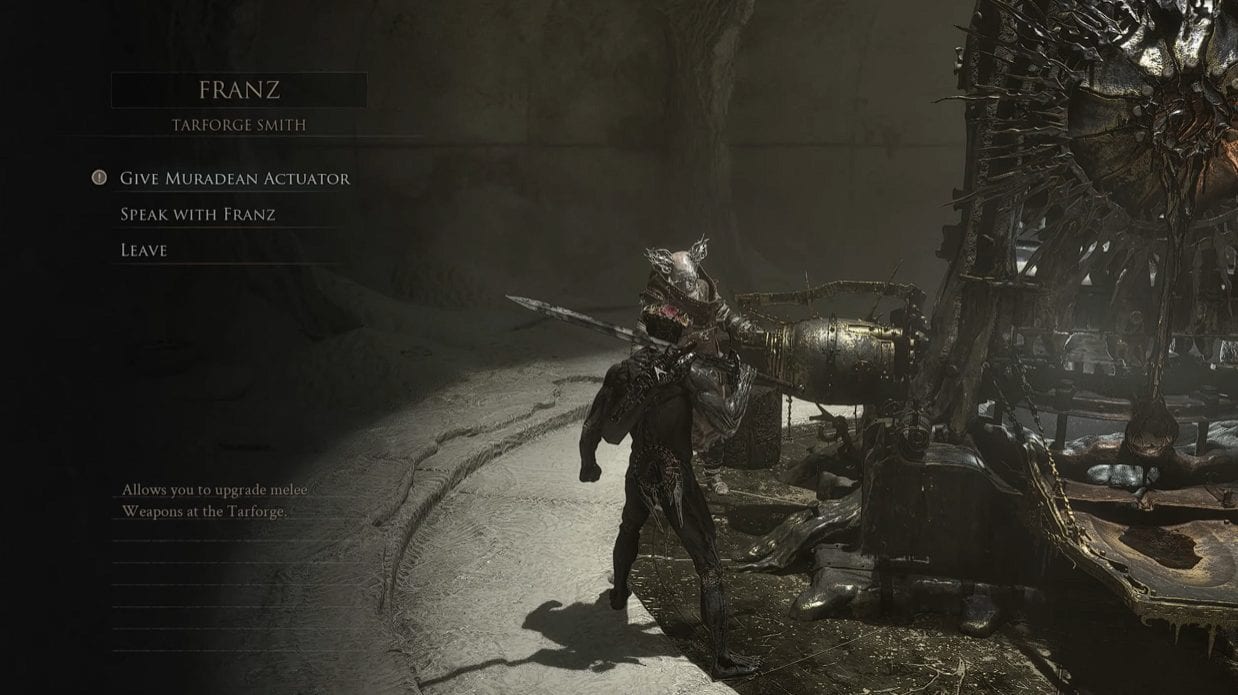
Franz
Killing Franz in Marrow Keep unlocks all four main functions, with no items required. Enhance Weapons, Enhance Sidearms, Temper Tarstones, and Smelt Equipment all become available immediately, which turns a full playthrough of detours into a single fight.
The four key items still have value afterward. With the functions already open, handing each one to the unmanned Tarforge converts it into materials instead, paying out 7 Ventrium, 4 Laterite, and 3 Dorsalite per item. Across all four, that is a substantial early upgrade fund.
The Endless Core is the exception. It sits outside this shortcut entirely, so you still need to reach The Unfound Path and install it through the Tarforge menu yourself.
Killing Franz is permanent. Take the shortcut only if you are set on it, because there is no route back to him once he is down.
5. All Smithing Stones and Upgrade Level Bands
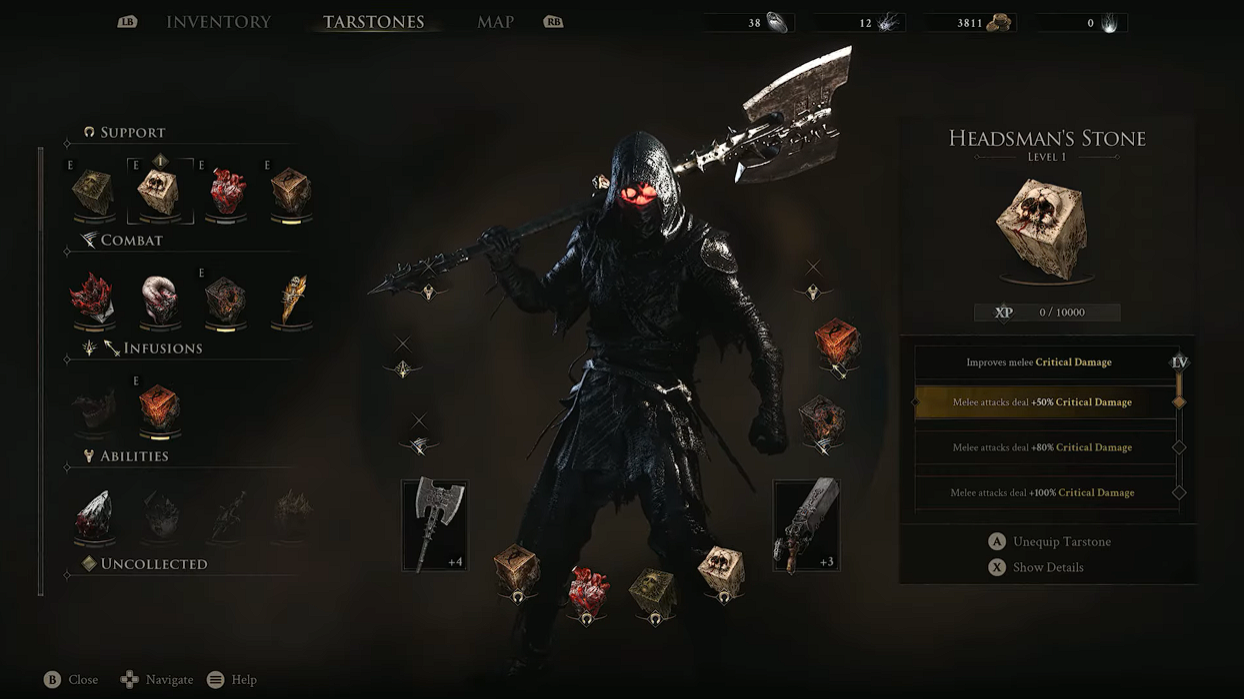
Headsman’s Stone
Weapon and sidearm upgrades cost Coin plus a smithing stone, and the stone required changes every five levels. Each tier locks to a fixed band, so a stone you cannot use yet is a signal of how far your current weapon still has to climb.
| Smithing Stone | Upgrade Levels | Availability |
|---|---|---|
| Ventrium | +1 to +5 | Common, early game |
| Laterite | +6 to +10 | Common, mid-game |
| Dorsalite | +11 to +15 | Uncommon, late game |
| Thoracium | +16 to +20 | Rare, endgame |
| Ossinite | +21 to +25 | Endless Core required |
Installing the Endless Core raises the standard ceiling and opens the Ossinite band, allowing weapons and sidearms to reach +25. Because the Core is a late-campaign pickup, that final stretch is New Game Plus territory for most players rather than something to plan a first run around.
Stones drop across Fainweald and the Ruins of Mammon from chests, enemies, and dungeon rooms. If a specific tier runs dry, Merrick trades most materials for Coin, which covers the gaps left by exploration.
Spreading materials across several weapons early is the most common way to stall out. Pick one armament that suits your playstyle and push it as far as your stone supply allows before branching out.
6. How to Upgrade Tarstones at the Tarforge
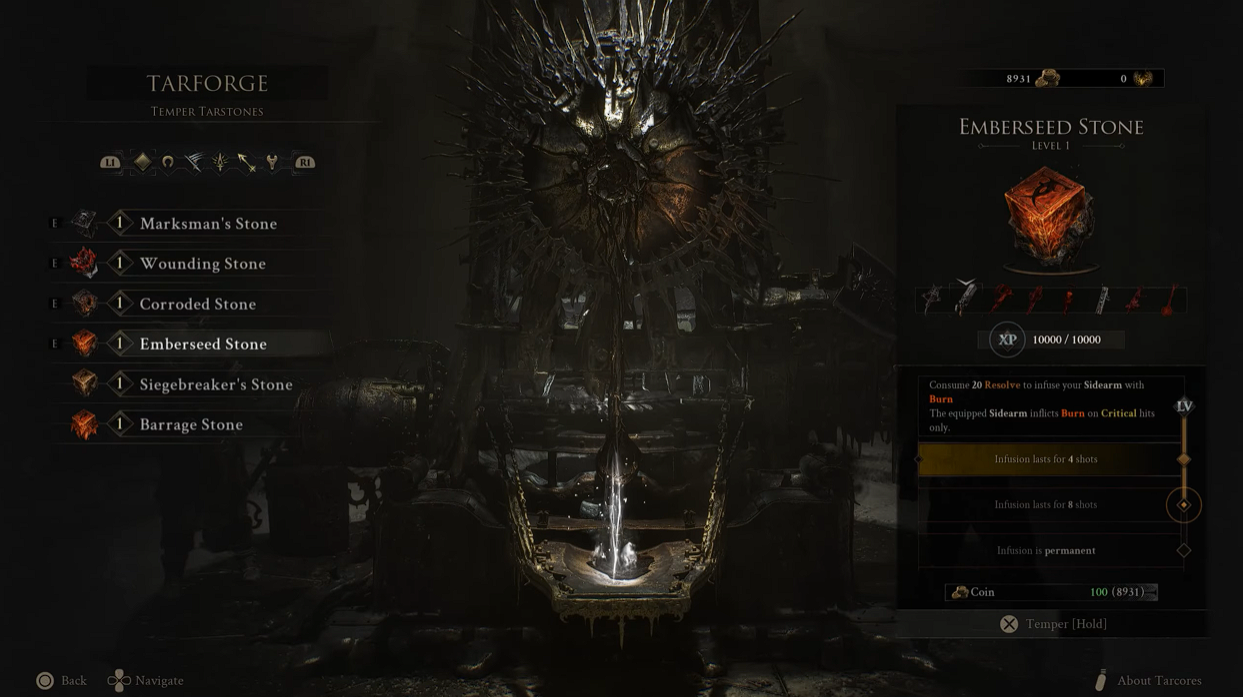
Upgrading Tarstones
Tarstones run on a completely separate economy from weapons. They gain XP only while slotted into an equipped weapon or sidearm, so a stone sitting in your inventory earns nothing. Kills are the only source of that XP.
Tarstone upgrades revolve around two XP checkpoints, with the first upgrade also feeding your Tarcore supply.
- Reach 10,000 XP and pay 100 Coin at the Tarforge.
- Collect 1 Tarcore.
- Reach 20,000 XP and spend 6 Tarcores.
That structure makes weaker Tarstones useful as Tarcore farms. Slot a low-value stone, take it from level 1 to level 2 for 100 Coins, bank the Tarcore, then repeat. The reserve you build this way is what pays for maxing the Tarstones you actually run.
Related posts:


