

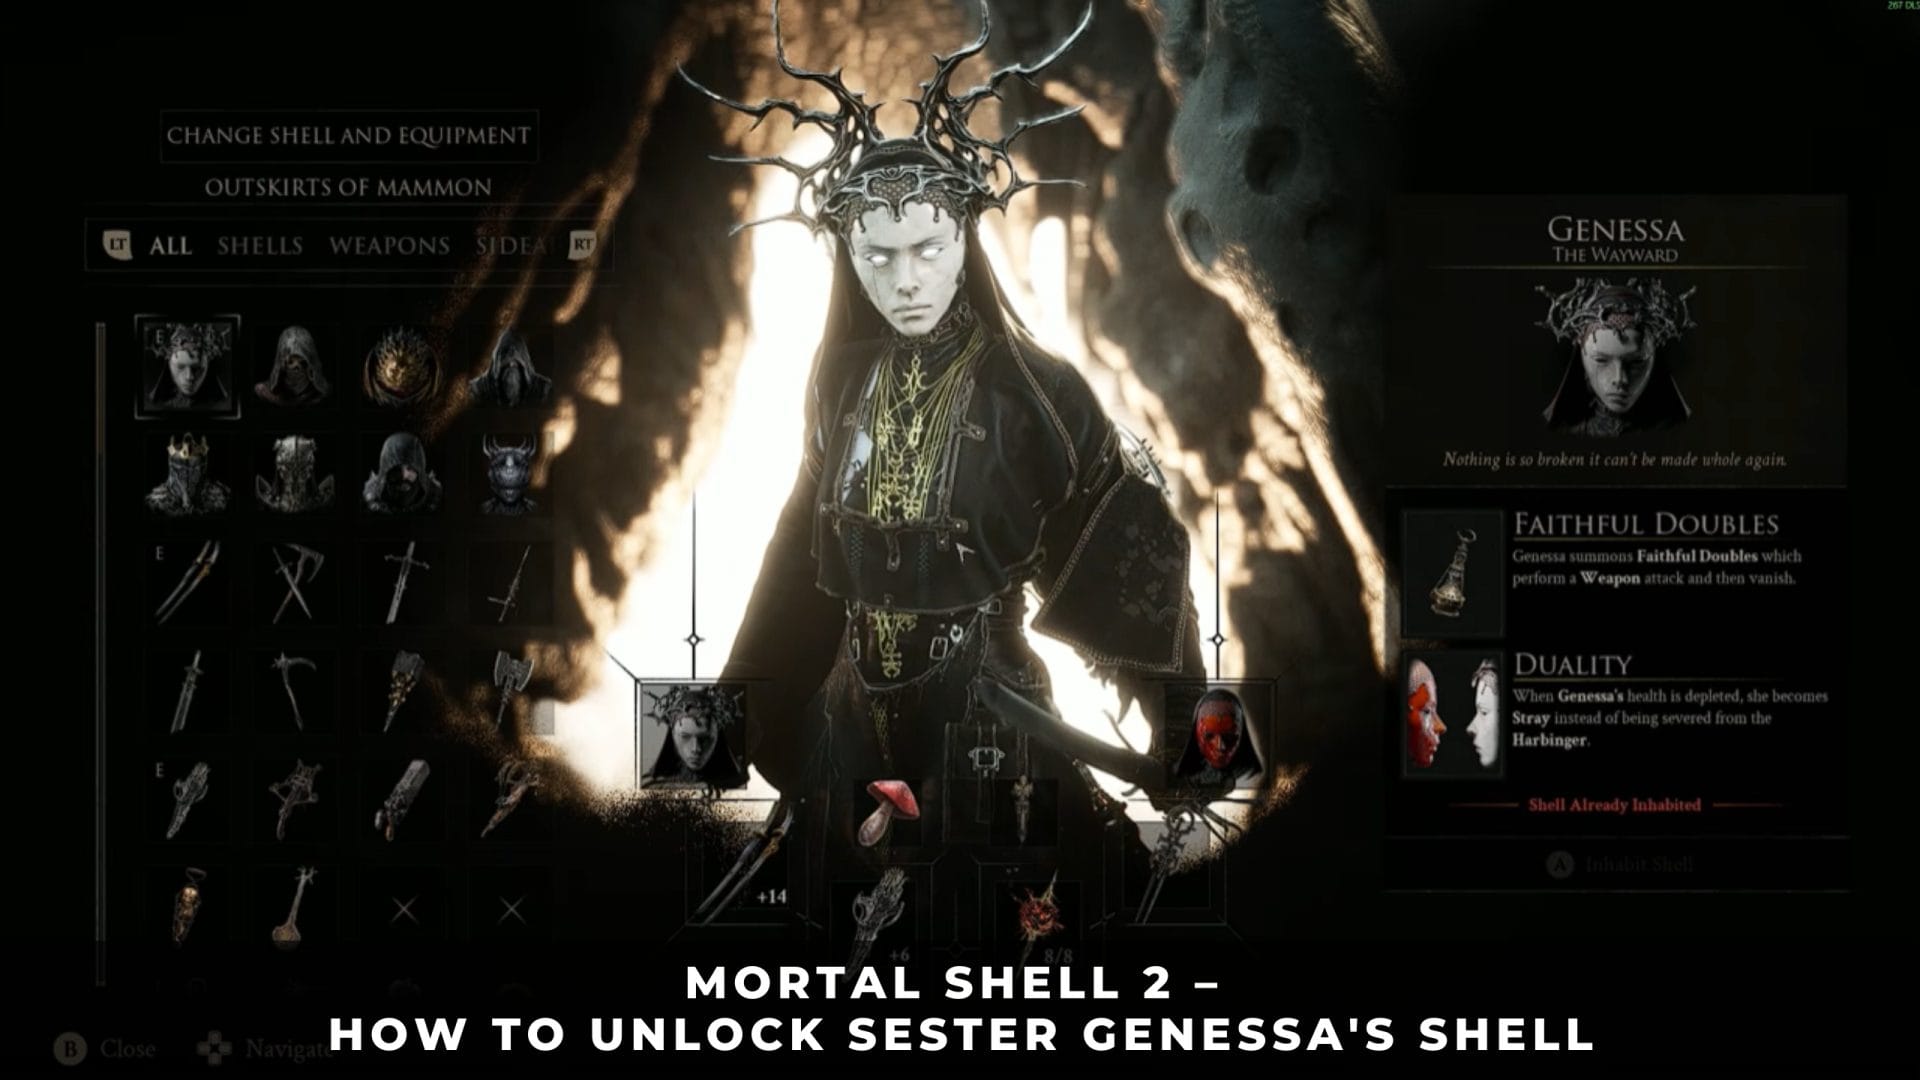
Sester Genessa is the eighth and final Shell in Mortal Shell 2, and she is the only one who never appears as a map marker. Zhirelle cannot reveal her, and repeated visits to Genessa alone do nothing.
The trigger sits out in Mammon, at a burial field called Revenant Graves. Defeat Sester Secundus there to earn the Sester’s Censer, then give that item to the training instructor at Marrow Keep to make her a playable Shell.
1. Sester Genessa Shell Unlock Requirements
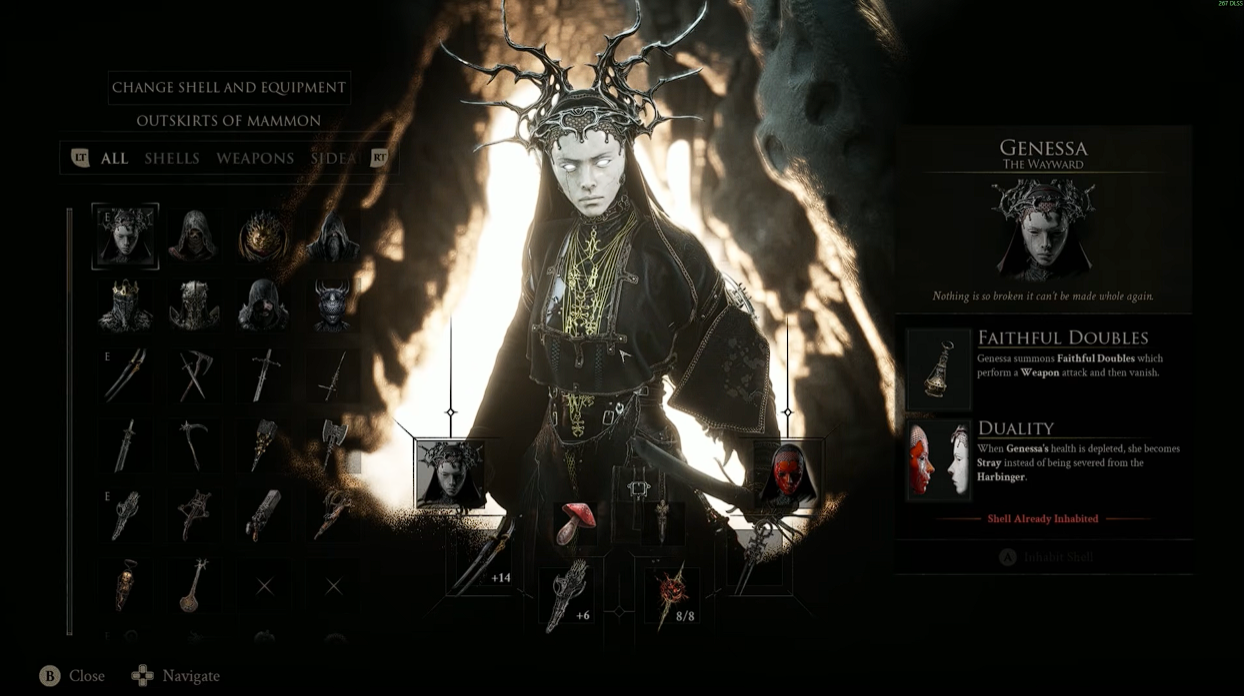
Genessa Shell
Genessa unlocks in three moves: reach Revenant Graves in Mammon, defeat Sester Secundus for the Sester’s Censer, then offer that Censer to Genessa in Marrow Keep. Nothing in the chain is missable, and free roam continues after the credits.
The chain depends on region access and one key item rather than on story flags:
- Region: Mammon, southeastern section, at the Abbey.
- Beacon: Abbey Entrance, the closest fast travel point to Revenant Graves.
- Key item: Sester’s Censer, awarded for killing Sester Secundus.
- Hand-in: Sester Genessa in the Marrow Keep training area.
- Glimpse cost: none to unlock her, only to raise her Bond afterward.
- Map marker: none at any stage.
Genessa Does Not Appear on the Shell Map
Zhirelle, the Shellkeeper at Marrow Keep, reveals 3 to 5 Shell locations per Glimpse. Tiel and Proxima arrive already marked once the prologue ends. Genessa is absent from that list, so spending Glimpse there never surfaces her.
Glimpse is finite and also pays for Shell Bond upgrades. Keep it for upgrades and let this route handle Genessa. The other seven locations are covered in our Mortal Shell 2 Shell locations guide.
2. How to Reach Revenant Graves in Mammon
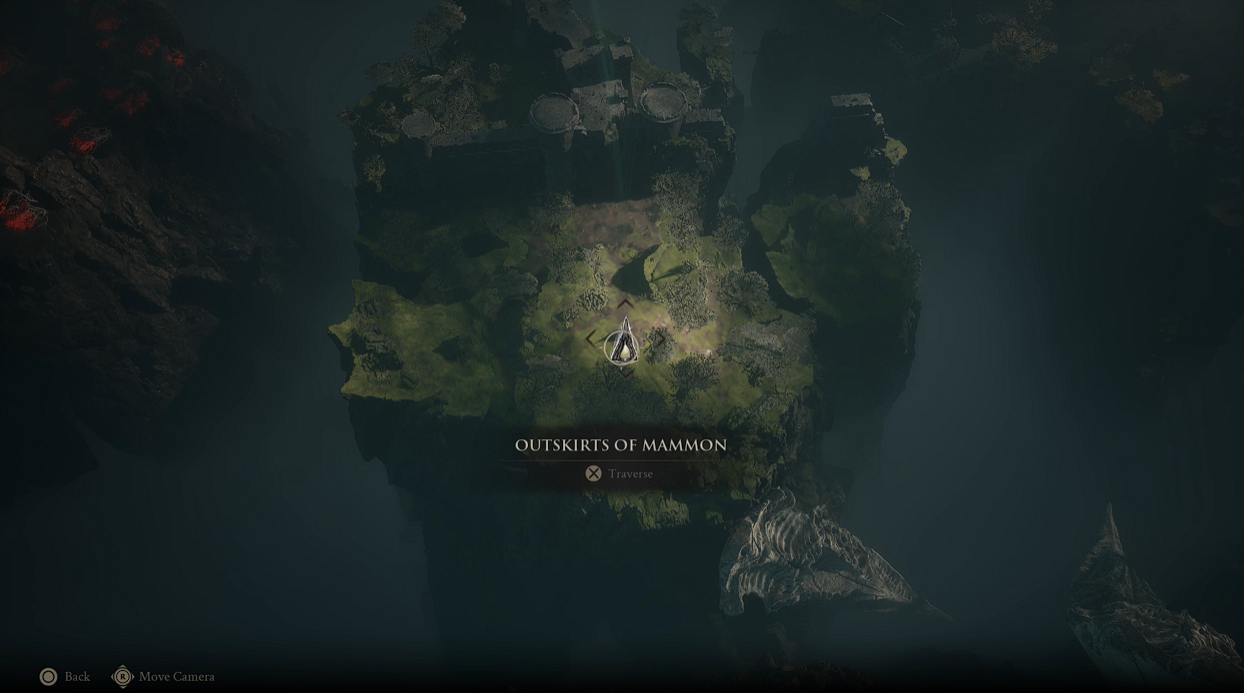
Outskirts of Mammon
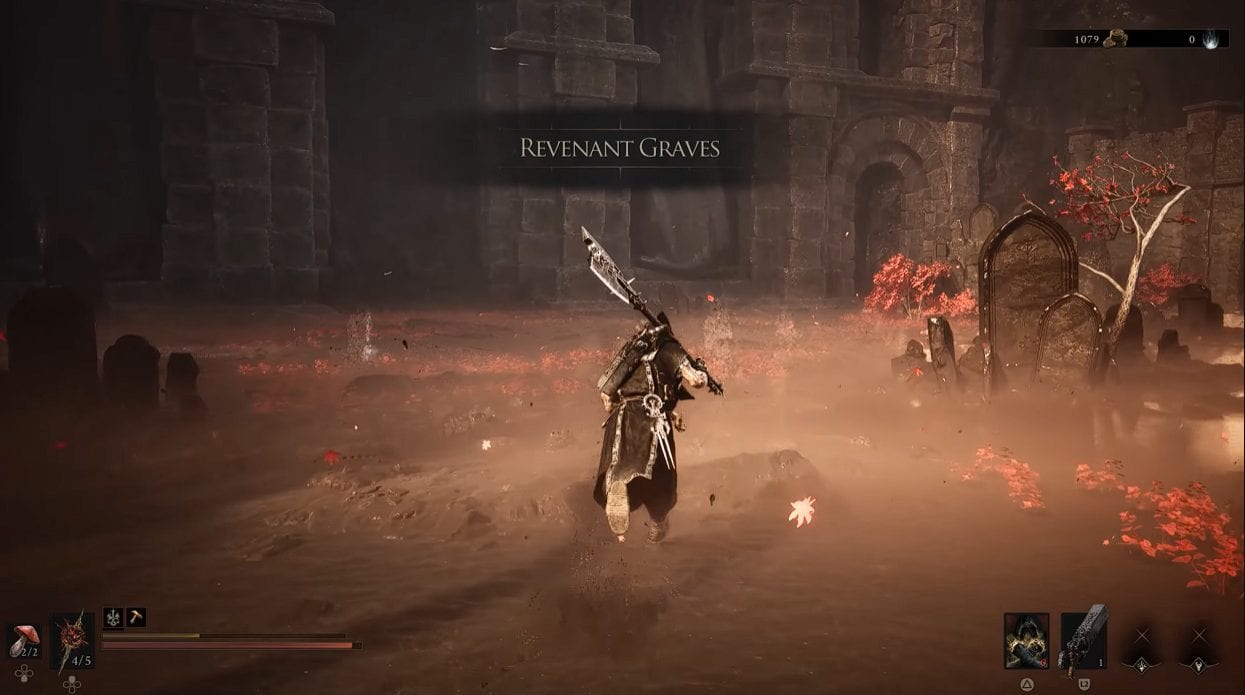
Revenant Graves sits northwest of the Abbey Entrance beacon, in the southeastern part of Mammon. It reads as an open burial field scattered with red foliage and kneeling Sester specters, and the object you need waits at the north end of it.
Two beacons put you within walking distance. Abbey Entrance is the shorter approach. The Outskirts of Mammon jump point works as a backup if you have not opened the Abbey yet.
Route From the Abbey Entrance Beacon
- Fast travel to Abbey Entrance. This is the eastern beacon in the Abbey district of Mammon.
- Head northwest from the beacon rather than southeast into the castle stairs.
- Stop at the small clearing. Two Gloombound Ritualists hold this ground, and approaching them starts the encounter.
- Push north into the graves once both are dead. The field opens out immediately past them.
Route From the Outskirts of Mammon Beacon
Revenant Graves
- Fast travel to the Outskirts of Mammon, the beacon that sits above the Genessa route.
- Move southeast and take the jump point on that side of the zone.
- Cross the red-lit ground you land in. Revenant Graves occupies the north of this area.
3. How to Beat Sester Secundus and Get the Sester’s Censer
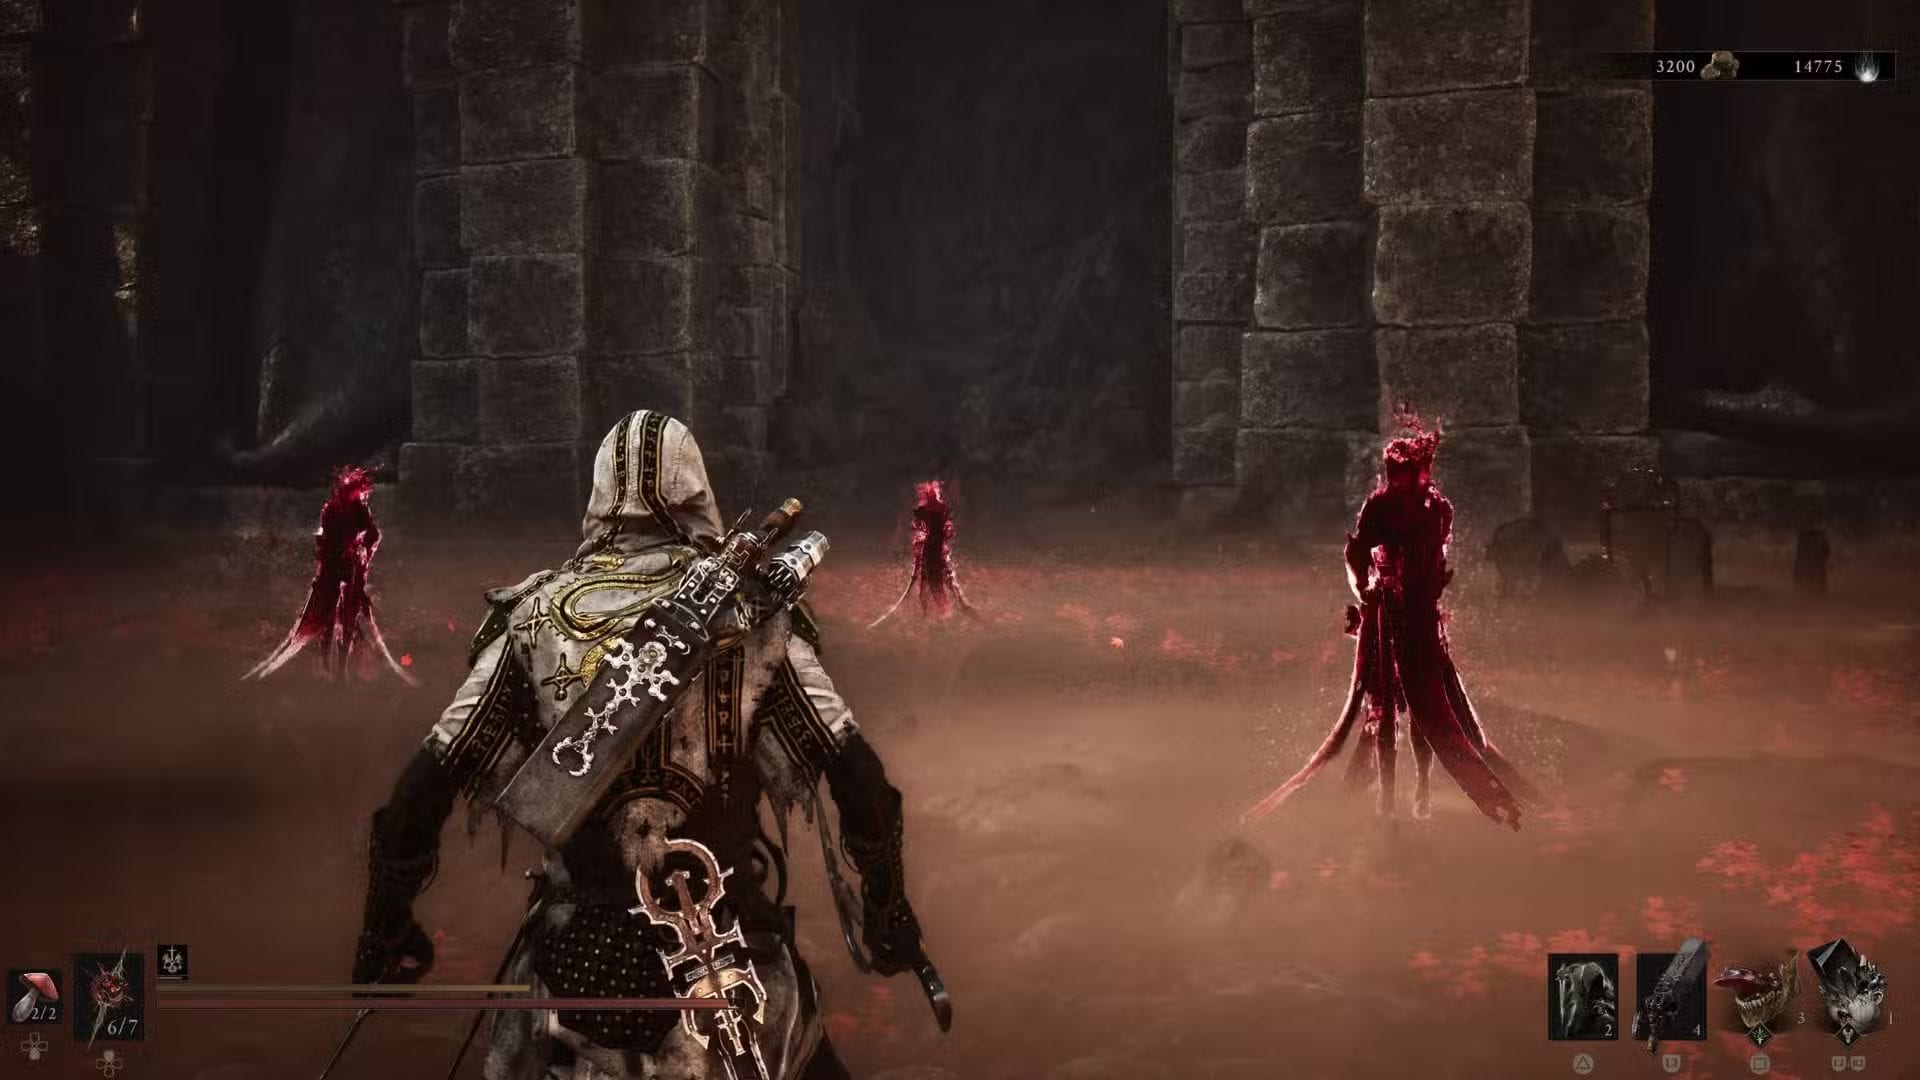
Red Spectres
The fight opens at a red censer hanging at the north end of Revenant Graves, ringed by red petals. Every Sester specter in the field faces it, so use their gaze as the pointer. Interacting gives a Touch prompt that pulls you into a sealed arena.
Sester Secundus punishes greedy attacks. Dodge or parry through a full combo, then use her recovery frames for one or two safe hits before resetting.
How to Trigger the Sester Secundus Fight
- Clear both Ritualists first. The field stays hostile until they are down.
- Follow the spectres’ gaze. Every kneeling Sester points the same way.
- Approach the hanging censer at the end of that line.
- Select Touch. This teleports you into the arena named Sester’s Censer.
Sester Secundus Fight Tactics
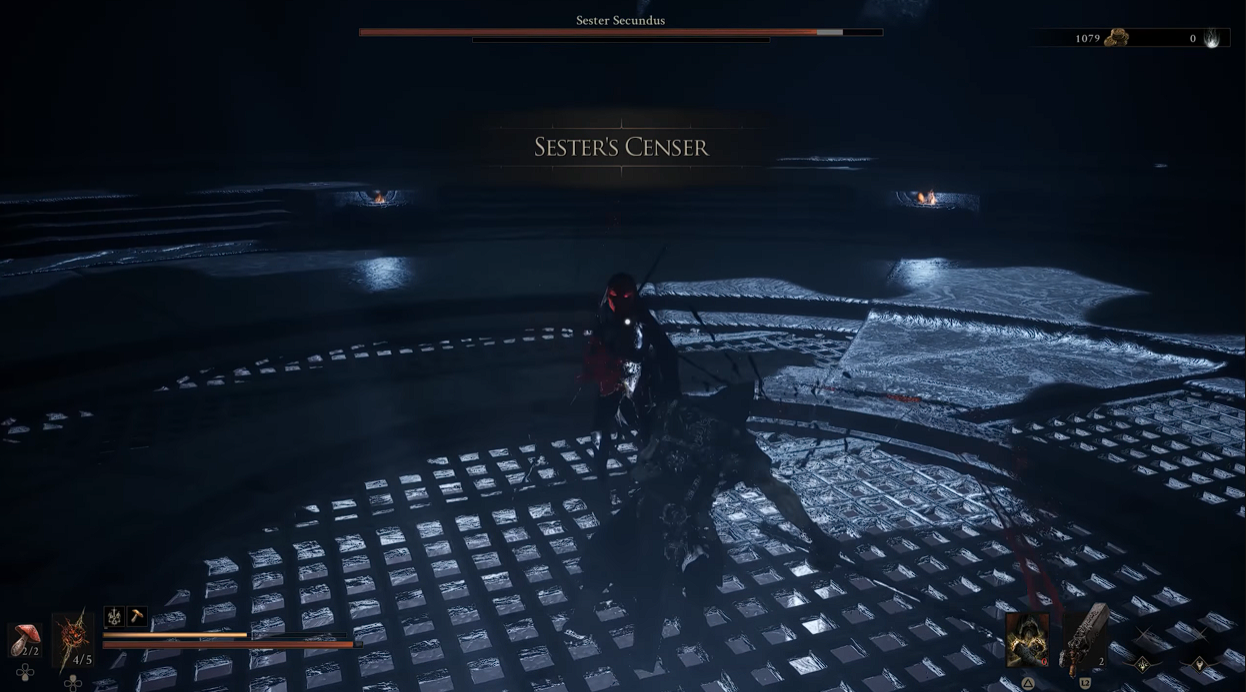
Sester Secundus Boss Fight
She fights like a duellist rather than a heavy, so the openings come from her recovery frames:
- Dodge her strings: roll through the full combo, then answer with one or two hits.
- Parry with your Seal: deflecting her strikes creates the cleanest counter windows.
- Use Eredrim’s Shoulder Bash: chain staggers to create Riposte openings and take large chunks of her health.
- Reset after each trade: over-committing is what turns this into a long fight.
Killing her automatically awards the Sester’s Censer. There is no loot pickup to miss and no second visit to make.
4. How to Give the Sester’s Censer to Genessa in Marrow Keep
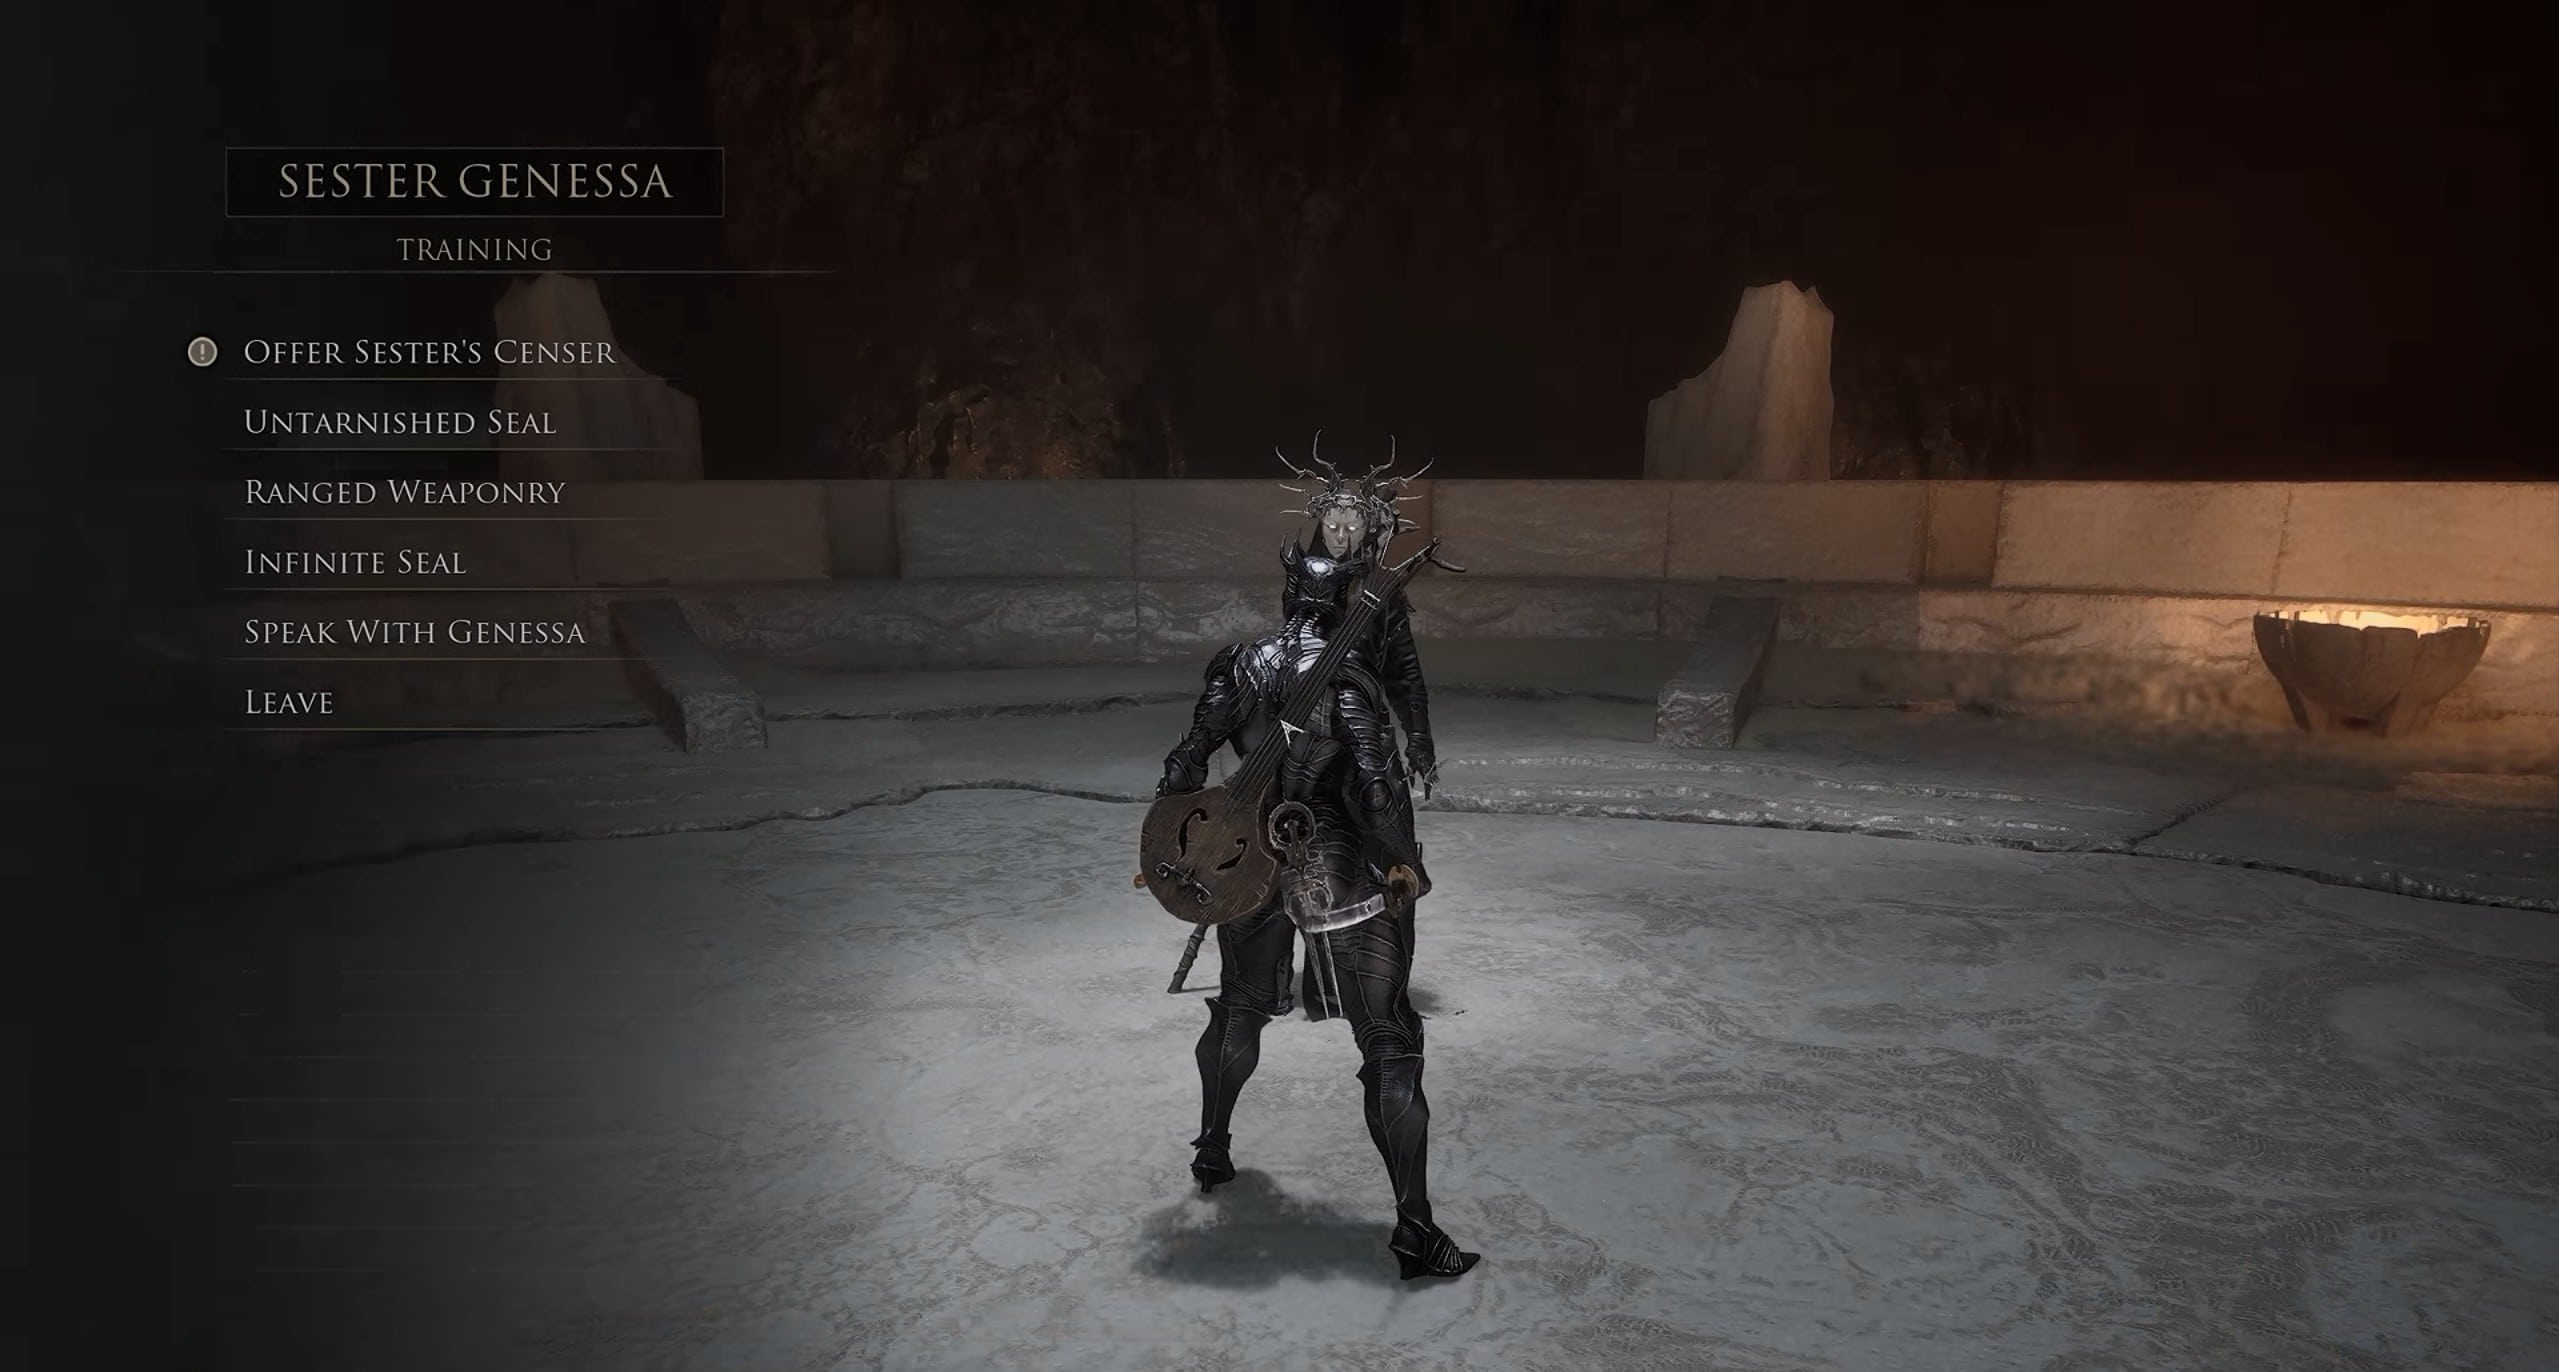
Offering Sester’s Censer
The Censer does nothing on its own. Genessa is the only character who reacts to it, and she stands in the same training chamber where she taught the guard and parry tutorial. Handing it over starts a playable Shell memory rather than a cutscene.
- Fast travel to Marrow Keep and start from the hub beacon.
- Head left and follow the wooden ramp downward.
- Speak to Sester Genessa and pick the option to offer the Sester’s Censer.
- Play through the memory. Control passes to Genessa for this sequence.
- Hand the Censer to the Prime, then light the funeral pyre when prompted.
- Switch to Genessa once the memory ends to add the eighth Shell permanently.
Genessa Prime Choice at the End of the Memory
Near the close of the sequence, Genessa Prime makes an offer you can accept or decline. Both answers unlock the Shell and leave her available at the training grounds, so choose either option unless the memory’s role-play outcome matters to you.
5. Sester Genessa Shell Abilities and Stray Form
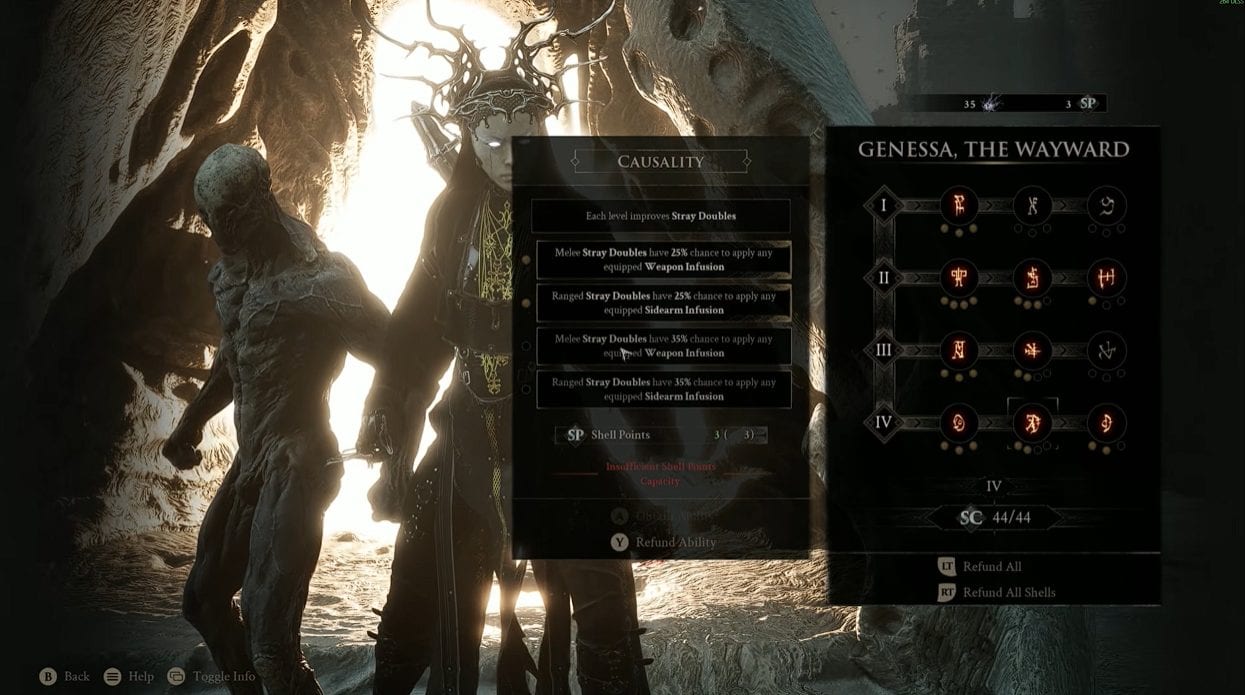
Genessa Shell Abilities
Genessa plays as a summoner, which no other Shell in the game does. Her kit splits across two states, and the second only appears after her health runs out, so her worst moment is also where half her damage lives.
- Faithful Doubles (active): summon doubles that perform a weapon attack, then vanish.
- Duality (passive): when her health is depleted, she becomes Stray instead of being severed from the Harbinger.
How Stray Form Changes Genessa
Losing any other Shell drops you back to the Harbinger. Genessa instead becomes Stray, and you cannot return to her normal state during that life. Her health drops sharply in this form, so treat every enemy hit as far more dangerous than it was in her normal form.
The trade is Stray Doubles, a second summon that copies both your weapon and your sidearm attacks. Stray form deals more and survives less.
Best Way to Play the Genessa Shell
Build into Faithful Doubles first. Raising the number of doubles and the number of attacks each one lands before vanishing turns her into a standoff Shell that clears rooms from behind cover.
That same setup carries exploration. Sending doubles around a corner scouts and damages at once, which keeps her fragile Stray form off the front line.
6. How to Upgrade Genessa’s Shell Bond
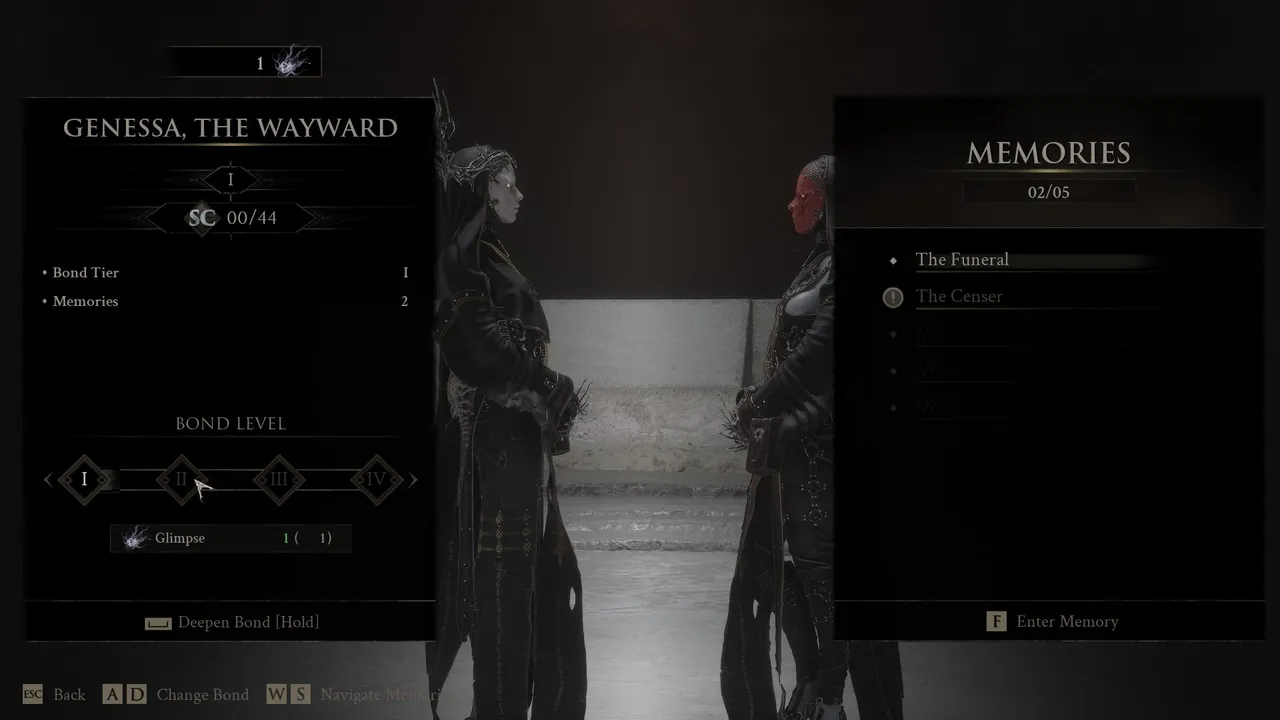
Bond Levels
Genessa is the one Shell that Zhirelle cannot upgrade. Her Bond levels come from the Sester standing in her usual Marrow Keep spot, so completionists chasing every Shell Memory need to return here rather than to the Shellkeeper.
- Return to the training chamber in Marrow Keep.
- Speak to the Sester standing where Genessa taught the tutorial.
- Select Look Within to open her Bond menu.
- Spend Glimpse to raise the Bond level and unlock her higher perk tiers.
The NPC’s name tracks your active Shell. Inhabit Genessa, and she becomes Stray Sester. Switch to any other Shell and she reverts to Sester Genessa. Both versions sell the same upgrades.


