

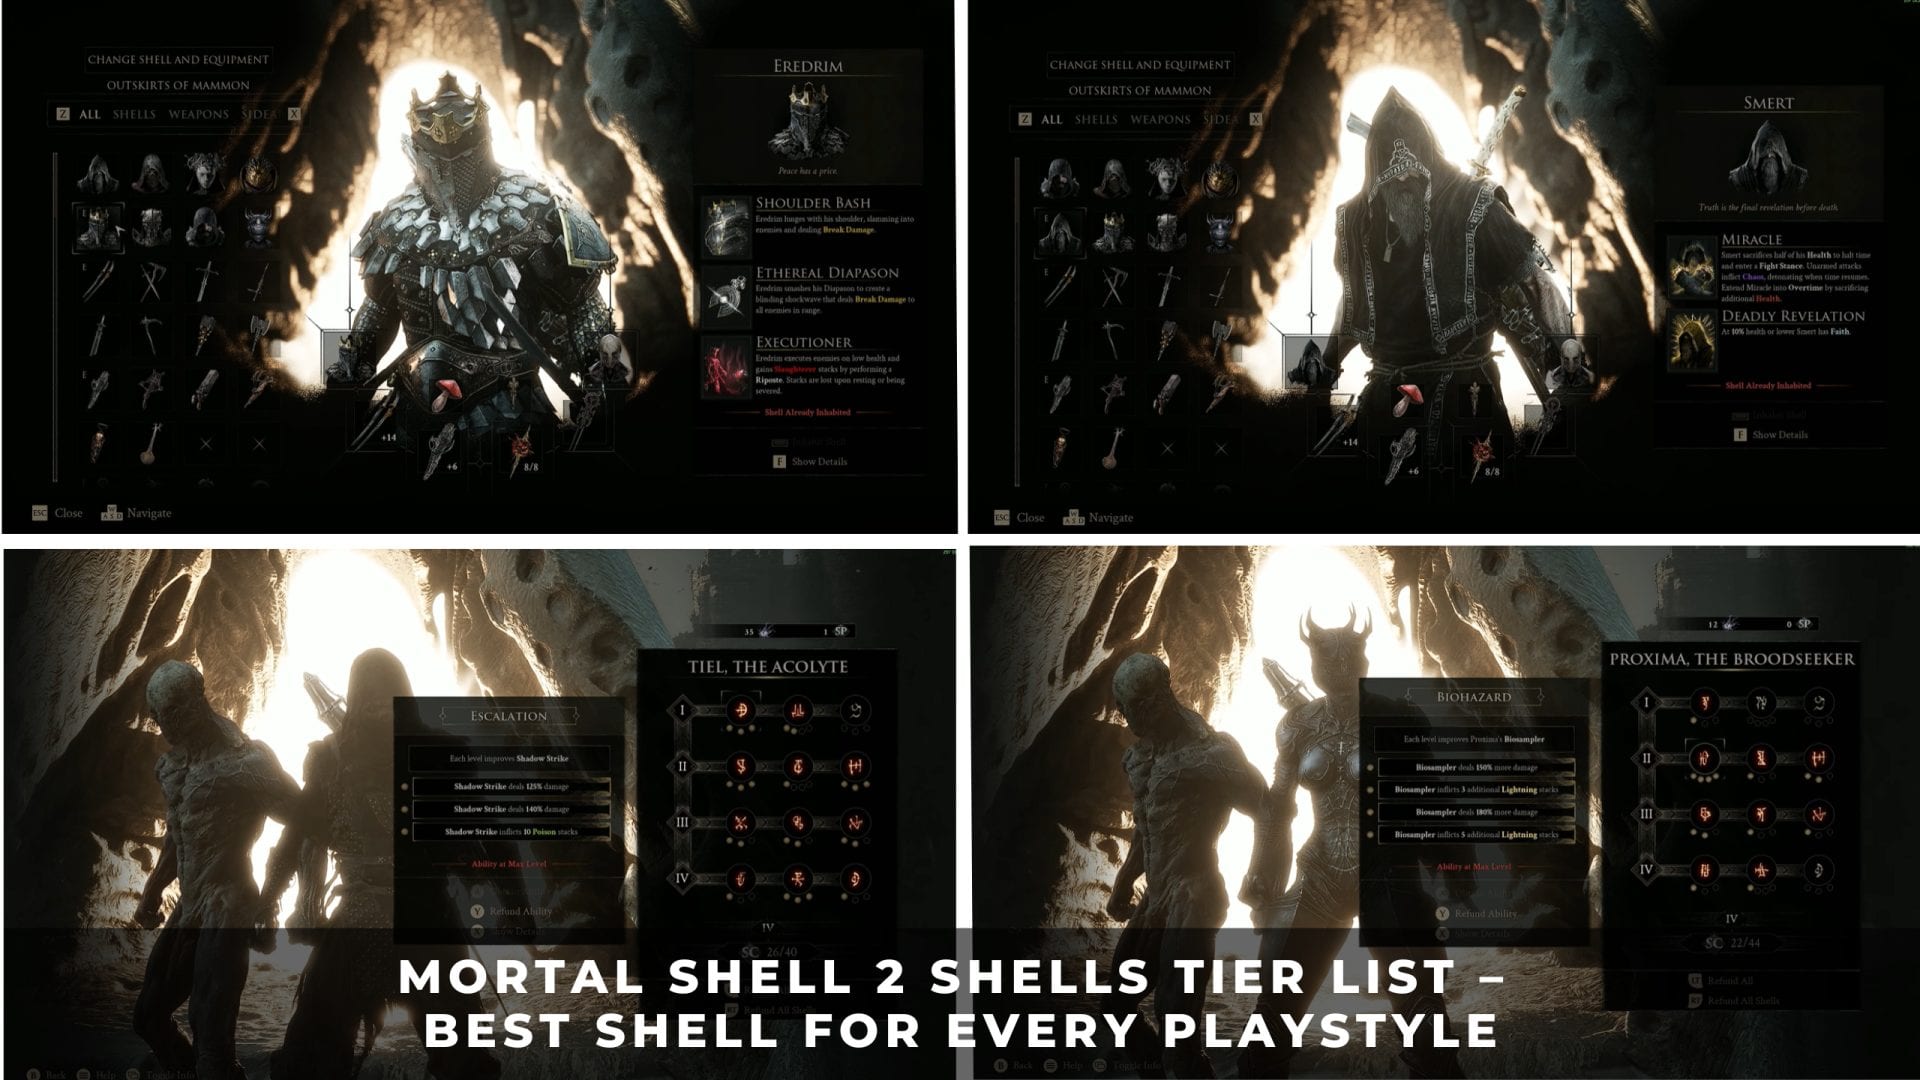
Mortal Shell 2 hands you eight playable Shells, and one playthrough supplies enough Glimpse to fully bond with three of them. The warriors you commit to in the first ten hours shape the rest of the run.
The rankings below weigh combat ceiling, playstyle fit, and unlock cost together. Harros sits outside the list because he is lost at the end of the prologue and cannot be equipped again.
1. Mortal Shell 2 Shells Tier List Rankings
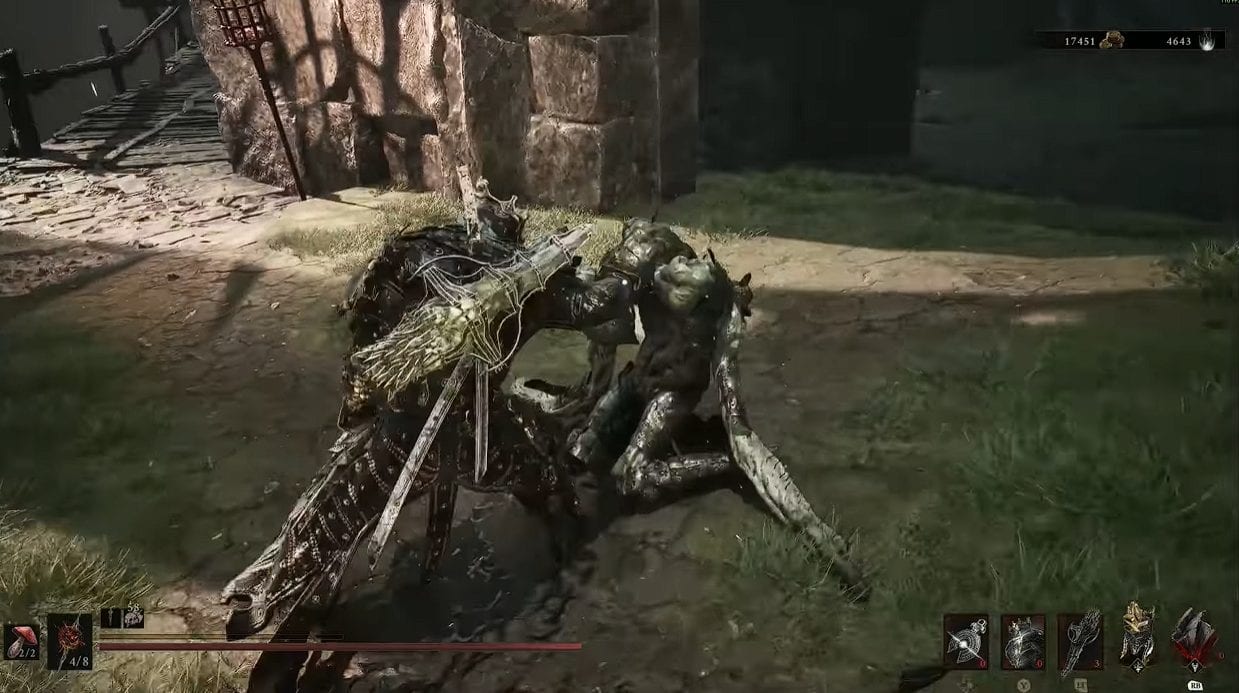
Eredrim Gameplay
Tiel, Genessa, and Gragu take S tier. Tiel is the strongest opening pick because his invisibility covers early mistakes, Genessa holds the highest damage ceiling once her Bond Tier is filled, and Gragu brings sustain and heavy stagger to boss fights for less investment than the rest of the roster.
These rankings reflect the August 17 launch build. Shell balance shifted right before release, so any ranking built on beta or preview play describes a different version of the game.
| Shell | Tier | Unlock Difficulty |
|---|---|---|
| Tiel, the Acolyte | S | Easy |
| Genessa, the Wayward | S | Hard |
| Gragu, the Insatiable | S | Medium |
| Smert, the Apostate | A | Medium |
| Eredrim, the Venerable | A | Medium |
| Proxima, the Broodseeker | A | Easy |
| Lazlo, the Justiciar | B | Hard |
| Sariel, the Endless | B | Hard |
No Shell in the roster is dead weight. Every one of them reaches a strong power level at Bond Tier IV, so B tier marks a slower start and a heavier unlock rather than a wasted investment.
1.1. What Makes a Shell Worth Your Glimpse
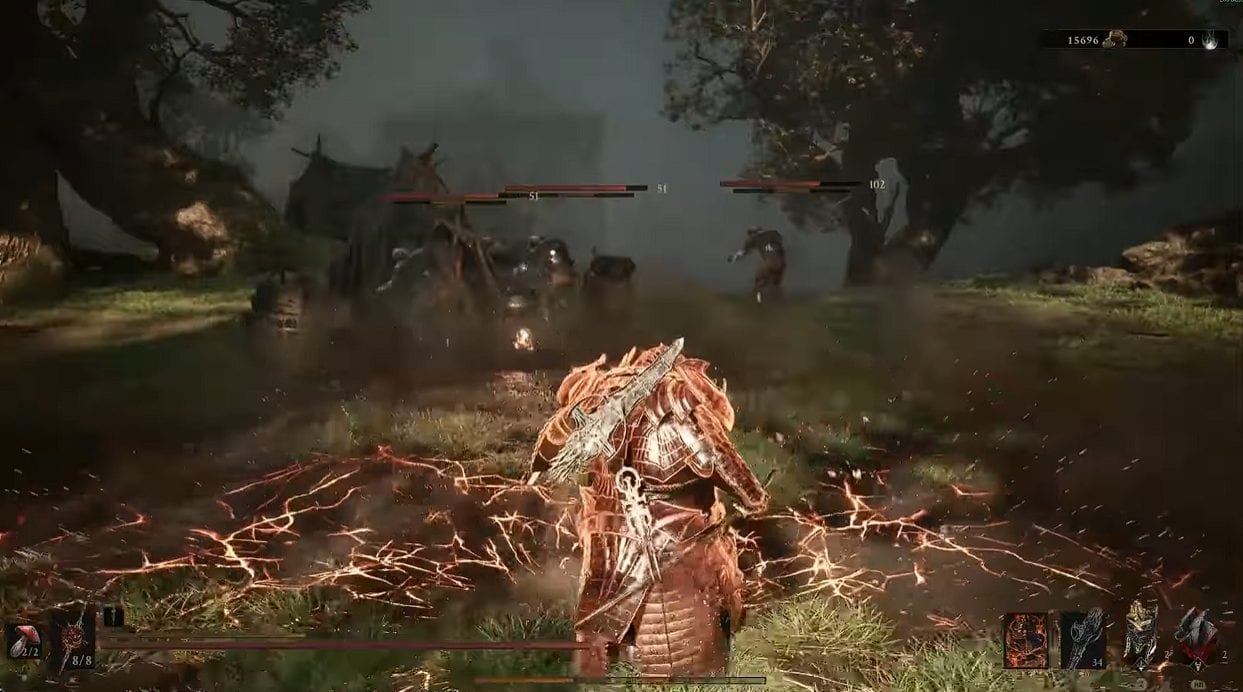
Lazlo Gameplay
Glimpse cannot be refunded once spent, so a Shell has to earn its place on more than raw numbers. These four factors decide where each warrior lands in the rankings.
- Combat ceiling: How much damage or crowd control the Shell reaches at Bond Tier IV.
- Resolve economy: How reliably the Shell pays for its own active ability during a long fight.
- Unlock cost: How much exploration, map marking, and boss work stand between you and the corpse.
- Playstyle fit: How forgiving the kit is before you have spent anything on it.
2. Best Shell for Every Playstyle in Mortal Shell 2
Health, agility, and abilities come attached to the warrior instead of a stat menu, so each Shell locks you into one combat identity. Pick the one that matches how you already like to fight, then build your weapons and Seals around it.
2.1. Tiel, the Acolyte: Best Shell for Stealth and Critical Damage
Tiel, the Acolyte
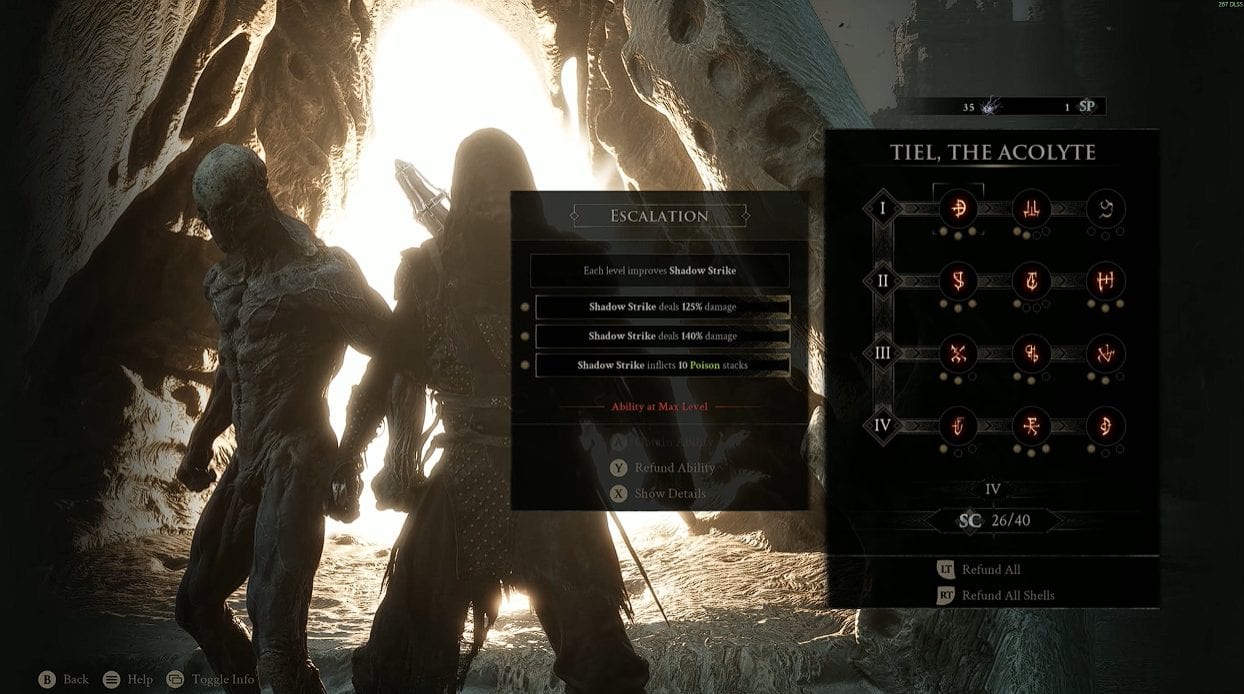
Tiel is the best Shell to unlock first. A perfect dodge drops him into Shadow automatically, and enemies cannot track him while it holds, which turns every close call into a free punish window.
- Lingering Shadow (active): Grants Shadow and prepares a Shadow Strike with his dagger.
- Shadow Dash (passive): Dashing just before a hit grants Shadow and deals Stagger Damage to the attacker.
- Strategy: Hold Shadow Strike for elite enemies and boss recovery animations, then dash out and rebuild Shadow through dodges.
- Weak point: Tiel struggles to generate enough Resolve to fire Shadow Strike on demand in late fights.
2.2. Genessa, the Wayward: Best Shell for Maximum Damage Output

Genessa Shell
Genessa reaches the highest damage output in the game. Faithful Doubles summon copies that repeat your weapon attack, so every point of weapon damage gets multiplied across the summons.
- Faithful Doubles (active): Summons Doubles that perform a weapon attack and then vanish.
- Duality (passive): When her health is depleted, she becomes Stray instead of being severed from the Harbinger.
- Strategy: Pair her with the slowest, heaviest weapon you own so each Double lands maximum damage per summon.
- Bond note: Raise her Bond Tier by speaking to Genessa in Marrow Keep, not through Zhirelle.
2.3. Gragu, the Insatiable: Best Shell for Sustain and Heavy Stagger
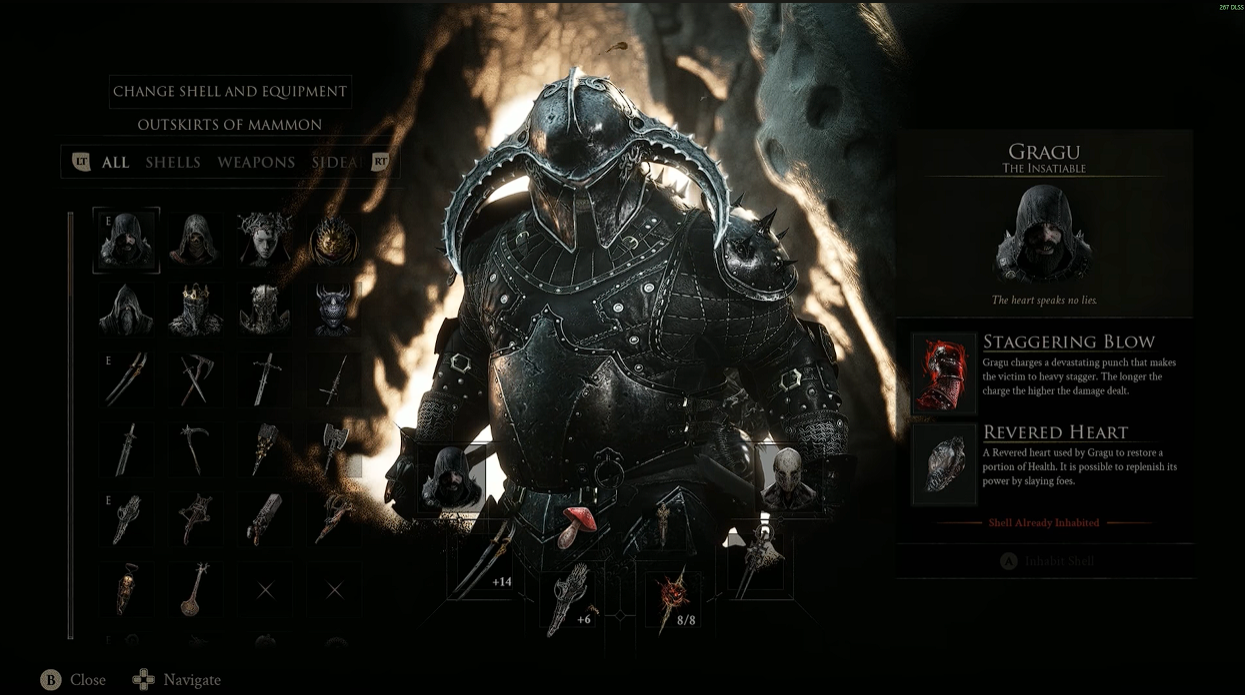
Gragu, the Insatiable
Gragu carries his own healing. The Revered Heart restores health and recharges from kills, which suits the long dungeon runs where consumables run dry before you reach the boss room.
- Staggering Blow (active): Charges a punch that heavily staggers the target. A longer charge deals more damage.
- Revered Heart (active): Restores a portion of Health, and slaying foes replenishes its power.
- Strategy: Charge Staggering Blow during a boss recovery animation, then use the heavy stagger to set up a full damage rotation.
- Weak point: The charge leaves him rooted, punishing players who cannot yet read attack tells.
2.4. Smert, the Apostate: Best Shell for High-Risk Burst Damage
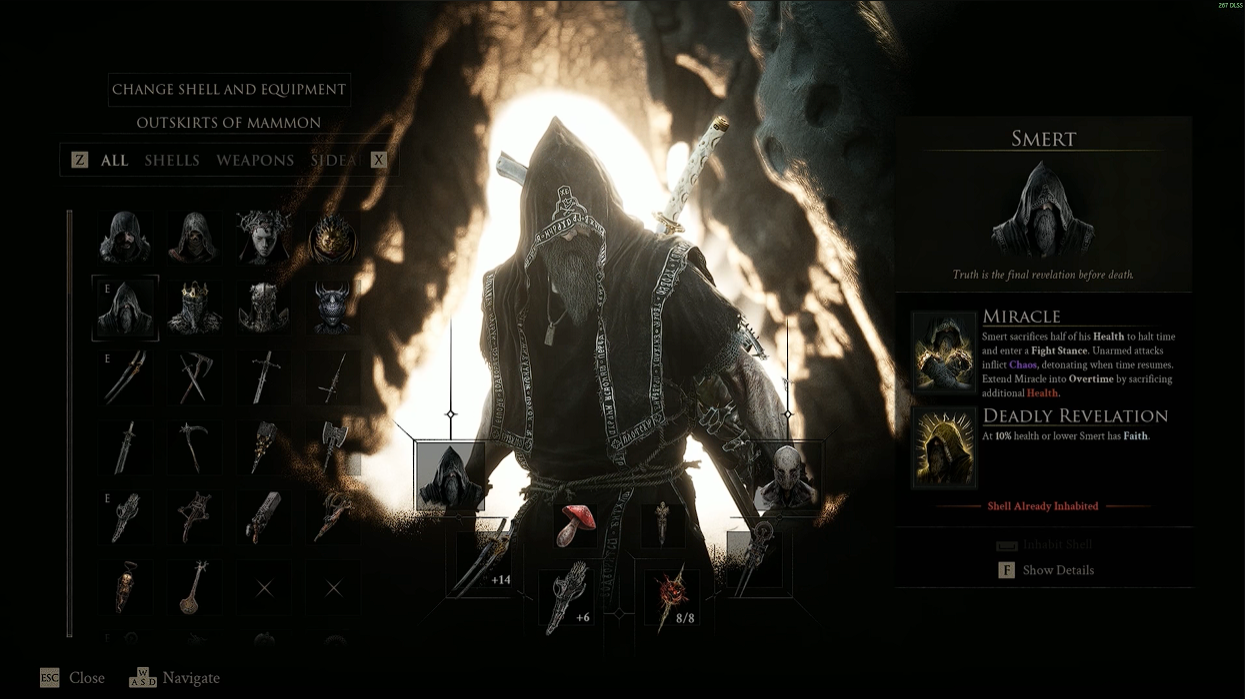
Smert, the Apostate
Smert gambles health for damage windows. Miracle costs half his current health to activate, halts time, and shifts him into an unarmed Fight Stance, where every strike loads Chaos stacks that detonate the moment time restarts.
- Miracle (active): Spends half of Smert’s current health to halt time and enter Fight Stance. Unarmed attacks apply Chaos stacks, and Overtime extends the window for more Health.
- Deadly Revelation (passive): At 10% health or lower, Smert gains Faith, and melee hits return extra Resolve.
- Strategy: Trigger Miracle at full health so the 50% cost still leaves a workable buffer, then bank the detonation for a boss damage phase.
- Weak point: Chaos applies a random effect as it wears off, and the health cost stacks with Overtime, which leaves him one hit from being severed.
2.5. Eredrim, the Venerable: Best Shell for Breaking Boss Posture
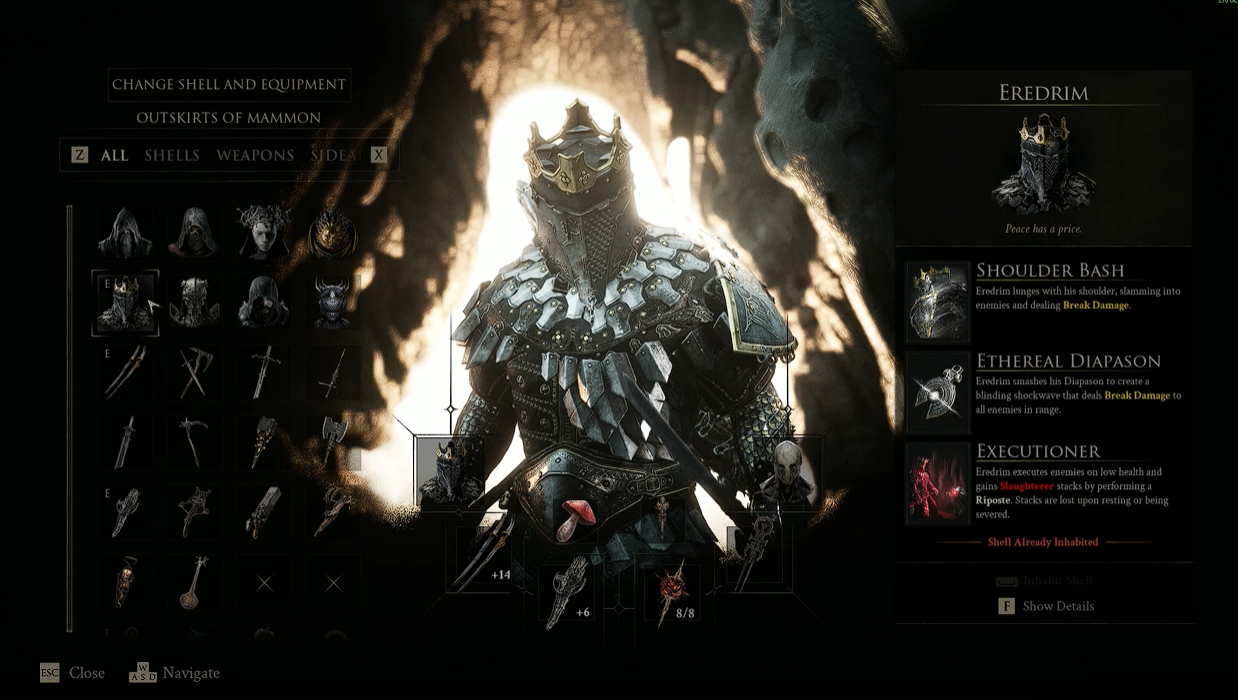
Eredrim, the Venerable
Eredrim answers the mid- to late-game bosses. His durability lets him trade hits that other Shells have to dodge, and Shoulder Bash gives him the most dependable source of Break Damage on the roster.
He drops out of S tier on cost rather than output. Shoulder Bash carries a heavier Resolve price in the launch build, so the old habit of chaining bashes back-to-back no longer holds up against a full boss health bar.
- Shoulder Bash (active): Lunges shoulder first into enemies and deals Break Damage.
- Ethereal Diapason (active): Smashes his Diapason for a blinding shockwave that deals Break Damage to everything in range.
- Executioner (passive): Executes enemies on low health and builds Slaughterer stacks from each Riposte.
- Strategy: Farm Slaughterer stacks on trash mobs before you enter a boss arena, since every stack raises the health threshold at which an execute lands.
- Weak point: Stacks reset when you rest or get severed, and Shoulder Bash now eats enough Resolve that you have to earn each break rather than spam it.
- Bond priority: Put early Bond Tiers into the upgrades that cut ability Resolve costs, since that is what restores his uptime.
2.6. Proxima, the Broodseeker: Best Shell for Aggressive Gap Closing
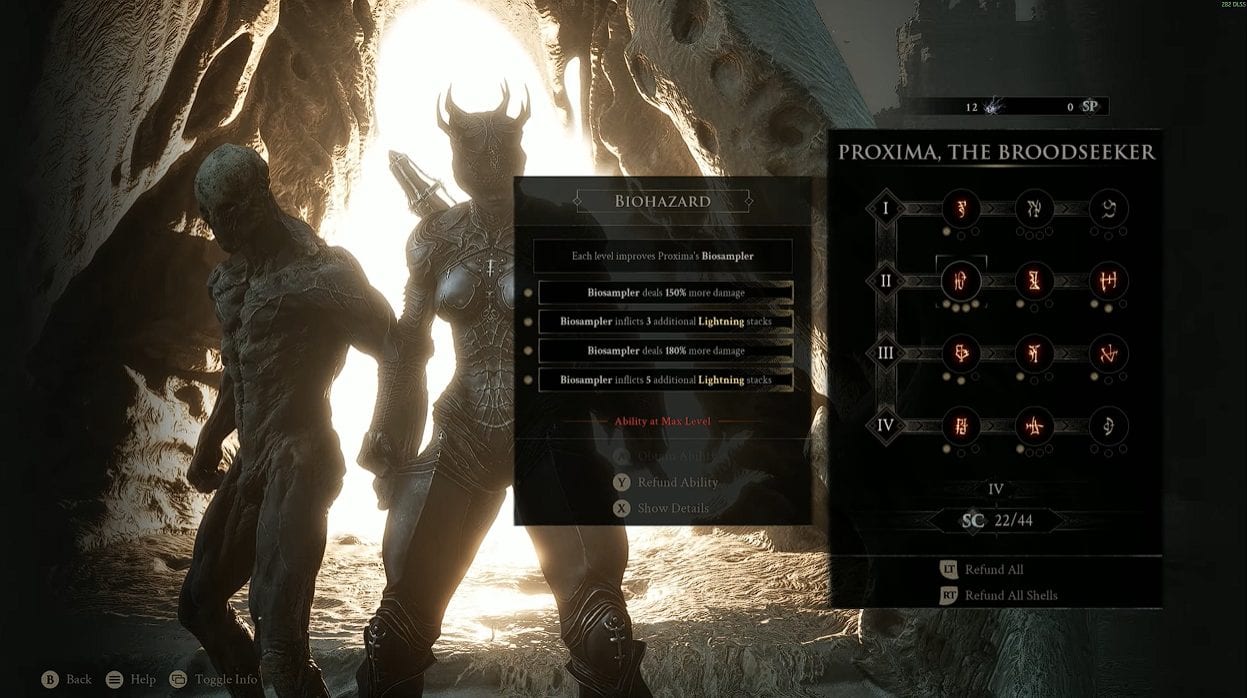
Proxima, the Broodseeker
Proxima controls the distance in a fight. Her Biosampler hook drags an enemy to her or pulls her to the enemy, then chains into a follow-up strike that applies Lightning.
- Biosampler (active): Fires a hook from her left arm, pulls enemies or herself into range, and follows up with a strike that inflicts Lightning.
- Grafted Armor (passive): Base 15% chance to mitigate melee or ranged damage. Mitigated damage is reduced by 50%, and stagger is prevented.
- Strategy: Stack Lightning on a single target rather than spreading it, since enough stacks on one enemy build into a shockwave.
- Weak point: Grafted Armor is a chance-based passive, so it cannot be built around the way flat mitigation can.
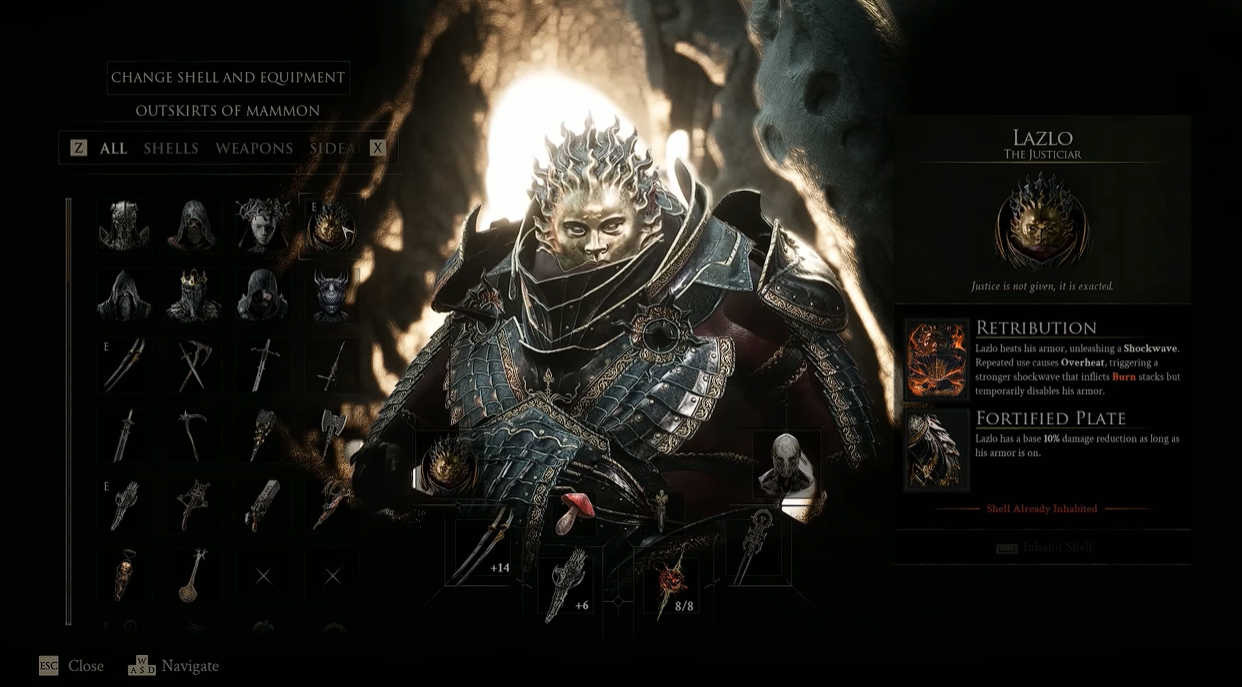
2.7. Lazlo, the Justiciar: Best Shell for Tanking Hits
Lazlo, the Justiciar
Lazlo has the highest base HP of any Shell and flat damage reduction on top of it. He fits players who would rather absorb a combo and keep swinging than dodge through it.
- Retribution (active): Heats his armor and releases a Shockwave. Repeated use causes Overheat, which triggers a stronger shockwave that inflicts Burn stacks and temporarily disables his armour.
- Fortified Plate (passive): Base 10% damage reduction while his armor is on.
- Strategy: Trigger Overheat to clear a group, then break away until the armor comes back online and Fortified Plate returns.
- Weak point: Combat runs without a stamina bar, so posture breaking wins fights faster than a large health pool.
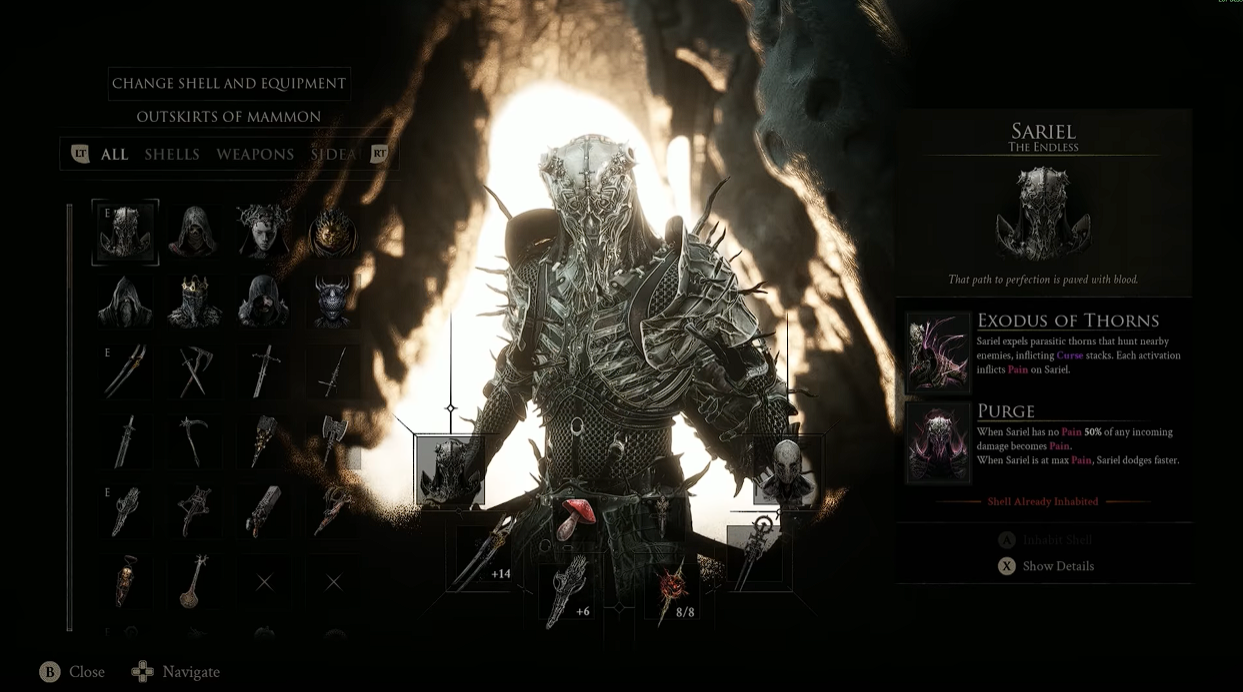
2.8. Sariel, the Endless: Best Shell for Punishing Incoming Damage
Sariel, the Endless
Sariel converts pain into pressure. Purge turns incoming damage into Pain, and Pain converts part of his health into Grey Health that he claws back by landing melee attacks.
- Exodus of Thorns (active): Expels parasitic thorns that hunt nearby enemies and apply Curse stacks. Each activation inflicts Pain on Sariel.
- Purge (passive): With no Pain, 50% of incoming damage becomes Pain instead. At max Pain, Sariel dodges faster.
- Strategy: Push Curse high on one target so its next melee attack against you is nullified and reflected back.
- Weak point: Grey Health disappears the moment he is hit, so the loop collapses against fast multi-hit enemies.
3. Where to Find Every Shell in Mortal Shell 2
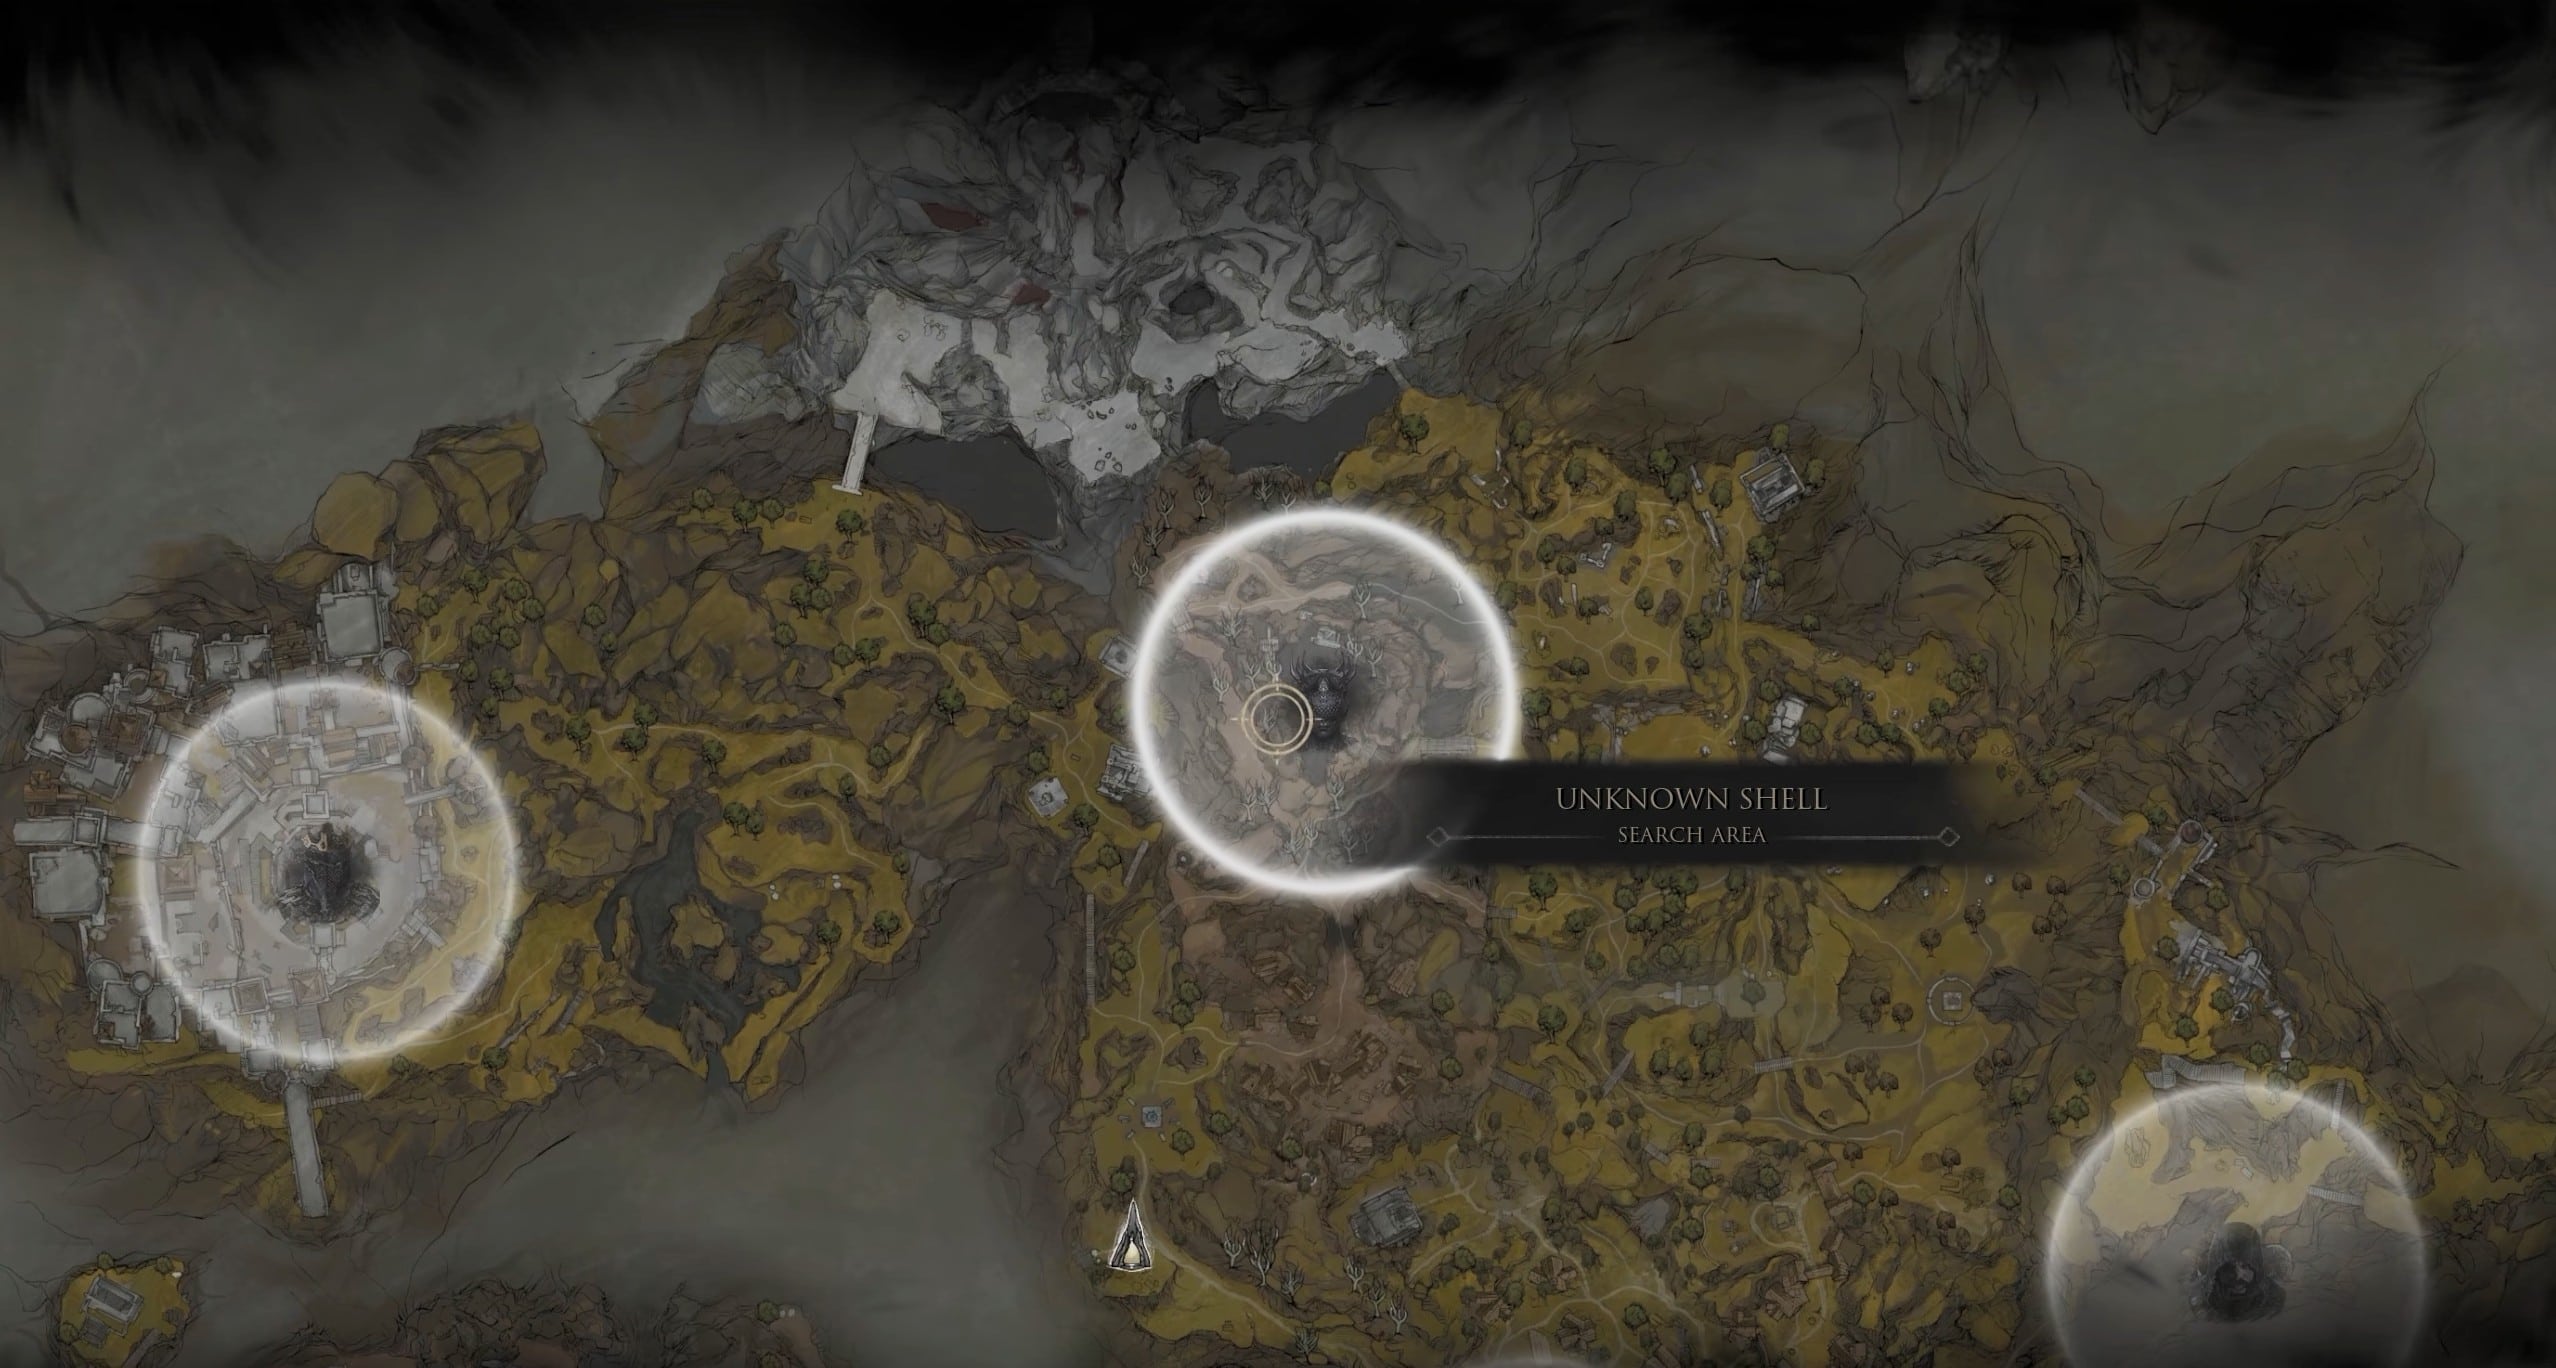
Shell Locations
Tiel and Proxima appear on your map the moment the prologue ends. The rest sit behind exploration, an NPC exchange, or a boss fight spread across Fainweald and Mammon.
- Tiel: In a partially buried coffin at a walled camp near Mushroom Village. From the Widow’s Overlook Beacon, head southeast past the Great Arbiter arena.
- Proxima: Inside a Shattered Beacon northeast of the Blackridge Pass Beacon, beside the Crumbling Tunnel dungeon.
- Eredrim: In the Warden boss arena inside the Citadel of Penance. Enter with the Citadel Gate Lever or the candle teleport near the One-Legged Wolf Beacon.
- Gragu: Carry the Heart of Vatra from the Temple of Vatra back to Gragu in the One-Legged Wolf Tavern.
- Smert: At a cultist ritual ground marked by three circular pools, one already glowing red. Fill the other two to claim him.
- Lazlo: In the chamber past Lord Vellen, inside the crypt below the High Lord’s Courtyard Beacon in Mammon.
- Sariel: Inside the Chamber of Becoming in the southeast, after you break the stone tablets that keep reviving him.
- Genessa: Defeat Sester Secundus for the Sester’s Censer, then offer it to Genessa in Marrow Keep.
3.1. Which Shells the Shellkeeper Can Mark on Your Map

Zhirelle
Zhirelle at Marrow Keep sells markers for Eredrim, Gragu, Smert, Lazlo, and Sariel for 3 to 5 Glimpse each. Tiel and Proxima appear for free after the prologue, while Genessa never appears as a map marker.
- Free markers: Tiel and Proxima are revealed at no cost once the prologue ends.
- Paid markers: Eredrim, Gragu, Smert, Lazlo, and Sariel each cost Glimpse to reveal.
- No marker: Genessa never appears as a map marker and must be tracked via the Abbey Entrance Beacon route.
3.2. How to Survive the Smert Blood Ritual
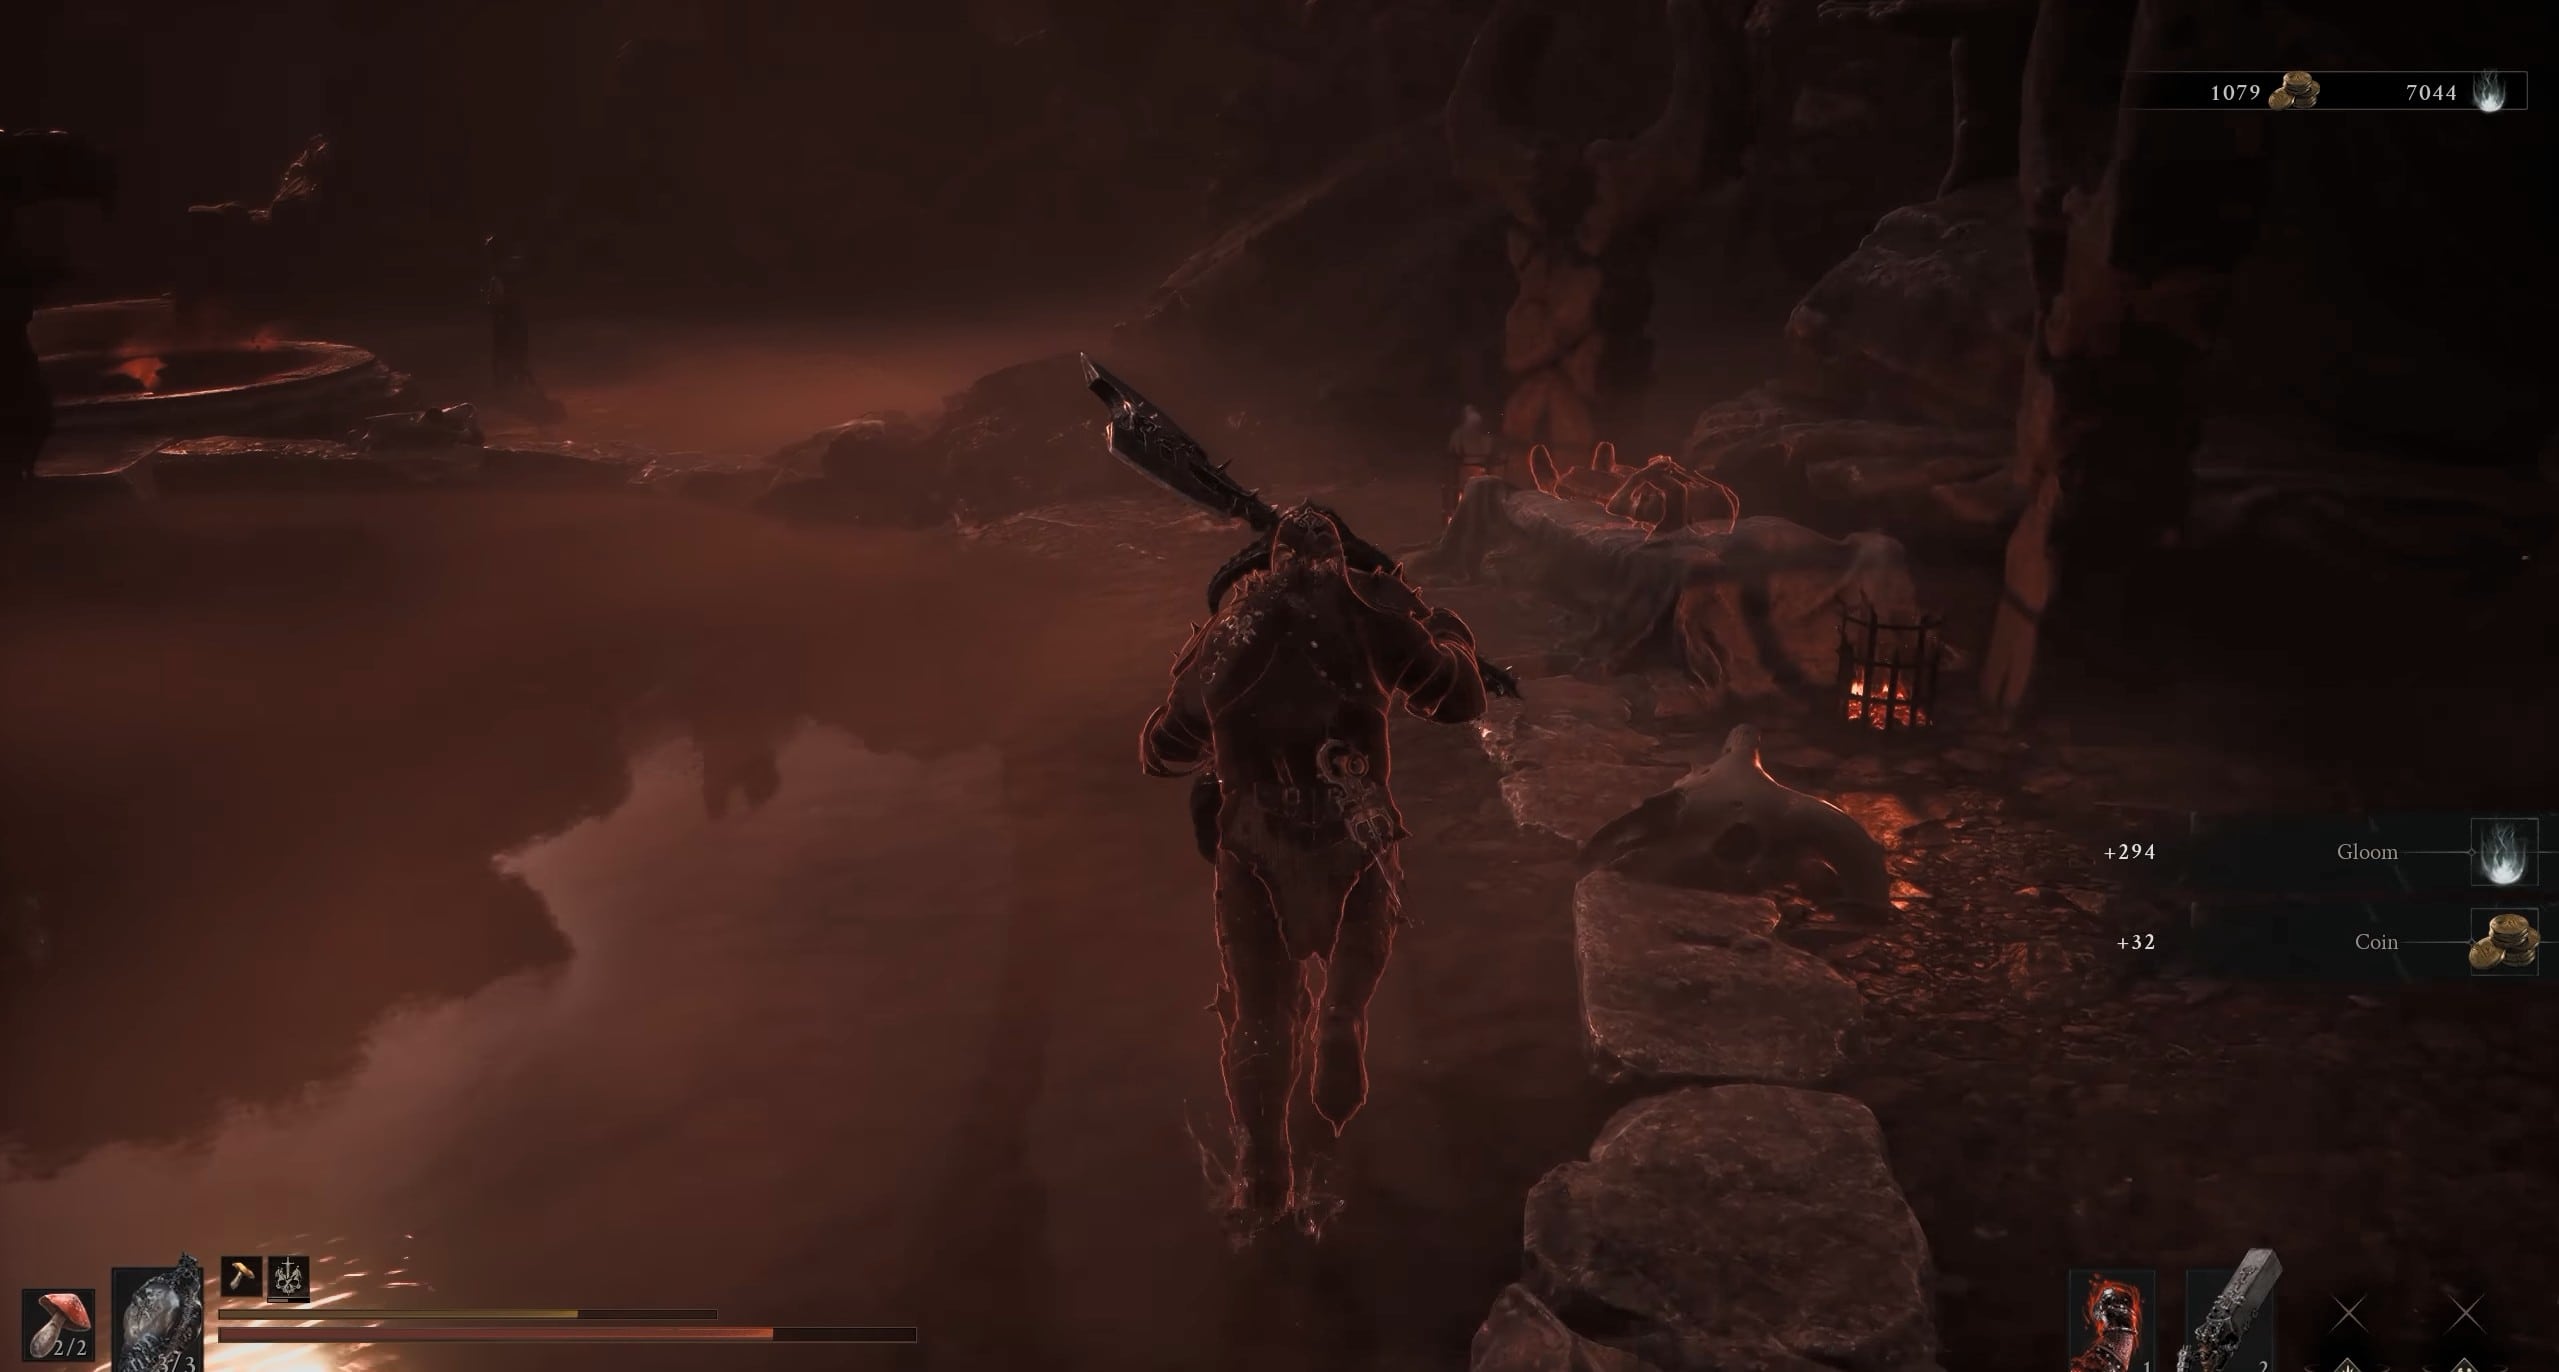
Smert Shell Location
Smert sits behind a ritual ground with three circular pools, one of which is already filled. Each blood sacrifice costs an entire health state and knocks you out of your Shell, so the order you do this in decides if you live.
- Clear the surrounding enemies first. Nothing should be able to reach you while you are stuck in the sacrifice animation.
- Sacrifice at the first empty pool. This strips a full health state and severs you from your Shell.
- Rebuild your Shell before touching the second pool. Land melee hits on nearby enemies until you can re-enter it.
- Sacrifice at the second pool only while wearing a Shell. Doing it in Harbinger form kills you outright.
- Approach Smert once both pools are filled and claim the Shell.
4. Best Shell Unlock Order for a First Playthrough
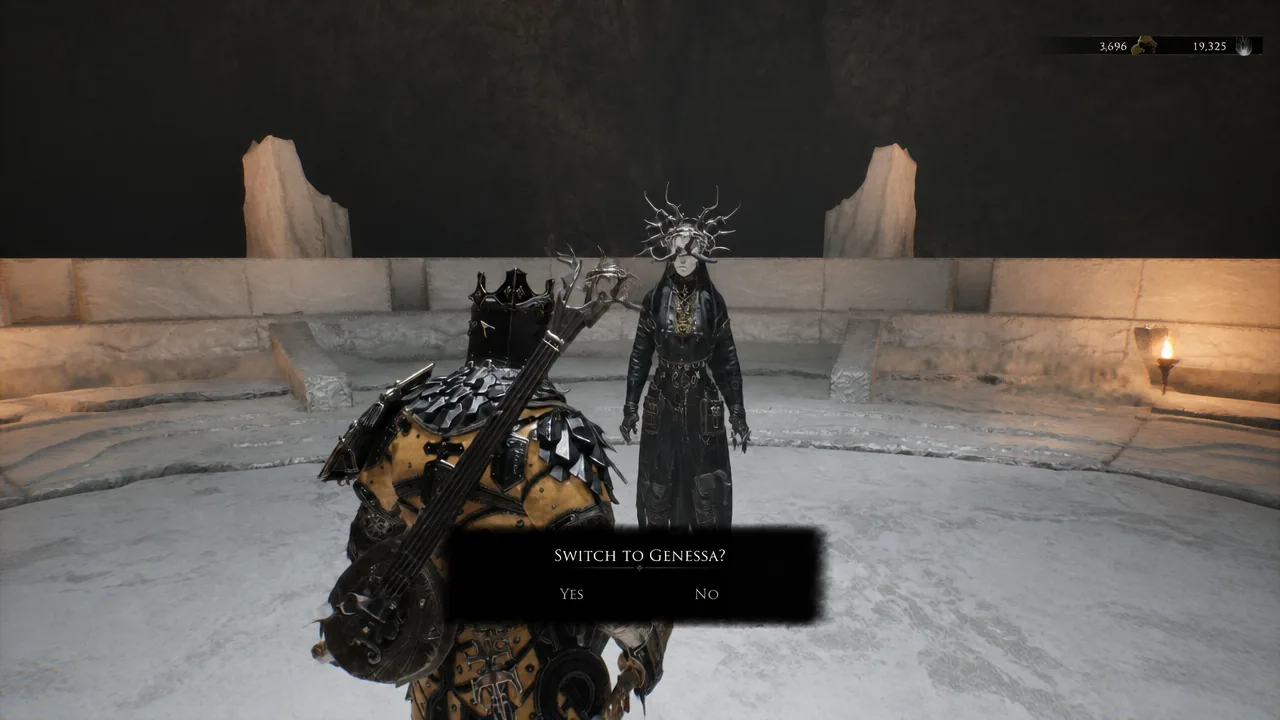
Switching to Genessa
Grab Tiel before anything else. His invisibility carries a first run through the roughest early encounters, and the rest of the order follows the difficulty curve rather than the power rankings, so you are never fighting a boss purely to unlock a class.
- Tiel: Free map marker, no boss fight, and the most forgiving kit in the game before any Glimpse goes in.
- Proxima: The second free marker. Her hook gives you a pull tool for ranged enemies that Tiel has no answer to.
- Eredrim: The first real detour. Clearing the Warden gives you the boss breaker you will lean on for the mid-game.
- Gragu: An item exchange rather than a fight, so it slots in whenever you pass the One-Legged Wolf Tavern.
- Smert: Worth taking once you can survive the ritual ground without a Shell.
- Lazlo: Deep in Mammon and gated behind Lord Vellen, so it lands naturally in the late game.
- Sariel: A two-stage fight with a gimmick, and his loop needs Bond Tiers to work.
- Genessa: The heaviest unlock chain in the game, but the payoff is the highest damage ceiling on the roster.


