

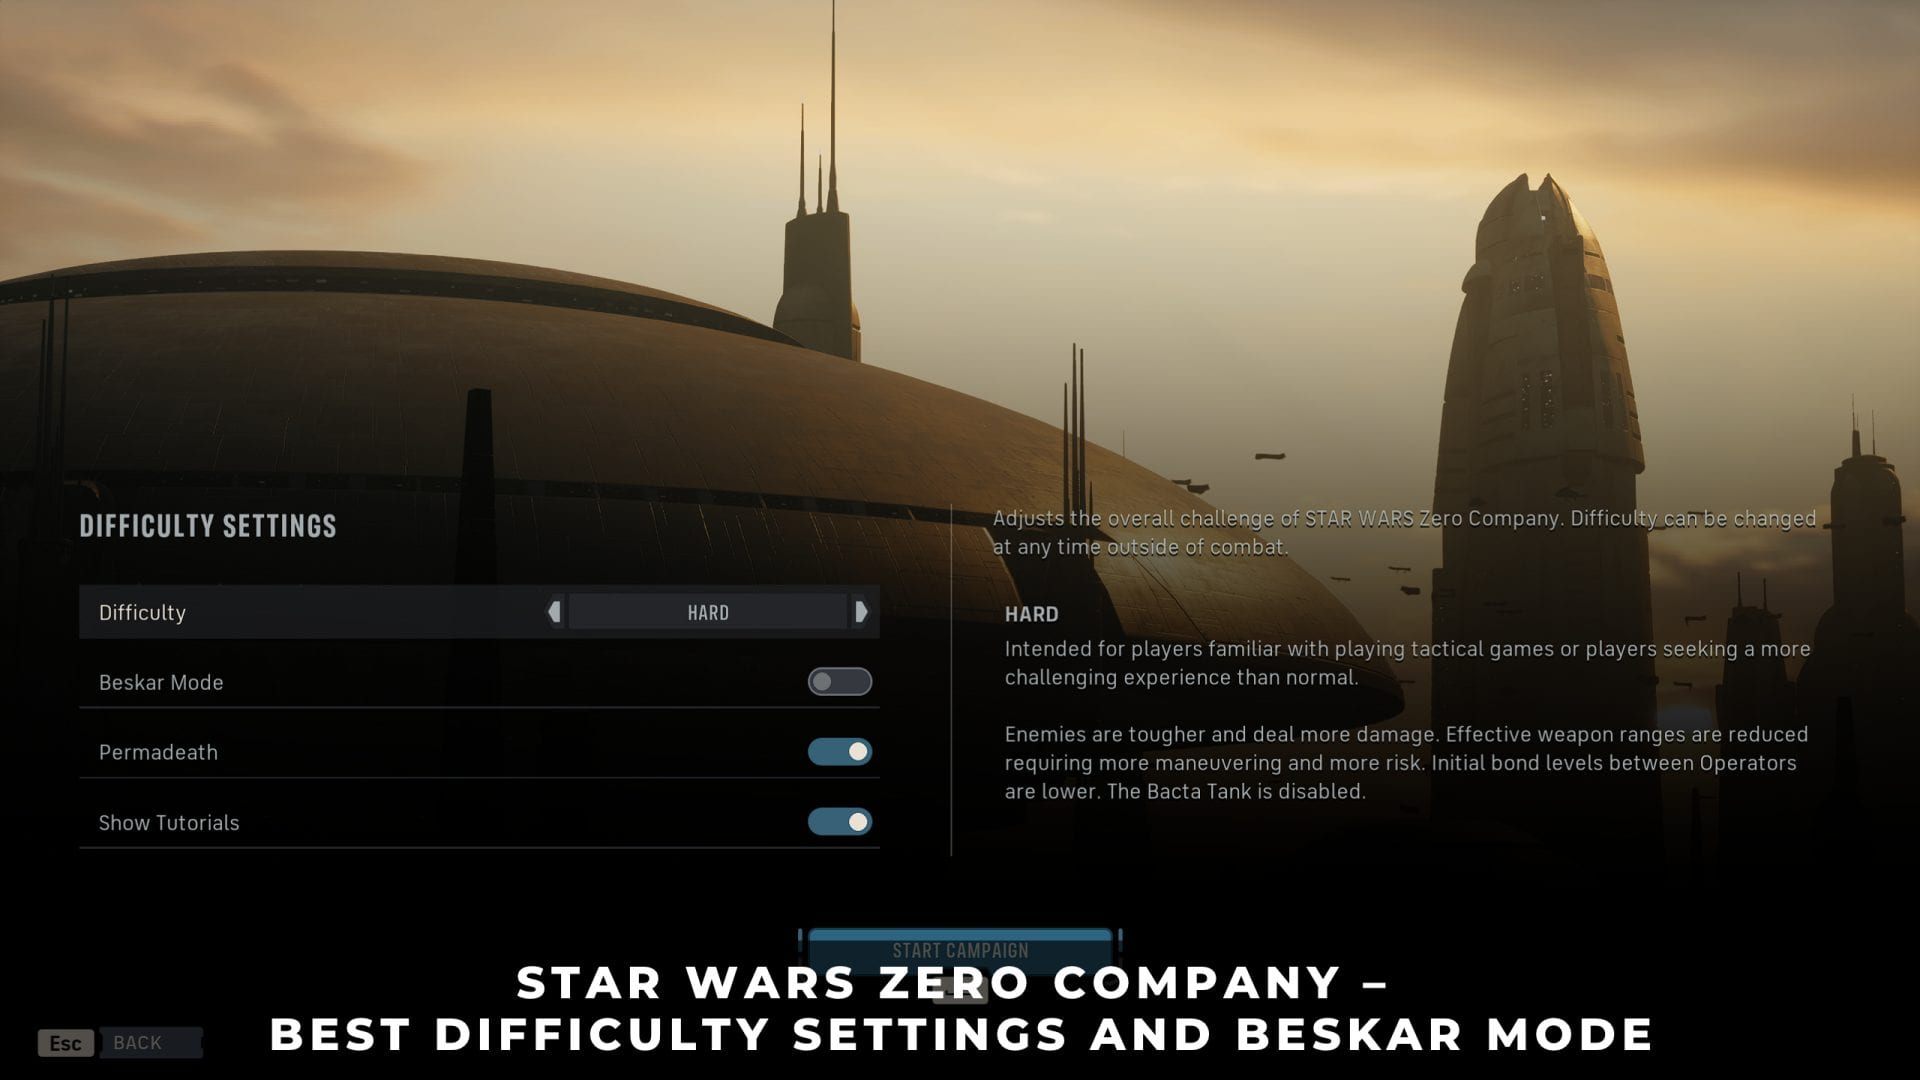
Normal is the best starting difficulty for most Star Wars Zero Company players. It keeps the full tactical experience without the shorter weapon ranges, lower starting Bonds, and slower Injury recovery that Hard and Expert impose.
Leave Beskar Mode off for a first campaign. Story, Normal, Hard, and Expert can be changed between missions, but Beskar commits the run to a single save and cannot be switched off without starting over.
1. Best Star Wars Zero Company Difficulty to Start On
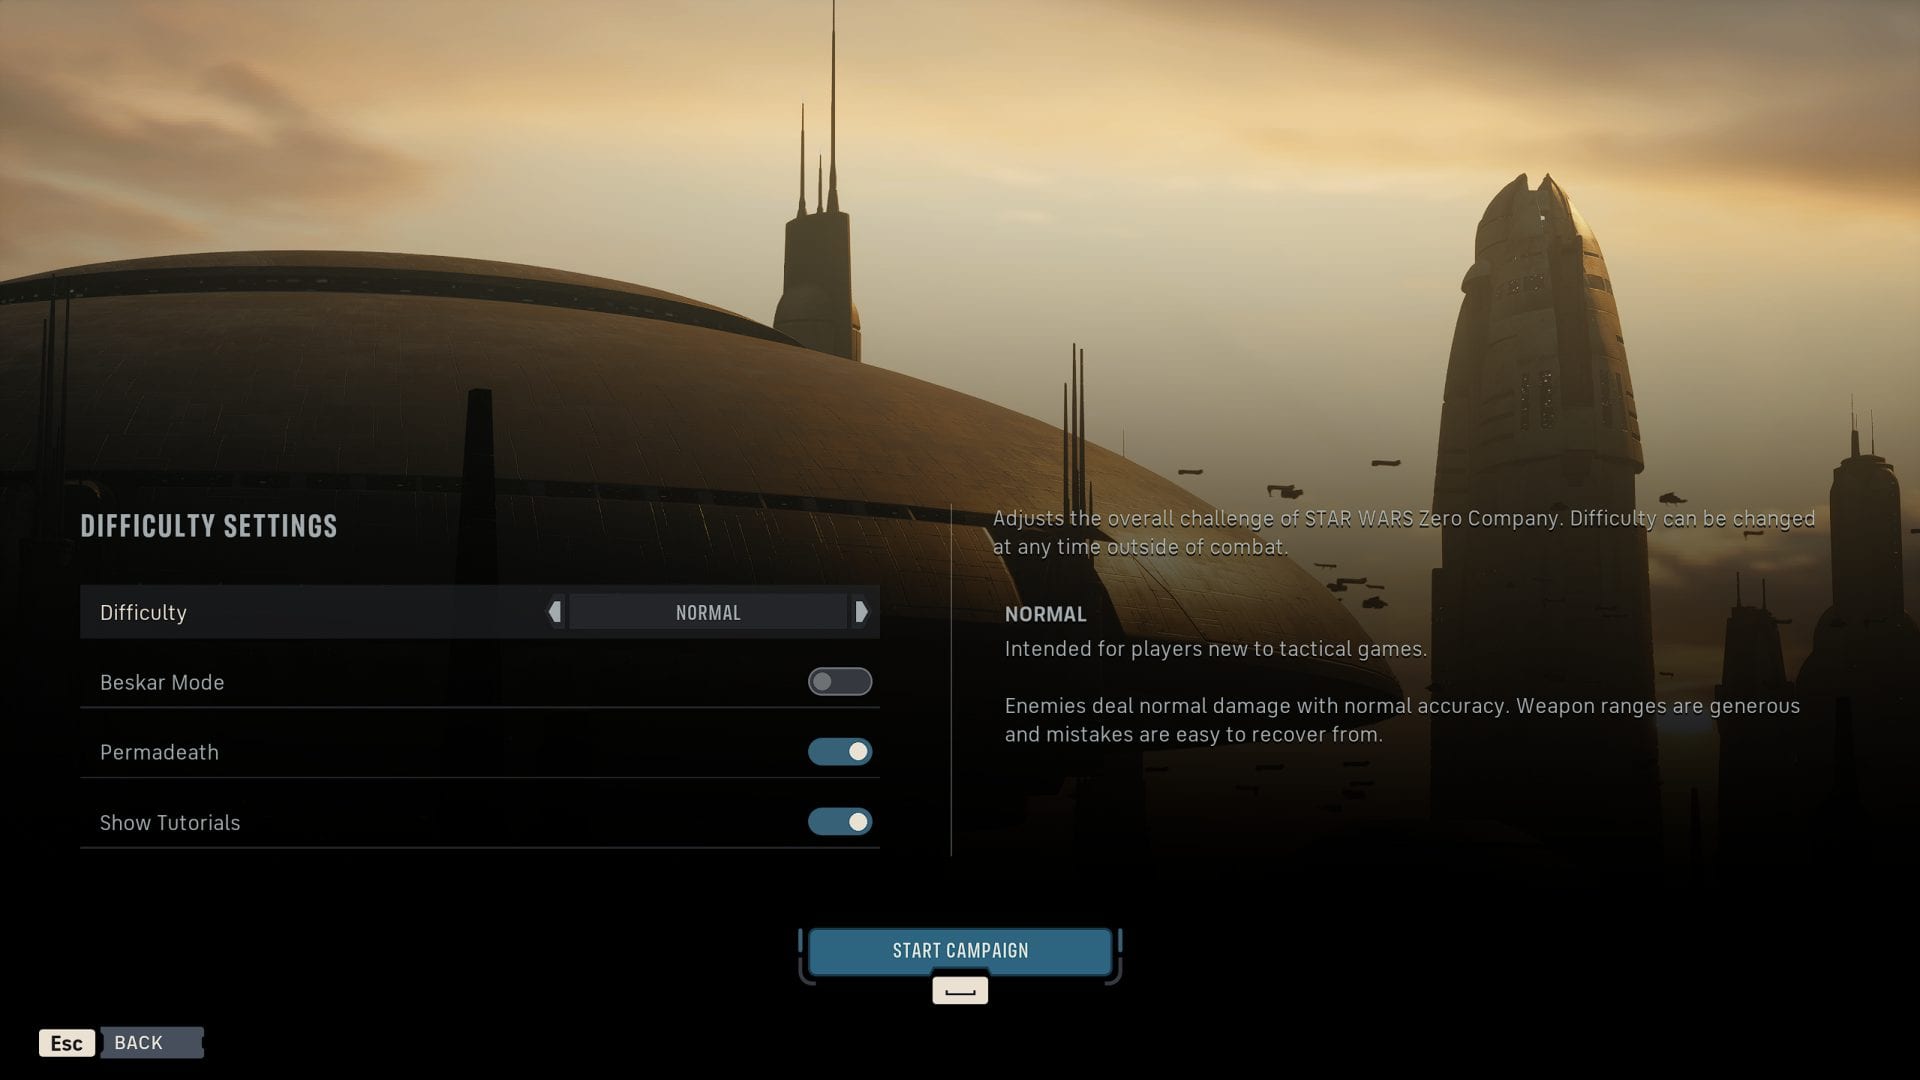
Normal Mode
Start on Normal with Beskar Mode off unless a specific trophy is the priority. Normal leaves room to learn Advantage, Call for Backup, Overwatch, Bonds, and the Injury system before a single mistake can shape the rest of a 30 to 40 hour campaign.
- Difficulty levels: Story, Normal, Hard, and Expert.
- Beskar Mode: one save, no manual saving, off by default.
- Permadeath: three Injuries kill an Operator, on by default.
- Changeable later: difficulty only.
- Set at campaign start: permadeath and Beskar Mode.
- Hardest setup: Expert with Beskar Mode, required for Legend.
Normal also keeps the Bacta Tank available. That Medbay option clears an Injury for Credits without spending a Cycle, instead of parking an Operator in a standard bed for a full Cycle. With a starting roster capped at seven Operators, the extra recovery route decides who is deployable after a rough mission.
Hard is the strongest alternative for players comfortable with XCOM-style combat, since it demands sharper positioning without adding Beskar’s one-save commitment. Expert with Beskar enabled is the correct opening only for players treating the Legend trophy as their first goal.
2. All Four Difficulty Levels and What Each One Changes
Talking to Cly
The four levels adjust more than enemy durability. Higher tiers raise enemy damage and accuracy, shorten effective weapon range, lower starting Bond levels, and remove instant Bacta treatment. Those rules shape squad development between battles as much as they shape any single firefight.
| Setting | Enemy Pressure | Weapon Range | Bacta Tank |
|---|---|---|---|
| Story | Much lower | Generous | Available |
| Normal | Standard | Generous | Available |
| Hard | Increased | Reduced | Disabled |
| Expert | Greatly increased | Greatly reduced | Disabled |
Starting Bond levels also scale by tier: Story and Normal open with standard Bonds, Hard opens lower, and Expert opens lower still.
A Hard or Expert campaign therefore reaches its cross-training and support payoffs later than a Normal one.
2.1. Story Difficulty
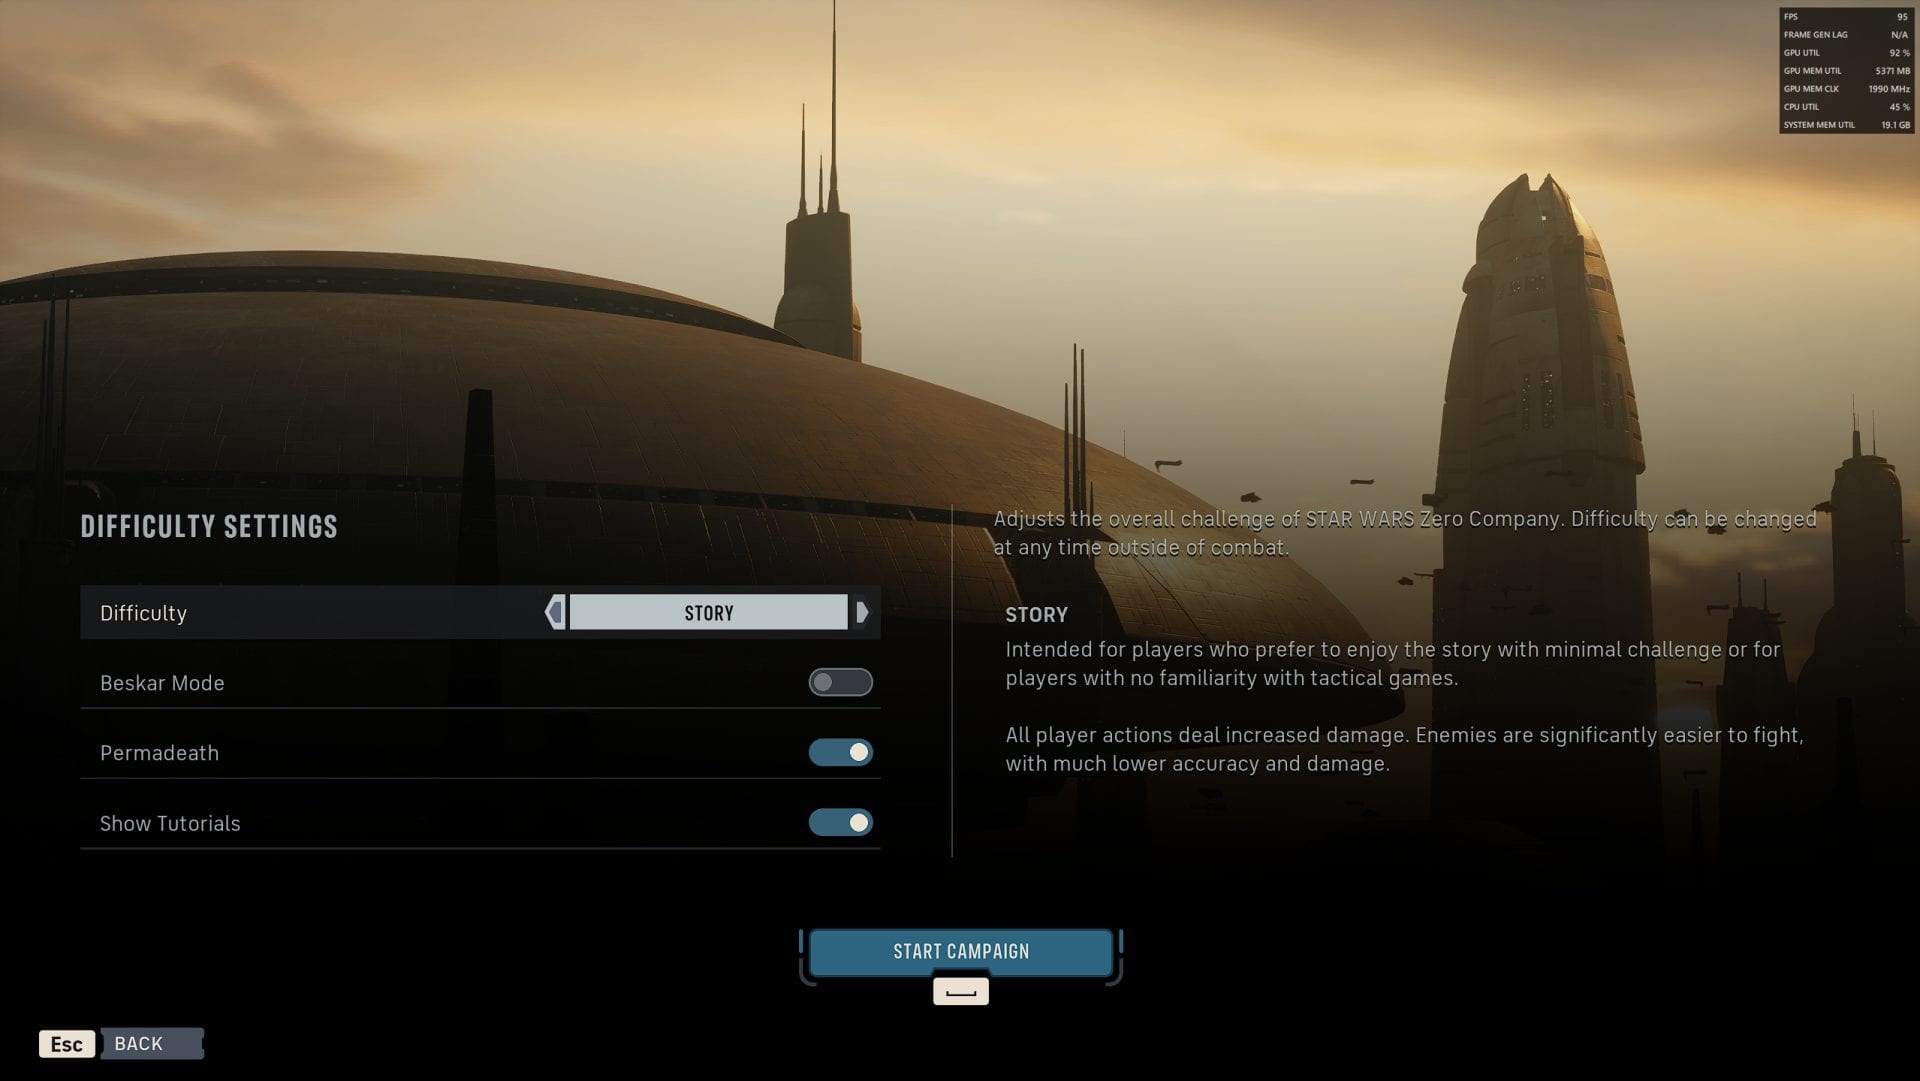
Story Difficulty
The Story difficulty raises your own damage output while dropping enemy damage and accuracy well below the standard curve, so fights bend toward you from both directions. Cover, Action Points, abilities, and squad combinations all still function. Completing the campaign on Story or higher earns Hired Gun.
2.2. Normal Difficulty
Normal difficulty uses the standard balance for enemy damage, accuracy, weapon range, starting Bonds, and Medbay recovery. It rewards cover and coordinated attacks without removing the Bacta Tank once an Operator picks up an Injury.
The three Injury permadeath threshold is written against this setting, and a Normal clear earns Veteran.
2.3. Hard Difficulty
Hard difficulty is where the campaign changes shape. Enemies hit harder, effective weapon range shrinks, starting Bonds drop, and the Bacta Tank is disabled. Shorter range pushes Operators forward into actual firing positions rather than trading low-percentage shots from distant cover.
The recovery restriction is the larger campaign problem. Every Injury has to be cleared through standard Medbay recovery, which costs a full Cycle and forces roster rotation. A Hard completion earns Operator.
2.4. Expert Difficulty
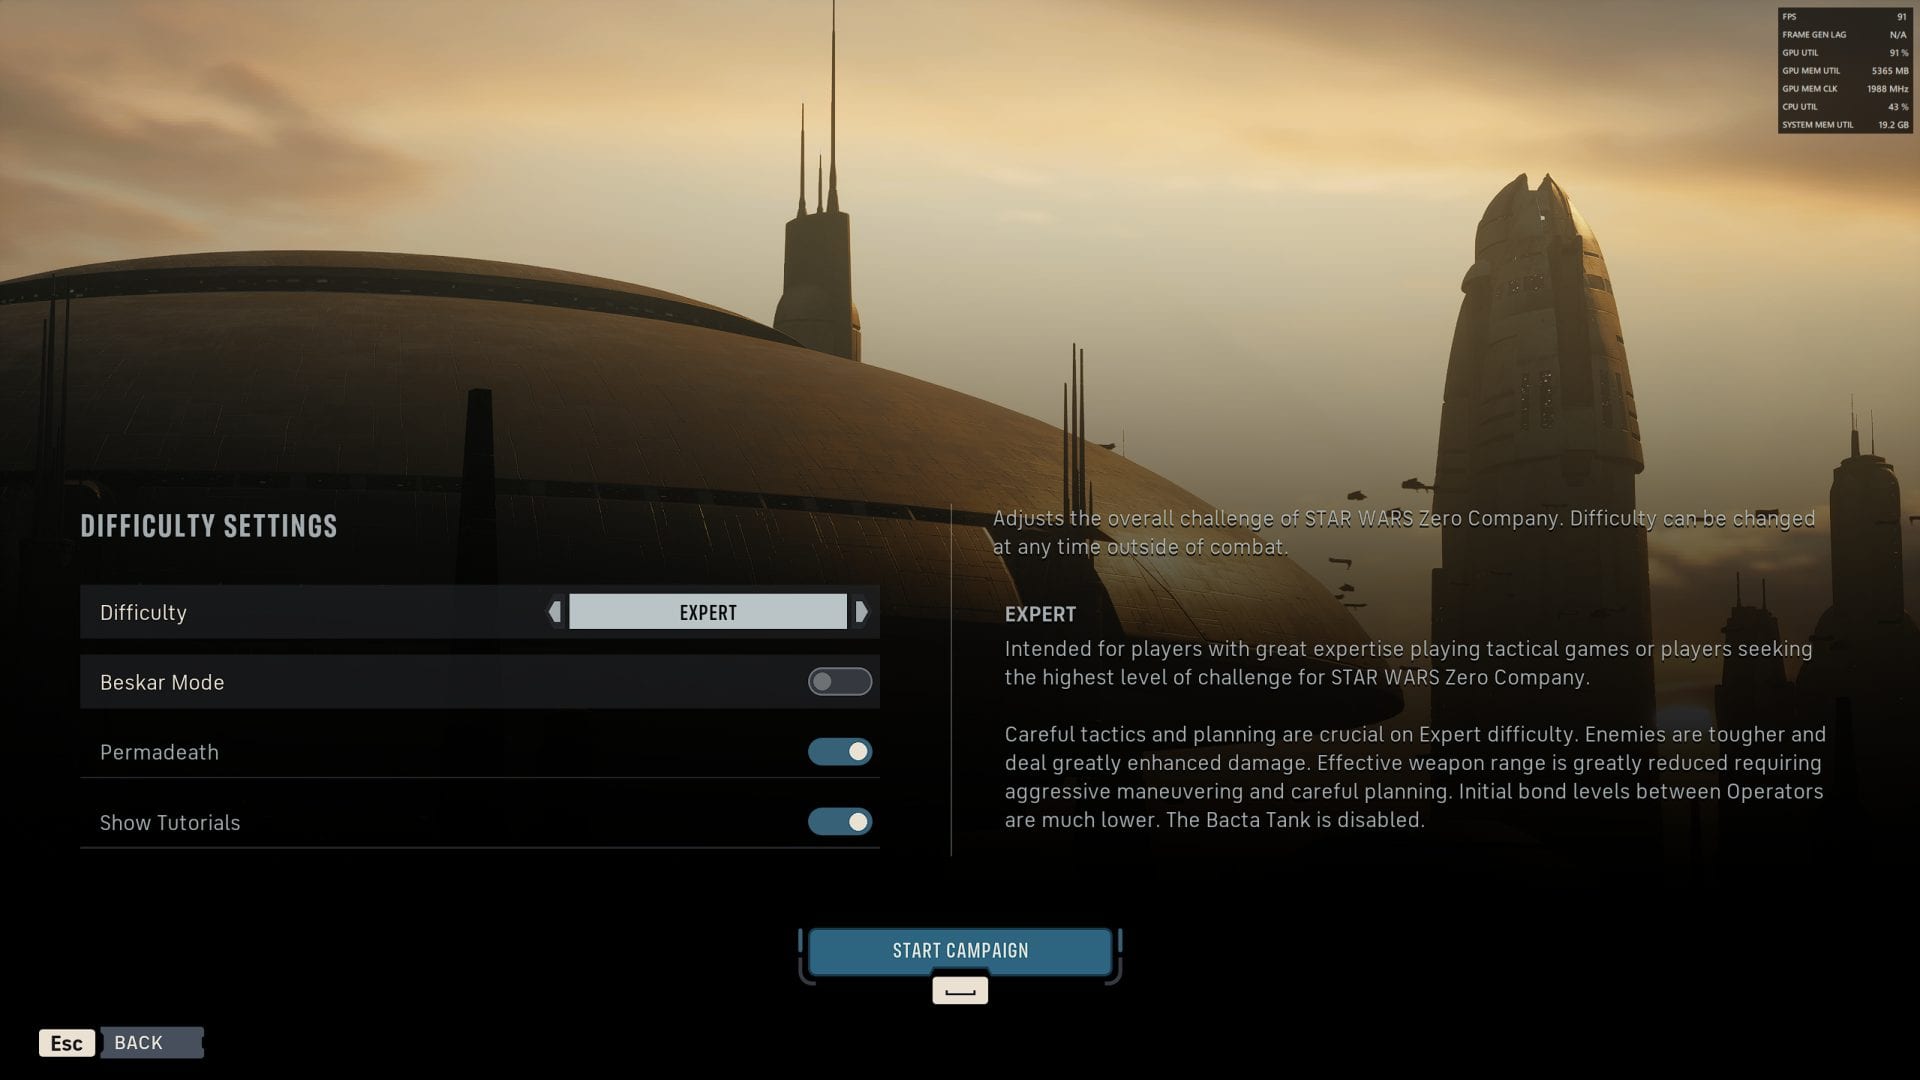
Expert Difficulty
The Expert difficulty sharpens every Hard penalty. Enemy damage climbs further, effective weapon range drops further, Operators begin with much lower Bonds, and the Bacta Tank stays disabled.
Reduced range becomes the central problem, since holding a comfortable firing line stops producing hits and you have to push into danger to deal damage at all.
Expert is built for players who already handle free Backup attacks, Advantage spending, crossfire, and elevation without thinking about them. It earns Captain, and it is half of the Legend requirement.
3. Beskar Mode and Permadeath Are Separate Settings
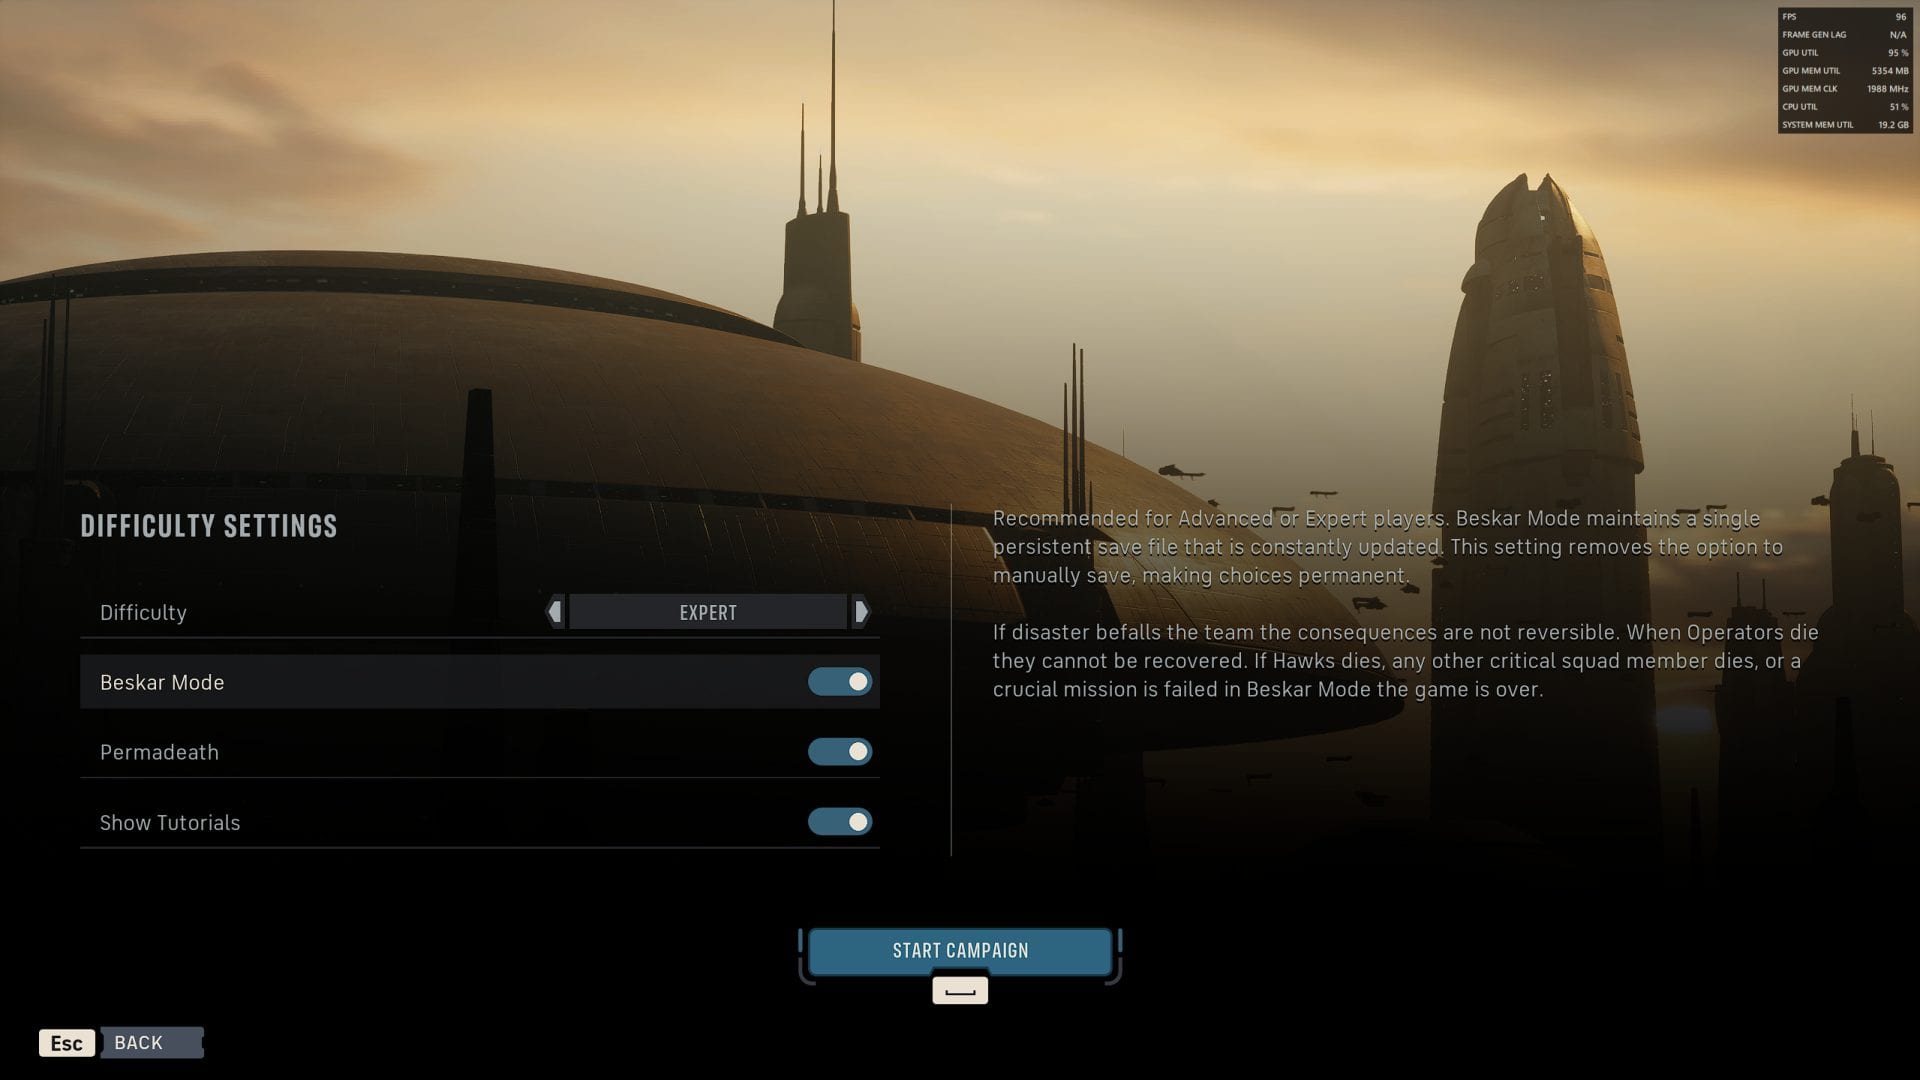
Beskar Mode
The Beskar Mode is a save restriction. Permadeath controls what happens to an Operator who accumulates fatal Injuries. Neither one replaces Story, Normal, Hard, or Expert, and both stack on top of the combat tier you pick.
3.1. What Each Setting Controls
- Difficulty: enemy pressure, effective weapon range, starting Bonds, and Bacta Tank access.
- Permadeath: marks an Operator Killed in Action after three Injuries. On by default.
- Beskar Mode: limits the campaign to one save, disables manual saving, and blocks reloading an earlier outcome. Off by default, and available on any of the four tiers.
A Beskar campaign can still run on Story or Normal, and a campaign without Beskar can still keep permadeath active.
3.2. All Four Permadeath and Beskar Combinations
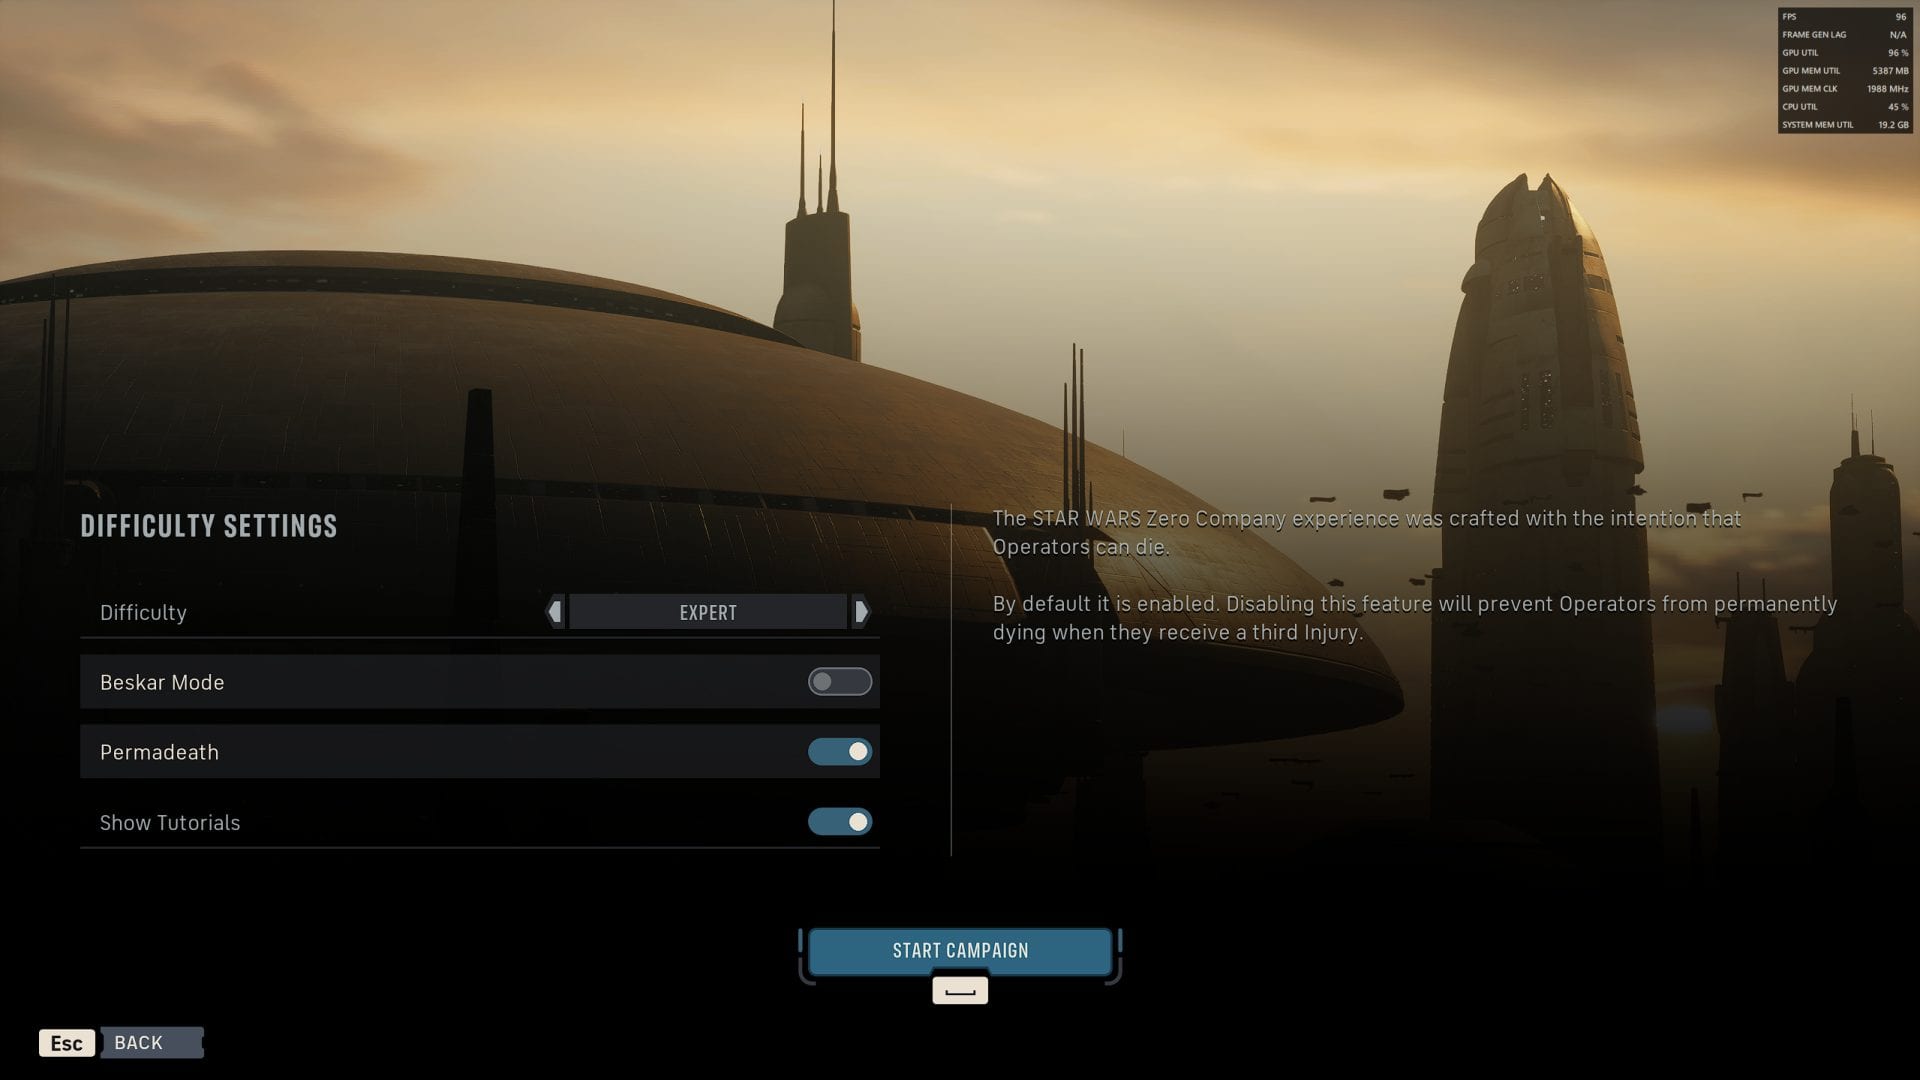
Permadeath Setting
- Permadeath on, Beskar off: Operators die for good, but a bad battle can still be reloaded. This is the default campaign and the recommended first run.
- Permadeath off, Beskar off: Injuries never kill, and reloading stays available. The lowest-pressure setup.
- Permadeath on, Beskar on: full ironman. Losses are permanent and cannot be undone.
- Permadeath off, Beskar on: losses stick because reloading is gone, but Injuries never remove an Operator.
Players who want meaningful losses while retaining the ability to undo a misclick should enable permadeath with Beskar off. That combination preserves the campaign’s intended pressure and still protects against a misread system or a stray input.
3.3. Saves, Autosaves, and the Hawks Rule

Hawks
Outside Beskar Mode, you keep manual saves plus two autosaves. One writes on the first round of every battle, so a disastrous fight can be restarted from the top.
The second autosave sits at the start of the Cycle, so a loadout mistake spotted mid-mission also costs the Den admin work from that Cycle.
Hawks follows a separate rule and cannot be permanently killed by Injuries. Outside Beskar Mode, a Hawks defeat fails the mission, and you restart it, with permadeath on or off.
Under Beskar Mode, that safety net is gone, and losing Hawks, losing another critical squad member, or failing a critical mission ends the campaign.
4. What Risky, Dangerous, and Extreme Mission Ratings Mean
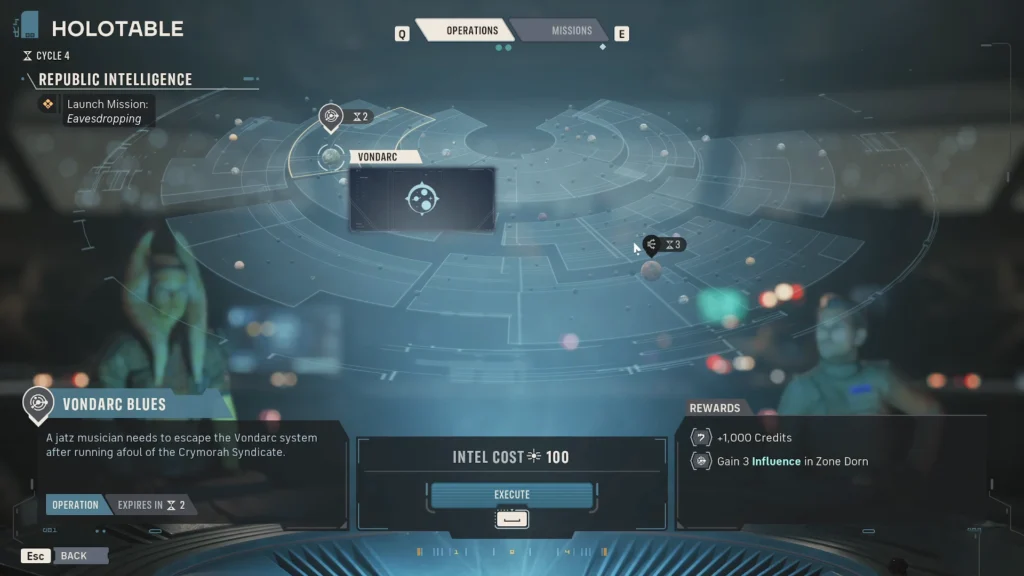
Operations at Holotable
Missions at the Den’s Holotable carry a rating of Risky, Dangerous, or Extreme, and that rating sits apart from your campaign difficulty. It describes the threat level for a single contract.
Your chosen tier applies on top of it, so an Extreme mission on Expert is a different proposition from an Extreme mission on Normal.
Read the mission rating as a deployment filter. Check which Operators are healthy and available before accepting an Extreme contract, especially on Hard or Expert where one Injury takes a full Cycle to clear.
5. Can You Change Difficulty After Starting a Campaign?
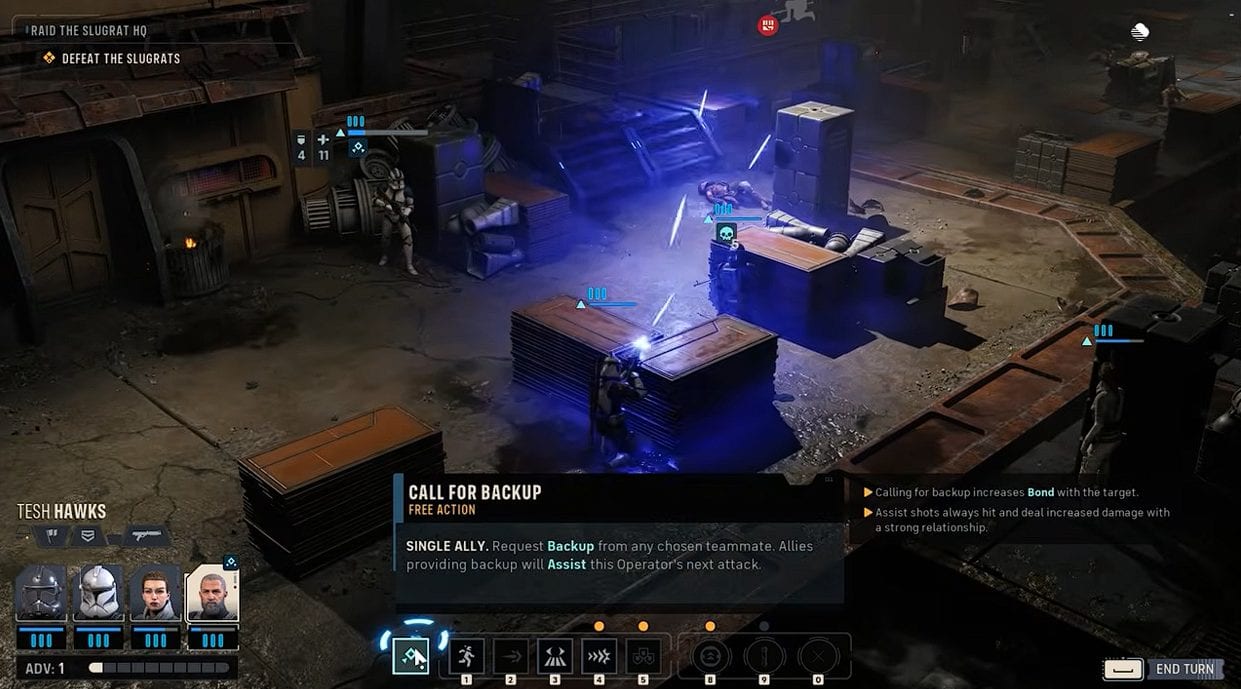
Using Call for Backup
Yes. Story, Normal, Hard, and Expert can be changed from the menu between missions, so a campaign begun on Normal can be raised or lowered later without restarting.
The option is unavailable during combat, so finish or leave the active encounter first. Permadeath and Beskar Mode are set at the start of the campaign.
- Difficulty: adjustable up or down between missions for the life of the campaign.
- Permadeath: chosen at campaign start. A different setting needs a new campaign.
- Beskar Mode: chosen at campaign start. Turning it off needs a new campaign.
A Campaign is your game save, and these settings apply to that campaign alone. Running a second campaign is the supported route to a different permadeath or Beskar configuration, and it leaves the first save untouched. Switching permadeath off later would not restore an Operator already Killed in Action.
Treat difficulty differently on a trophy run. Set the tier you want credit for before the first mission and hold it there through the final encounter. Do not plan a late switch up to Expert to collect Captain or Legend near the end of a campaign.
6. Best Settings for Each Type of Player
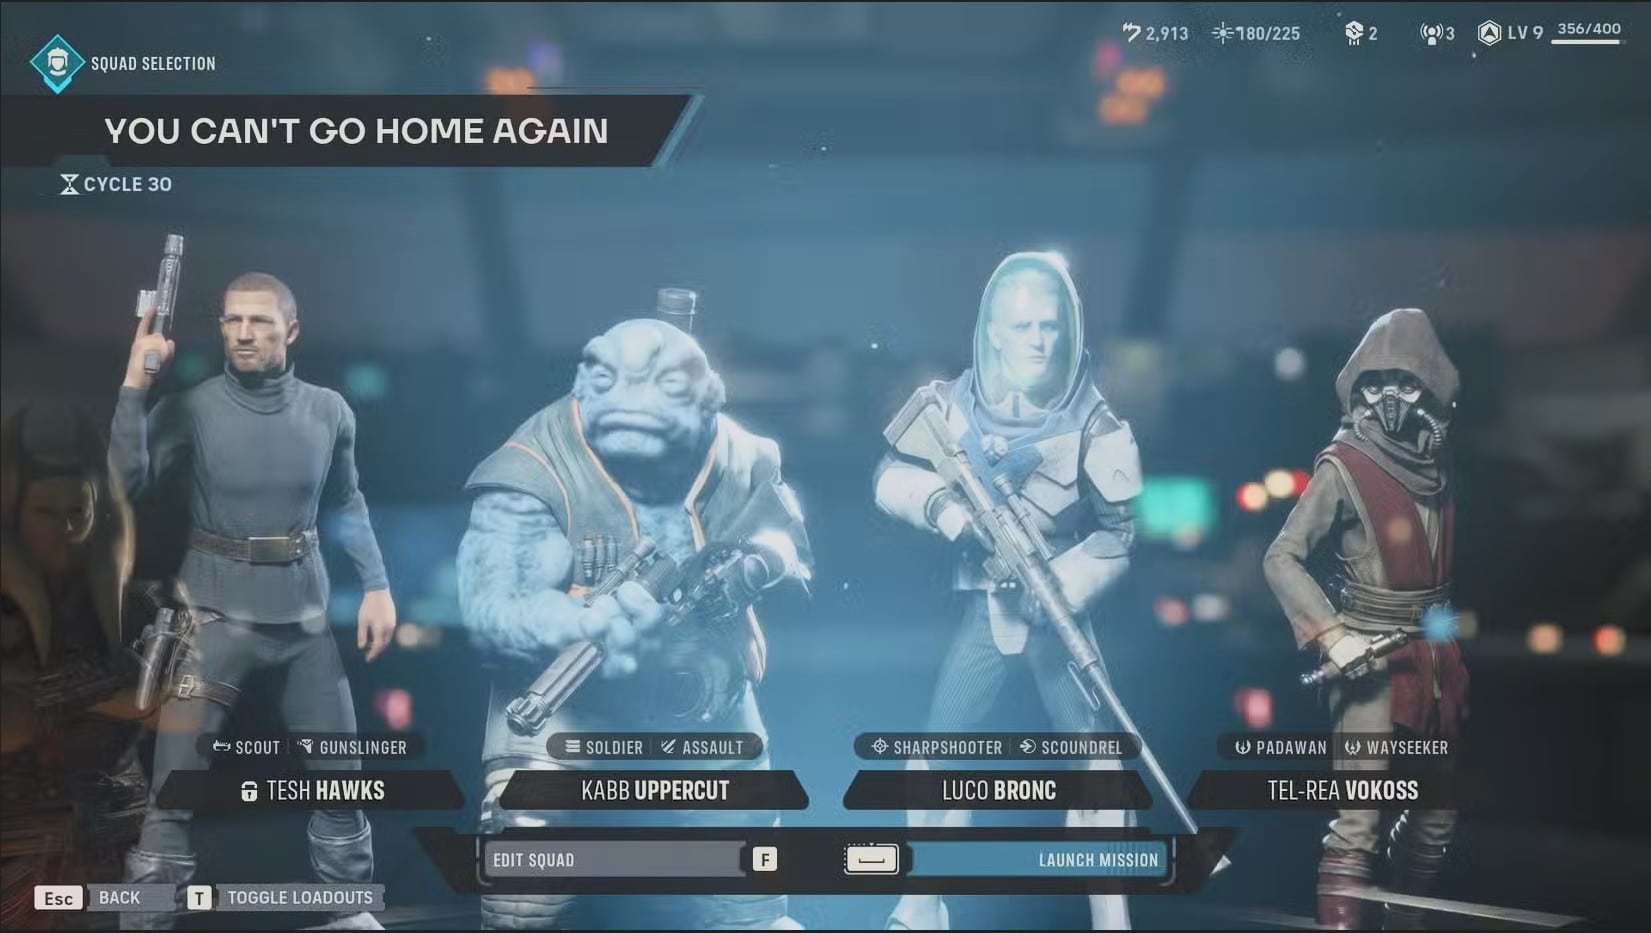
Team Composition
The right setup pairs a combat tier with the consequence rules that match your goal for the run. Pick the line below that describes the campaign you actually want before selecting Start Campaign.
6.1. Story-First and First-Time Tactics Players
- Story-first player: Story, permadeath off, Beskar off.
- First tactics campaign: Normal, permadeath off, Beskar off.
- Recommended first run: Normal, permadeath on, Beskar off.
- Strategy: Take the recommended line if losing an Operator sounds survivable. Recruiting, Bonds, and roster depth are all balanced around loss, and switching permadeath off flattens the pressure that drives Den decisions.
6.2. Experienced Tactics Players
- Difficulty: Hard
- Permadeath: On
- Beskar Mode: Off
- Strategy: Budget for the missing Bacta Tank. Recruit past the starting seven early so an injured Operator can sit out a Cycle without shrinking the squad you can actually deploy.
6.3. Legend and Completion Runs
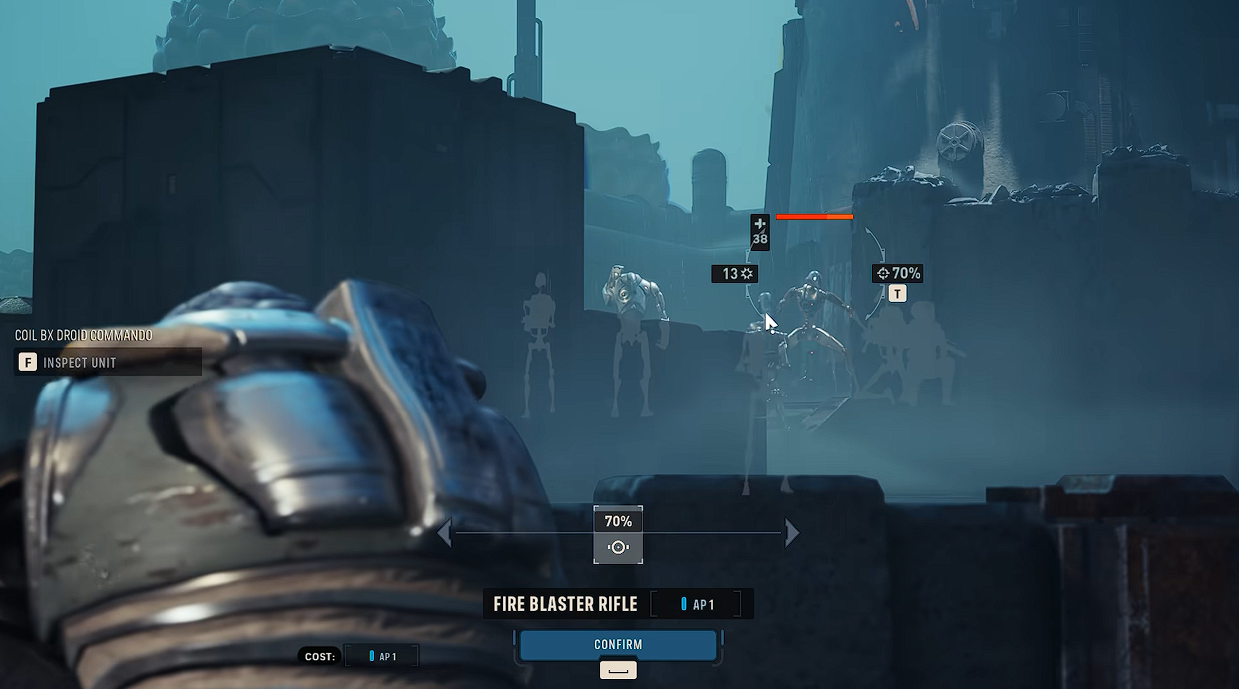
Firing Blaster Rifle
- Difficulty: Expert
- Beskar Mode: On
- Permadeath: Not part of the Legend requirement
- Strategy: Treat this as a second campaign. Learn mission layouts, reinforcement pressure, and Cycle timing on a normal run first, then open the Legend attempt with the roster plan already built.
Normal, permadeath on, Beskar off is the strongest overall first-run setup. Combat stays demanding, Operators can still be lost for good, and manual saves protect the campaign from a misunderstood system or an irreversible input.
Expert with Beskar belongs on a planned completion run once the hardest encounters are known.
7. All Difficulty Trophies and Achievements in Zero Company
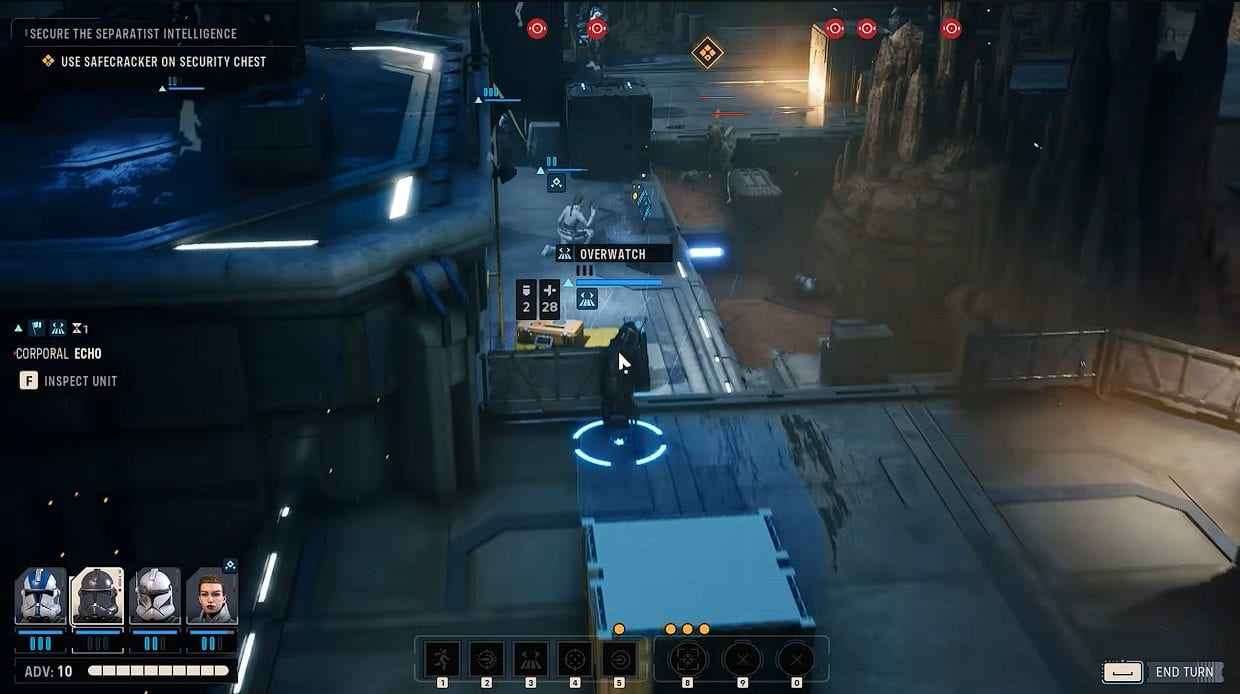
Overwatch with Longarm Blaster
Five completion trophies sit on the settings screen, and they form a ladder from Story to Expert. Legend is the only one that names Beskar Mode, and it has to be paired with Expert. Beskar on Story, Normal, or Hard does not satisfy it.
| Trophy or Achievement | Difficulty Needed | Beskar Mode |
|---|---|---|
| Hired Gun | Story or higher | Not required |
| Veteran | Normal or higher | Not required |
| Operator | Hard or higher | Not required |
| Captain | Expert | Not required |
| Legend | Expert | Required |
Hired Gun, Veteran, and Operator all read or higher, so a single Expert clear collects four of the five in one campaign. Starting on Story purely to farm Hired Gun wastes a run.
The safest completion route uses two campaigns. Finish Normal or Hard first to learn mission layouts, reinforcement waves, resource demands, and the final encounters. Then open a fresh Expert campaign with Beskar enabled and spend that knowledge on the one-save run.
Related posts:


