

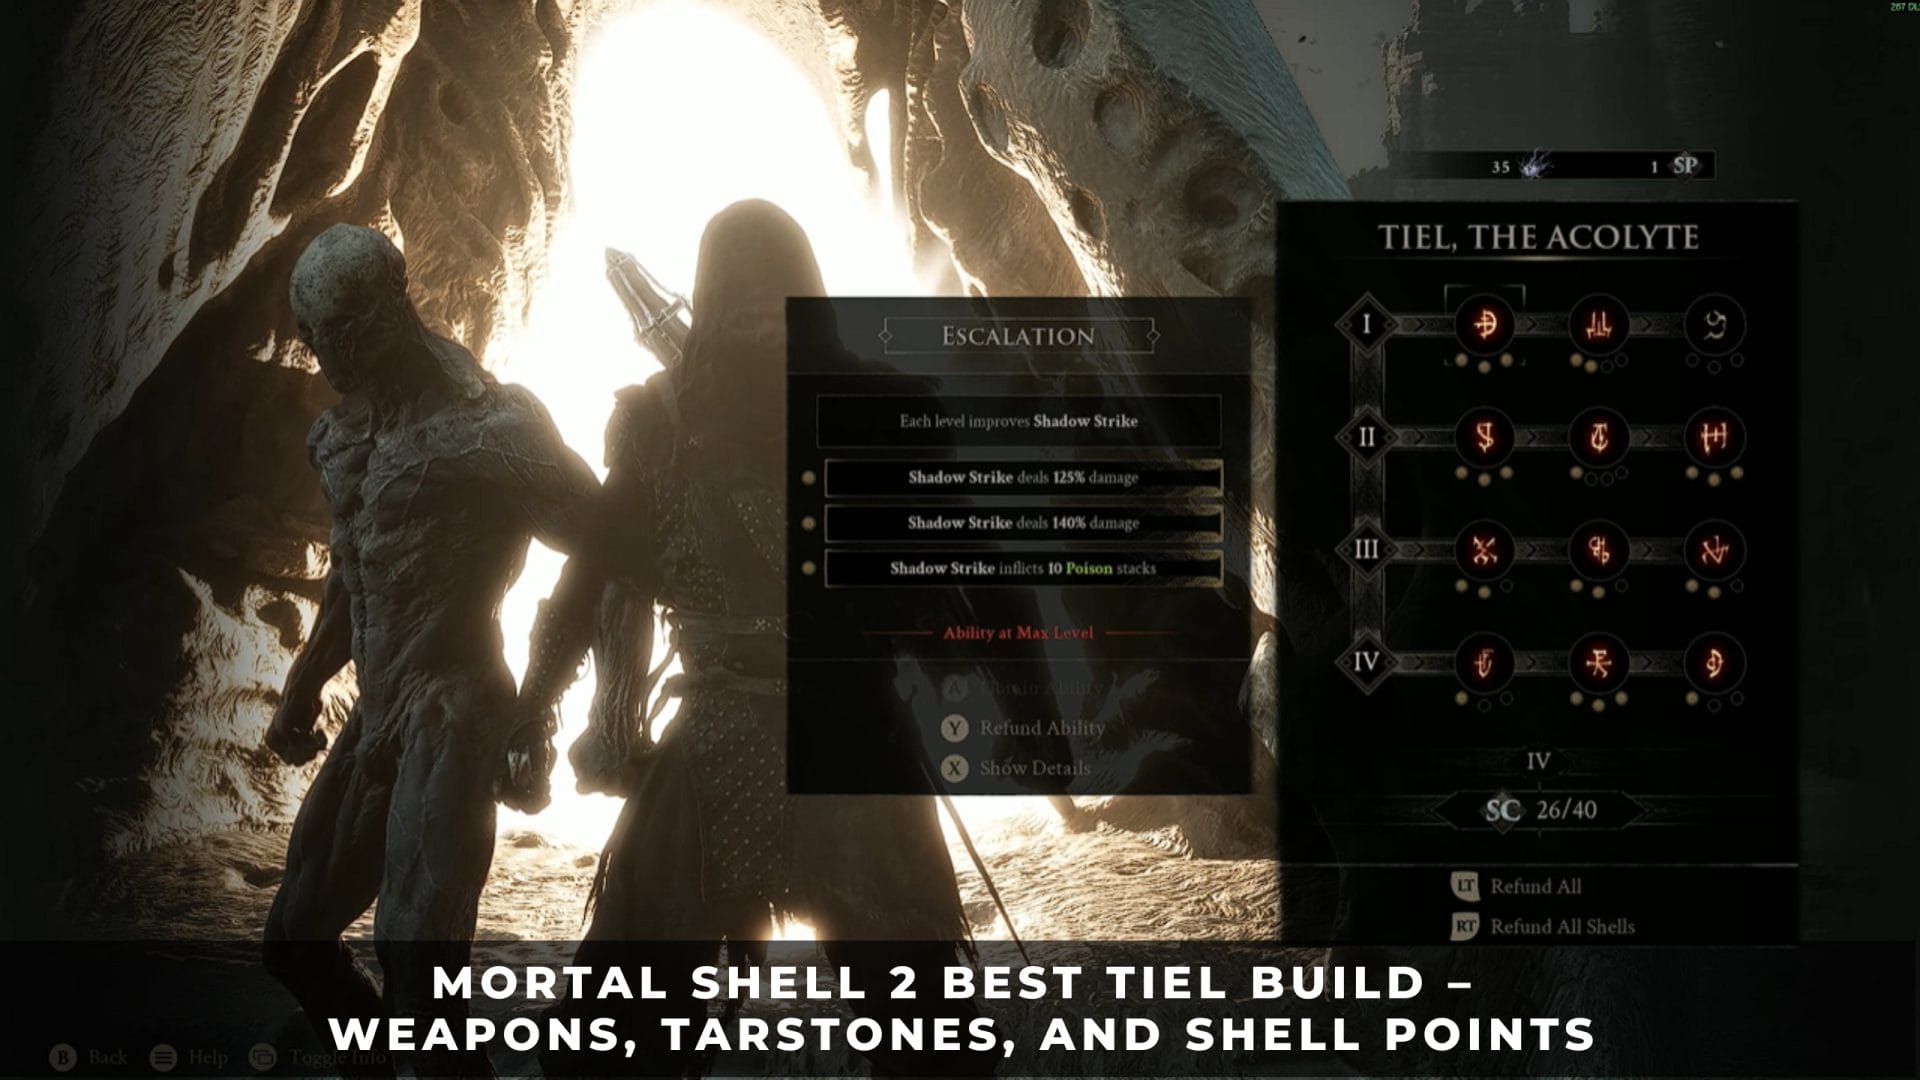
Tiel turns a single Shadow Strike into a guaranteed critical hit, which makes him the strongest Shell to unlock first in Mortal Shell 2 and one of the few that still holds up in the final dungeon. The trouble starts later, when Resolve runs dry and the invisibility loop stalls mid-boss.
This build fixes that. It covers the weapon, Tarstones, Seal, and Shell Point spread that keep the critical hit loop running from the first Beacon to the last boss.
1. Best Tiel Build in Mortal Shell 2
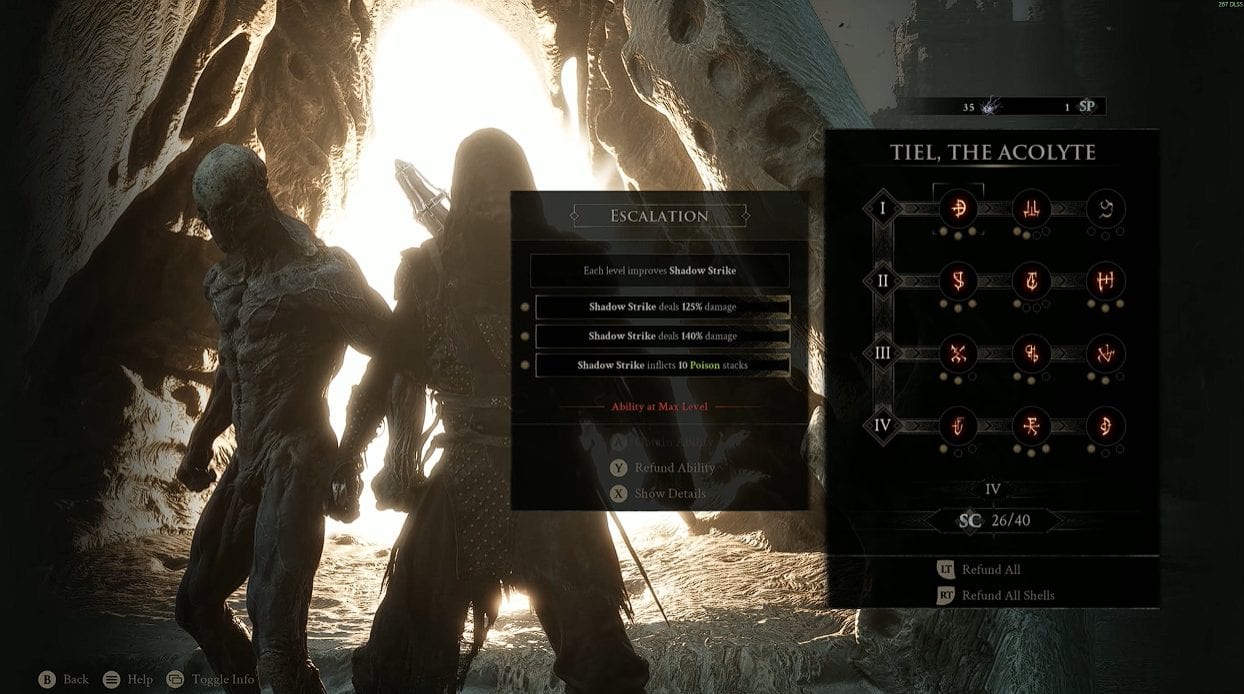
Tiel, the Acolyte
The best Tiel build stacks everything into one guaranteed critical hit and then makes that hit repeatable. Critical Role forces the crit after every Shadow Strike, Ambush, and Deathmark inflate the damage, and the rest of the loadout exists to pay the Resolve bill so you can do it again.
Every piece below follows one rule: because the critical hit is already guaranteed, critical chance stats are wasted, and critical damage stats are doubled in value.
| Slot | Equip |
|---|---|
| Primary weapon | The Iconoclast |
| Sidearm | Salvaged Trebuchaxe |
| Seal | Untarnished Seal |
| Melee combat | Zealot’s Stone, Clerik’s Stone |
| Melee support | Headsman’s Stone, Devout Stone |
| Sidearm support | Deadeye Stone |
| Support slot | Retribution Stone |
| Core skills | Critical Role 3, Deathmark 3, Ambush 3 |
That spread also fits the equipment limits exactly. You can run four Support stones plus two from each other category, split across melee and sidearm slots, so nothing here forces a cut.
Everything below reflects Balance Patch 1, which is live on PC. The same update is going to PlayStation 5 and Xbox Series after certification.
2. Best Weapon and Sidearm for Tiel
Use The Iconoclast, the two-hander the game hands you during the prologue. Weapon advice for Tiel points in every direction because his dagger and his speed suggest a fast weapon, but the skill tree rewards the opposite.
The logic comes from Critical Role. Once it hits level 3, the melee attack after a Shadow Strike crits automatically, so attack speed no longer buys extra chances to crit. What decides the payoff is damage per swing and how fast you refill Resolve for the next cast.
The Iconoclast

The Iconoclast
The Iconoclast carries the two Tarstones that solve Tiel’s worst problem. Zealot’s Stone and Clerik’s Stone fit only six weapons in the game, and every one of them is a heavy weapon. The Axe & Dagger and the Axatana are not among them.
Among those six, The Iconoclast swings lightest for its class, so the guaranteed critical hit still lands inside the stealth window instead of telegraphing through it. It also arrives free in the prologue alongside the Untarnished Seal, which means the core of this build costs nothing to assemble.
Axe and Dagger
Axe and Dagger
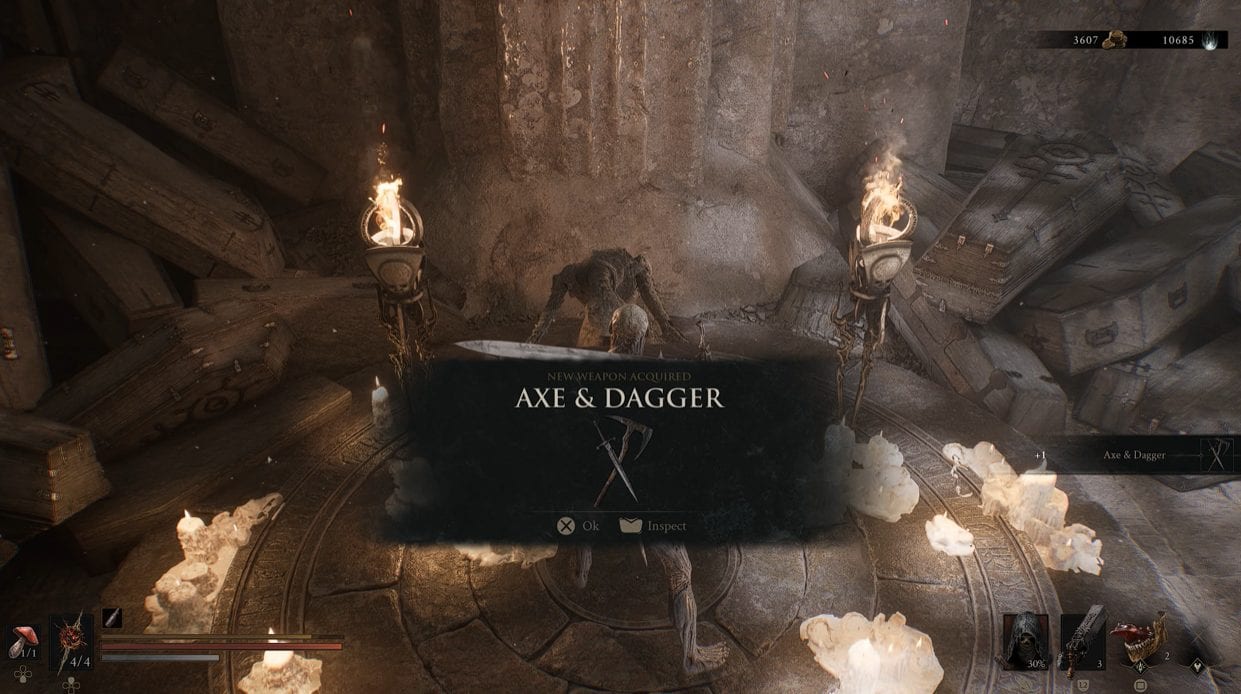
The Axe & Dagger is the alternative for players who want poison rather than burst. Its fast light combos rebuild Resolve quickly, and it accepts Duality Stone, which makes the light attack combo strike twice.
It sits behind the Chapel Key and the Shrine of Trials dungeon rather than being handed to you, so plan the detour using our Mortal Shell II weapon locations guide. Pair it with Serpent Stone for Poison infusion, Escalation at level 3, and Poison Burst to detonate every stack on the struck target.
Testing both weapons is cheap now. Balance Patch 1 cut the Gloom cost of smelting a weapon at the Tarforge by 75%, so switching no longer means abandoning your upgrade investment.
Salvaged Trebuchaxe
Salvaged Trebuchaxe
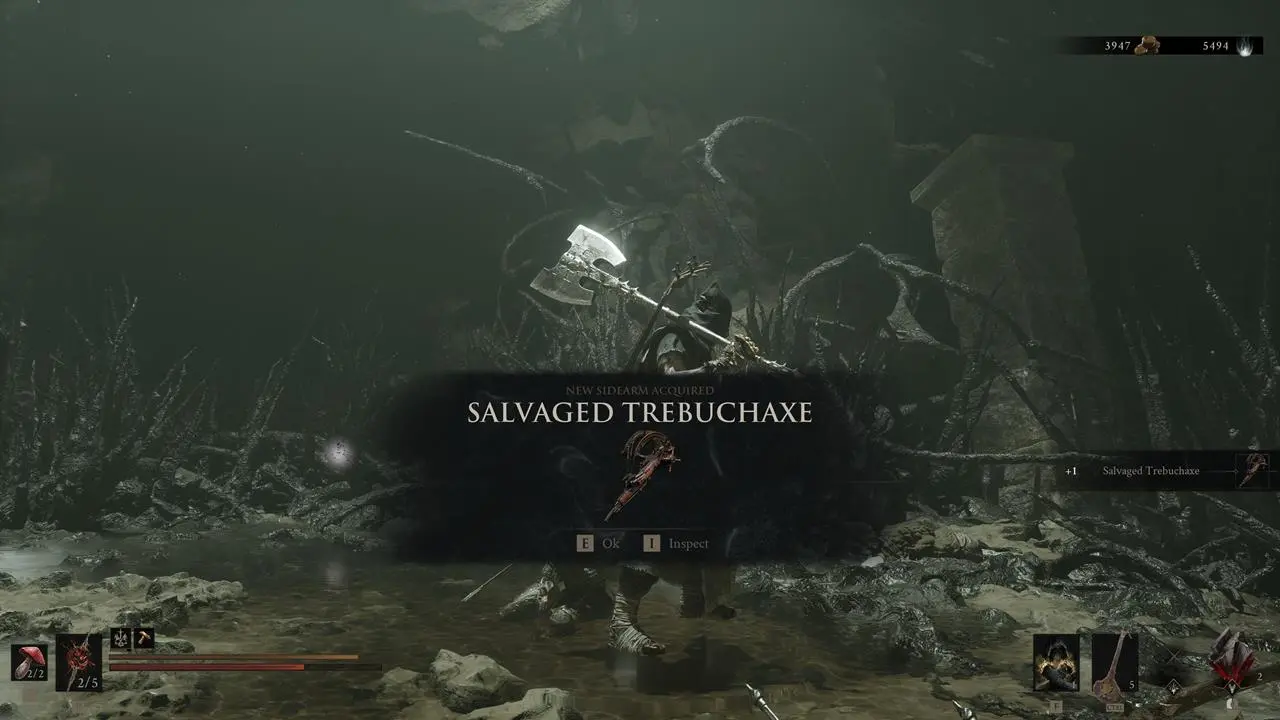
The Salvaged Trebuchaxe is the sidearm for one specific reason that most Tiel loadouts leave on the table. Critical Role level 2 makes the next ranged attack after a Shadow Strike crit as well, not just the melee one.
That means every Shadow Strike buys you two guaranteed critical hits, one melee and one ranged. Balance Patch 1 also buffed Squall Stone, which fits this sidearm alone. Other options and their pickup points are listed in the All Sidearm Locations guide.
3. Best Tarstones for the Tiel Build
The Tarstone choices for Tiel are decided by one filter: the crit is already guaranteed, so anything that raises critical chance is dead weight, and anything that raises critical damage is worth double. That single rule reshuffles most of the popular Tiel stone lists.
Remember the slot rules as well. A melee stone will not sit in a sidearm slot regardless of what the slot icon suggests, and Support stones occupy their own slot.
Core Damage and Resolve Tarstones
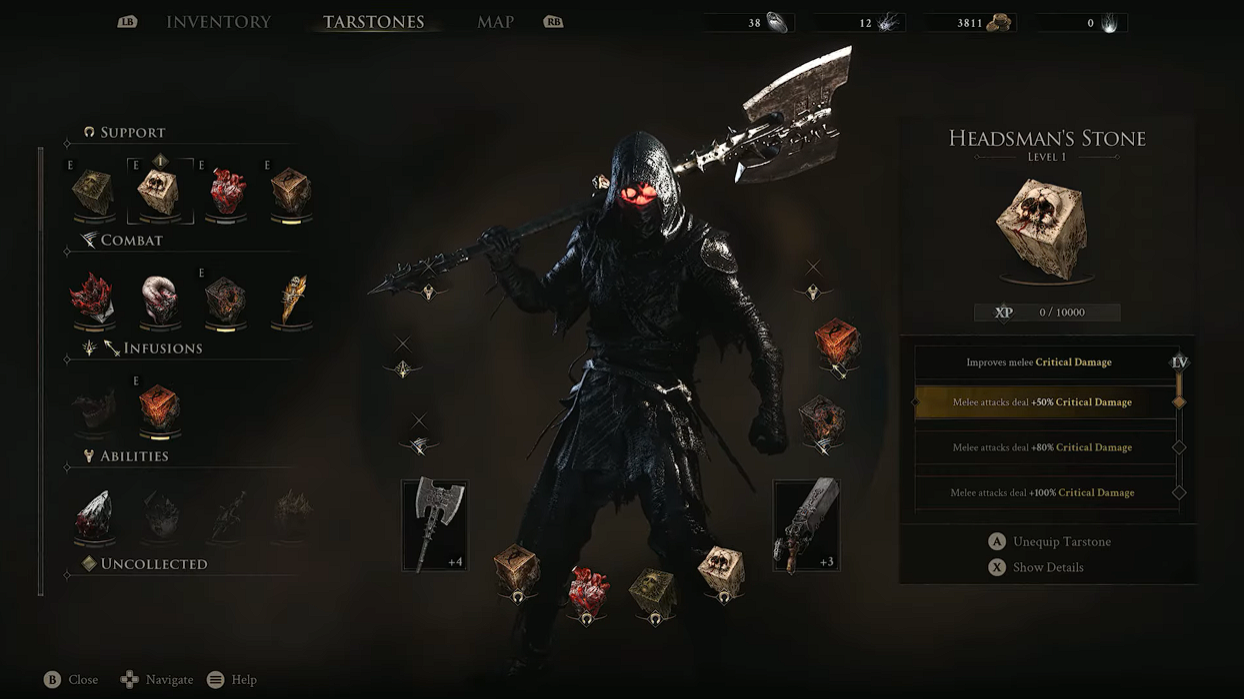
Headsman’s Stone
These four are the priority stones because they solve the build’s two needs: heavier guaranteed crits and enough Resolve to repeat Shadow Strike.
- Zealot’s Stone: Grants a light combo finisher that generates Resolve. This is the single most important stone in the build.
- Clerik’s Stone: Grants a heavy combo finisher tied to critical damage, and Balance Patch 1 buffed it directly.
- Headsman’s Stone: Improves melee critical damage, multiplying every Shadow Strike follow-up.
- Devout Stone: Restores Resolve when you kill an enemy with your sidearm, which keeps you topped up while clearing adds.
Ranged Critical and Riposte Tarstones
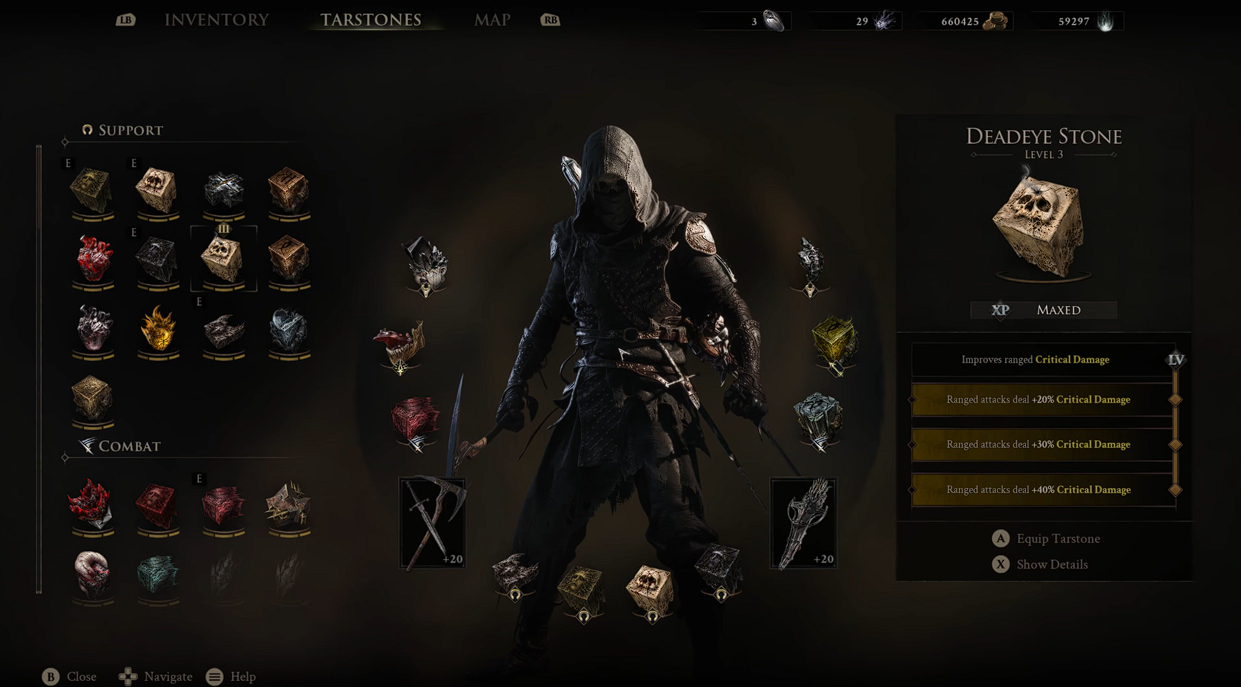
Deadeye Stone
Use these picks to turn Critical Role’s ranged follow-up and Untarnished Seal guards into extra burst.
- Deadeye Stone: Improves ranged critical damage, which applies to the guaranteed ranged crit after every Shadow Strike.
- Retribution Stone: Improves Riposte damage, useful because Untarnished Seal guards feed directly into Riposte windows.
Tarstones That Are Not Synergized with the Build
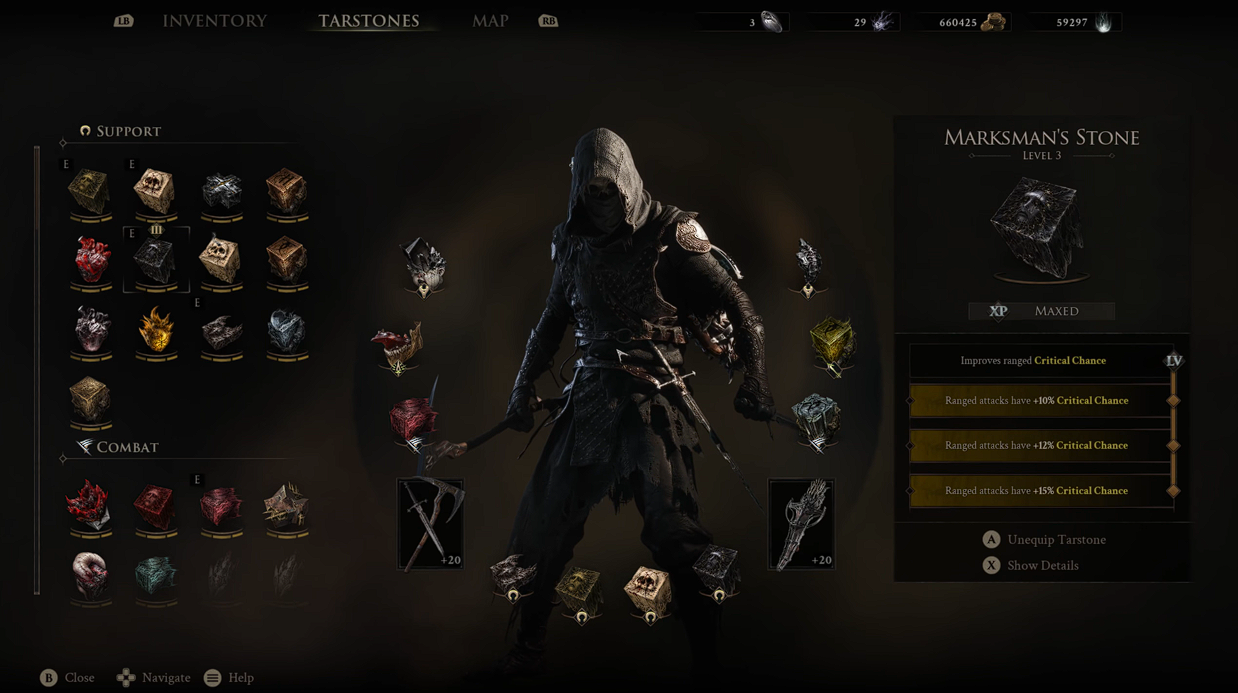
Marksman’s Stone
Three popular picks actively fight this loadout, and two of them appear in most Tiel stone lists. Skip them unless you have first solved Resolve generation.
- Auspicious Stone: Improves melee critical chance, which Critical Role has already set to guaranteed.
- Marksman’s Stone: Improves ranged critical chance, redundant for the same reason.
- Acolyte’s Stone: Consumes Resolve for a charged light attack, spending the exact resource the build is short of.
Grudge Stone is the exception worth reconsidering. Its guaranteed critical hit duplicates Critical Role inside the loop, but Balance Patch 1 buffed it, and it still adds value on attacks you make outside stealth.
Infusion stones such as Arbiter’s Prize carry the same warning as Acolyte’s Stone, since every infusion drains the Resolve you need for the next Lingering Shadow.
4. Best Shell Point Priority for Tiel
Glimpse From a Vendor
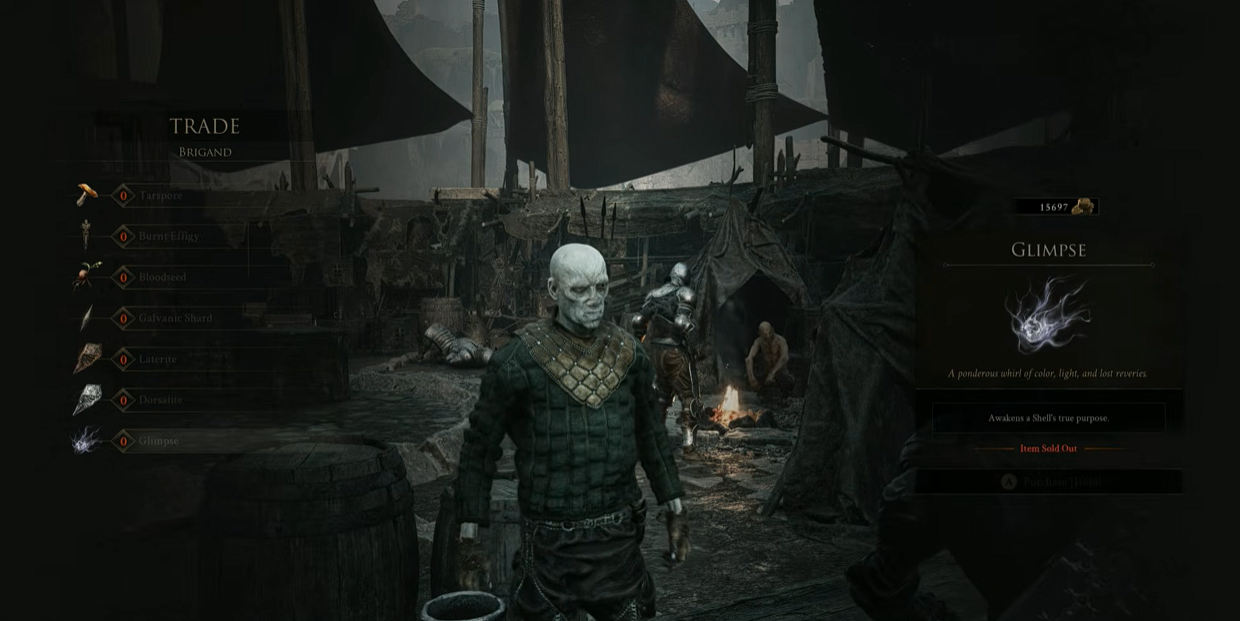
Two separate currencies decide how far this build goes, and confusing them is the most expensive mistake in the game. Shell Points buy the skills and can be refunded for free at any Beacon. Glimpse unlocks the tiers those skills sit in and never refunds.
Glimpse raises a Shell’s Bond Tier from I to IV through Zhirelle the Shellkeeper. The first tier costs 1 Glimpse, and maxing a Shell costs 27. Because one playthrough does not supply enough Glimpse to max the whole roster, commit to Tiel before spending it.
Each tier opens another band of abilities, raises Shell Points Capacity, and reveals another of Tiel’s five Memories. Lethality sits behind Bond Tier 3. Every upgrade system and the NPC who runs it are mapped in our Marrow Keep NPC guide.
Early Game Priority
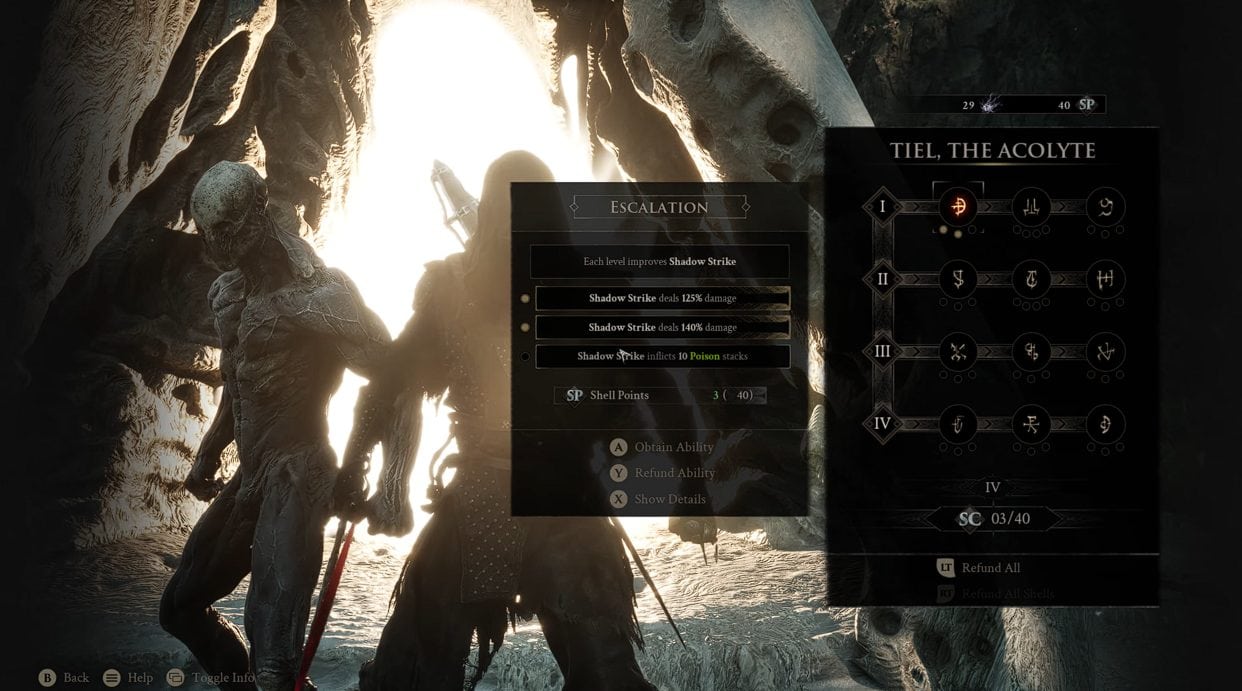
Escalation
Early points go into raw Shadow Strike output, since the crit engine is still locked behind later Bond Tiers. Take these in order:
- Escalation to level 2. Straight Shadow Strike damage, the cheapest early return available.
- Deathmark to level 3. Adds critical chance, then critical damage, then Fragile stacks to Shadow Strike.
- Nightstride to level 1. Widens the Shadow Dash window so that free invisibility becomes reliable while you are still learning enemy timings.
Mid-Game Priority
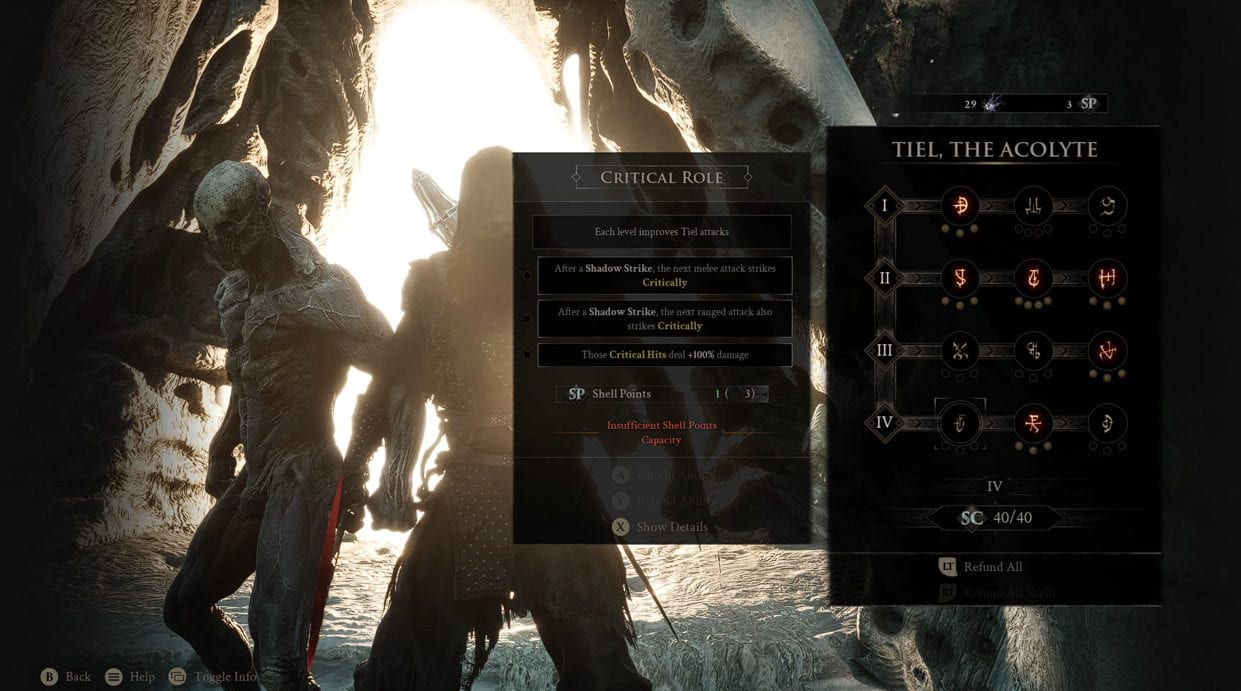
Critical Role
The build comes online the moment Ambush and Critical Role are available, and the order between them is fixed because one is useless without the other.
- Ambush to level 3. Adds damage, critical chance, and critical damage to every strike from behind.
- Critical Role to level 3. Guarantees a critical melee hit, then a critical ranged hit, then raises the damage of both.
- Seal Affinity to level 1. Grants Shadow stacks on a failed guard, parry, or Harden.
That is 22 points, and the build is fully functional at this stage. Everything after it is refinement rather than repair, and respeccing costs nothing if you want to test the alternatives first.
Full 42-Point Spread
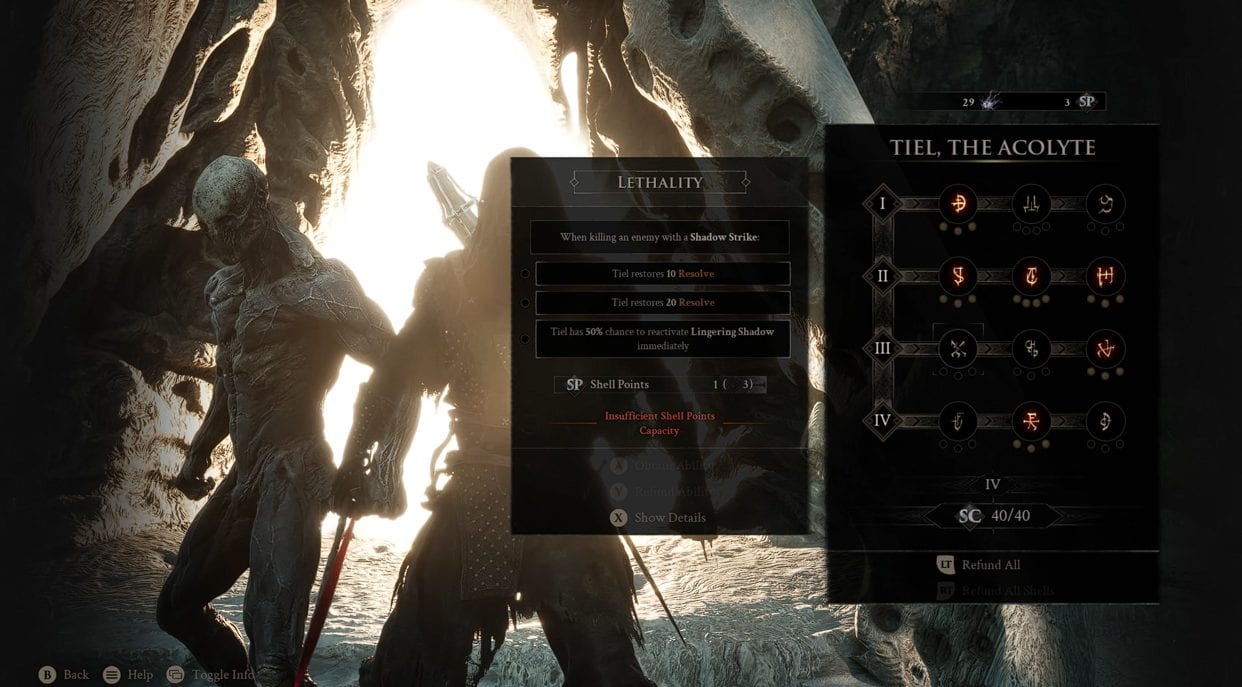
Lethality
The finished spread commits the remaining 20 points to Resolve economy and stealth uptime rather than more damage, because damage stops being the limiting factor once Critical Role is maxed.
| Skill | Levels | Shell Points |
|---|---|---|
| Escalation | 3 | 6 |
| Deathmark | 3 | 6 |
| Ambush | 3 | 6 |
| Critical Role | 3 | 6 |
| Nightstride | 3 | 6 |
| Lethality | 3 | 6 |
| Lasting Legacy | 2 | 3 |
| Seal Affinity | 2 | 3 |
Escalation reaching level 3 is what opens the poison variant, since that level makes Shadow Strike apply Poison stacks. Pair it with Poison Burst if you swap points out of Lasting Legacy. Tiel can also be specced to full poison resistance through Plague Bearer, which is worth the detour before the swamp regions.
Anything you cannot afford this run carries forward. Glimpse, levels, and Tarforge upgrades all survive into New Purpose, the game’s New Game Plus.
5. Best Seal for Tiel and the Achievement Trade-Off
Use the Untarnished Seal, which the prologue hands you alongside The Iconoclast. Mortal Shell 2 has four Seals; three of them feed Tiel’s Seal Affinity skill, and only one does so without punishing his low health pool.
The Slayer Seal is powerful, but its permanent achievement lock makes Untarnished Seal the safer recommendation for most players.
Untarnished Seal
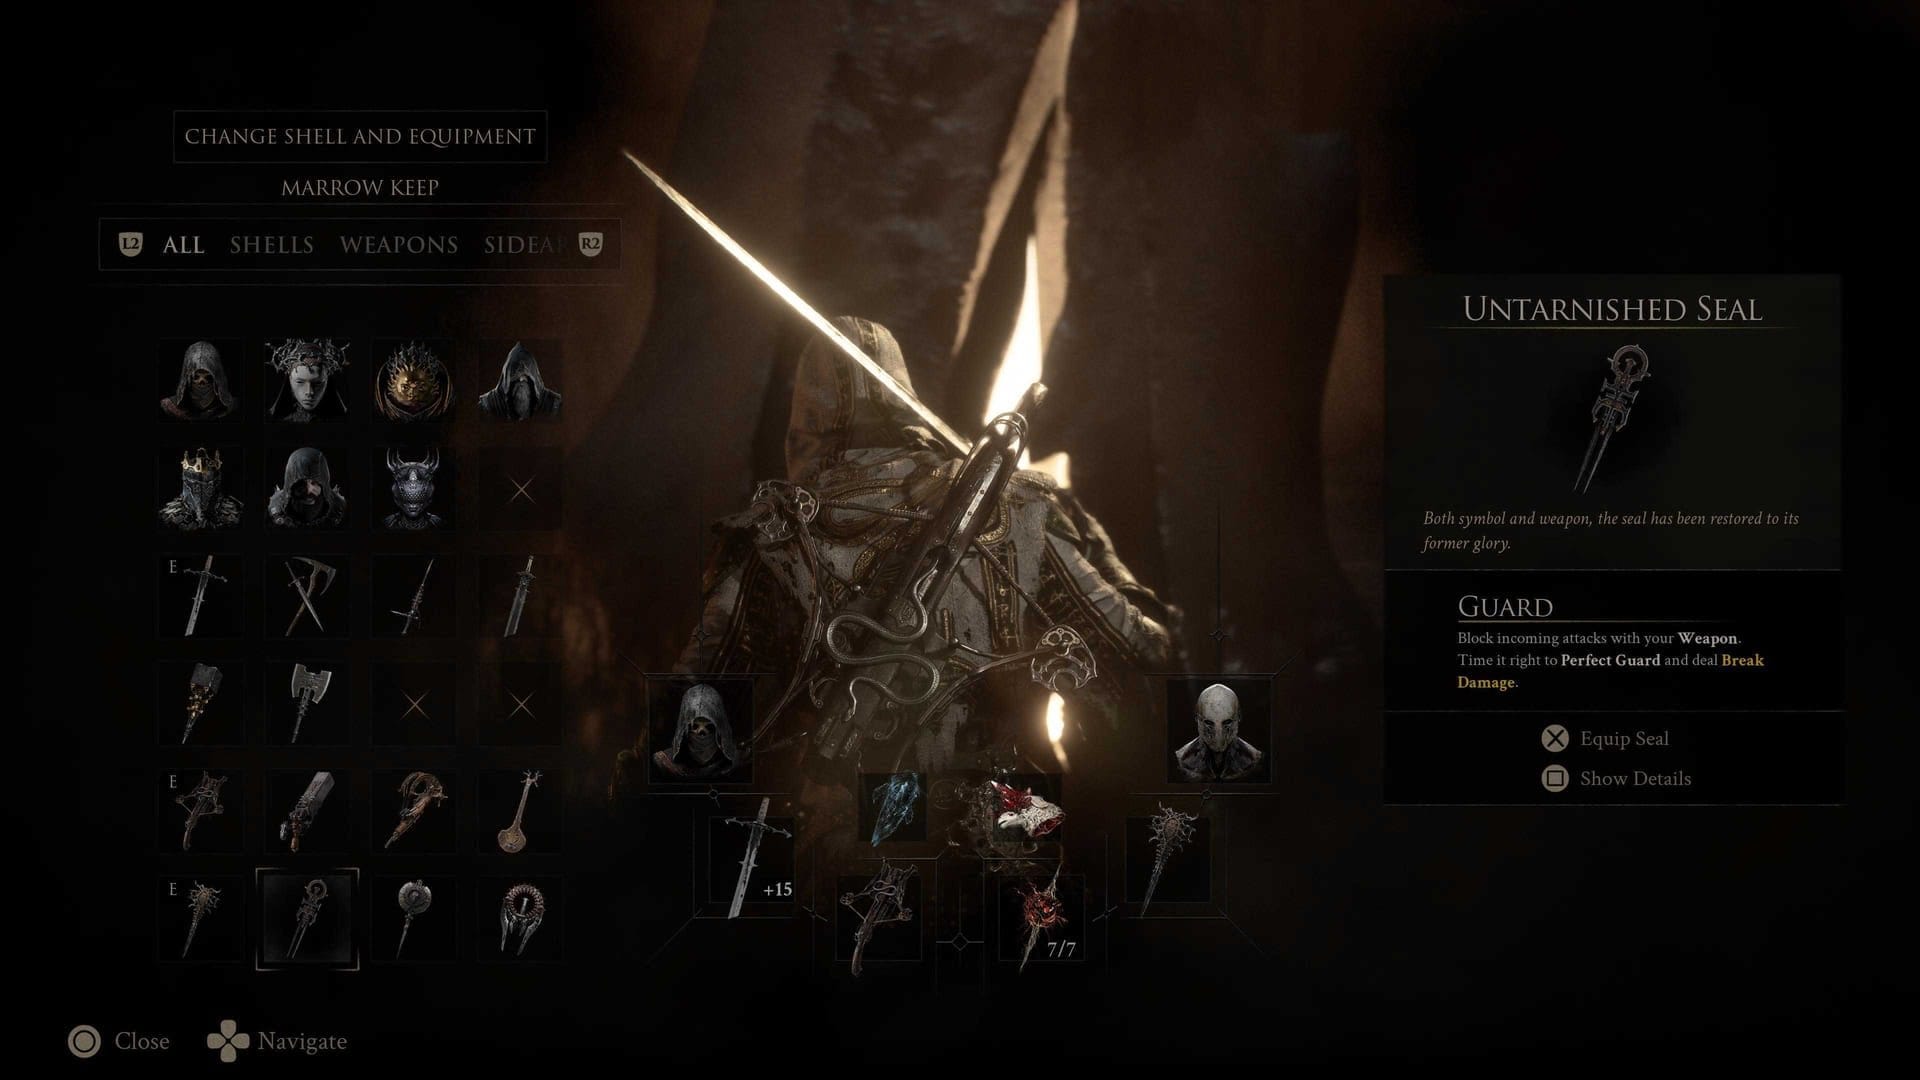
Untarnished Seal
The Untarnished Seal grants Guard, the most forgiving defensive option available. That pairing is deliberate because Seal Affinity level 1 grants Shadow stacks on a failed guard, parry, or Harden rather than a successful one.
The result is a defense with no losing outcome. Time the guard correctly, and you take no damage while building Break Damage at Seal Affinity level 2. Miss the timing, and you drop straight back into Shadow.
Balance Patch 1 made this stronger still. Guard can now be used while walking, so you can hold it through repositioning instead of rooting yourself between Shadow Strikes. Vatra’s Seal and the Infinite Seal trigger the same skill, but their tighter windows cost Tiel health he cannot spare.
Slayer Seal and the Achievement Lock
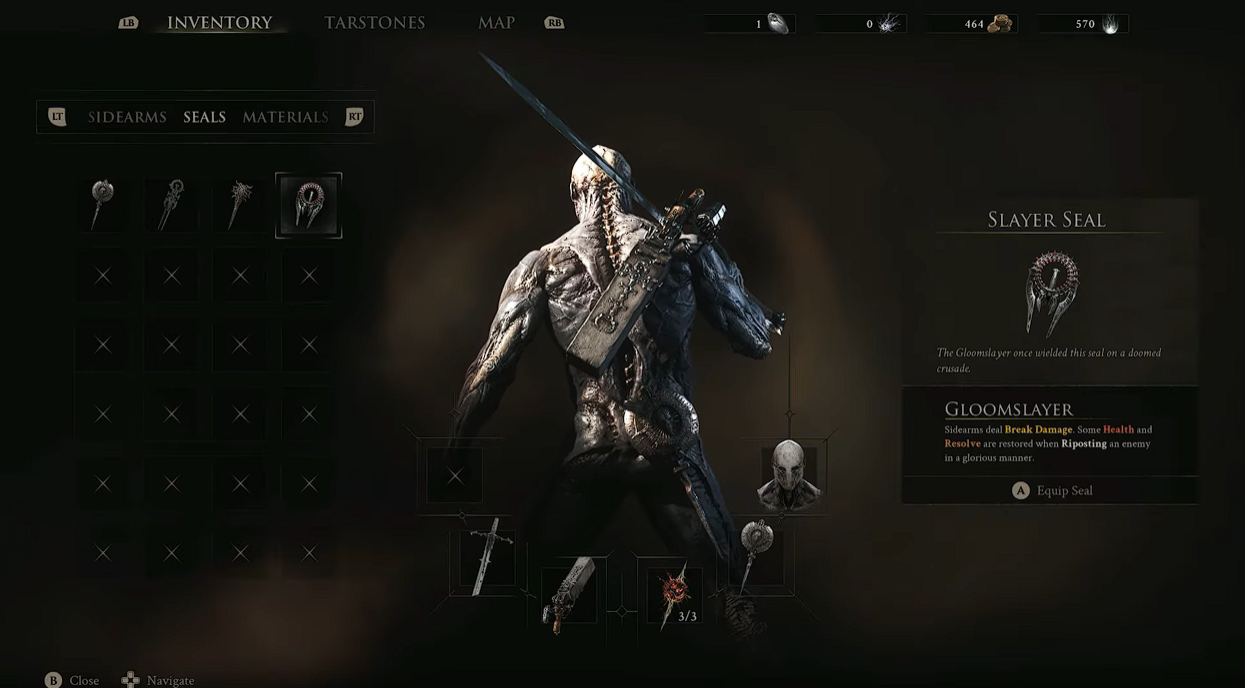
Slayer Seal
The Slayer Seal restores health and Resolve through executions, which lowers the game’s difficulty considerably. Equipping it permanently disables all 53 achievements on that save file, and the game shows a confirmation prompt before it happens.
The penalty is tied to equipping the Seal, not to owning it. Picking it up in Marrow Keep does nothing, and unequipping it later does not restore achievement progress. Hotfix 2 repaired a UI lock that occurred when equipping it from the Beacon menu, but the achievement rule is unchanged.
6. How to Play the Tiel Build
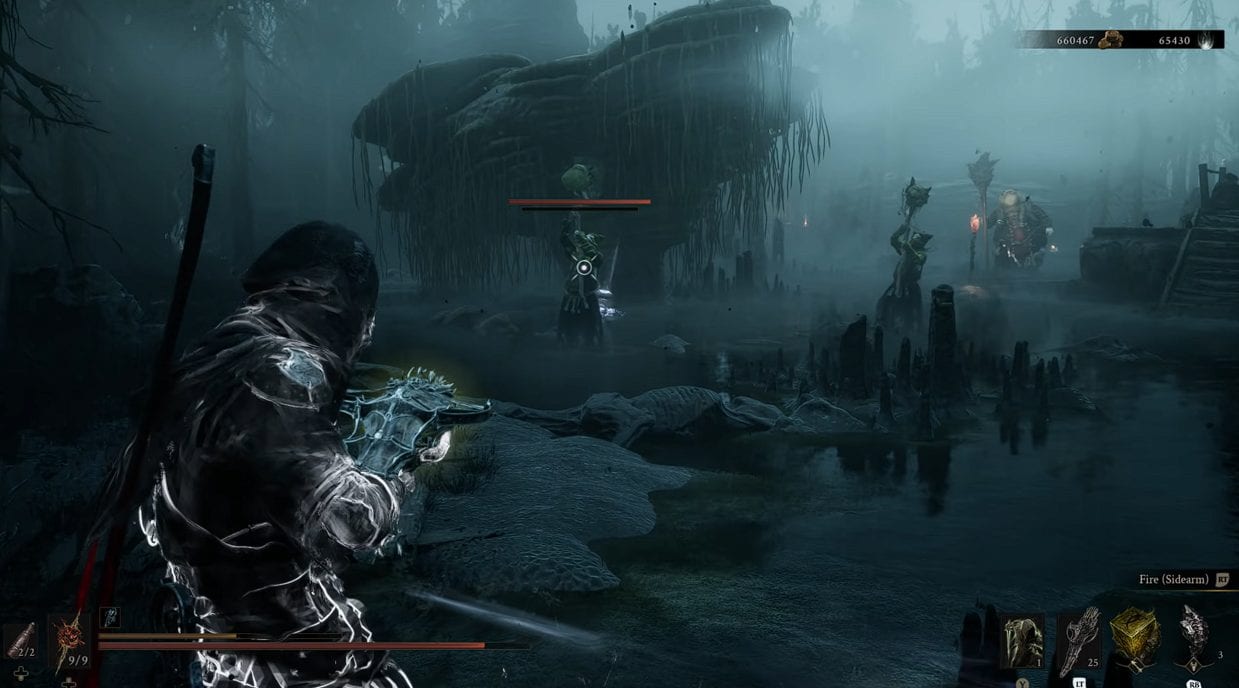
Tiel Build Gameplay
The loop is short, and it repeats indefinitely once Critical Role and Seal Affinity are online. The point is to never spend Resolve on a Lingering Shadow that a dodge or a blocked hit gives you for free.
- Open from Shadow. Cast Lingering Shadow before you commit, or enter the fight already invisible from a Shadow Dash.
- Circle behind the target. Crouch walk into position so Ambush applies to everything that follows.
- Land the Shadow Strike. Escalation, Deathmark, and Ambush all apply here, and Deathmark leaves Fragile stacks behind.
- Regain Shadow immediately. Guard the counterattack to trigger Seal Affinity, or dodge into it for Shadow Dash.
- Fire the guaranteed heavy attack. Hit from behind so Ambush and Critical Role stack on the same swing.
- Spend the ranged crit. Follow with the Salvaged Trebuchaxe while the ranged critical from Critical Role is still active.
Boss Fight Adjustments
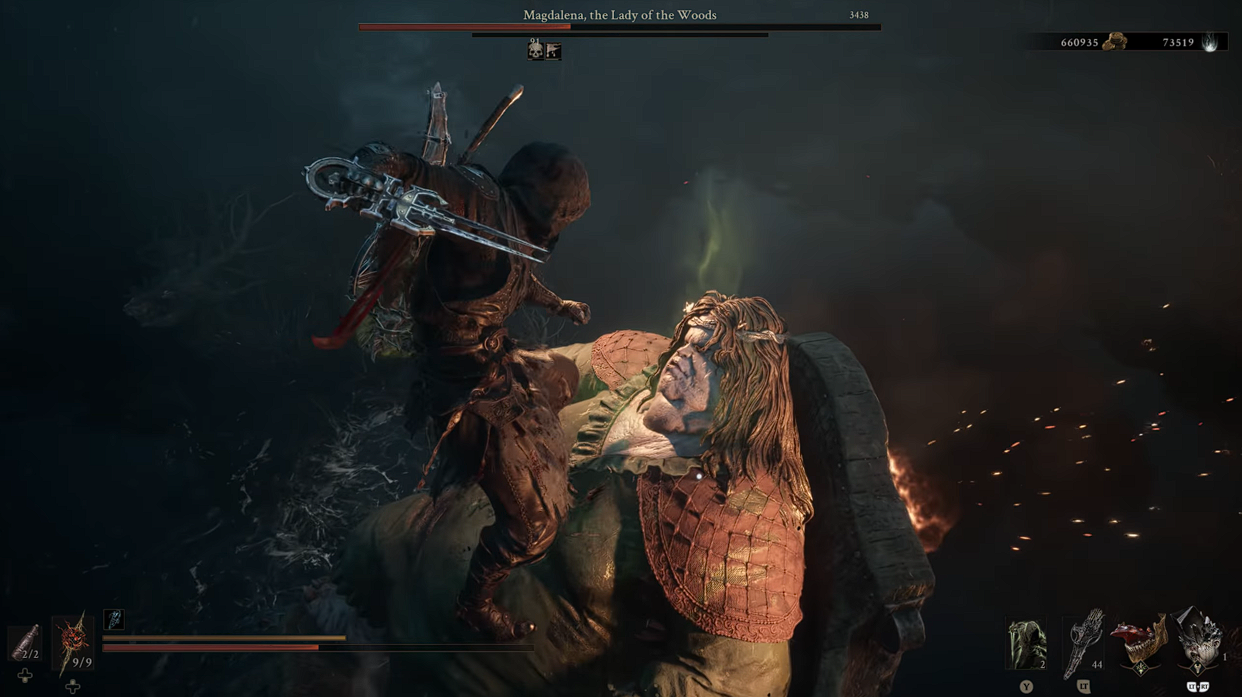
Fighting a Boss Using Tiel
Bosses rarely let you sit behind them, so hold Lingering Shadow for recovery animations rather than casting it on cooldown. Long attack strings are the opening, not the mid-combo gaps.
Use Mether’s Pulse mid-fight without hesitation, since it restores health and part of your Resolve while leaving invisibility intact. Avoid retreating to a Beacon to refill, because Beacons respawn every defeated enemy in the area.
Two of these fights got shorter with Balance Patch 1. The Lost Child lost 15% of its max health, and Monolith lost 10%, with several Monolith attacks retimed, which shortens the window in which your Resolve has to last.
How to Stop Shadow Strike From Missing
Shadow Strike whiffing is almost always a positioning problem rather than a damage one, and the cause traces back to the rules governing the Shadow state.
- Crouch speed: Lingering Shadow limits you to a crouch walk, so a target that moves after the cast will drift out of dagger range.
- Chip damage: Any hit ends Shadow instantly, including stray damage from enemies you are not fighting.
- Early attacks: Landing any attack ends the state, so a mistimed light attack burns the strike before you are in position.
- Cast delay: Lingering Shadow takes a moment to apply, so casting it inside an enemy attack window wastes the Resolve.
Related posts:


