

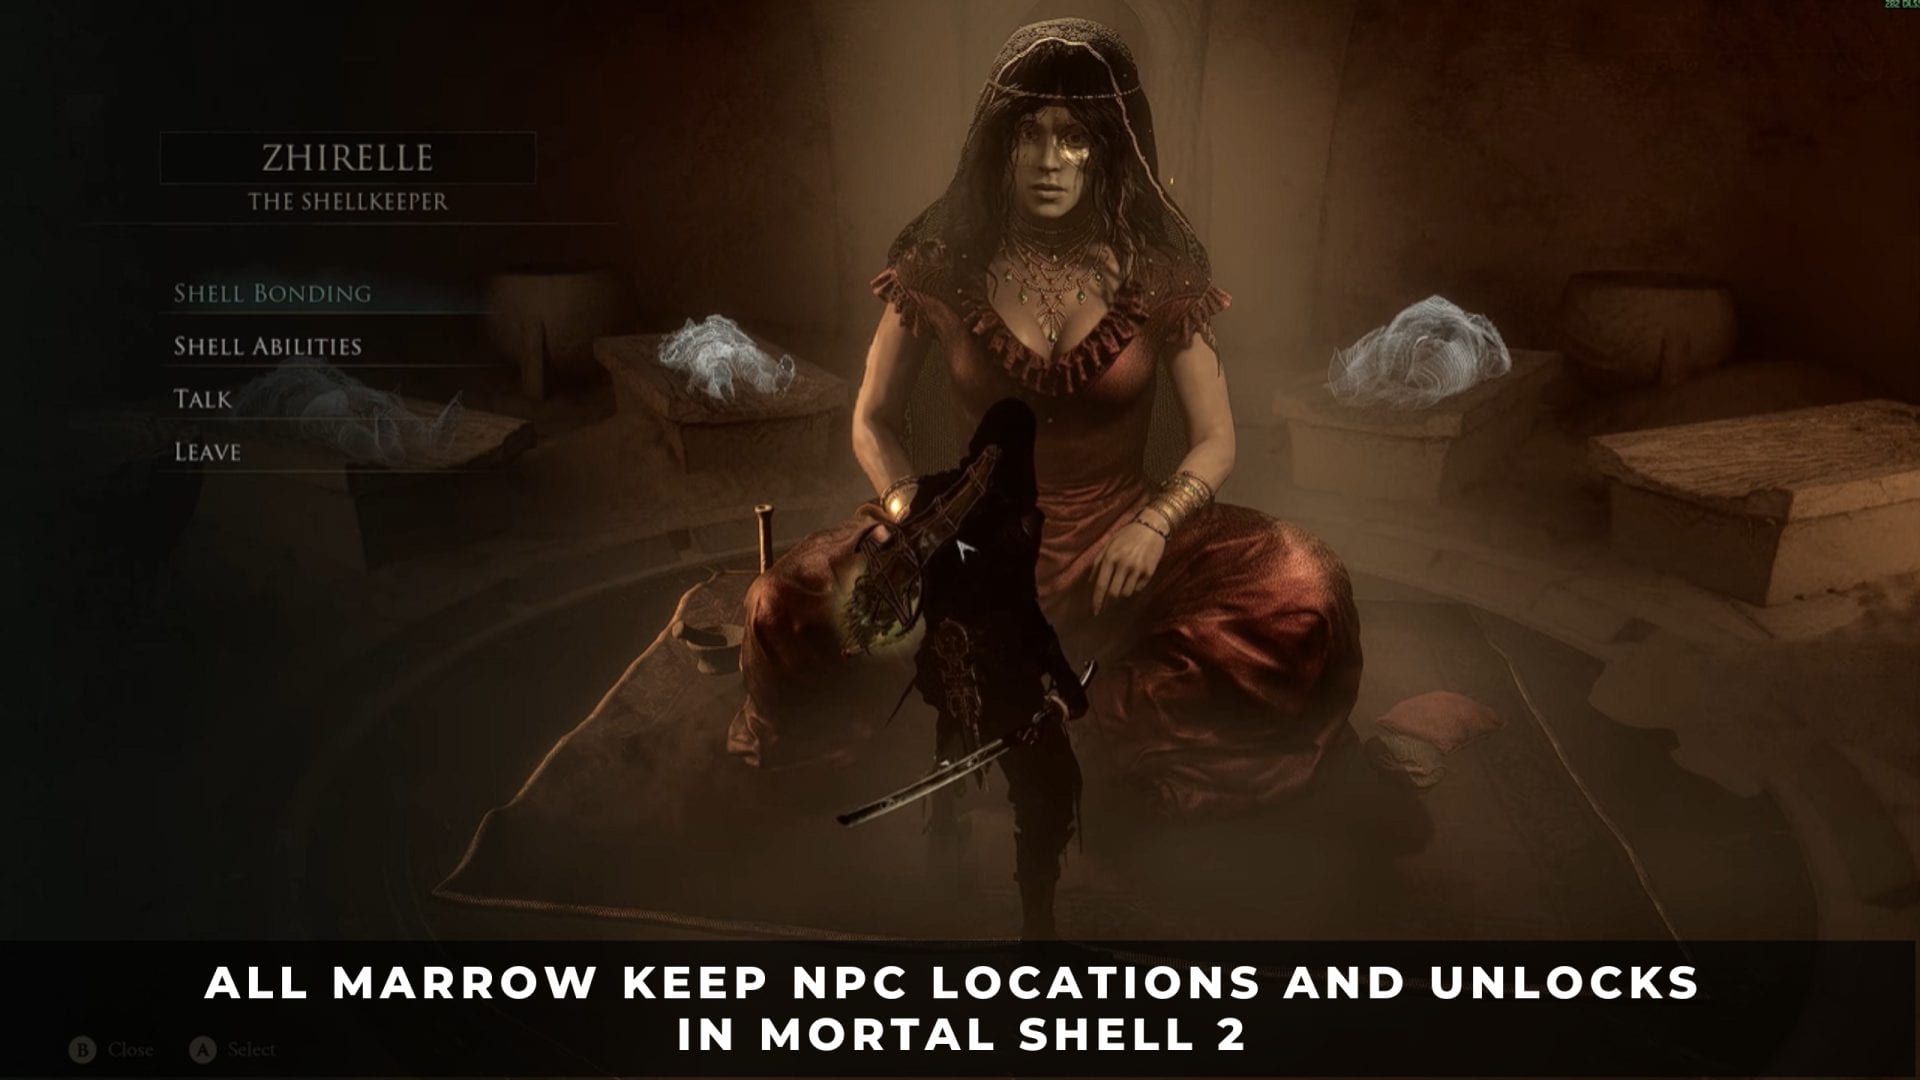
Six residents control Shell bonds, weapon upgrades, healing capacity, Ova conversion, the parry Seal, and the Night Mode toggle. Several services stay locked until you hand over the required item.
1. All Marrow Keep NPCs in Mortal Shell 2
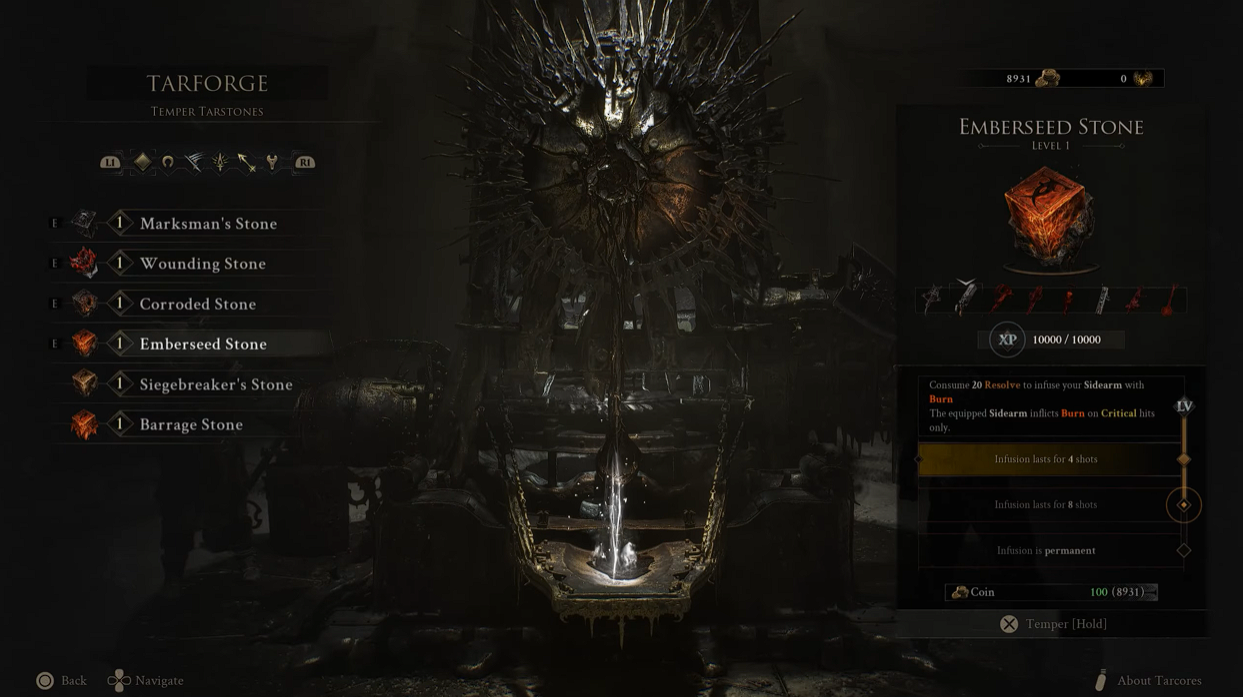
Upgrading Tarstones
Ten characters appear in and around Marrow Keep. Six of them run a system you need, three add guidance or flavor, and one arrives only after you finish his questline out in the world. The table below maps each character to their spot in the hub and the system they control.
| NPC | Where They Stand | What They Handle |
|---|---|---|
| Zhirelle | Entrance, behind the Beacon | Shell Bond Tiers and Memories |
| Franz | Tarforge chamber | Weapon, Sidearm and Tarstone upgrades |
| Merrick | East Wing Shop | Healing upgrades and Tarstones |
| Louis | Beside Merrick | Merrick’s Great Dane |
| Milos | Gloom Siphon Hall | Ovum siphoning |
| Sester Genessa | West Wing Arena | Infinite Seal and her Shell |
| Thestus | Top of the elevator | Night Mode toggle |
| Ruk | Top of the elevator | Route guidance |
| Vratko | Left of the Beacon | Dialogue only |
| Vlas | Outside the main gate | Questline ending |
Exhaust every dialogue option each time you return from a boss or a Corrupted Gate. Several residents change their stock, open new services, or move once you clear a progression check, and the game gives no prompt when that happens.
2. Zhirelle the Shellkeeper and Shell Bond Upgrades
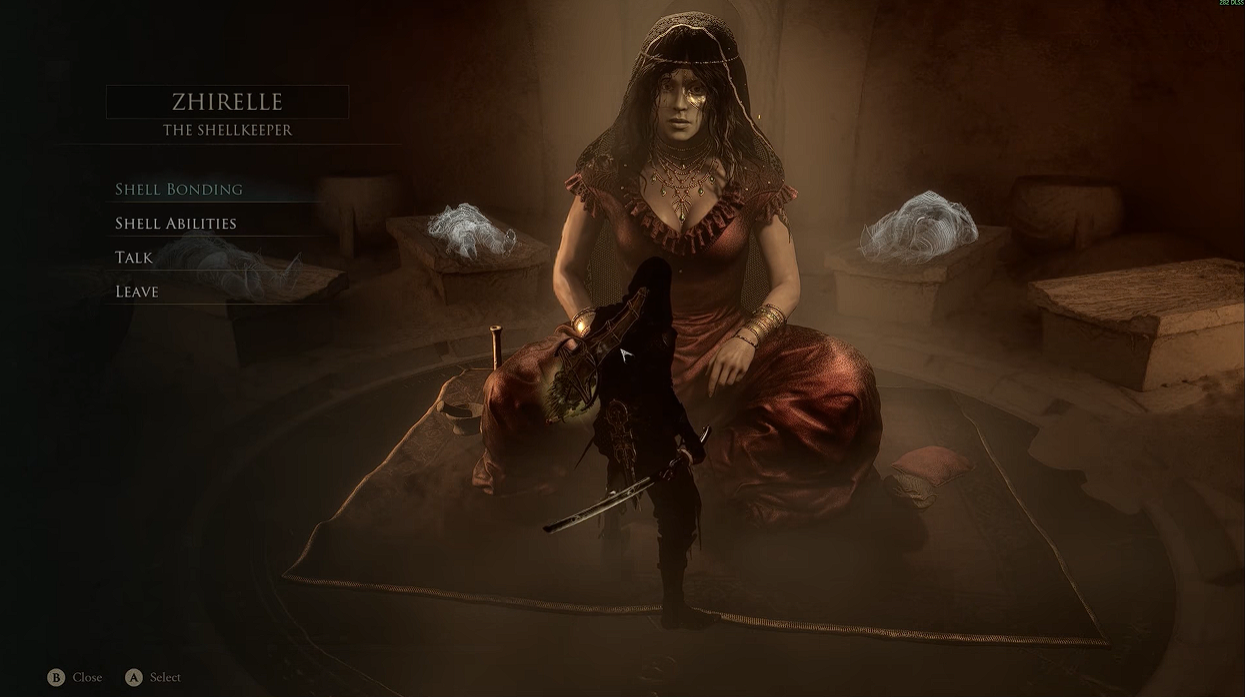
Zhirelle
Zhirelle stands at the entrance behind the Beacon and controls everything tied to your Shells. She is the first character you meet in Marrow Keep, telling you that Harros is gone and marking two replacement Shells on your map for free.
What Zhirelle Upgrades on Each Shell
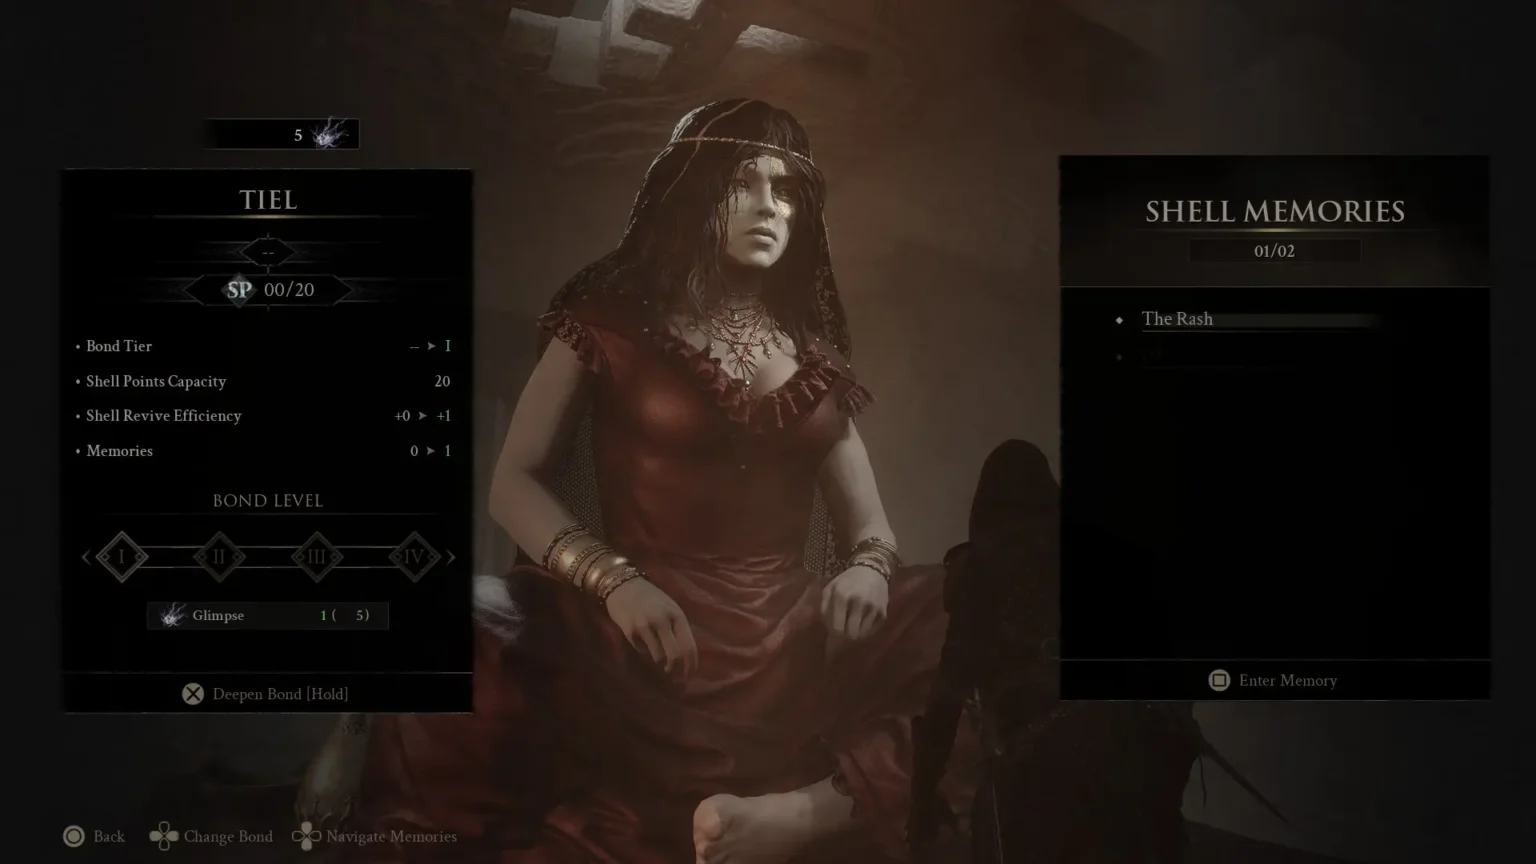
Spending Glimpse with Zhirelle raises four separate values on a single Shell, and each Bond Tier also opens a higher tier of that Shell’s passive abilities.
- Bond Tier: Unlocks the next tier of passive abilities for that Shell.
- Shell Points capacity: Raises how many passives you can run at once.
- Shell Revive Efficiency: Improves the amount of health Shell returns.
- Memories: Playable story sequences that expand the Shell’s ability set.
Shell Points themselves come from leveling the Harbinger with Gloom at any Beacon, not from Zhirelle. You can allocate and reset those points at a Beacon or in her room, so respeccing a build costs nothing.
How to Reveal Shell Locations with Glimpse
Upgrading a Shell
Zhirelle marks the map location of any Shell you have not found yet, at a cost of 3 to 5 Glimpse per marker. Tiel and Proxima are the exceptions; Zhirelle marks both for free during your first conversation with her.
Skip these markers. Every Shell can be reached through normal exploration, and our Mortal Shell II Shell locations guide lists the routes, so Glimpse spent on markers is Glimpse taken from your bonds.
Best Way to Spend Glimpse on a First Playthrough
A single playthrough does not produce enough Glimpse to raise every Shell to its maximum Bond Tier, and spent Glimpse cannot be refunded. Commit to one or two Shells and take them as deep as the resource allows.
- Pick your main Shell early. Choose the playstyle you want before spending anything, because the investment is permanent.
- Clear the first Memory of any Shell you intend to use. This locks the Shell in permanently and opens its ability tree.
- Raise Bond Tier on that Shell before touching a second one. Higher tiers gate the strongest passives.
- Bank the remainder for New Game Plus. Shells carry over, so leftover Glimpse continues the same investment on a second run.
3. Franz the Smith and Every Tarforge Function
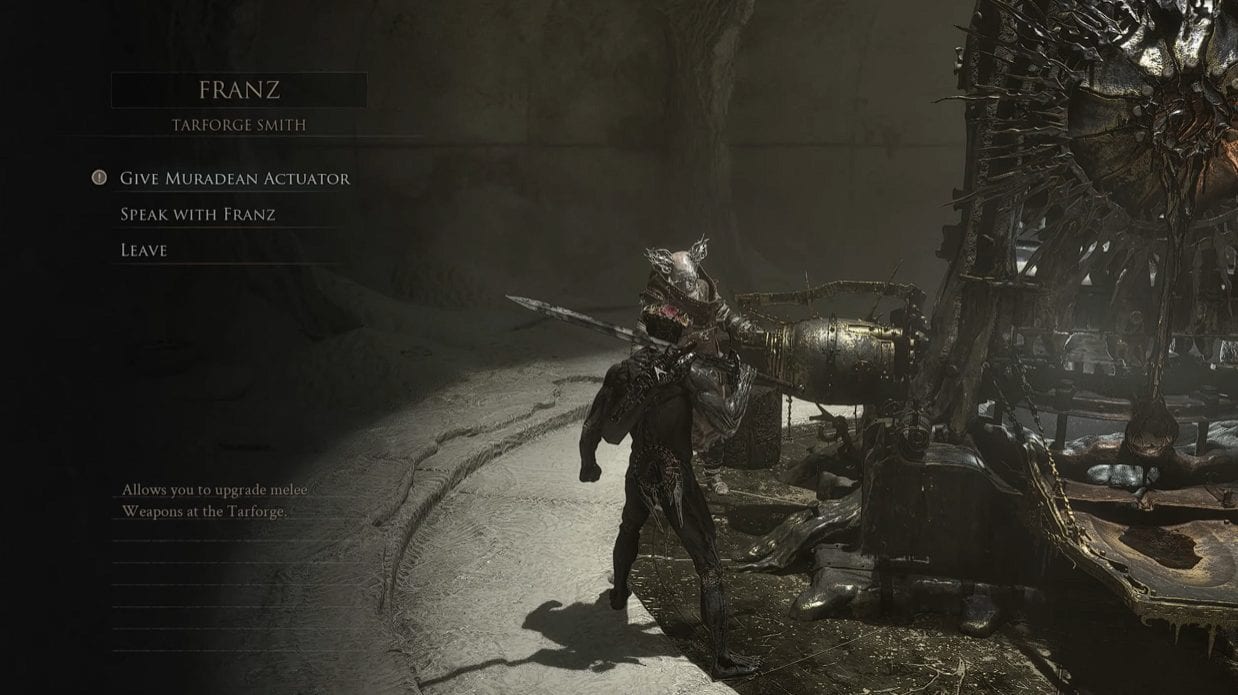
Franz
Franz works the Tarforge north of the Gloom Siphon, and the machine arrives broken. Every upgrade function stays locked until you find the matching key item out in the world and hand it to him, which is why weapon upgrades feel unavailable for the first hours of a run.
Tarforge Key Items and What Each One Unlocks
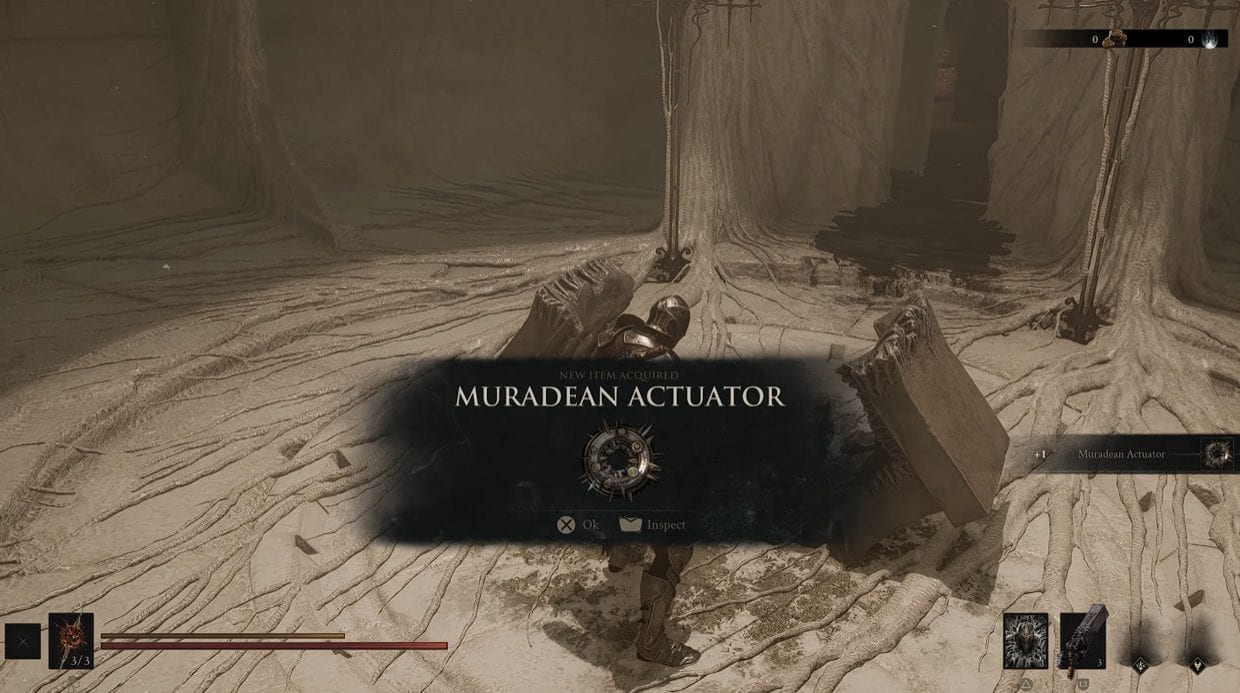
Muradean Actuator
Four items go directly to Franz, and each one toggles a single function in the Tarforge menu.
- Muradean Actuator: Enhance Weapons. Sits in an optional chest inside the Village Outskirts cleanse dungeon during the prologue.
- Obsidian Lathe: Enhance Sidearms. Found in Martyr’s Tomb, the dungeon south of the Widow’s Overlook Beacon.
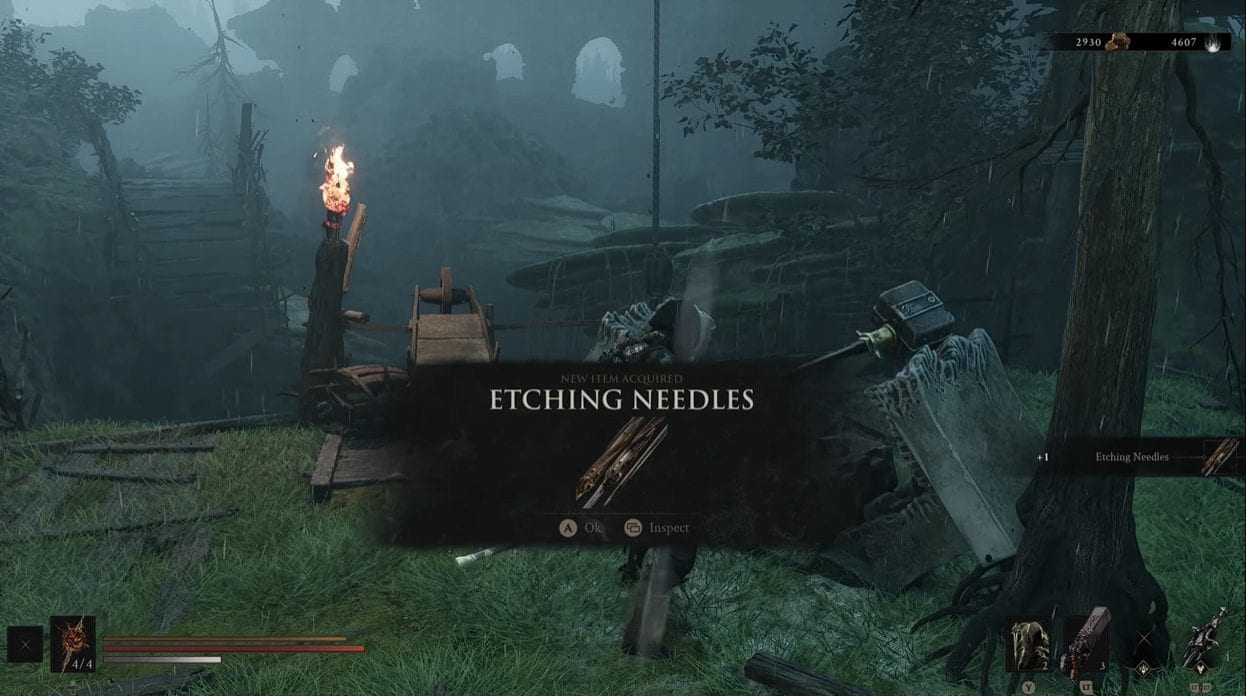
- Etching Needles: Temper Tarstones. Sits in a chest in the Glutted Mire, just before the Magdalena boss arena.
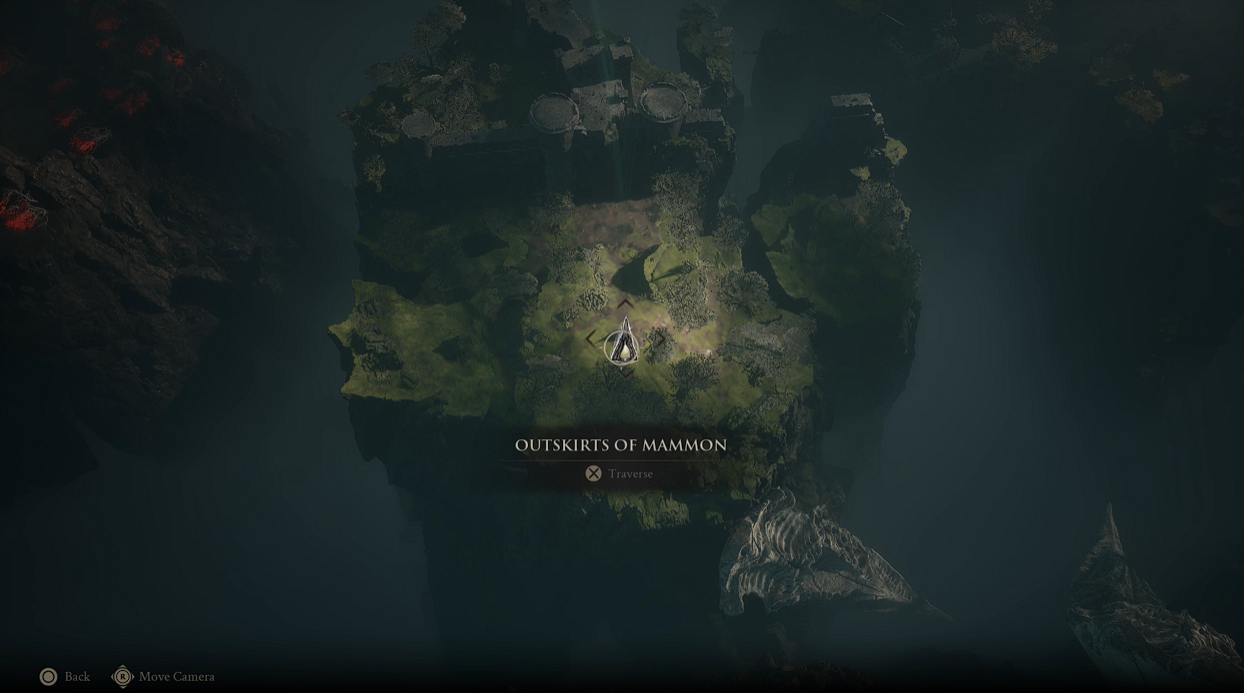
- Foundry Stone: Smelt Equipment. Guarded by a large enemy group near the gateway at the Outskirts of Mammon.
Prioritize the Muradean Actuator. Getting a primary weapon to +3 or +4 early flattens the difficulty curve more than any other upgrade in the hub. The full route breakdown, including the Endless Core that raises the upgrade ceiling, sits in our Tarforge upgrades guide.
What Happens If You Kill Franz
Killing Franz unlocks all four Tarforge functions immediately and removes the item requirement. The forge keeps working without him, and the four key items convert into materials instead, paying out 7 Ventrium, 4 Laterite, and 3 Dorsalite each time you feed one in.
The trade is the character himself and his dialogue. Players chasing the fastest possible upgrade access take this route, while anyone collecting Marrow Keep’s conversations should leave him alive.
4. Merrick the Merchant and Louis the Dog
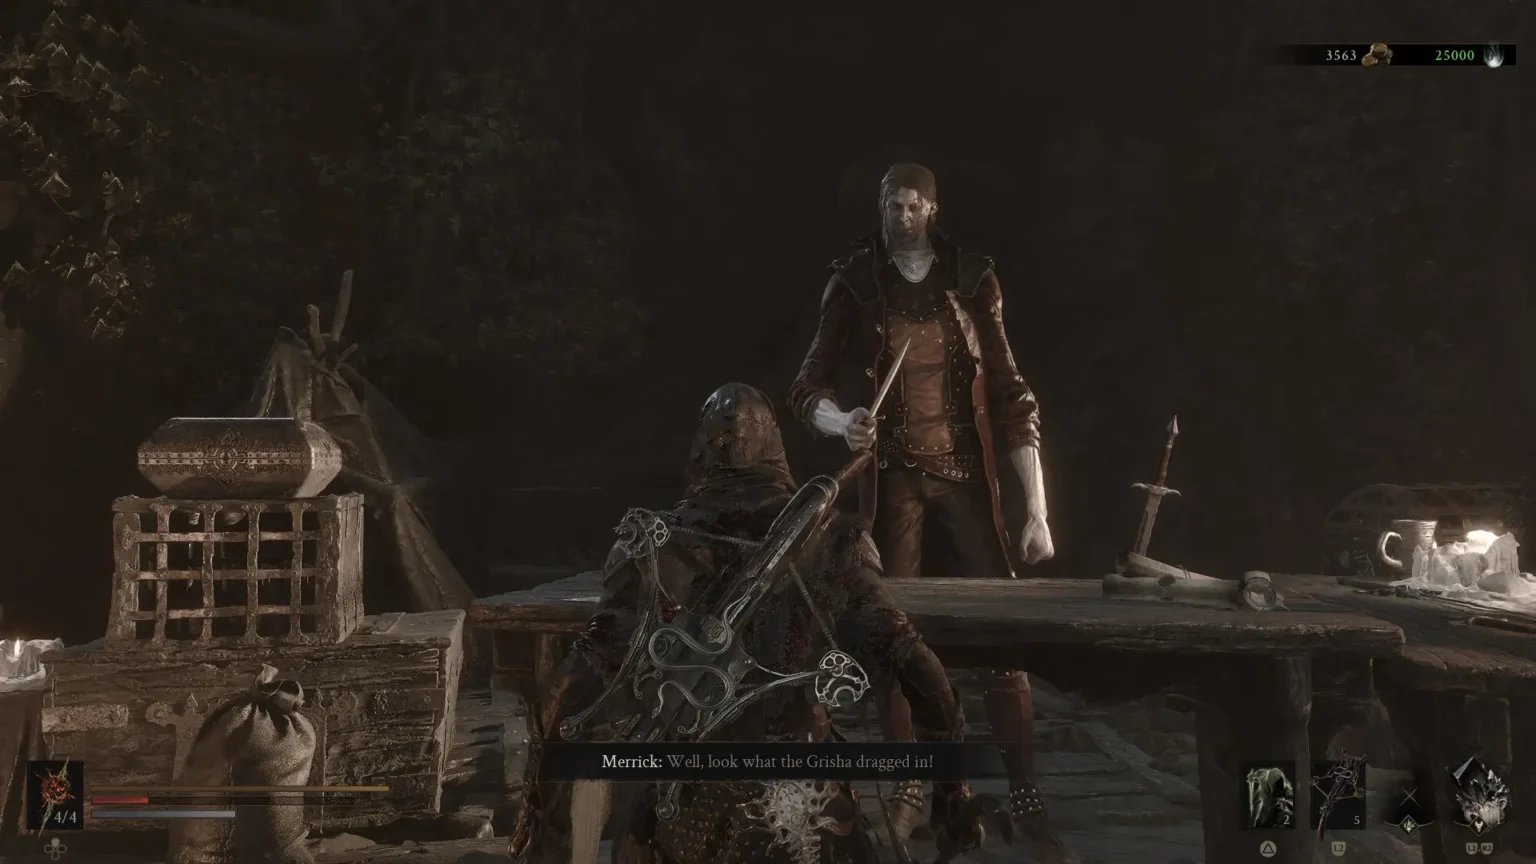
Merrick
The merchant, Merrick, runs the shop in the east wing with his Great Dane, Louis, at his side. He is where the majority of your coin goes, because he sells the two healing upgrades that make early boss fights survivable and a pair of Tarstones you cannot find anywhere else.
What Merrick Sells in Marrow Keep
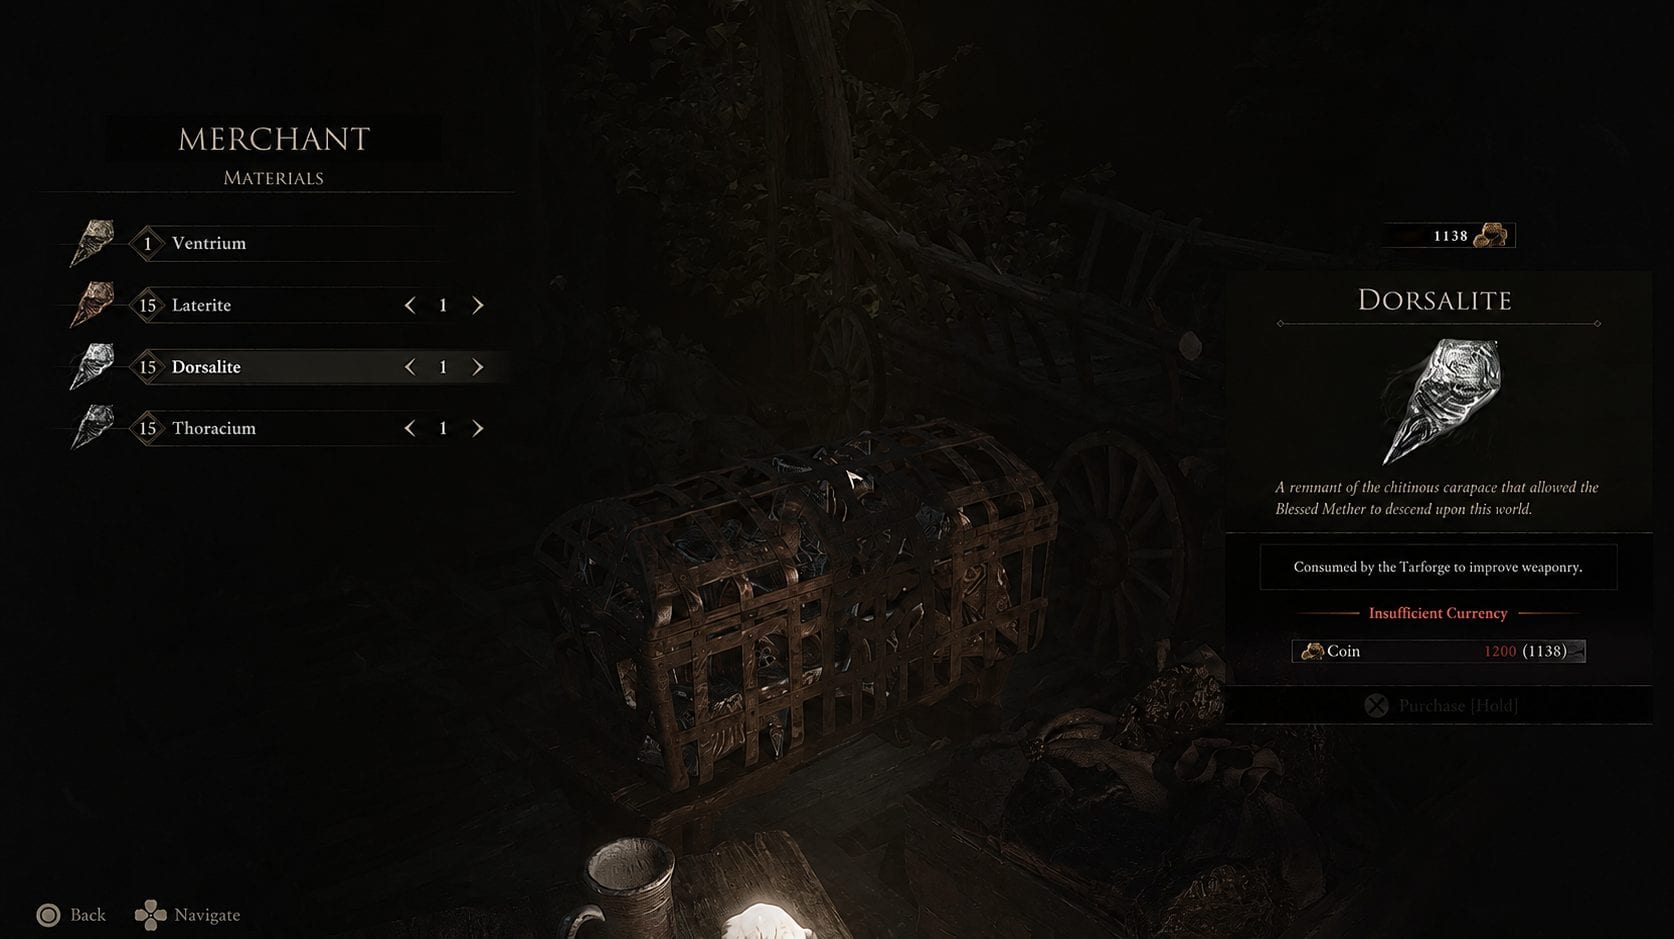
Dorsalite in Merrick’s Shop
His stock splits into permanent upgrades, build items, and map markers, and the healing entries deserve your first coins.
- Revered Gland: 1,500 coins. Adds a charge to Mether’s Pulse, your healing flask.
- Synaptic Vessel: 1,500 coins. Raises the health restored per charge.
- Acolyte’s Stone: 2,000 coins. A Tarstone sold only here.
- Unwieldy Stone: 2,000 coins. Adds a charged heavy attack that heals on kill at higher levels.
- Weapon location maps: Priced per weapon, marking the pickup on your overworld map.
Buying a Revered Gland or Synaptic Vessel does not automatically apply the upgrade. Take the item to any Beacon, open the Mether’s Pulse menu, and spend it there.
Merrick also marks the Forgotten Crossbow on your map through dialogue at no cost, and the paid maps cover pickups that our Mortal Shell II weapon locations guide already routes for free.
How to Unlock Merrick’s Shop When It Is Closed
Merrick’s shop is closed on your first visit to Marrow Keep, and no dialogue option opens it. Fast travel to any Beacon on the map, then return to the hub. His stock is live when you come back.
He hands over a map showing the Axe and Dagger weapon location as an apology during that first conversation, so the trip is not wasted.
How to Pet Louis the Dog
Louis refuses the Harbinger upon arrival and continues to refuse in most Shells. Proxima the Broodseeker is the only Shell he accepts, so equip her, walk up to him beside Merrick’s counter, and the petting prompt appears.
5. Milos and the Gloom Siphon
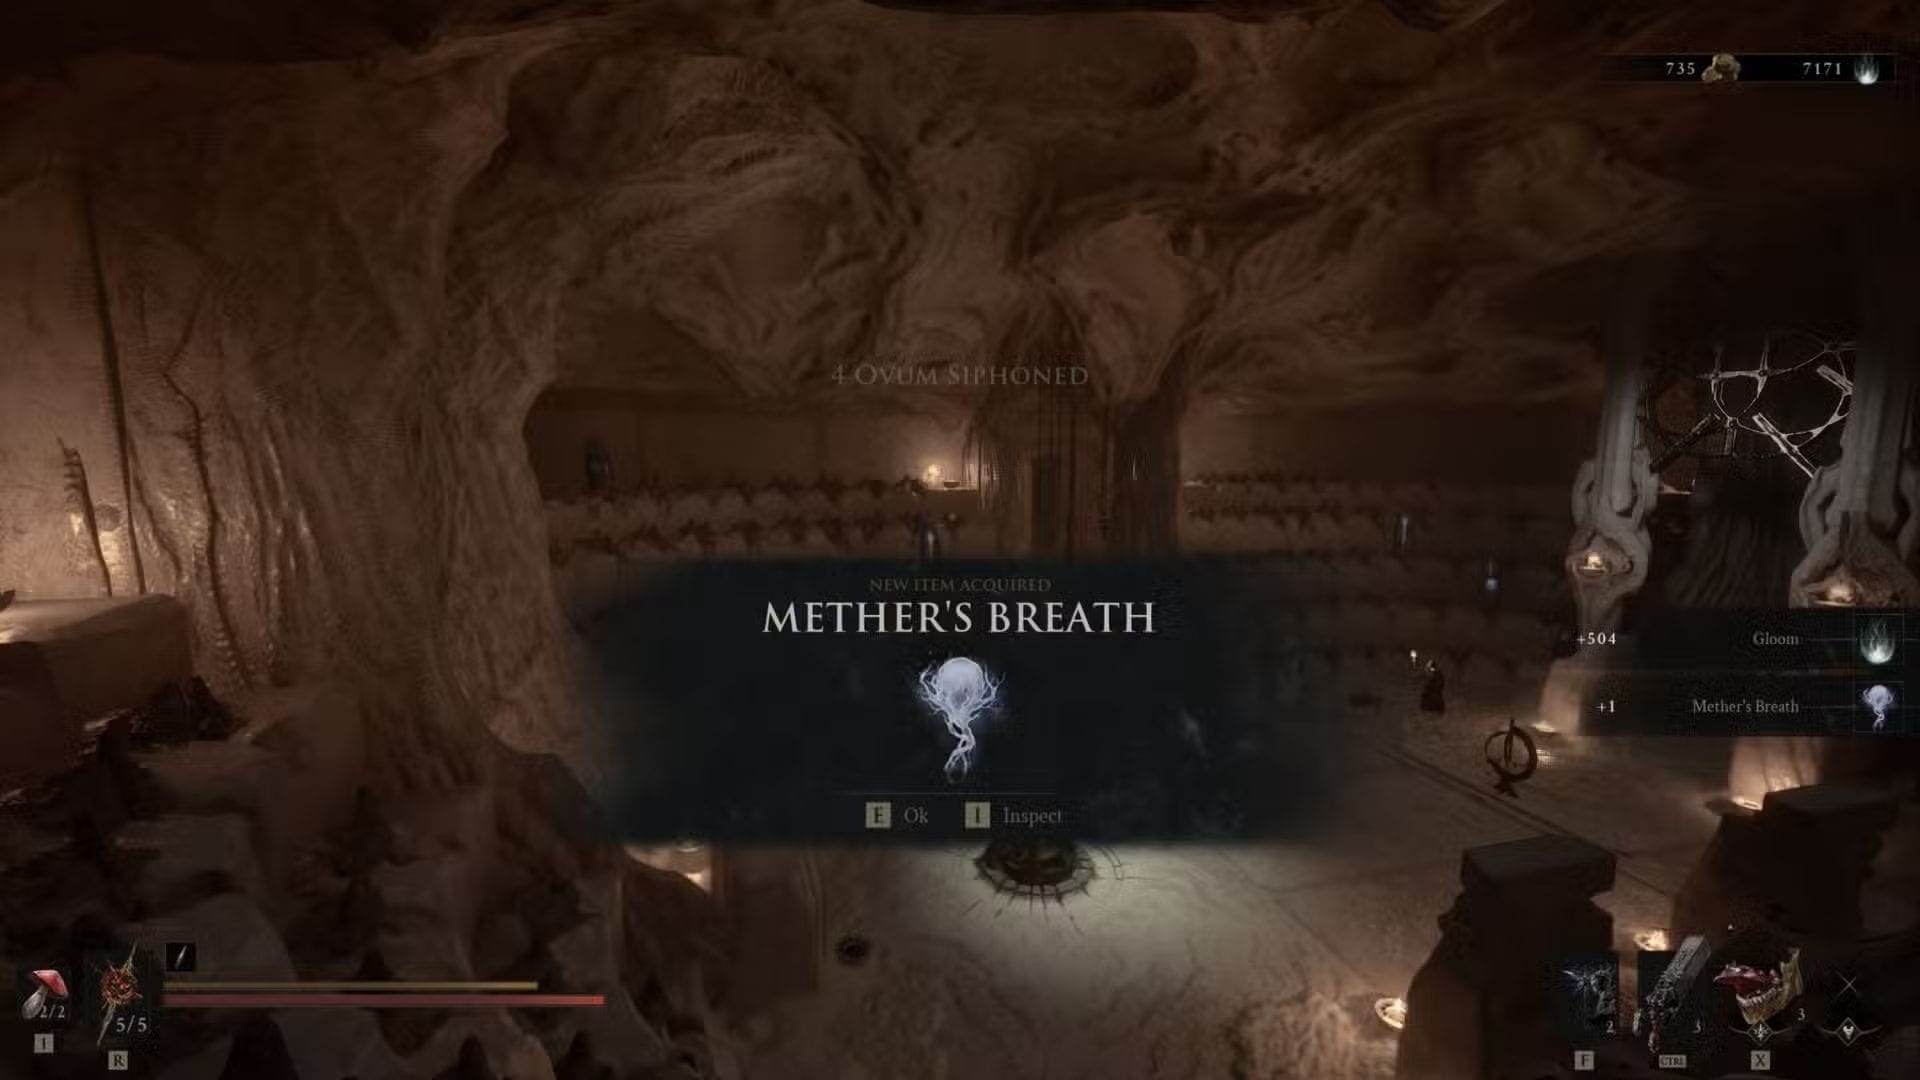
Mether’s Breath
Milos is the Ovum Keeper, stationed in the hall between the Tarforge and Merrick’s shop. He explains the Gloom Siphon, the device that converts the Ovum you recover from cleansed Beacons and Corrupted Gates into usable Gloom and Ova.
How to Siphon Ovum for Gloom and Ova
Interact with the Siphon every time you return to the hub. Ovum accumulates quietly while you explore, and the payout scales with how many you have banked since the last visit.
Your first siphon deliveries also grant Mether’s Breath, the power that enables Beacon-to-Beacon fast travel and burns away the corruption blocking jump pads and side routes. Several early pickups sit behind that corruption, so reaching this threshold reopens areas you walked past.
Milos and the Point of No Return
Once you hold 168 Ovum, approaching Milos in the Siphon room opens a route through the floor into a large area beneath Marrow Keep, ending with Zmey, the Unbidden. Clearing it adds a Send Ova option to the Siphon.
Send Ova is the point of no return. It triggers the final cutscene with no confirmation prompt and moves you into New Game Plus, so finish your collectible sweep and your trophy and achievement cleanup in free roam before you select it.
6. Sester Genessa, the Infinite Seal, and Her Shell
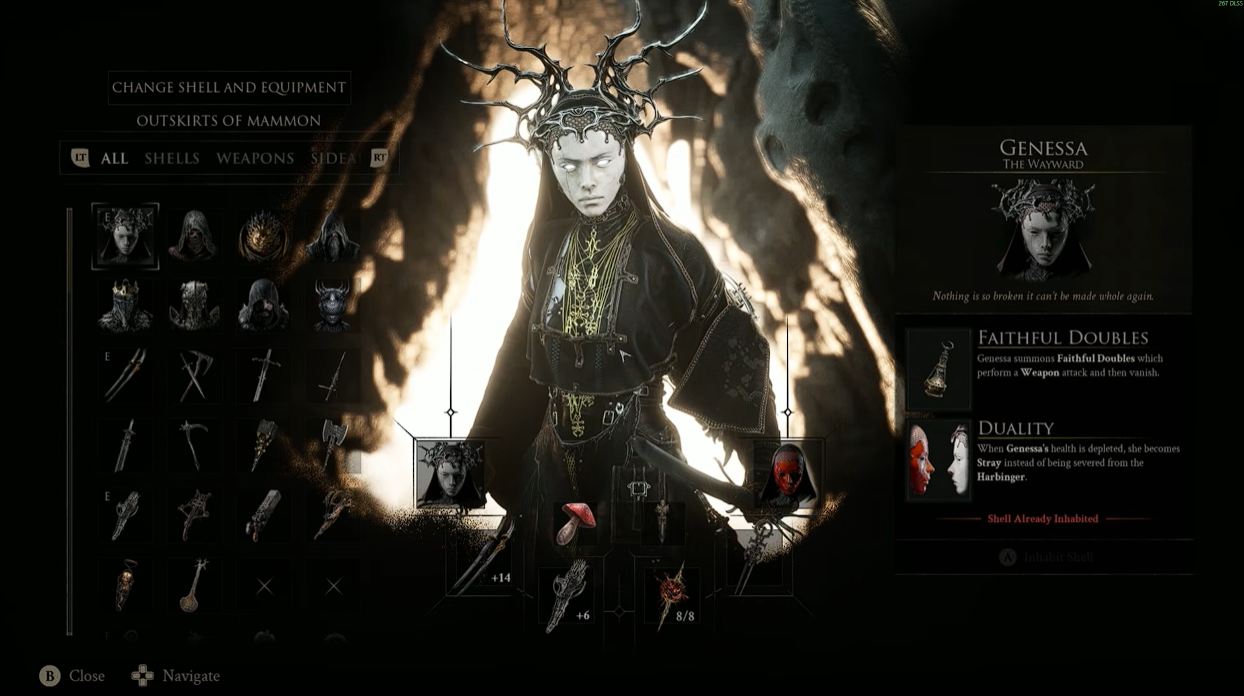
Sester Genessa
Sester Genessa stands in the round arena, surrounded by white coffins in the west wing, accessible via the tunnel across from Vratko. She returns from the first game as a sparring partner, and she gives away the single most important combat item in the hub.
How to Get the Infinite Seal
The Infinite Seal is the only item in the game that grants a parry, and Genessa hands it over for finishing a two-minute tutorial. Get it before you leave the hub for the first time.
- Speak to Genessa and accept the guard tutorial. She attacks in a controlled sequence.
- Guard three of her attacks with LB on Xbox, L1 on PlayStation, or Q on keyboard.
- Land the riposte after the three guards connect, and Genessa opens herself up.
- Equip the Seal from your inventory, then practice against her in the arena.
Equipping the Infinite Seal replaces your block with a parry. The timing window is far tighter than a guard, and a clean parry pushes a large amount of Break damage onto the enemy, opening a riposte.
How to Unlock Genessa the Wayward
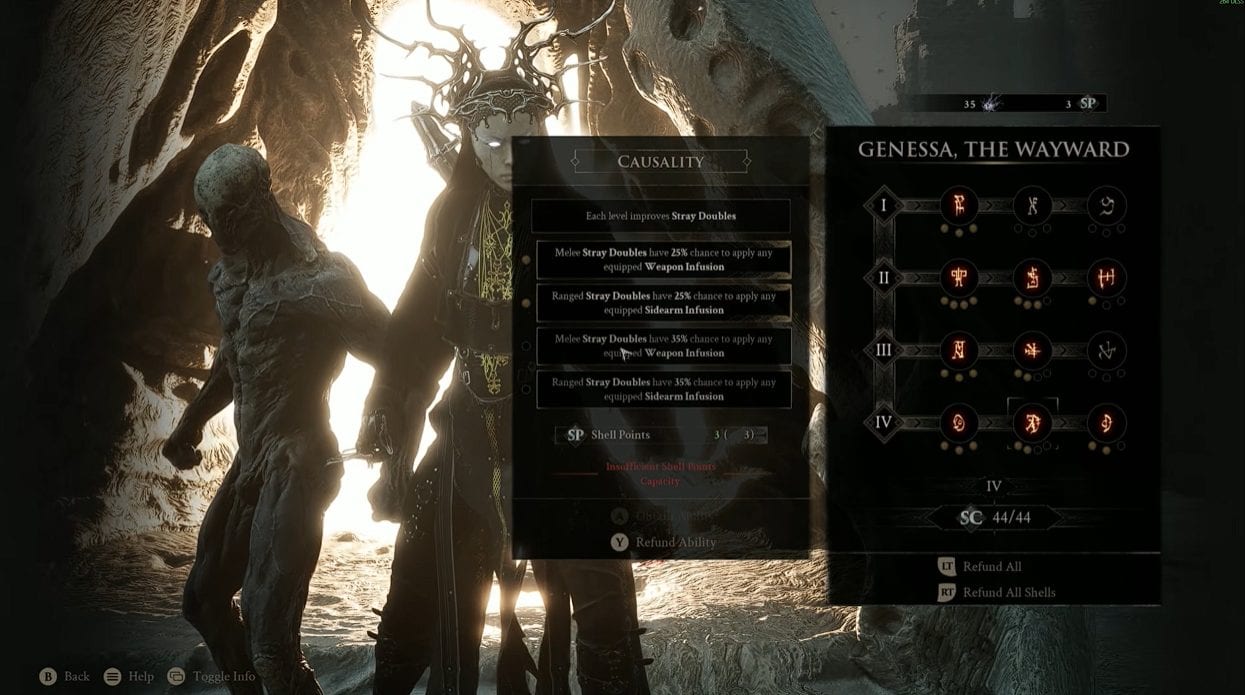
Genessa Shell Abilities
Genessa is also the eighth playable Shell, and she is the only one with no map marker. Talking to her in Marrow Keep does nothing until you bring back the Sester’s Censer from the Revenant Graves in the Ruins of Mammon, where it triggers a fight against Sester Secundus.
Hand over the Censer, and her first Memory plays out. From that point, her Bond Tier upgrades come from her directly rather than from Zhirelle, and she becomes Stray Sester in the arena once you inhabit her Shell.
7. Thestus and the Night Mode Toggle
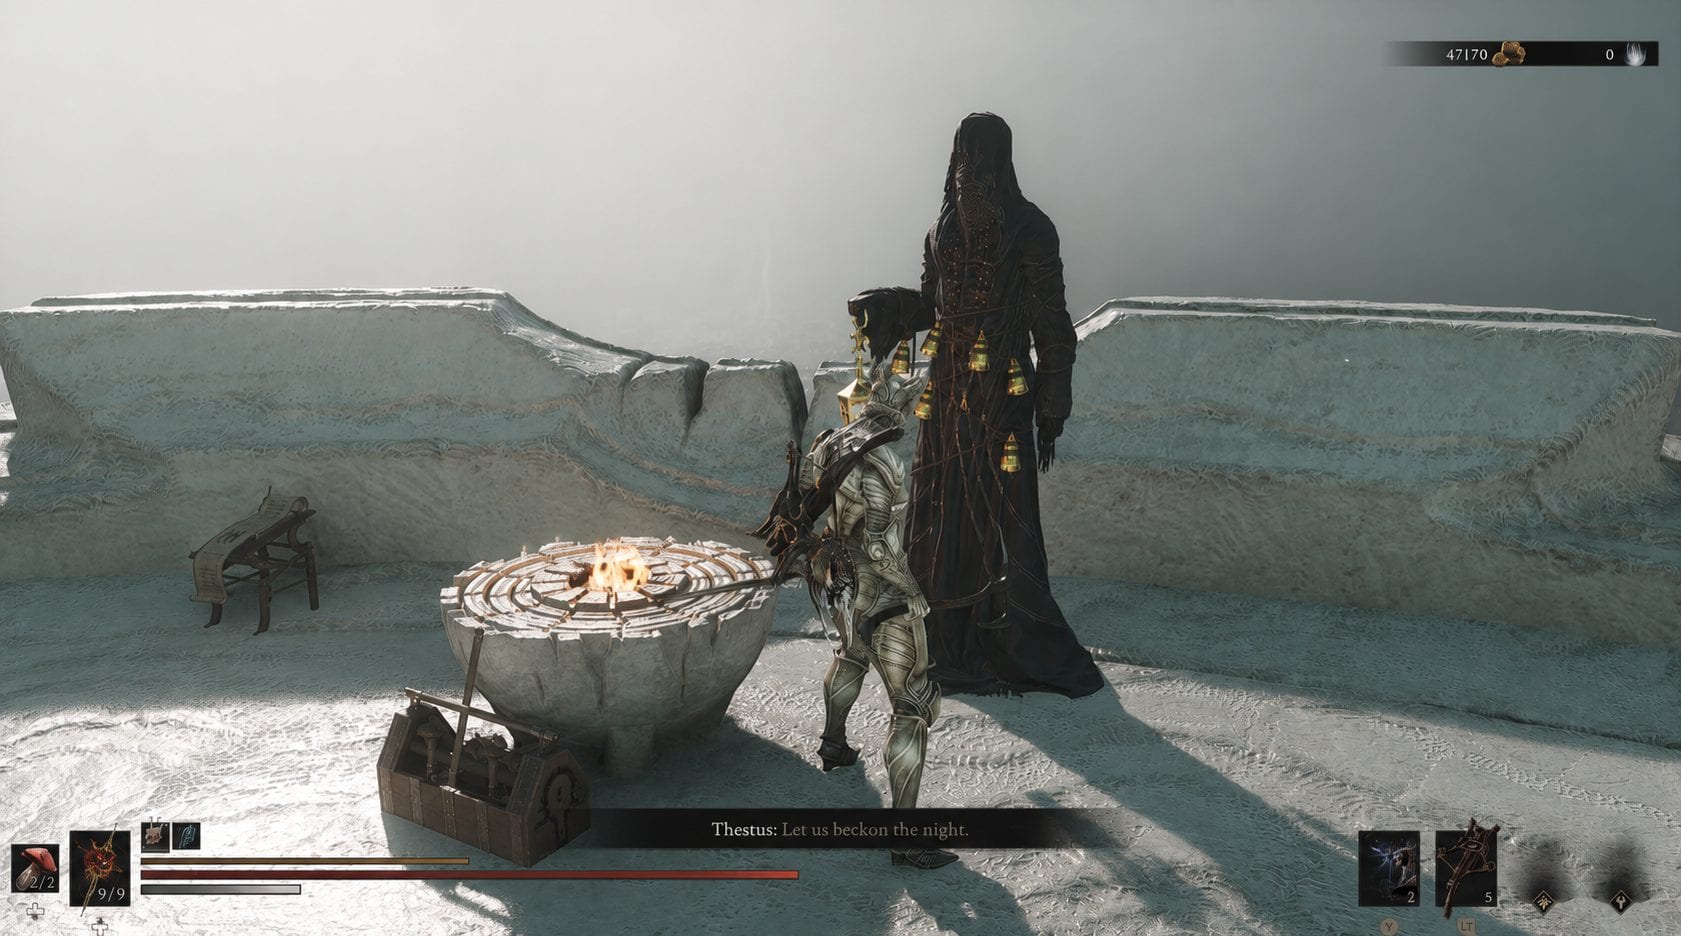
Thestus
Thestus is the one Marrow Keep resident you have to summon. He appears at the top of the elevator, beside the fast travel platform, and he controls Night Mode, the game’s hard difficulty layer.
How to Summon Thestus with the Gloombound Flame
Thestus arrives once you light the brazier at the top of the keep with the Gloombound Flame, a key item from the Fainweald region.
- Travel to Widow’s Overlook and take the sloping path down to the gravestone area.
- Grab the Gloombound Flame beside the Great Arbiter of Flesh. Killing the miniboss is optional.
- Return to the keep’s peak using the elevator behind the Beacon.
- Light the brazier with the Flame to summon Thestus.
- Select “Call forth the Night” from his dialogue to activate Night Mode.
Night Mode raises enemy health and damage, increases enemy density, and darkens the world. It pays out more Gloom and Coin in return, and it gates content that never appears in daylight, including exclusive NPCs, dungeons, items, and achievements.
How to Turn Night Mode Off
Return to Thestus at the same spot and ask him to bring back the day. The toggle works in both directions with no cooldown and no lockout, so a difficult stretch never traps you in the harder state.
Night-only content stays available, since you can flip back at any point. Anyone chasing full completion has to spend time in Night Mode, because certain dungeons and vendor stock exist nowhere else.
8. Ruk, Vratko, and Vlas in Marrow Keep
The remaining three characters run no upgrade system, but two of them are worth tracking. One marks loot across the world, and one only shows up if you complete an easily missed questline.
Ruk the Harbinger’s Guide
Etching Needles
Ruk is a black-feathered bird who serves as your guide, first appearing in the prologue and later perching at the top of Marrow Keep near the fast travel platform. He hands over zone maps and points you toward the Undermether’s demands.
Watch for him in the world as well. His perches sit next to notable chests, and the Etching Needles that unlock Tarstone upgrades are in a bone chest just past where he sits before the Magdalena arena.
Vratko and the Milk Bath
Vratko stands to the left of the Beacon and offers to prepare a milk bath and wash the Harbinger’s feet. The interaction is dialogue only, with no item or upgrade attached.
Vlas and Mutton After His Questline
Outskirts of Mammon
Vlas starts in the Outskirts of Mammon beside a broken cart, injured and looking for his stolen cat. His questline runs through the Lonesome Spire, where he sits in a cage next to a vendor, and it closes with a letter back at his original spot.
Buy everything you want from the Lonesome Spire vendor before you free Vlas, because that vendor disappears permanently once the cage opens. Finish the chain, and Vlas relocates outside Marrow Keep with his cat, Mutton.
Related posts:


