

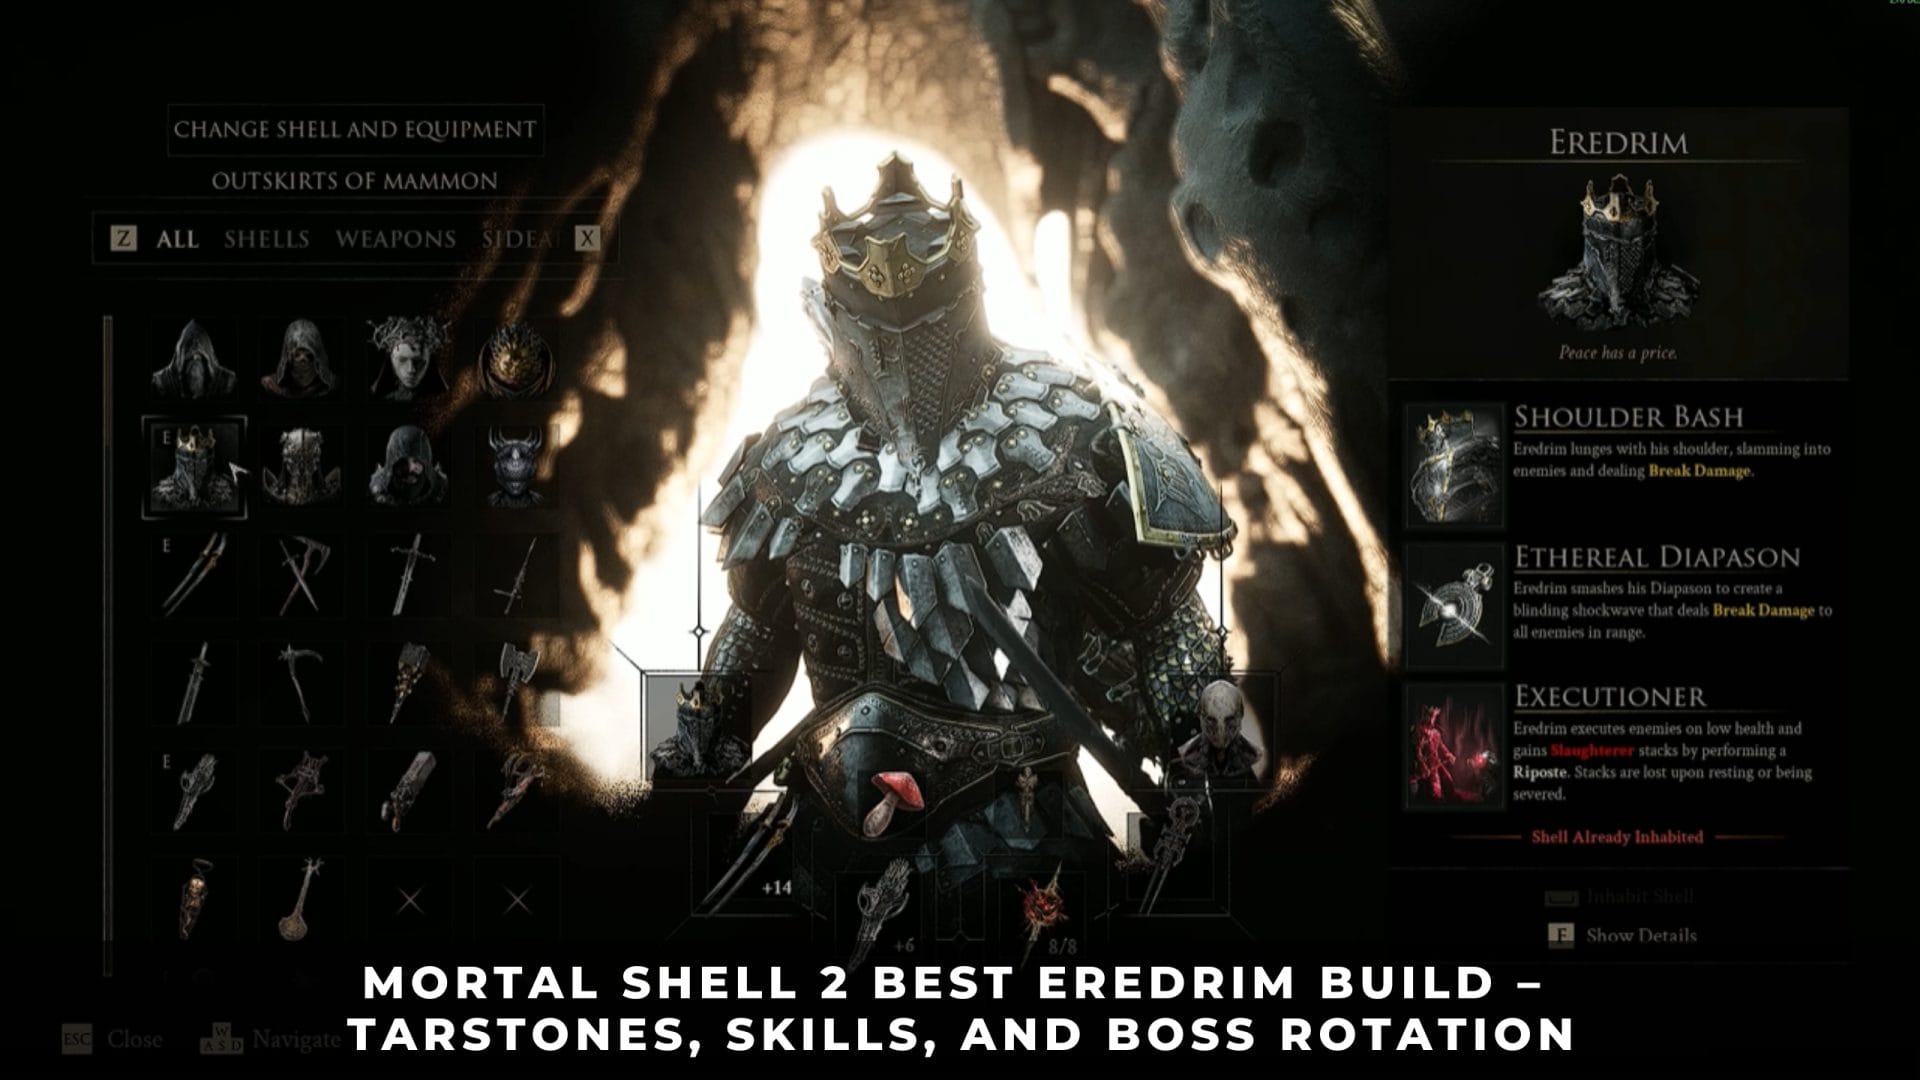
Mortal Shell 2 gives Eredrim the hardest-hitting Break Damage on the roster and then charges him for every swing of it. Balance Patch 1 left the launch Resolve costs untouched, so the Shell that used to chain Shoulder Bash across a boss health bar now has to earn each one.
This build solves that bill directly. It pairs a fast multi-hit weapon with the Shell Point nodes that cut ability costs, and it stops short of the one upgrade that quietly makes the problem worse.
1. Best Eredrim Build in Mortal Shell 2
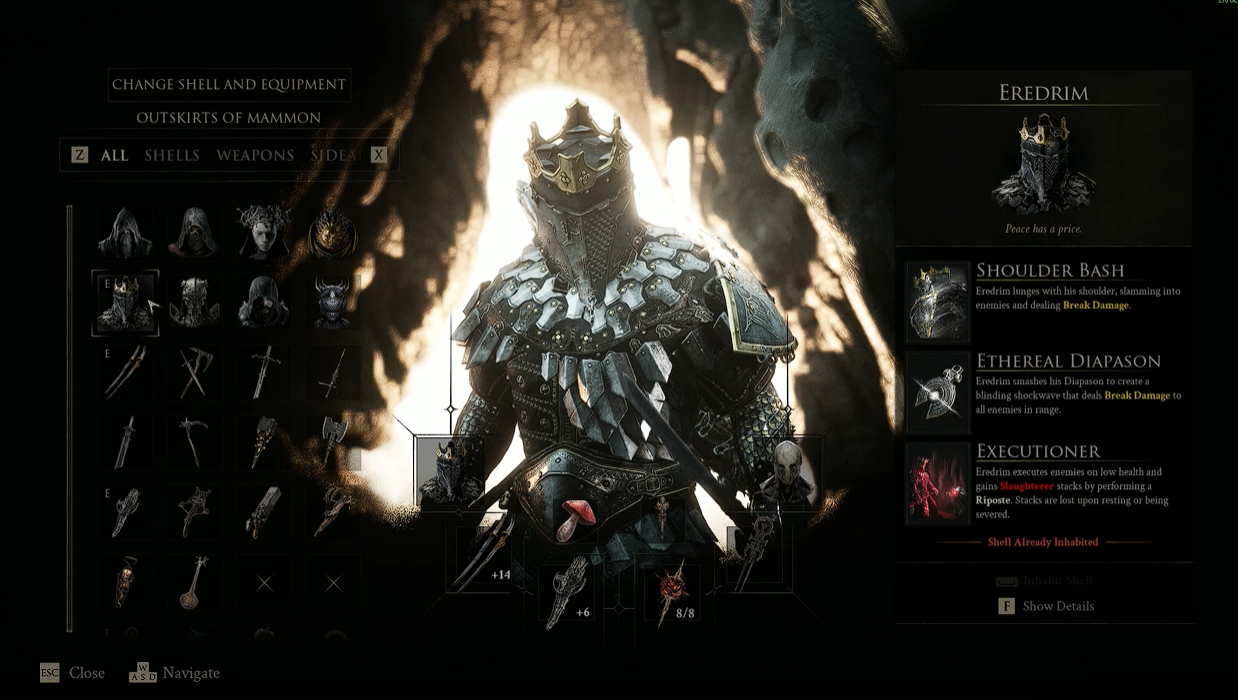
Eredrim, the Venerable
The best Eredrim build runs the Axe & Dagger with the Caged Hystrix, the Infinite Seal, and a Shell Point spread that stops Oppression at level 2. Every piece exists to fund Shoulder Bash rather than to raise its raw damage.
Eredrim trades hits that other Shells have to dodge, and his Break Damage still ends boss posture faster than anything else in the game. The launch cost increase did not weaken the hit. It weakened the frequency, and frequency is a build problem with a build answer.
1.1. Complete Loadout
Each slot below is chosen for Resolve economy first and damage second. Use it as a checklist before a boss attempt.
| Slot | Pick | Role in the Build |
|---|---|---|
| Weapon | Axe & Dagger | Fastest Resolve generation |
| Sidearm | Caged Hystrix | Ranged Break pressure |
| Seal | Infinite Seal | Highest Break per parry |
| Combat Tarstone | Duality Stone | Doubles light attack hits |
| Support Tarstones | Bulwark Stone + Shattering Stone | Damage reduction + stagger after kills |
| Key skill | Alacrity | Cuts ability Resolve cost |
1.2. Where to Find the Shell in the Citadel of Penance
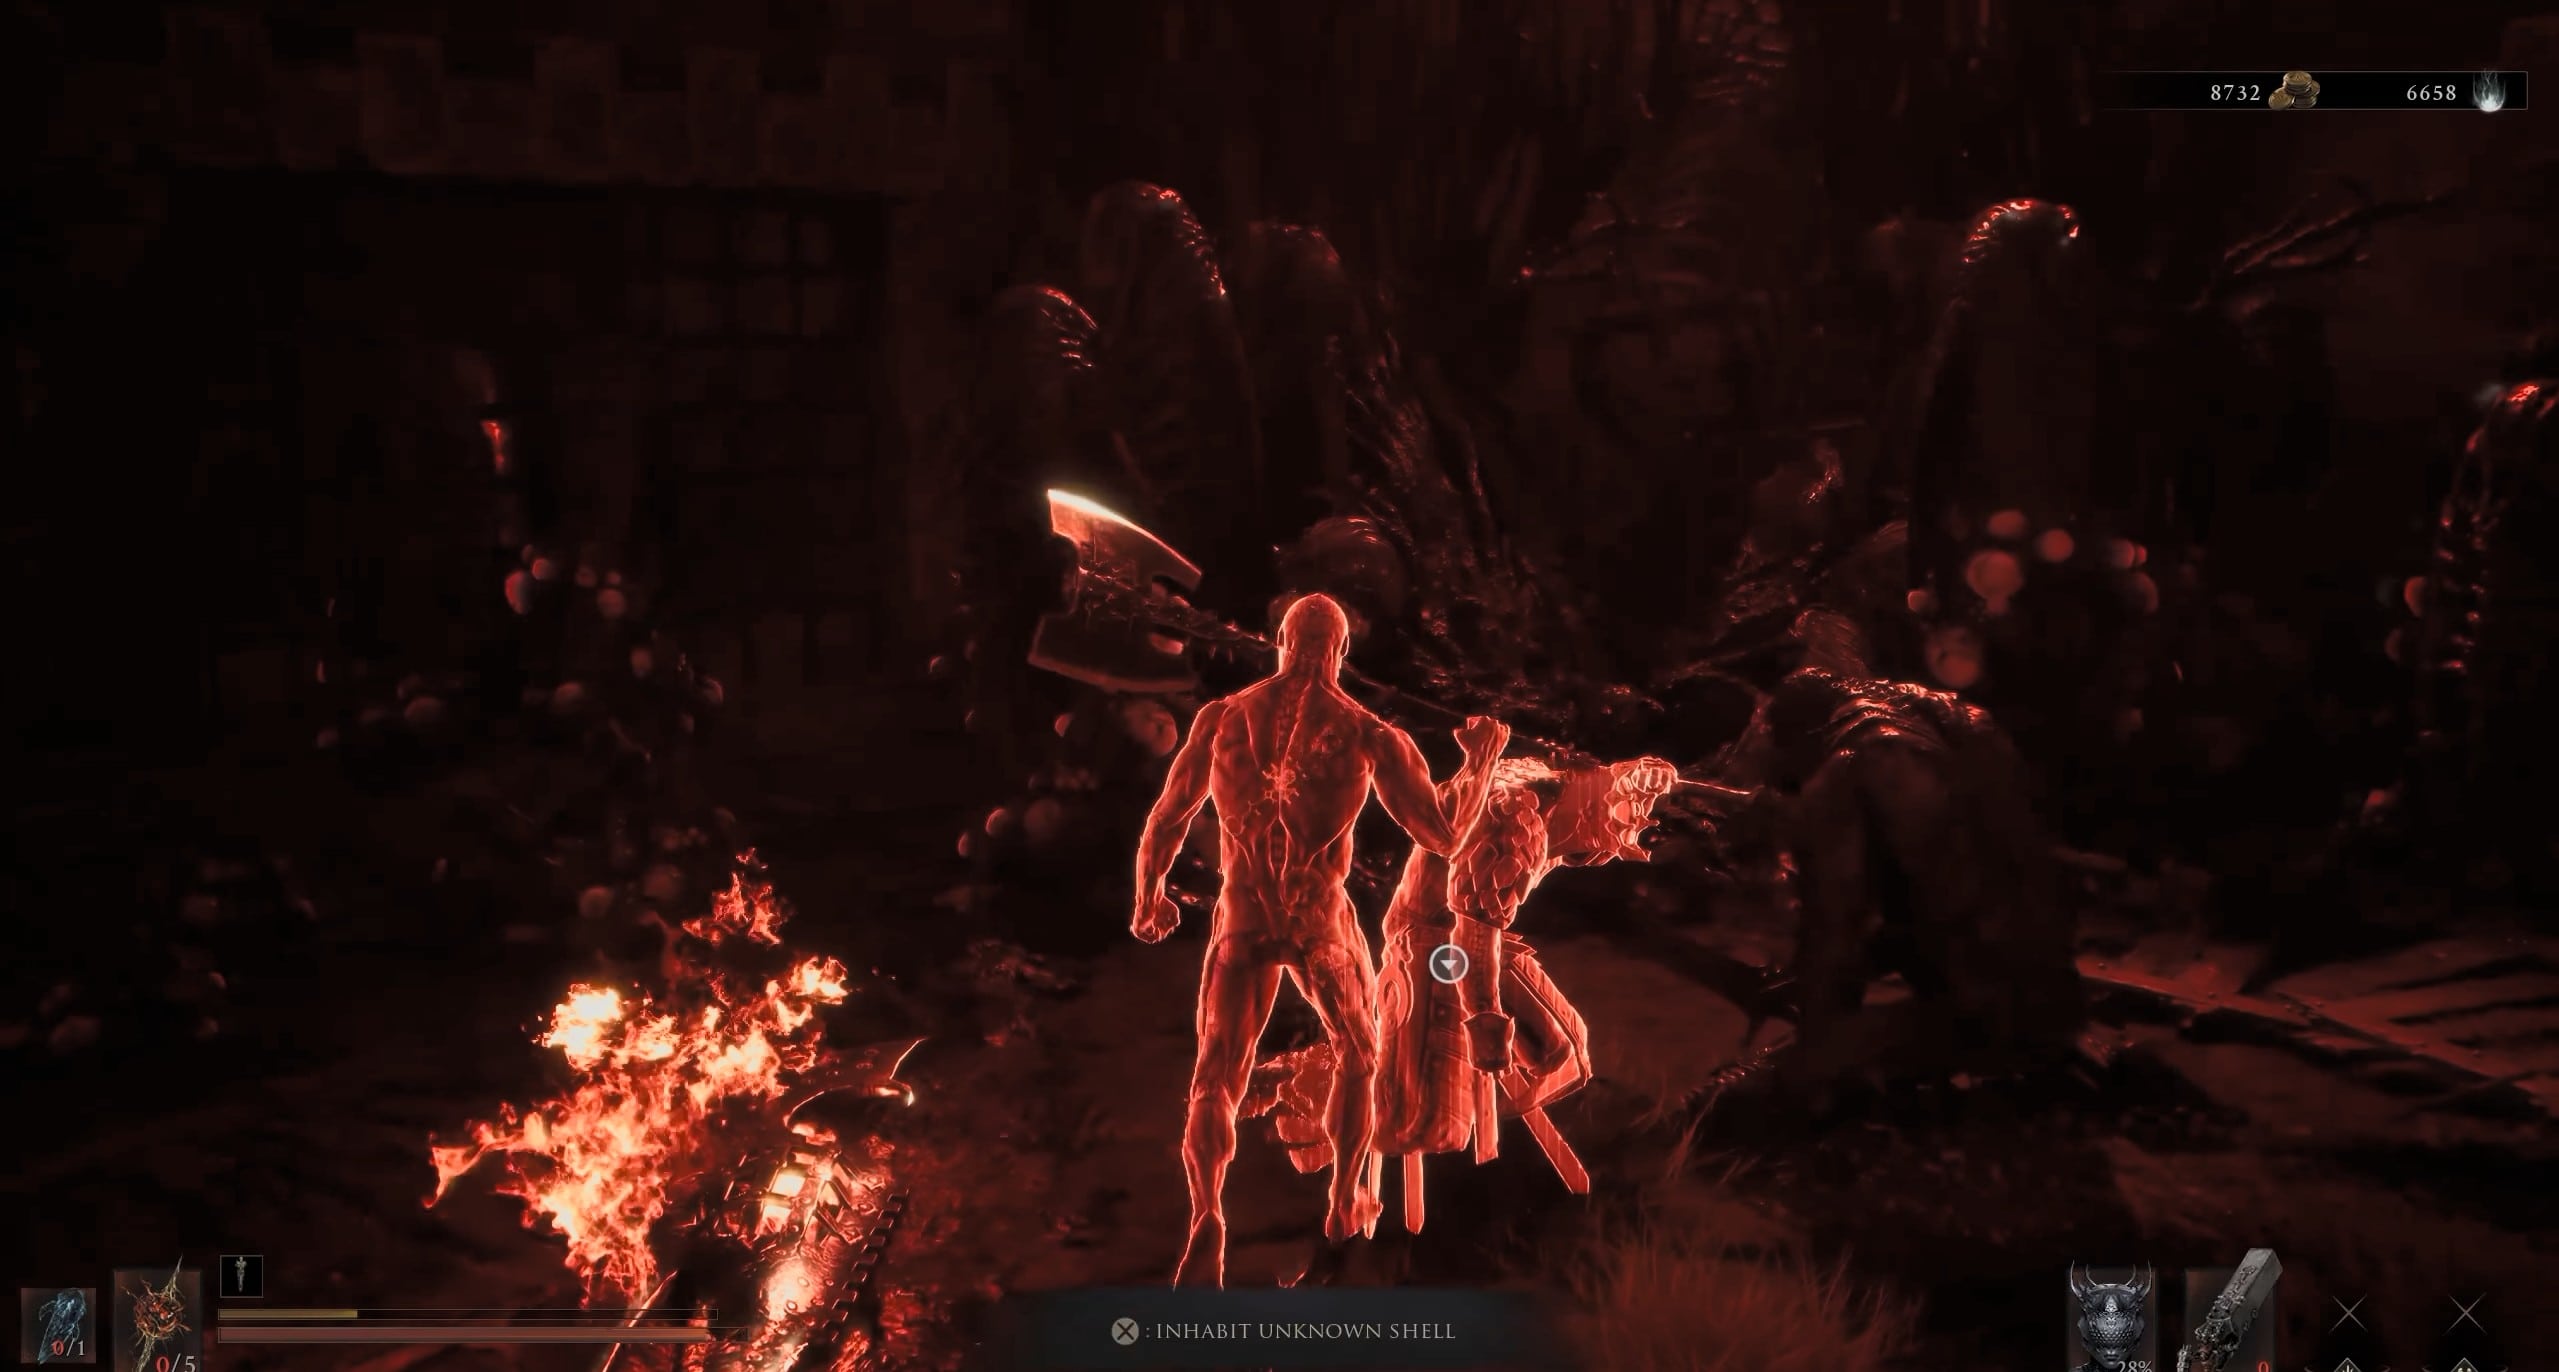
Eredrim Shell’s Location
You can find Eredrim Shell at the center of the Citadel of Penance, behind The Warden. Two routes open the area: kill the Bloodcursed Lithopod for the Citadel Gate Lever, or grab the strange sack in the ruins near the One-Legged Wolf Tavern to teleport straight into a holding cell.
The teleport skips most of the approach and lands you close to the elevator. Our All Shells Locations guide covers the full route and the rest of the roster.
2. Eredrim Abilities and How Slaughterer Stacks Work
Eredrim carries two active abilities and one passive, and all three feed the same loop. Understanding what each one costs decides how you spend Shell Points later, so read this before committing anything at a Beacon.
2.1. Shoulder Bash
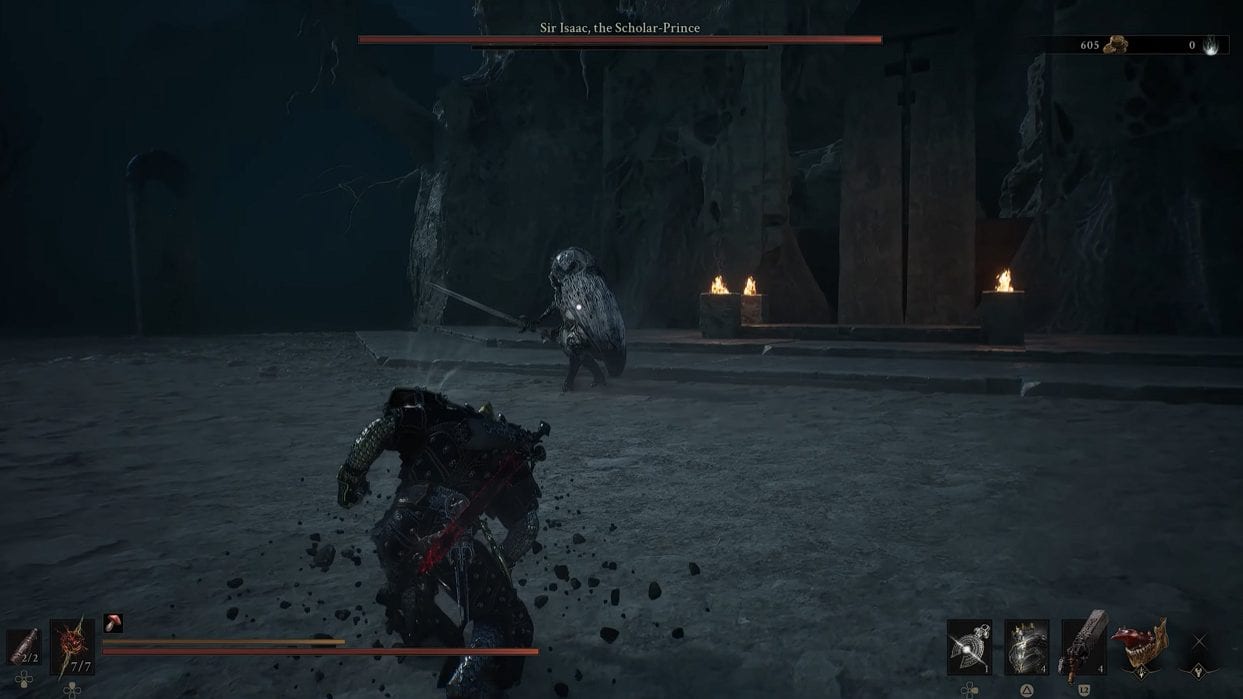
Shoulder Bash
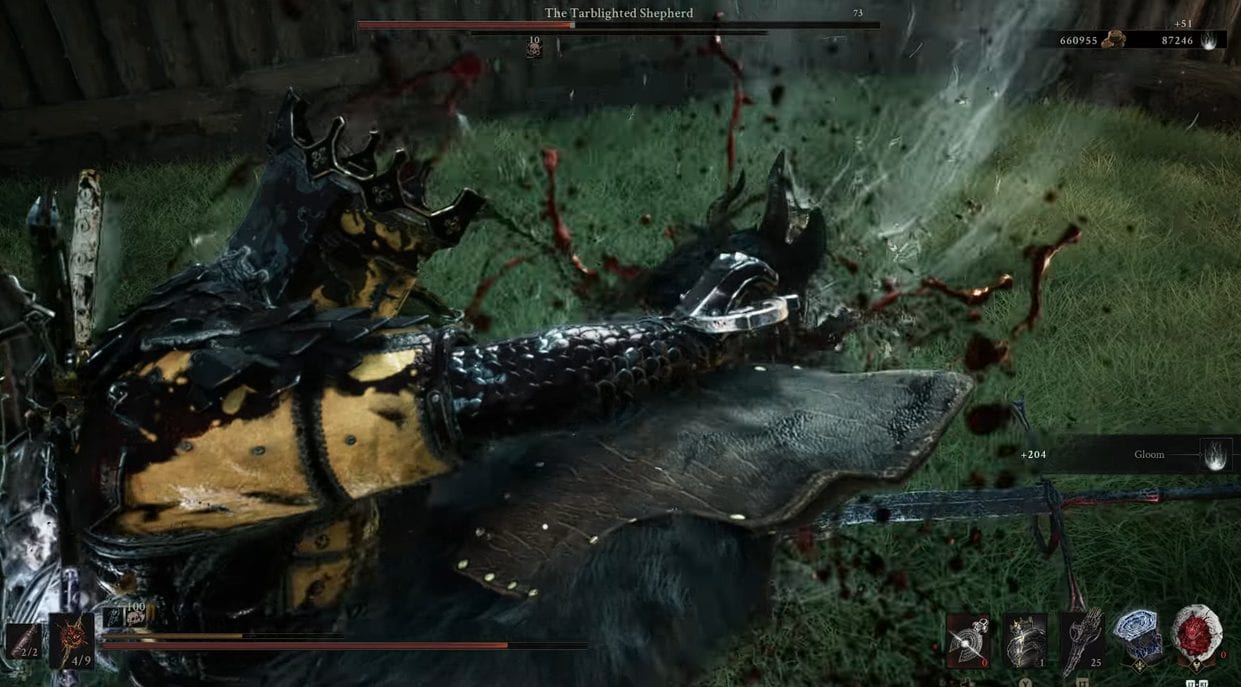
The Shoulder Bash ability charges a lunging attack that deals health damage, Stagger Damage, and Break Damage in one hit. It is the single most dependable posture breaker in the game and the reason Eredrim gets recommended for bosses.
A bash with enough damage behind it leaves the target open to a Riposte or a finisher, which closes the loop back into stack generation. That follow-up is the payoff, not the bash itself.
2.2. Ethereal Diapason
Ethereal Diapason
The Ethereal Diapason smashes Eredrim’s Diapason into a blinding shockwave that deals Break Damage to every enemy in range. It is an area tool, so its value rises sharply in add-heavy rooms and drops in a one-on-one arena.
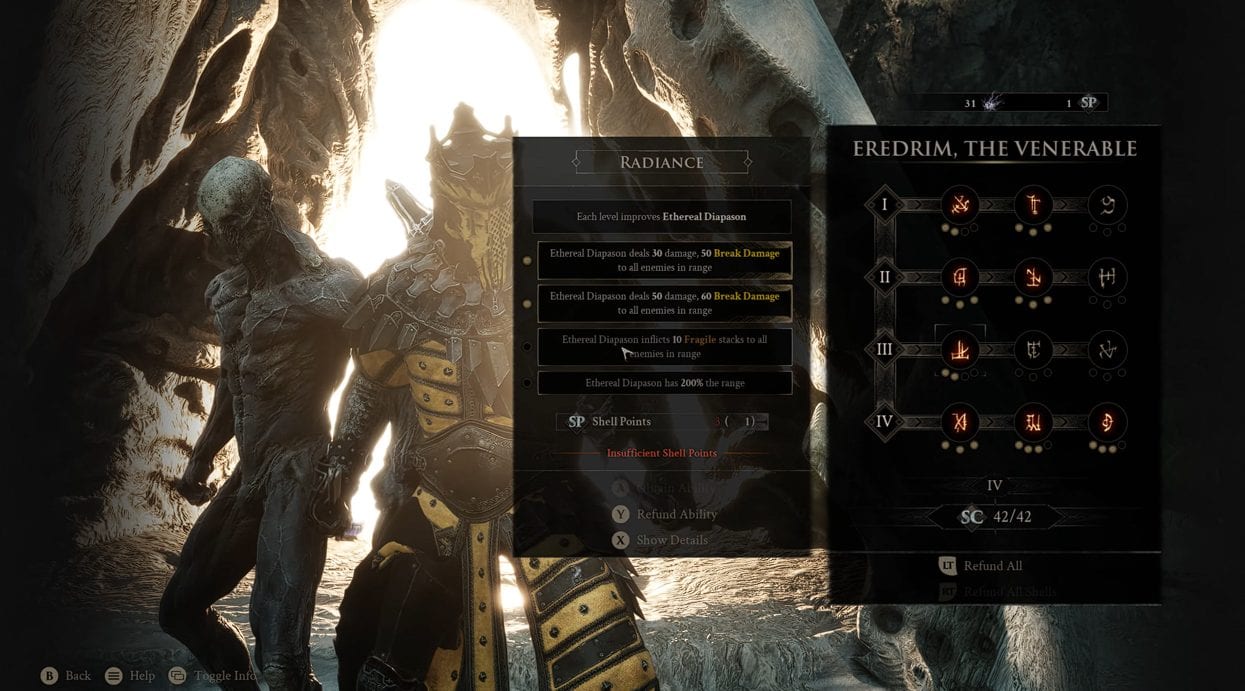
The Radiance line raises its output to 50 damage and 60 Break Damage at level 2, then adds 10 Fragile stacks at level 3 and doubles the range at level 4.
2.3. Executioner and Slaughterer Stacks
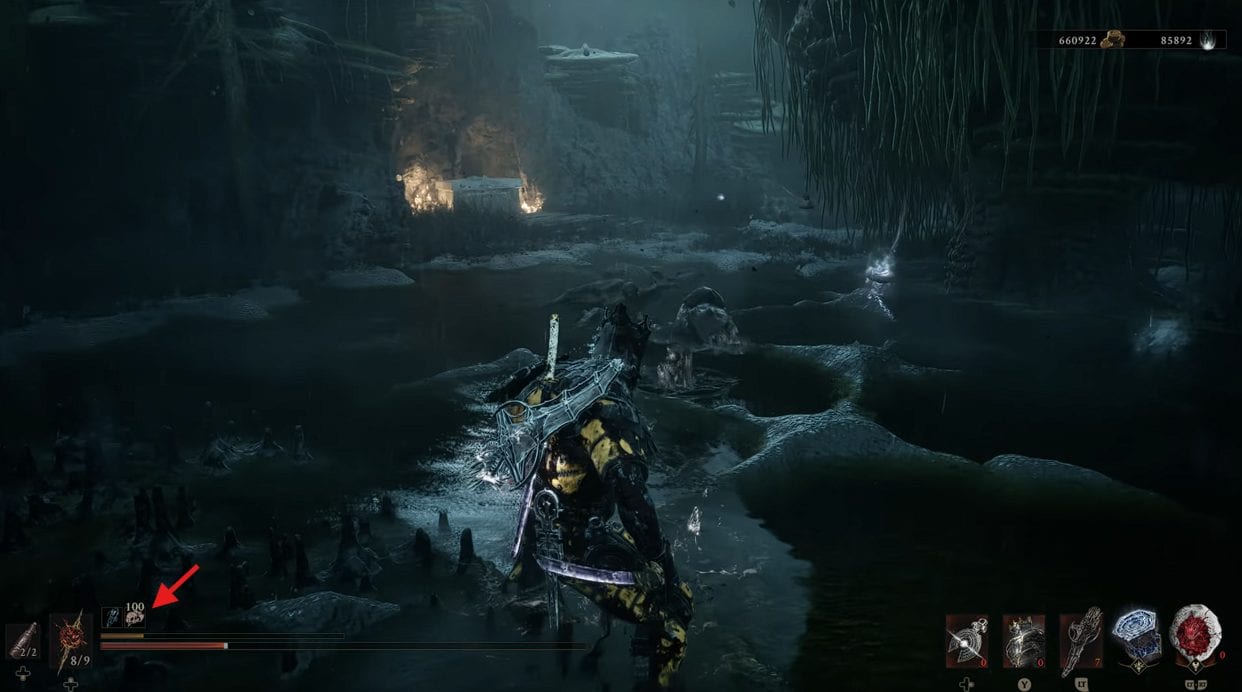
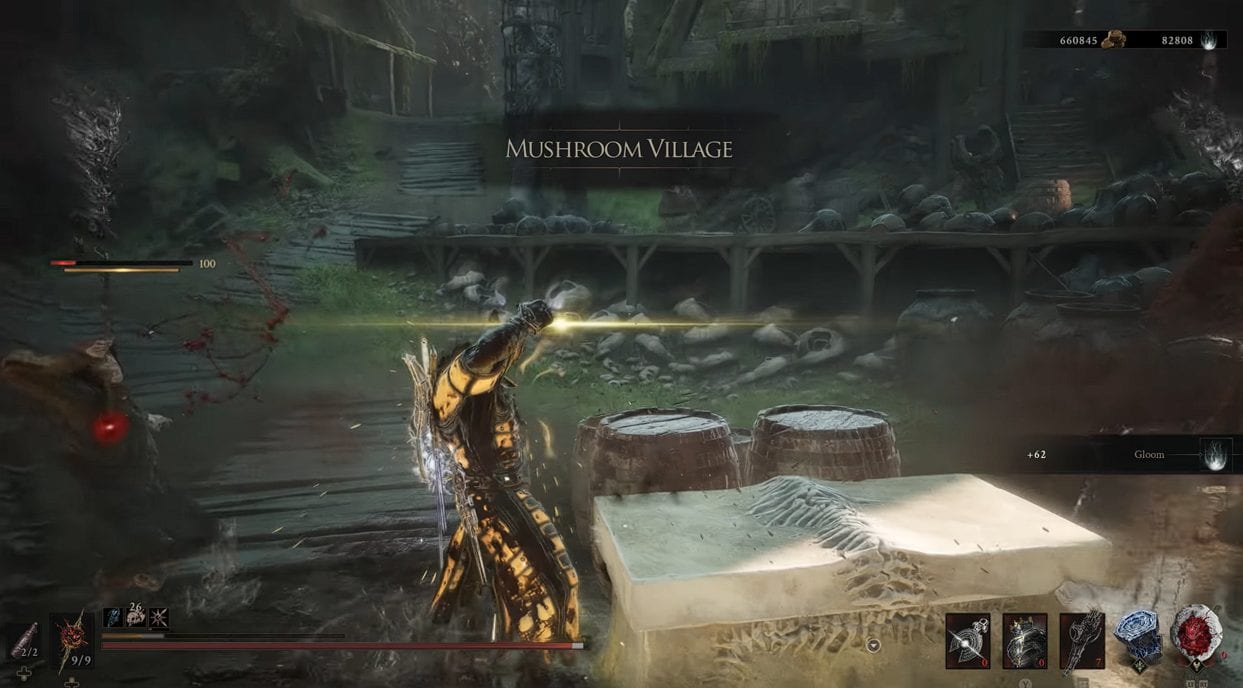
100 Executioner Stacks
Executioner grants Slaughterer stacks when you Riposte an enemy, and it executes enemies who fall below a health threshold. Each stack raises that threshold, so a stocked Eredrim deletes wounded enemies that a fresh one has to finish manually.
Stacks are lost when you rest at a Beacon or get severed from the Shell. That single rule shapes the whole routine: farm stacks on the approach, then walk into the arena without resting.
- Massacre level 1: A Riposte grants 2 Slaughterer stacks.
- Massacre level 2: A Riposte grants 3 Slaughterer stacks.
- Massacre level 3: Killing an enemy with a Riposte grants 10 Slaughterer stacks.
- Tank level 3: Each stack adds 0.2% damage reduction.
- Persistence level 3: Only 25% of stacks are removed when you rest.
3. Best Weapon and Sidearm for Eredrim
Pick the weapon that refills Resolve fastest, not the one that hits hardest. Resolve fills from landed melee hits, and different weapons fill it at different rates, which turns weapon choice into the primary fix for Eredrim’s cost problem rather than a matter of taste.
3.1. Axe & Dagger: Best Weapon for the Eredrim Build
Axe and Dagger
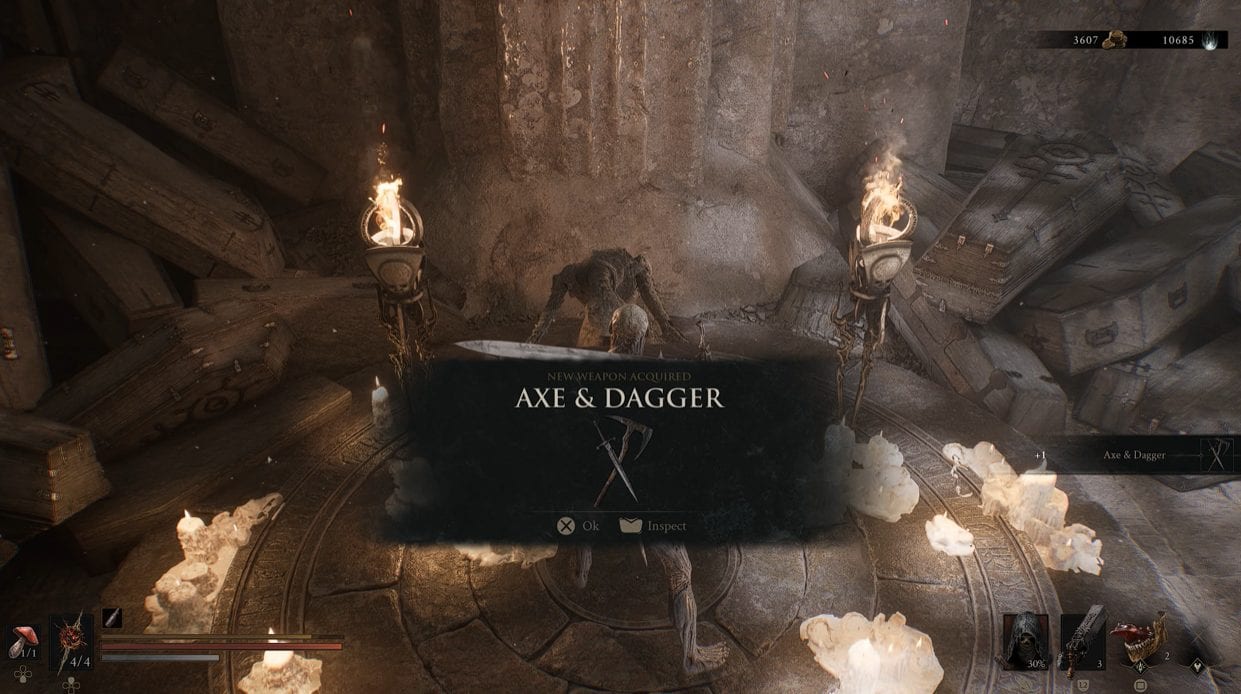
The Axe & Dagger is the correct weapon for this build. Its rapid multi-hit light strings build Resolve faster than any other melee option, and it lands early from the Shrine of Trials inside Mushroom Village, so you can commit upgrades to it long before a boss wall arrives.
It also carries the build’s most important Tarstone. Fast attacks mean more hits per combo, more hits mean more Resolve, and more Resolve means another Shoulder Bash inside the same damage window.
3.2. Axatana: Best Late-Game Alternative
Axatana
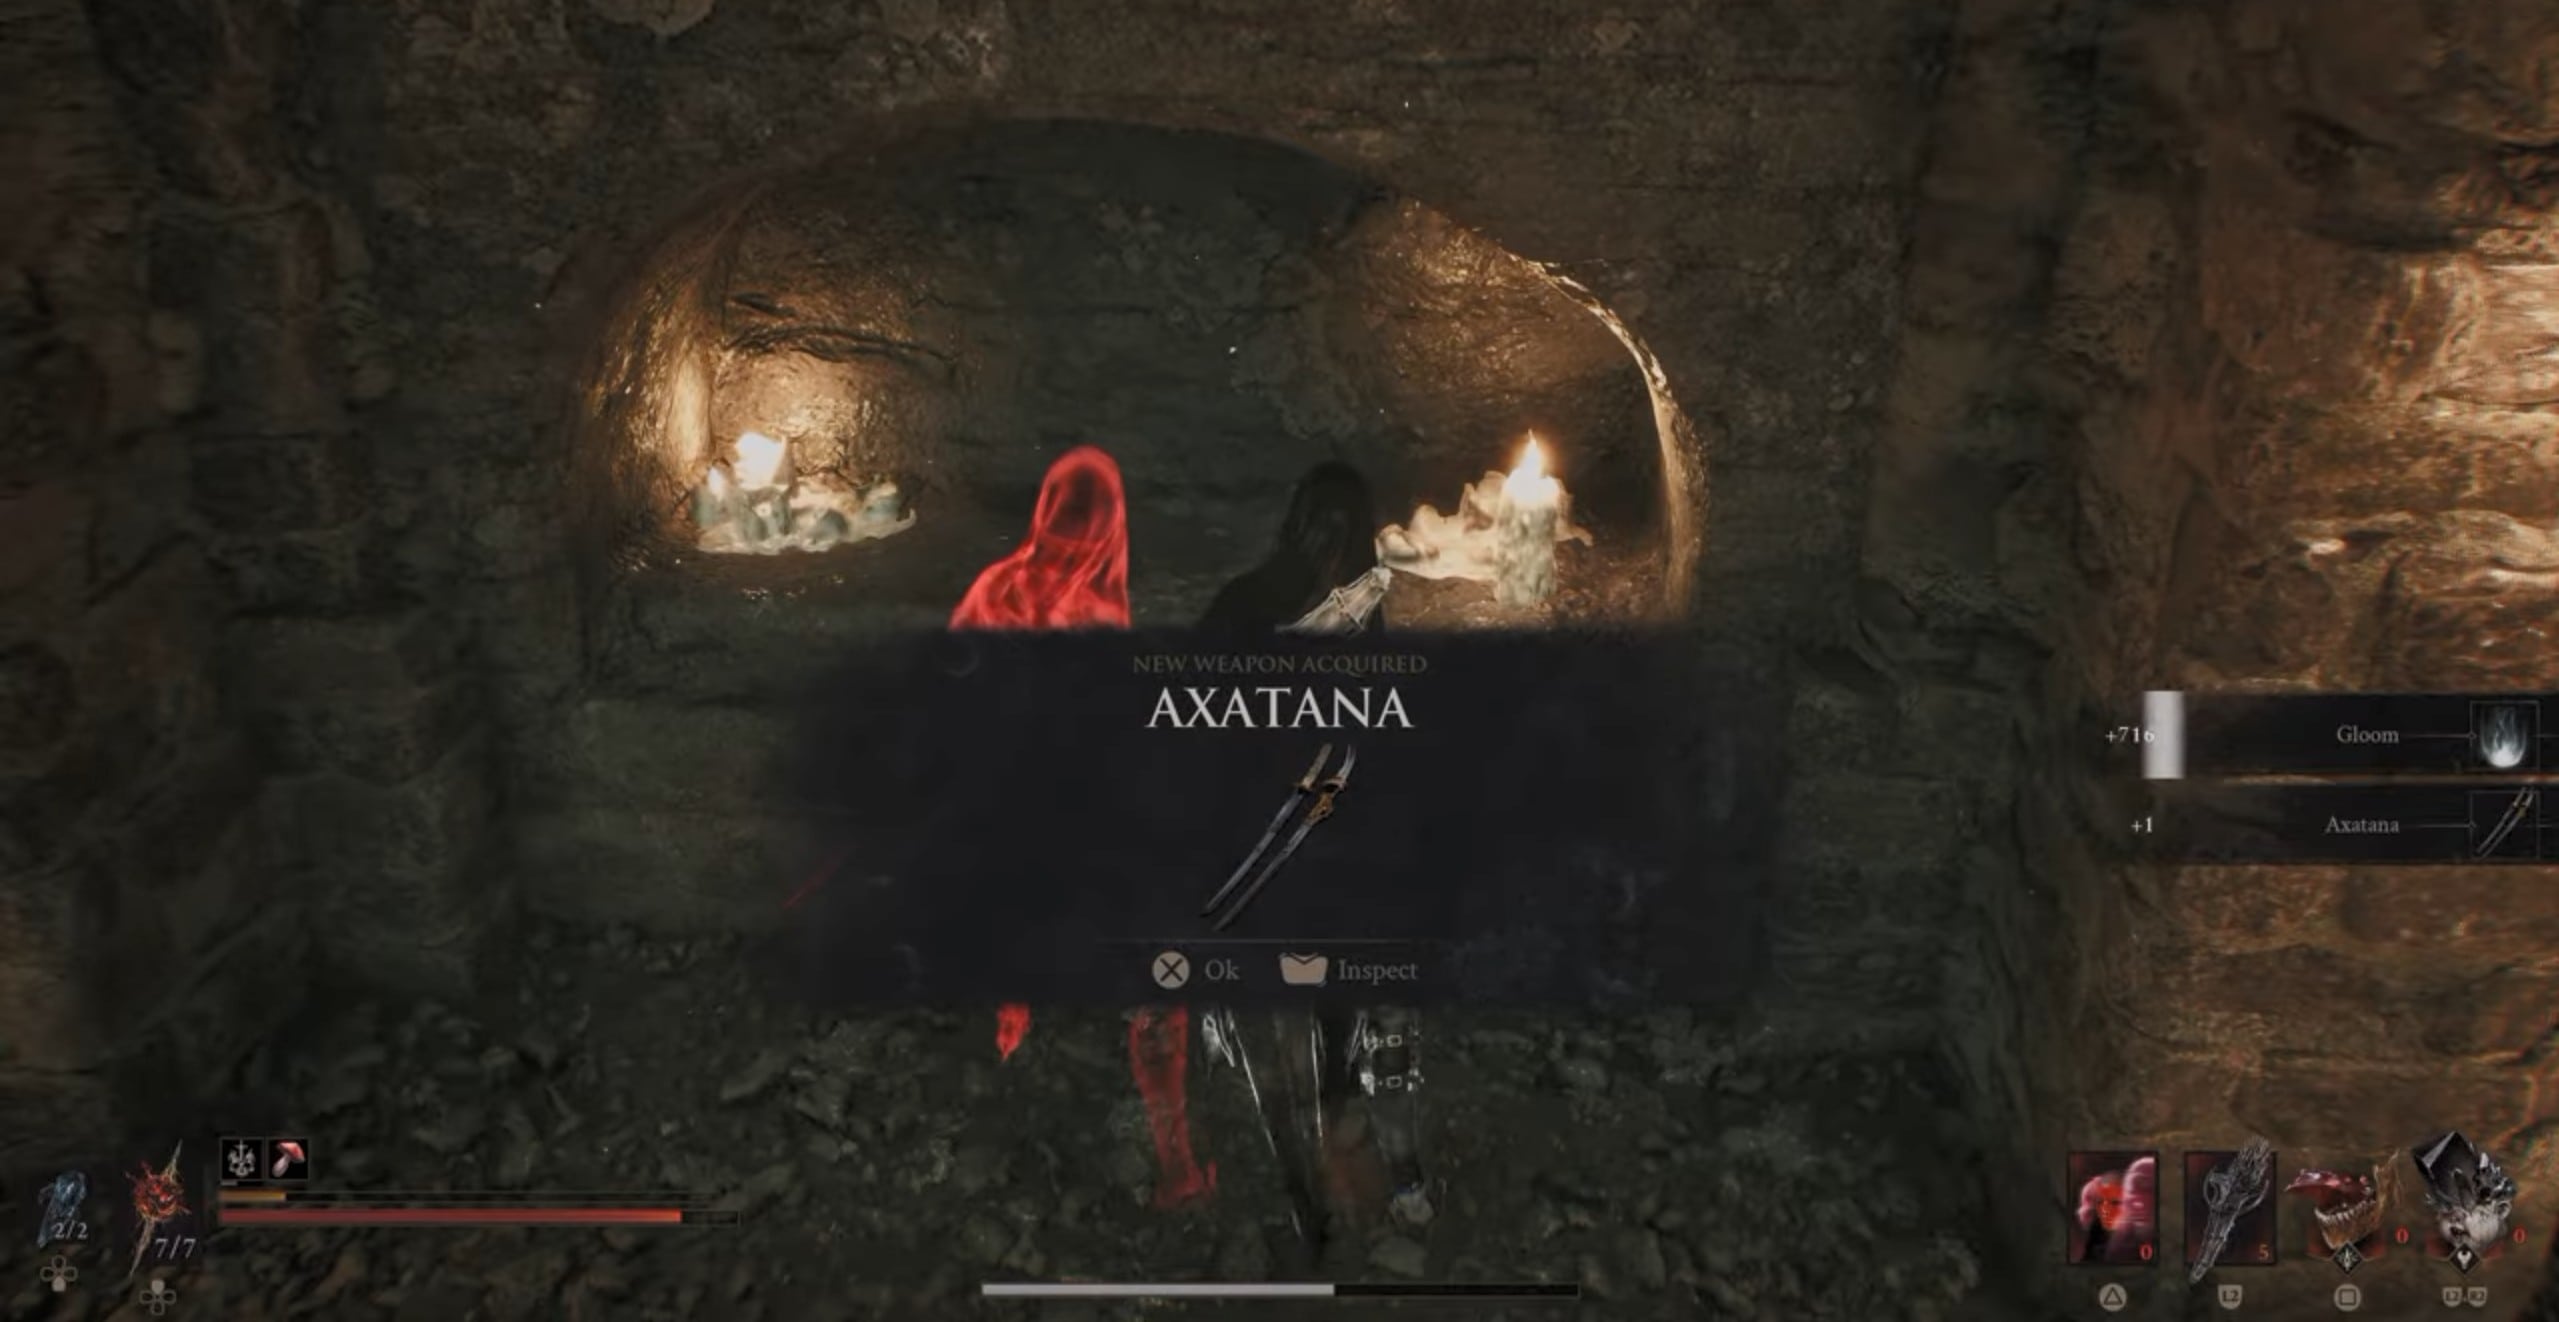
The Axatana matches the Axe & Dagger for speed while offering a more flexible moveset and stronger endgame scaling. It accepts the same Tarstone support, so switching costs you nothing in build logic.
Take it when you reach it and want extra reach on the same rhythm. Our Mortal Shell 2 weapon tier list ranks both in S tier for exactly these reasons.
3.3. Obsidian Hammer vs Axe & Dagger for Eredrim
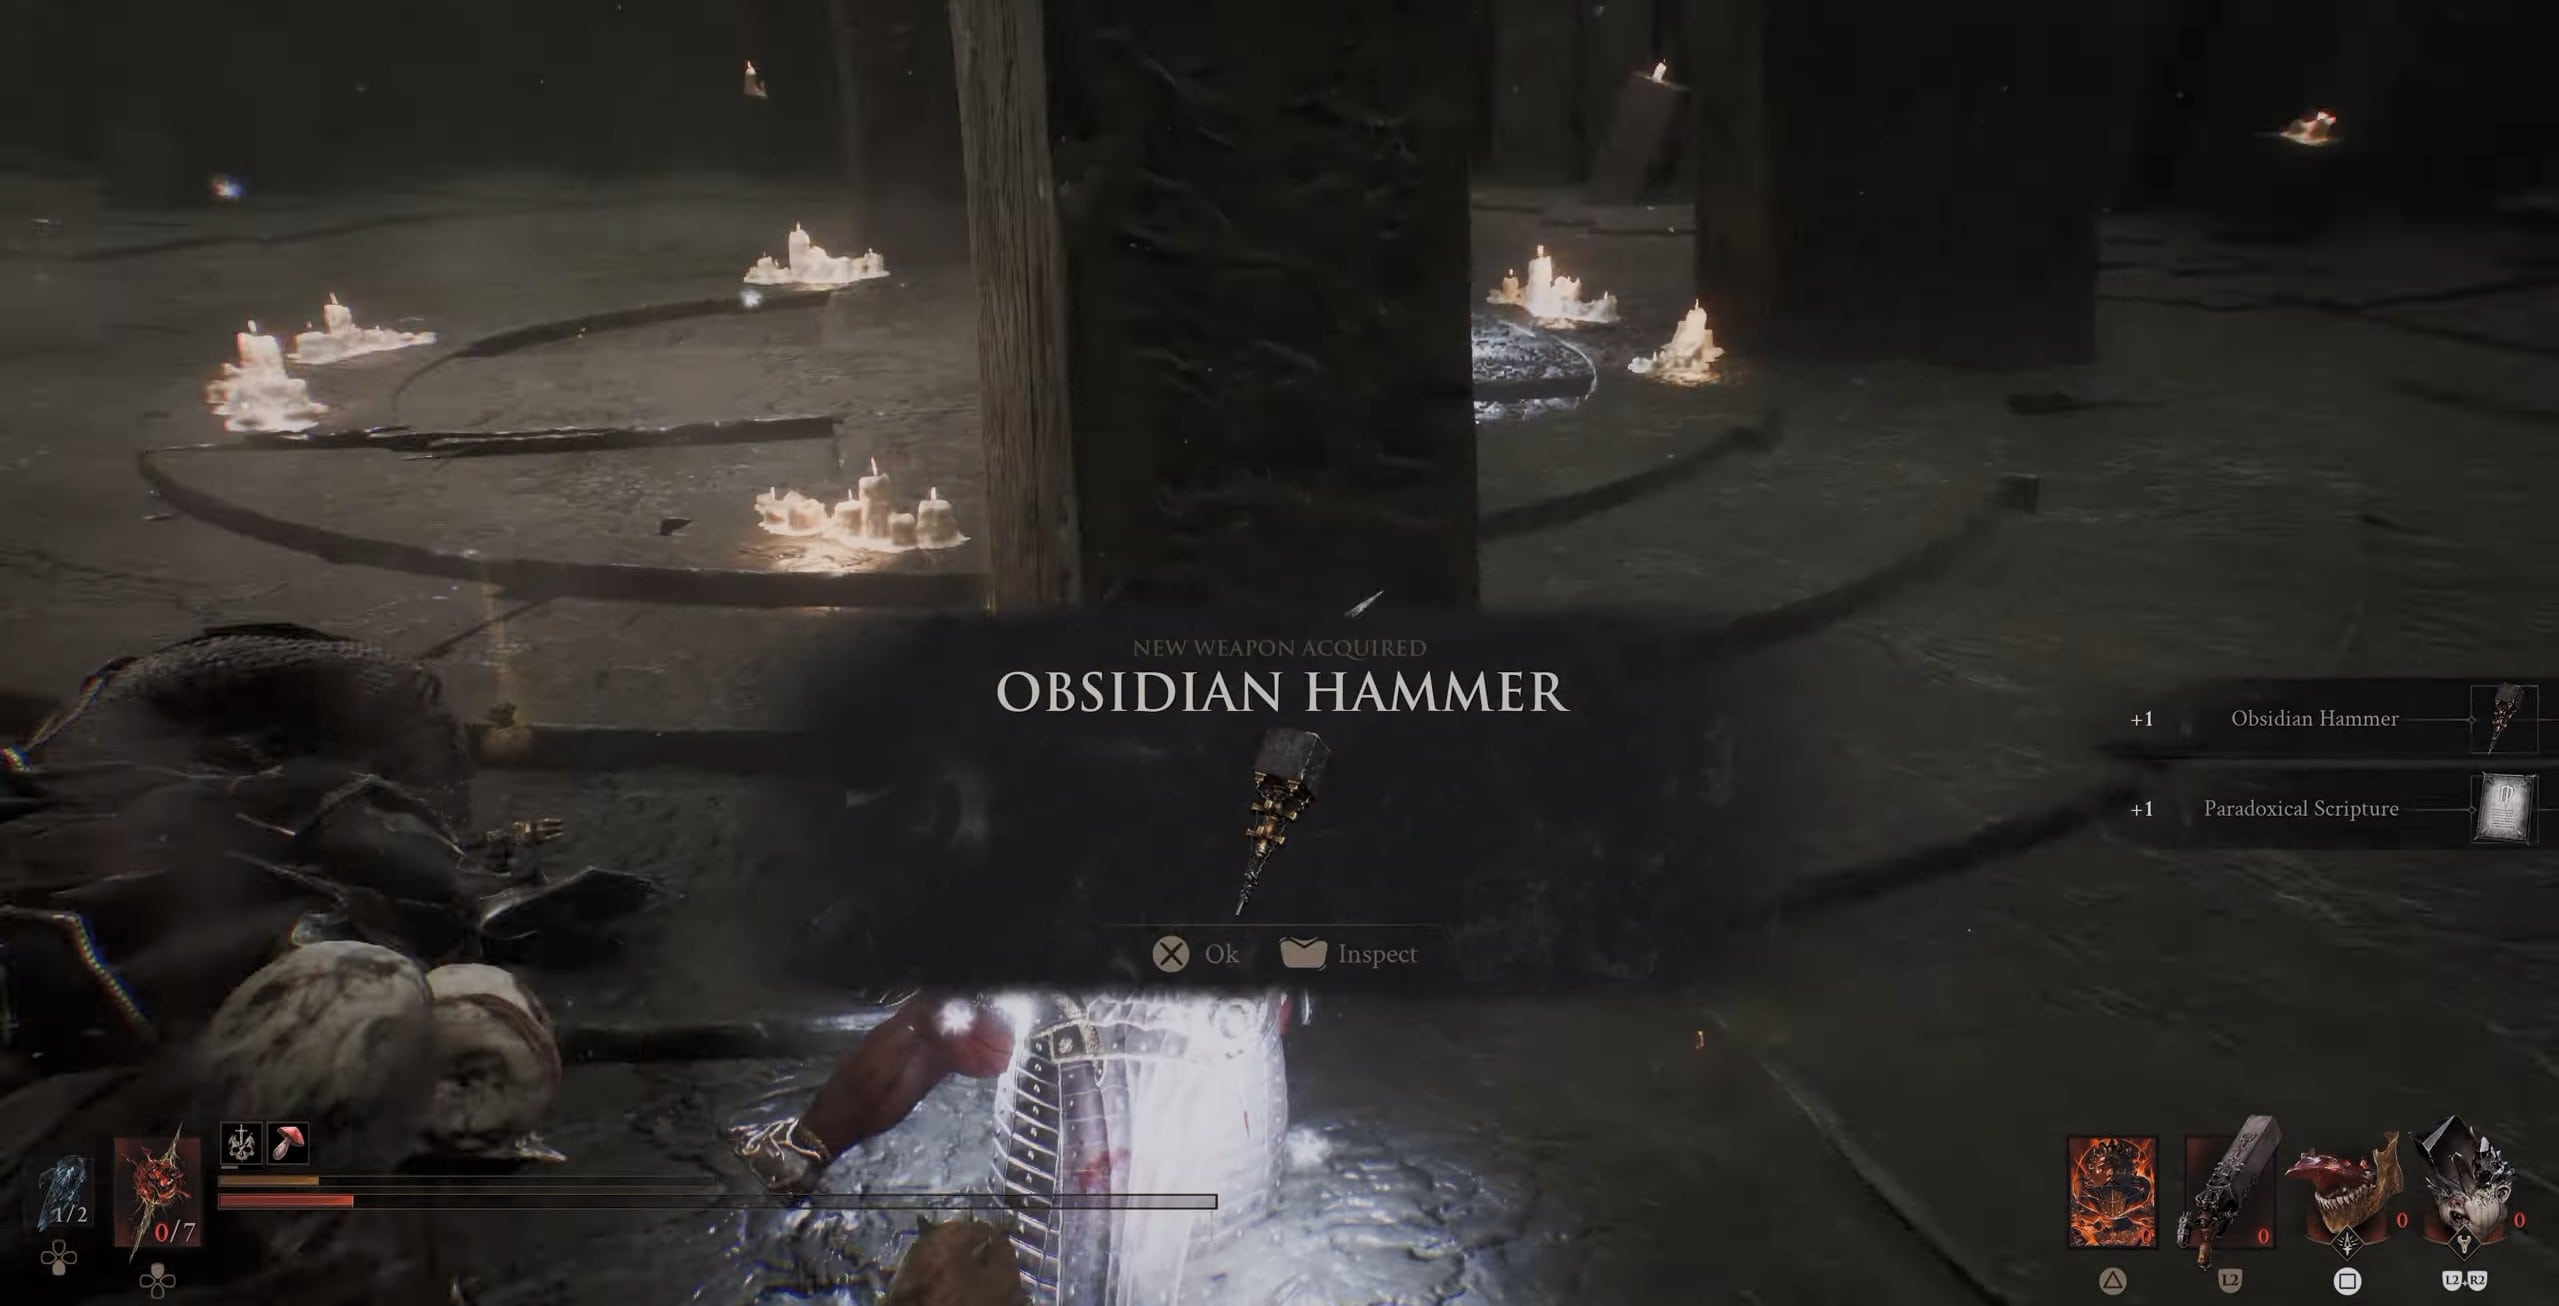
Obsidian Hammer
The Obsidian Hammer looks like the natural Eredrim weapon and works against him. It has the slowest moveset in the game, and slow attacks mean fewer landed hits per exchange, which starves the exact resource Shoulder Bash needs.
The hammer pairs high impact with strong knockback and real stagger value, and none of that helps a Shell already short on Resolve. Take it on a Shell that pays for its abilities some other way.
3.4. Caged Hystrix: Best Sidearm for Eredrim
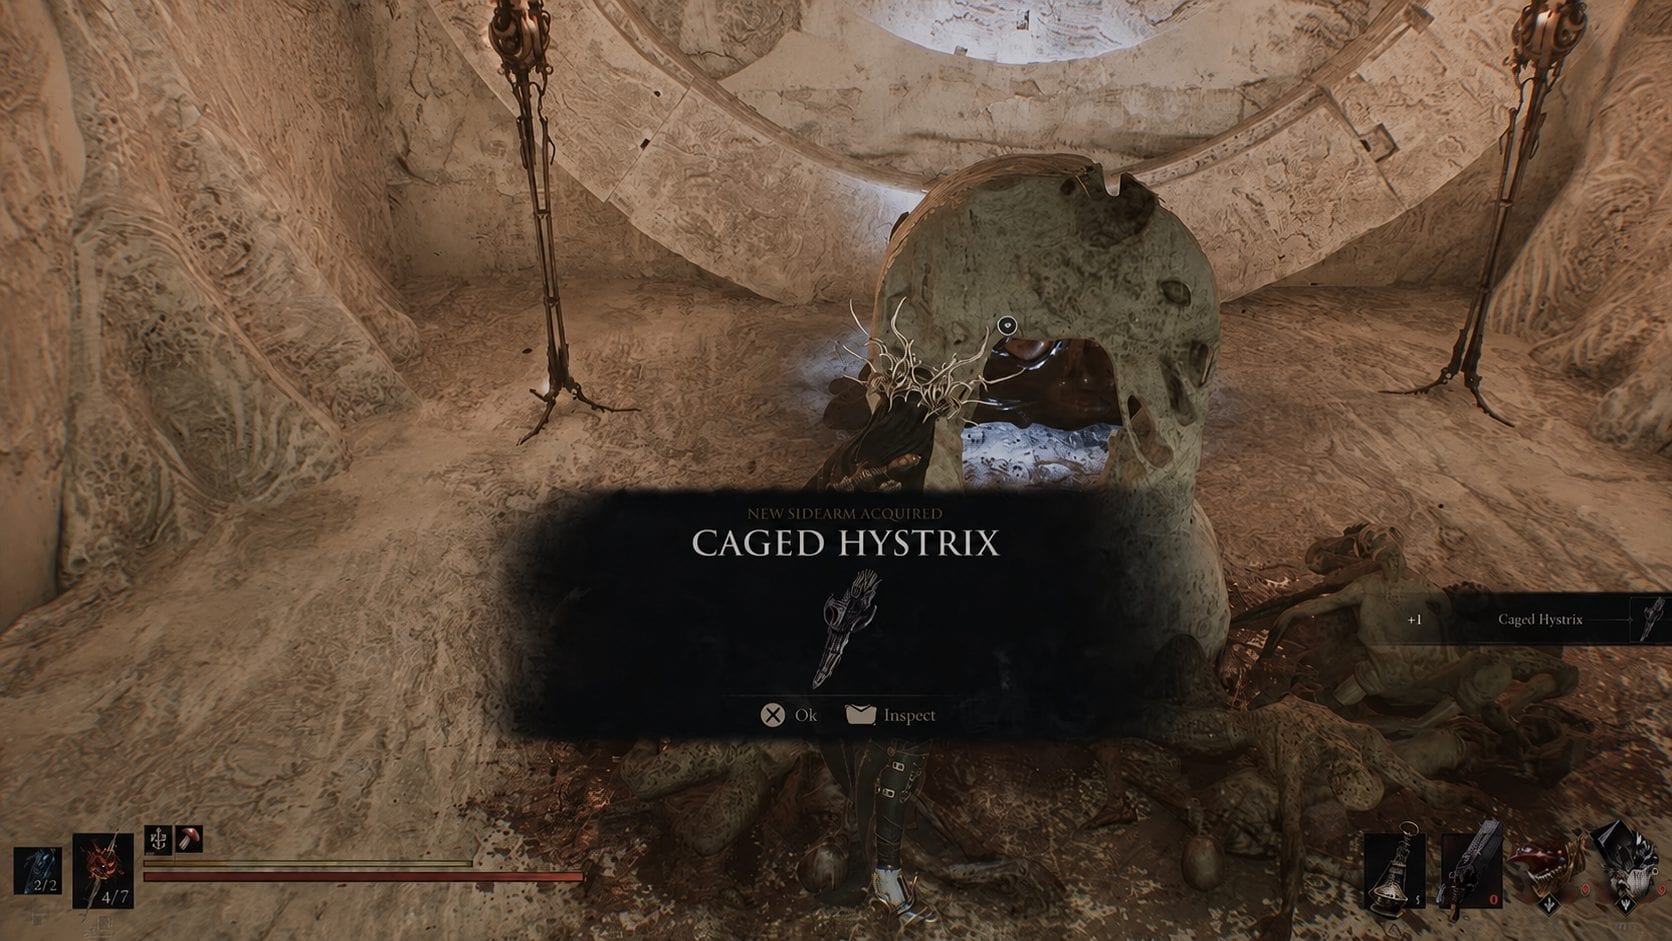
Caged Hystrix
The Caged Hystrix is the best sidearm here. After Balance Patch 1, Caged Hystrix no longer has a minimum Resolve requirement to fire, so it stays usable at the bottom of the bar where other sidearms lock out.
Its rapid projectiles handle single targets and groups, and it supports the widest Tarstone spread of any sidearm. Claim it after the second Sariel encounter in the Chamber of Becoming.
Before that, run the Forgotten Crossbow from the Flooded Village chapel. Our Sidearm Locations guide has the Damp Key route.
4. Best Tarstones for the Eredrim Build
Tarstones decide if this build sustains itself or stalls halfway through a health bar. You can equip ten in total: four on the Shell, and two each for Combat, Infusion, and Ability slots.
4.1. Best Combat Tarstones
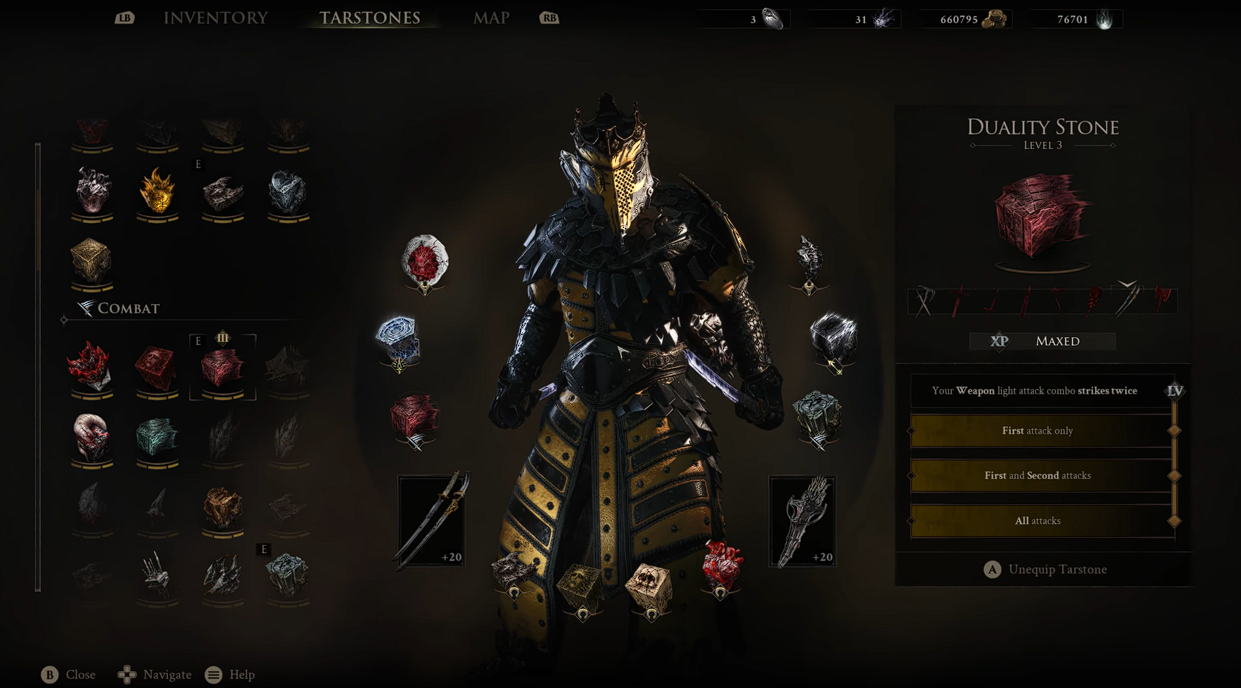
Duality Stone
The Duality Stone is the centerpiece. It makes your light attack combo strike twice, which doubles both damage and Resolve generation from the same inputs, and it upgrades from the first attack to the entire combo across its levels.
It only slots into the Axe & Dagger and the Axatana, and it ignores heavy attacks and running lights. That compatibility gate is the real reason this build locks to those two weapons.
- Duality Stone: Light attack combo strikes twice. Found in the Ravaged Tomb chest.
- Auspicious Stone: Raises melee critical chance to 18% at level 3.
- Parasitic Stone: Grants Leech stacks on kills. Buffed in Balance Patch 1 and now compatible with every weapon.
4.2. Best Support Tarstones
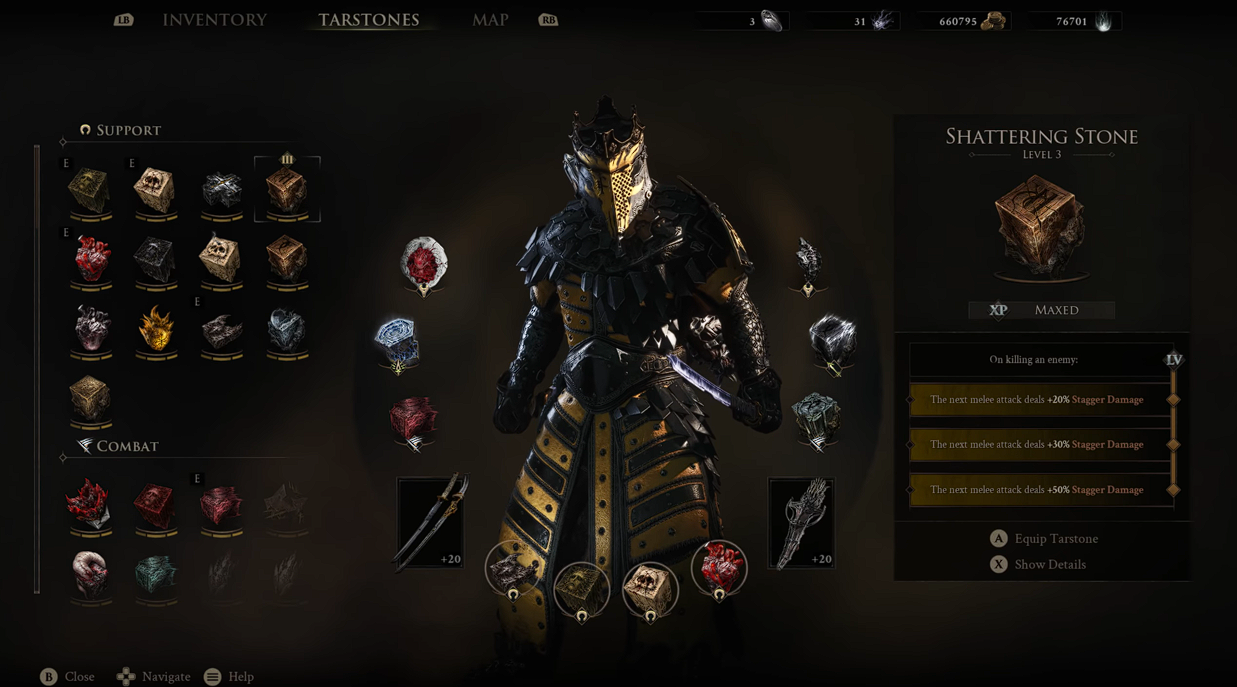
Shattering Stone
The Bulwark Stone had its damage reduction increased significantly in Balance Patch 1, which makes it the strongest defensive slot in the game right now. Eredrim already trades hits, so flat mitigation converts directly into more time inside a damage window.
Pair it with the Shattering Stone, which loads extra stagger damage onto your next melee attack after a kill. That fires naturally during the add clear you run before a boss.
4.3. Tarstones to Skip on a Boss Build
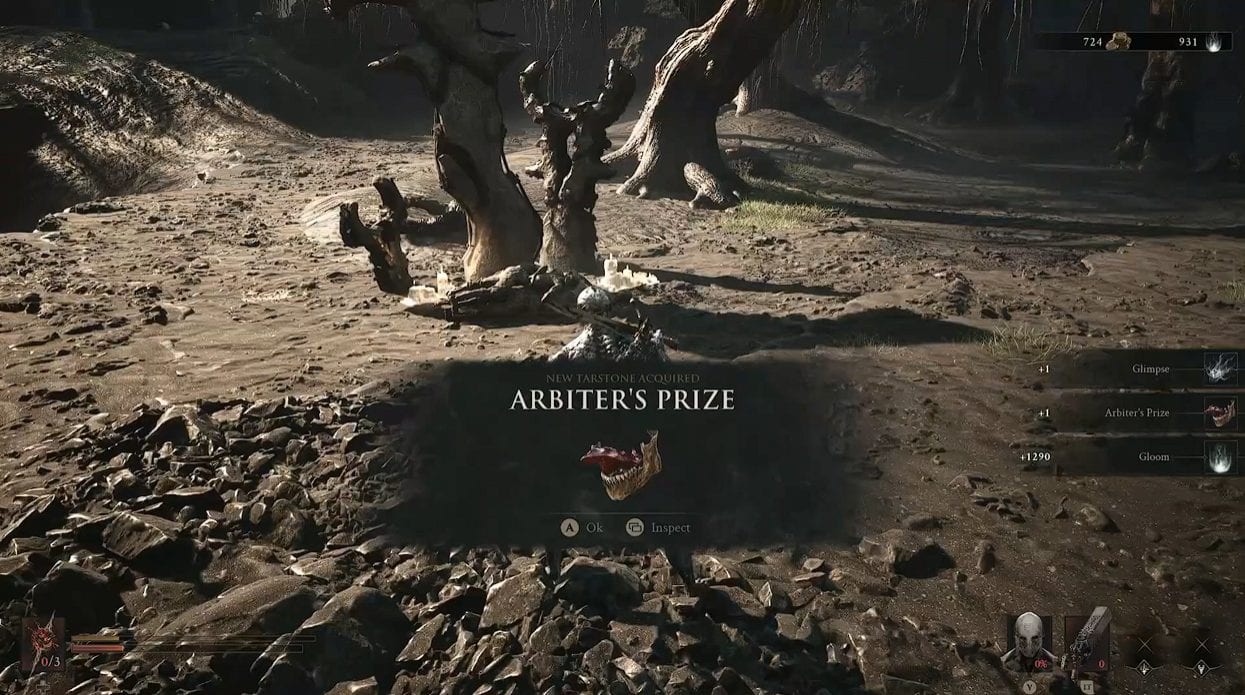
Arbiter’s Prize
Skip anything that spends Resolve you have already committed to Shoulder Bash. Arbiter’s Prize infuses your weapon with Bloodcurse for 30 Resolve, and that is one bash you no longer get to cast.
5. Best Shell Point Priority
Spend Shell Points on cost reduction before damage. Shell Points are shared across every Shell and refunded for free at a Beacon by pressing R2 or the right trigger, so nothing here is permanent, but Glimpse spent on Bond Tiers never comes back.
5.1. Tier 1 and Tier 2 Shell Point Order
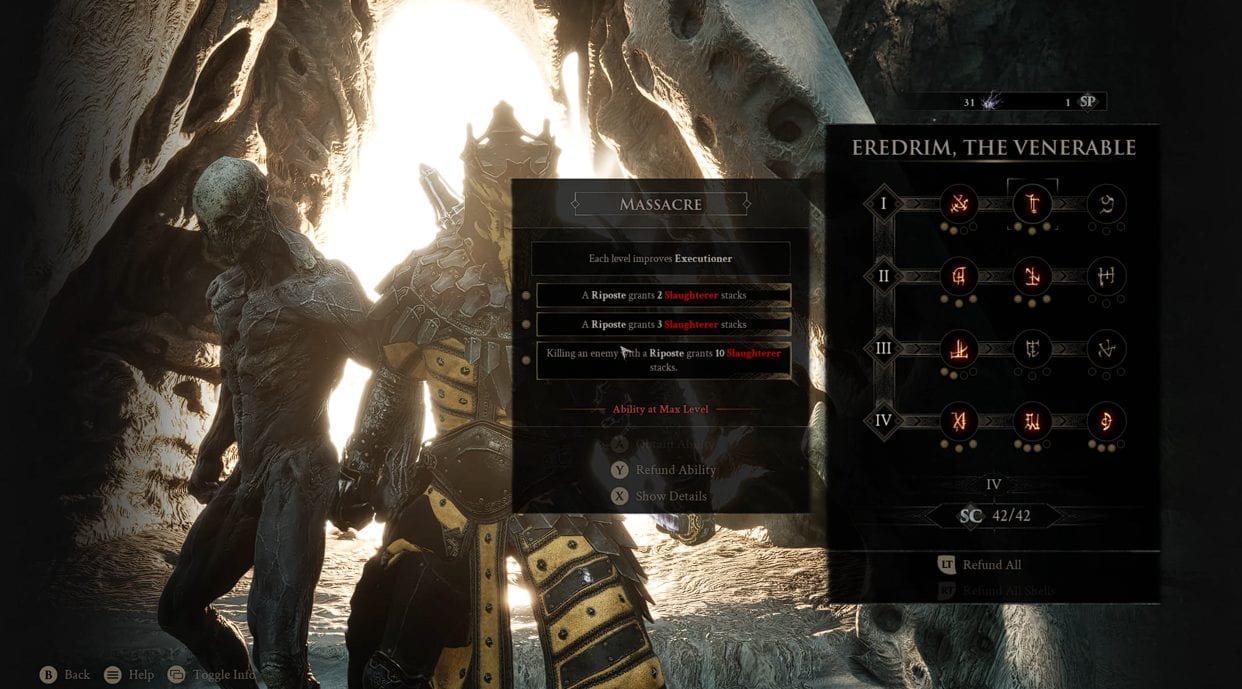
Massacre
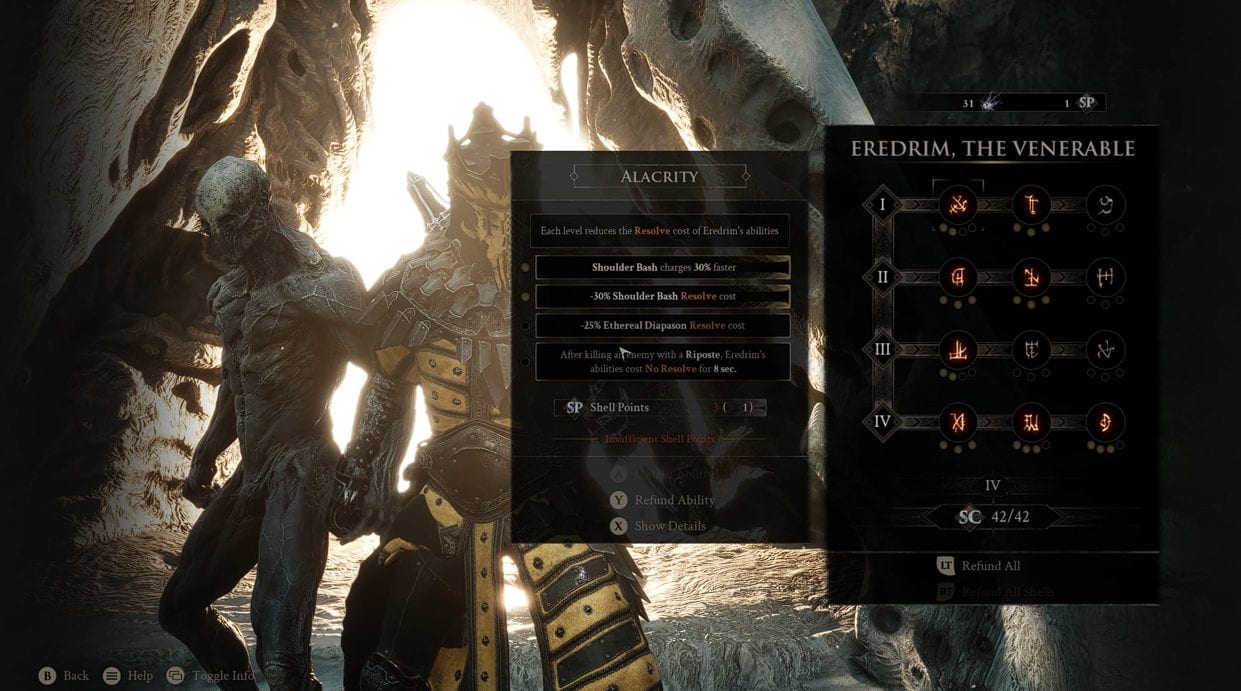
The Alacrity comes first, and it is not close. It sits in Tier 1, which unlocks at Bond Tier I for a single Glimpse, and every level of it cuts the Resolve cost of Eredrim’s abilities.
Follow it with Anguish for raw bash output, then Consecration, which turns each Mether’s Pulse heal into a Resolve refill and reaches a 40% chance of a full restore at level 3.
- Alacrity level 2. Charges Shoulder Bash 20% faster and cuts its Resolve cost by 20%. This is the single highest-value purchase on the Shell.
- Anguish level 1. Raises Shoulder Bash damage to 150%, which turns the bash from a posture tool into a damage tool.
- Consecration level 3. Gives every heal a 40% chance to fully restore Resolve, effectively adding a second resource to your flask.
- Massacre level 3. Grants 10 Slaughterer stacks per Riposte kill for the pre-boss farm.
- Alacrity level 3. Opens an 8-second free-cast window after a Riposte kill.
5.2. Tier 3 and Tier 4 Shell Point Order
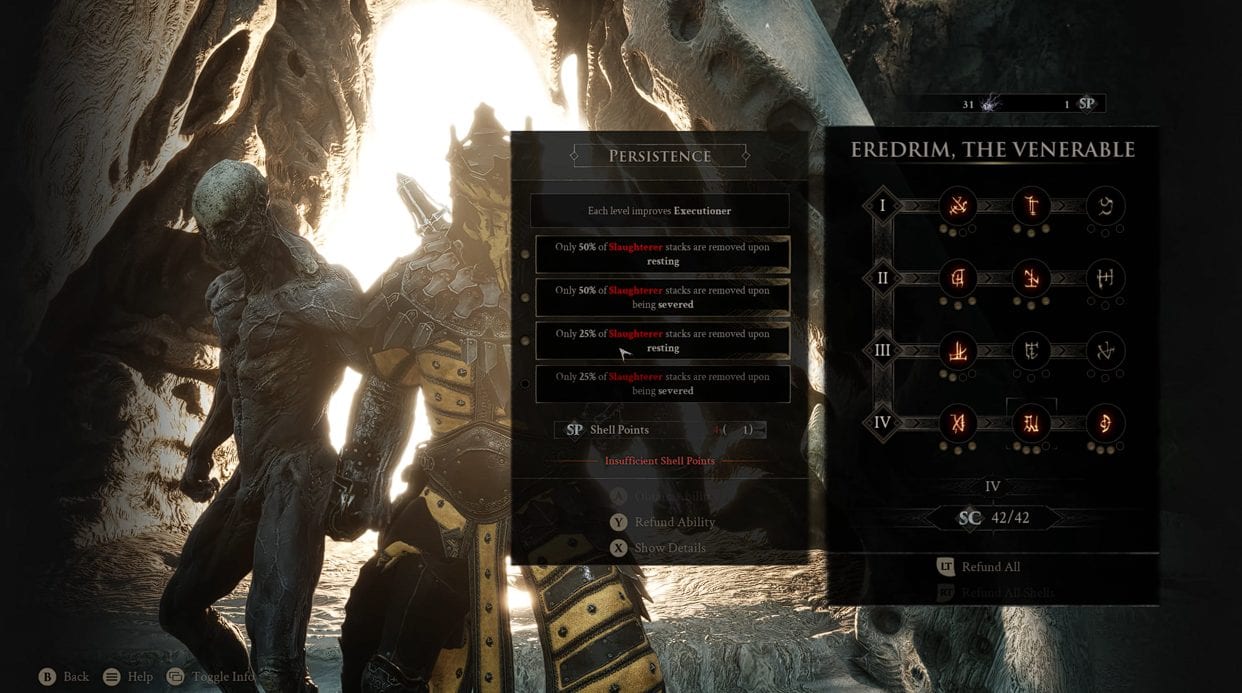
Persistence
Tier 3 and Tier 4 refine the build rather than define it. Persistence protects the stacks you farmed, and Seal Affinity raises Riposte damage by 35% at level 3, which lifts the payoff on every parry you land.
Apathy deserves a mention for Frost-heavy areas. Level 2 grants outright Frost immunity, and level 3 adds 20% damage against Frozen enemies, which is worth a free respec before those fights and nothing outside them.
5.3. Should You Take Oppression Level 3?
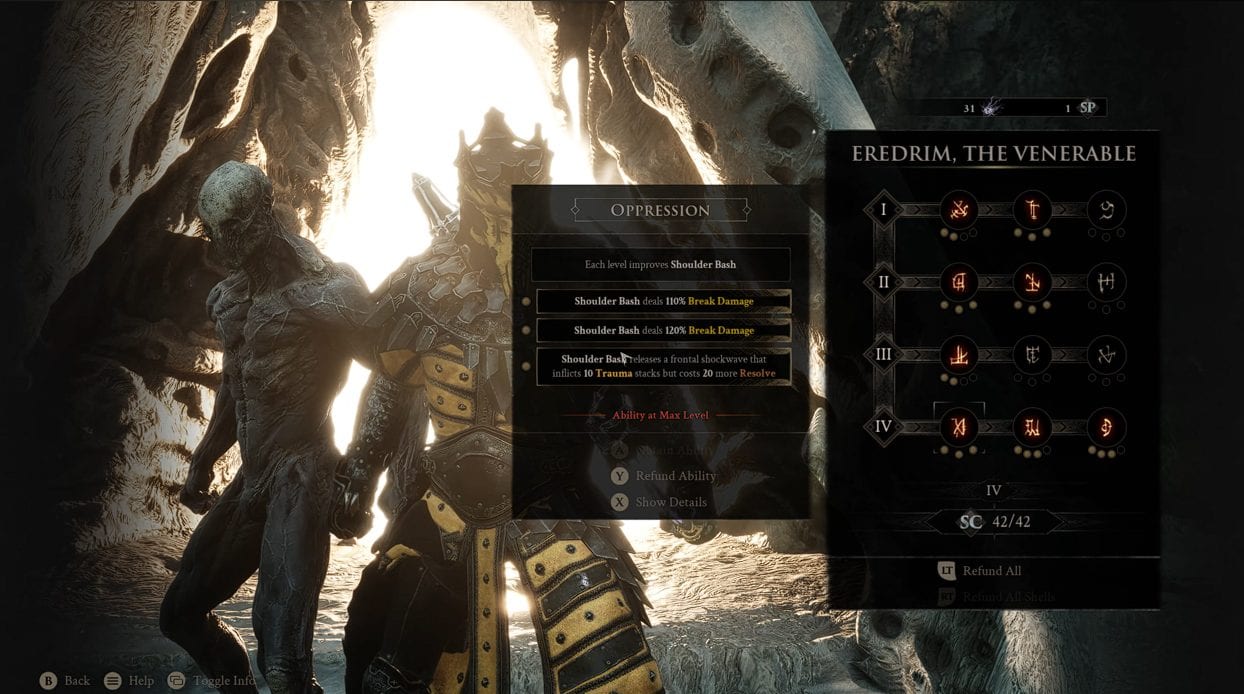
Opression
No, not on a boss build. Oppression levels 1 and 2 raise Shoulder Bash Break Damage to 110% and then 120%, and both are pure gains. Level 3 adds a frontal shockwave carrying 10 Trauma stacks and charges 20 additional Resolve for every bash.
That shockwave is a crowd tool. Against a single boss, it hits one target while raising the price of the ability you cast most, which is the opposite of what this build needs. Stop at level 2 and spend the point on Consecration.
6. Best Seals
Your Seal determines how quickly the Break meter fills, and that meter generates the Ripostes this build runs on. All four Seals can Riposte once the meter is full, so the choice comes down to how much Break each defensive action generates.
6.1. Infinite Seal

Infinite Seal
The Infinite Seal unlocks a true Parry and delivers the highest Break Damage of any Seal when you land it. There is no block fallback, so a missed parry takes the hit in full.
Sester Genessa hands it over in the Marrow Keep training grounds after the Guard tutorial. Take it once your timing is solid, because it fills Break meters fastest and Eredrim converts Break into everything else.
6.2. Untarnished Seal
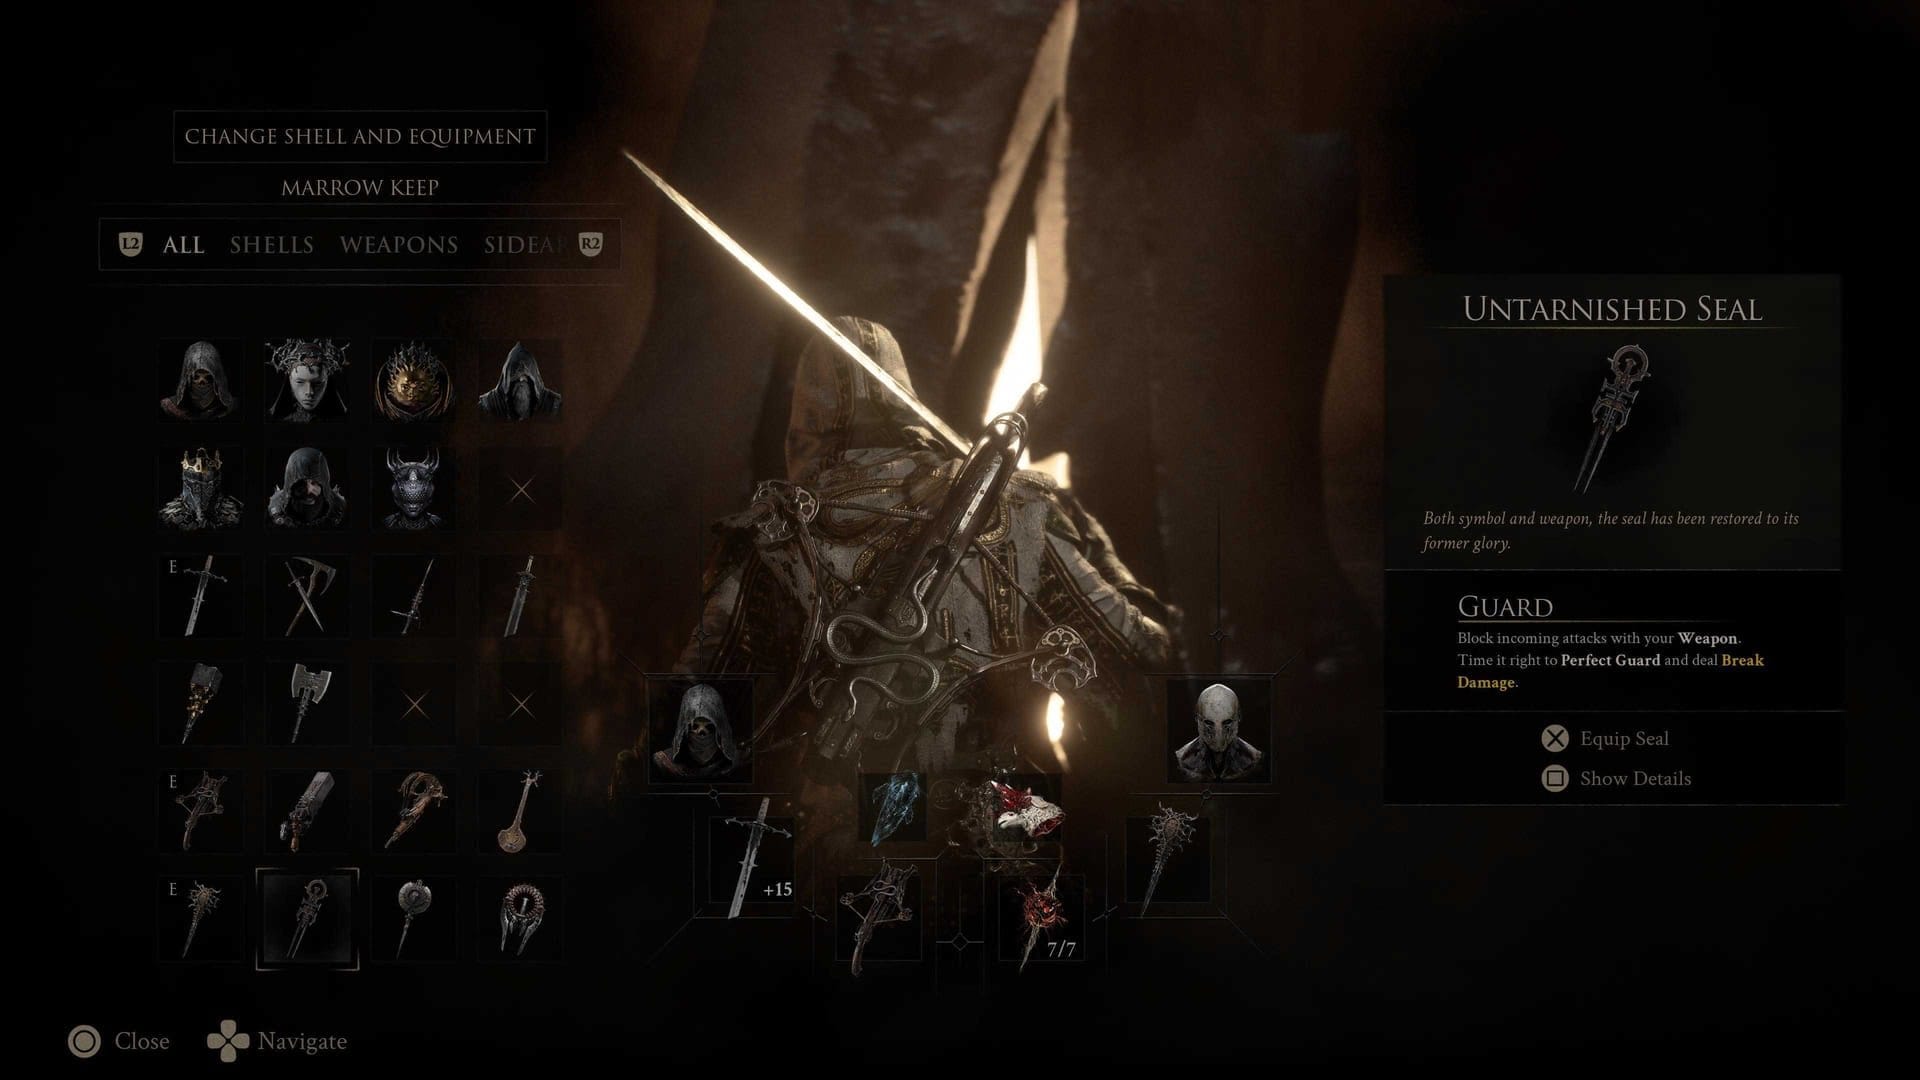
Untarnished Seal
The Untarnished Seal is the safer pick and the right one while you are still learning boss tells. A held Guard blocks all damage without generating Break, and a timed Perfect Guard produces a smaller amount of Break than a parry.
Run it for a first pass at a new boss, then respec to the Infinite Seal for the kill attempt once you know the moveset.
6.3. Slayer Seal

Slayer Seal
The Slayer Seal turns your sidearm into a Break Damage source and restores both Health and Resolve on every Riposte. For a Shell defined by Resolve scarcity, that is the most powerful option in the game.
It also disables achievements on the save file and removes your ability to parry. Treat it as a difficulty setting for a second playthrough, not as a free upgrade.
7. How to Play the Eredrim Build
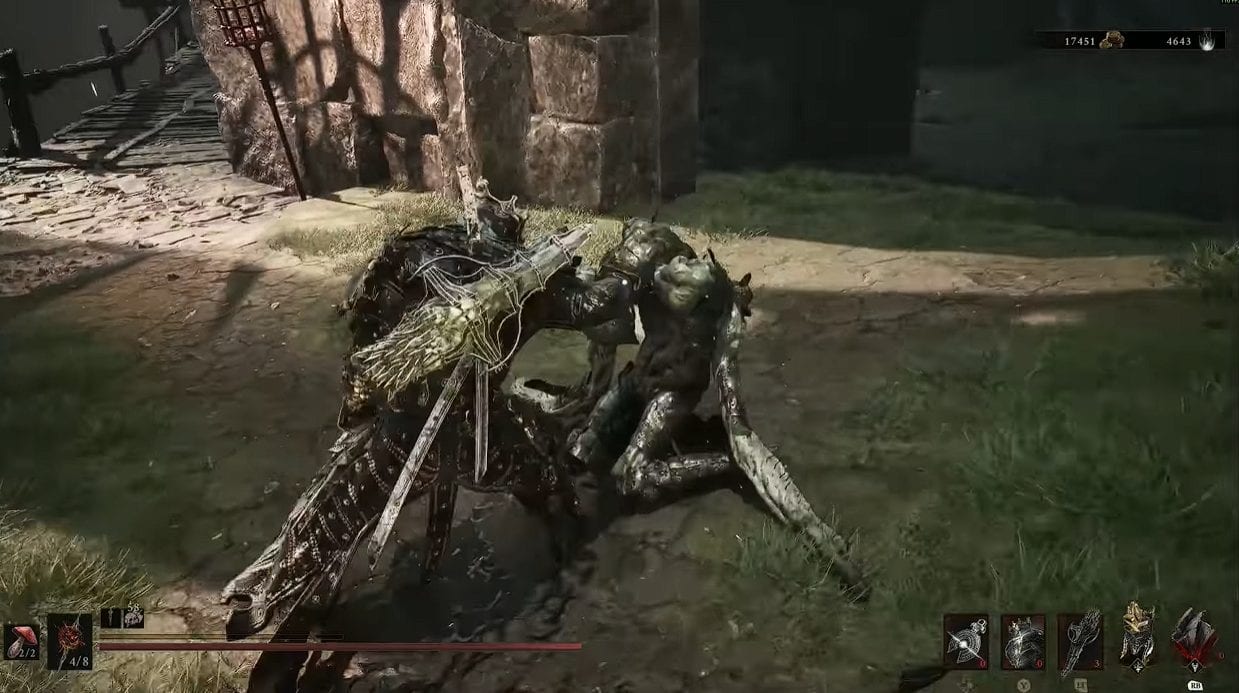
Eredrim Gameplay
This build wins by converting parries into Ripostes and Ripostes into free Shoulder Bashes. The rhythm is patient rather than aggressive: bank Resolve during the boss combo, spend it during the recovery, and never open a fight with an empty bar.
7.1. Slaughterer Stack Farming Before a Boss
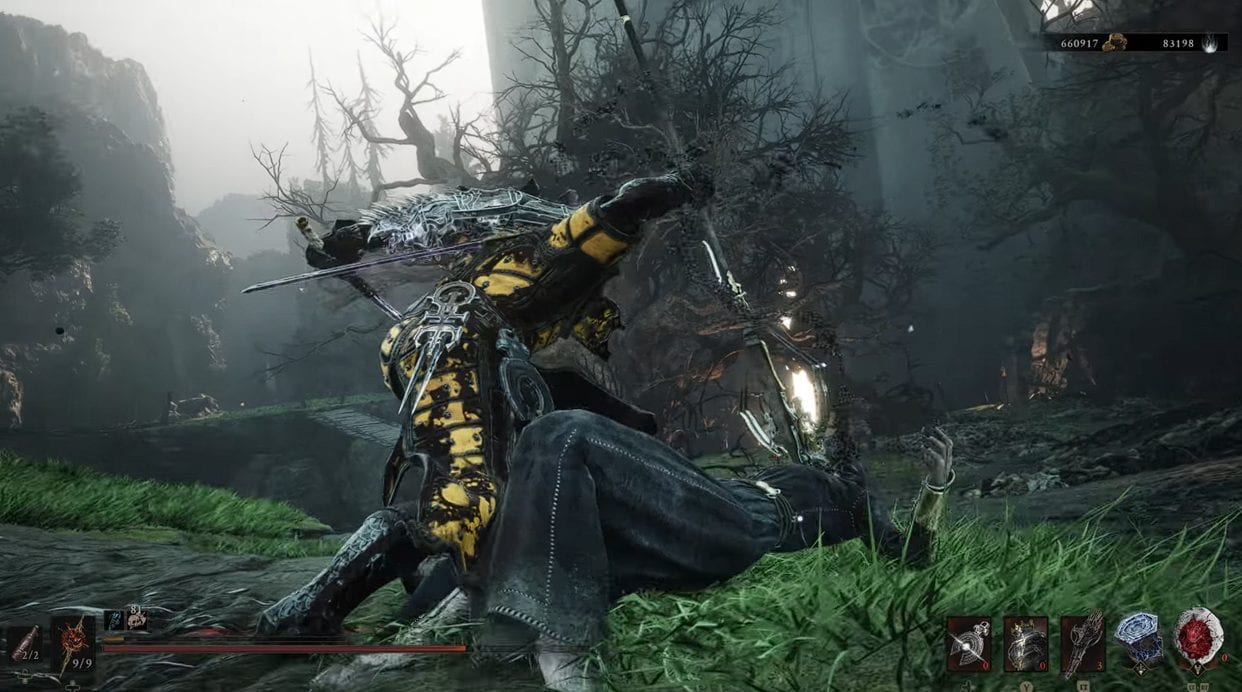
Executing an Enemy
Clear the trash on the approach with Ripostes rather than raw damage, then walk into the arena without touching a Beacon. Resting strips your stacks, and with Massacre at level 3, each Riposte kill is worth 10 of them.
- Fast travel to the Beacon nearest the boss gate and rest there first, before any farming.
- Clear the approach enemies with parry into Riposte, finishing each kill with the Riposte itself.
- Check your stack count and the damage reduction it grants through Tank before entering.
- Enter the arena directly. Do not return to the Beacon once stacks are banked.
7.2. Boss Fight Rotation
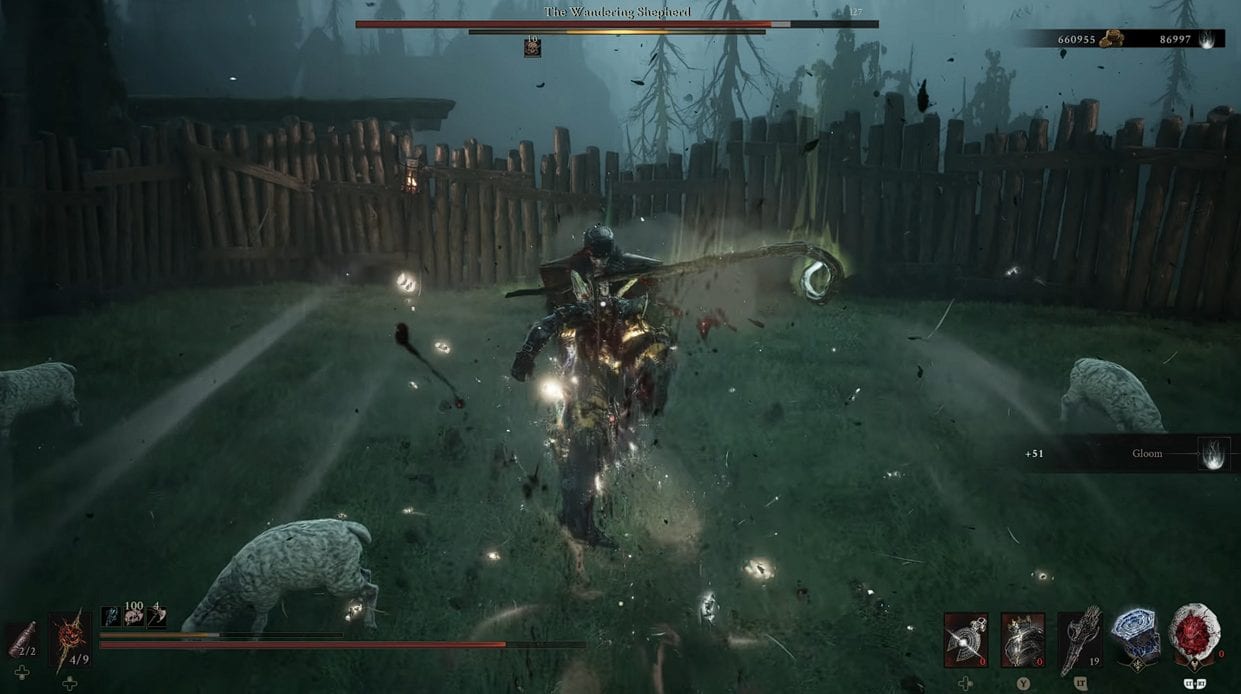
Shoulder Bashing a Boss
Treat Shoulder Bash as a finisher for the Break bar rather than an opener. Chip the bar with parries and light strings, then spend Resolve to close it out and collect the Riposte.
- Open with light attack strings during safe windows. With the Duality Stone, each combo lands double hits and fills Resolve at twice the rate.
- Parry the readable attacks in the boss combo. Each parry pushes the Break meter and costs no Resolve.
- Cast Shoulder Bash when the Break bar sits near full. This is where the 120% Break Damage from Oppression level 2 pays for itself.
- Riposte the moment the red marker appears, then reset to light attacks and rebuild the bar.
- Drink Mether’s Pulse when Resolve runs dry rather than when health does, since Consecration returns Resolve on the same charge.
8. How to Manage Shoulder Bash Resolve Costs in Boss Fights
The free-cast window is real, and its trigger is narrower than it looks. Alacrity level 3 fires on a Riposte kill, so in a sealed one-on-one arena, it never activates until the boss is already dead. Funding Shoulder Bash through a long health bar takes three other levers.
8.1. How the Free Cast Window Actually Triggers
Stagger Damage
Alacrity level 3 makes every Eredrim ability cost no Resolve for 8 seconds after you kill an enemy with a Riposte. The trigger is the kill, not the Riposte, and that distinction decides where the node earns its point.
It carries enormous value in add-heavy arenas and on the approach, where a single Riposte kill funds a chain of free bashes. In a pure single-target fight, it stays dormant, so plan the rest of your economy as though the node does not exist.
8.2. How to Refill Resolve During a Boss Fight
Alacrity
Four tools keep the bar moving once the free window is off the table. Alacrity, Duality Stone, and Consecration rebuild the economy directly, while Caged Hystrix keeps pressure on when Resolve is nearly empty.
- Alacrity level 2: A flat 20% cut to Shoulder Bash cost that applies to every cast, forever.
- Duality Stone: Doubles the hits in every light combo, which doubles Resolve gained per exchange.
- Consecration level 3: Gives each Mether’s Pulse a 40% chance to refill the bar outright.
- Caged Hystrix: Fires without a minimum Resolve threshold, so a near-empty bar still applies pressure.
8.3. Best Eredrim Respec for Each Boss Type
Radiance
Shell Points refund for free at any Beacon, so treat the spread as disposable and rebuild it per encounter. The three-second respec is the most underused tool on this Shell.
- Single boss, no adds: Alacrity 2, Anguish 3, Consecration 3, Oppression 2, Seal Affinity 3.
- Boss with adds: Add Alacrity 3 and Massacre 3 to convert add kills into free bash windows.
- Frost arenas: Move points into Apathy 2 for immunity, then Apathy 3 for 20% damage on Frozen targets.
- Crowded gauntlets: Take Oppression 3 and Radiance 4 here, where the shockwave and the doubled Diapason range earn their cost.
Weapon upgrades follow the same principle. Push one weapon to the Tarforge cap rather than spreading materials thin, and our All Tarforge Upgrades guide covers the smelting refund if you change your mind.
Eredrim still breaks bosses faster than any other Shell in Mortal Shell 2. He simply asks you to build the economy first, and our Shells Tier List shows where that cost puts him relative to the rest of the roster.
Related posts:


